softrob

[ITP: ConnDev & SoftRob] Lungs IV

Ok, now we’re cookin’ with fire! This is a continuation of my previous blog post.

Fabrication

Stand

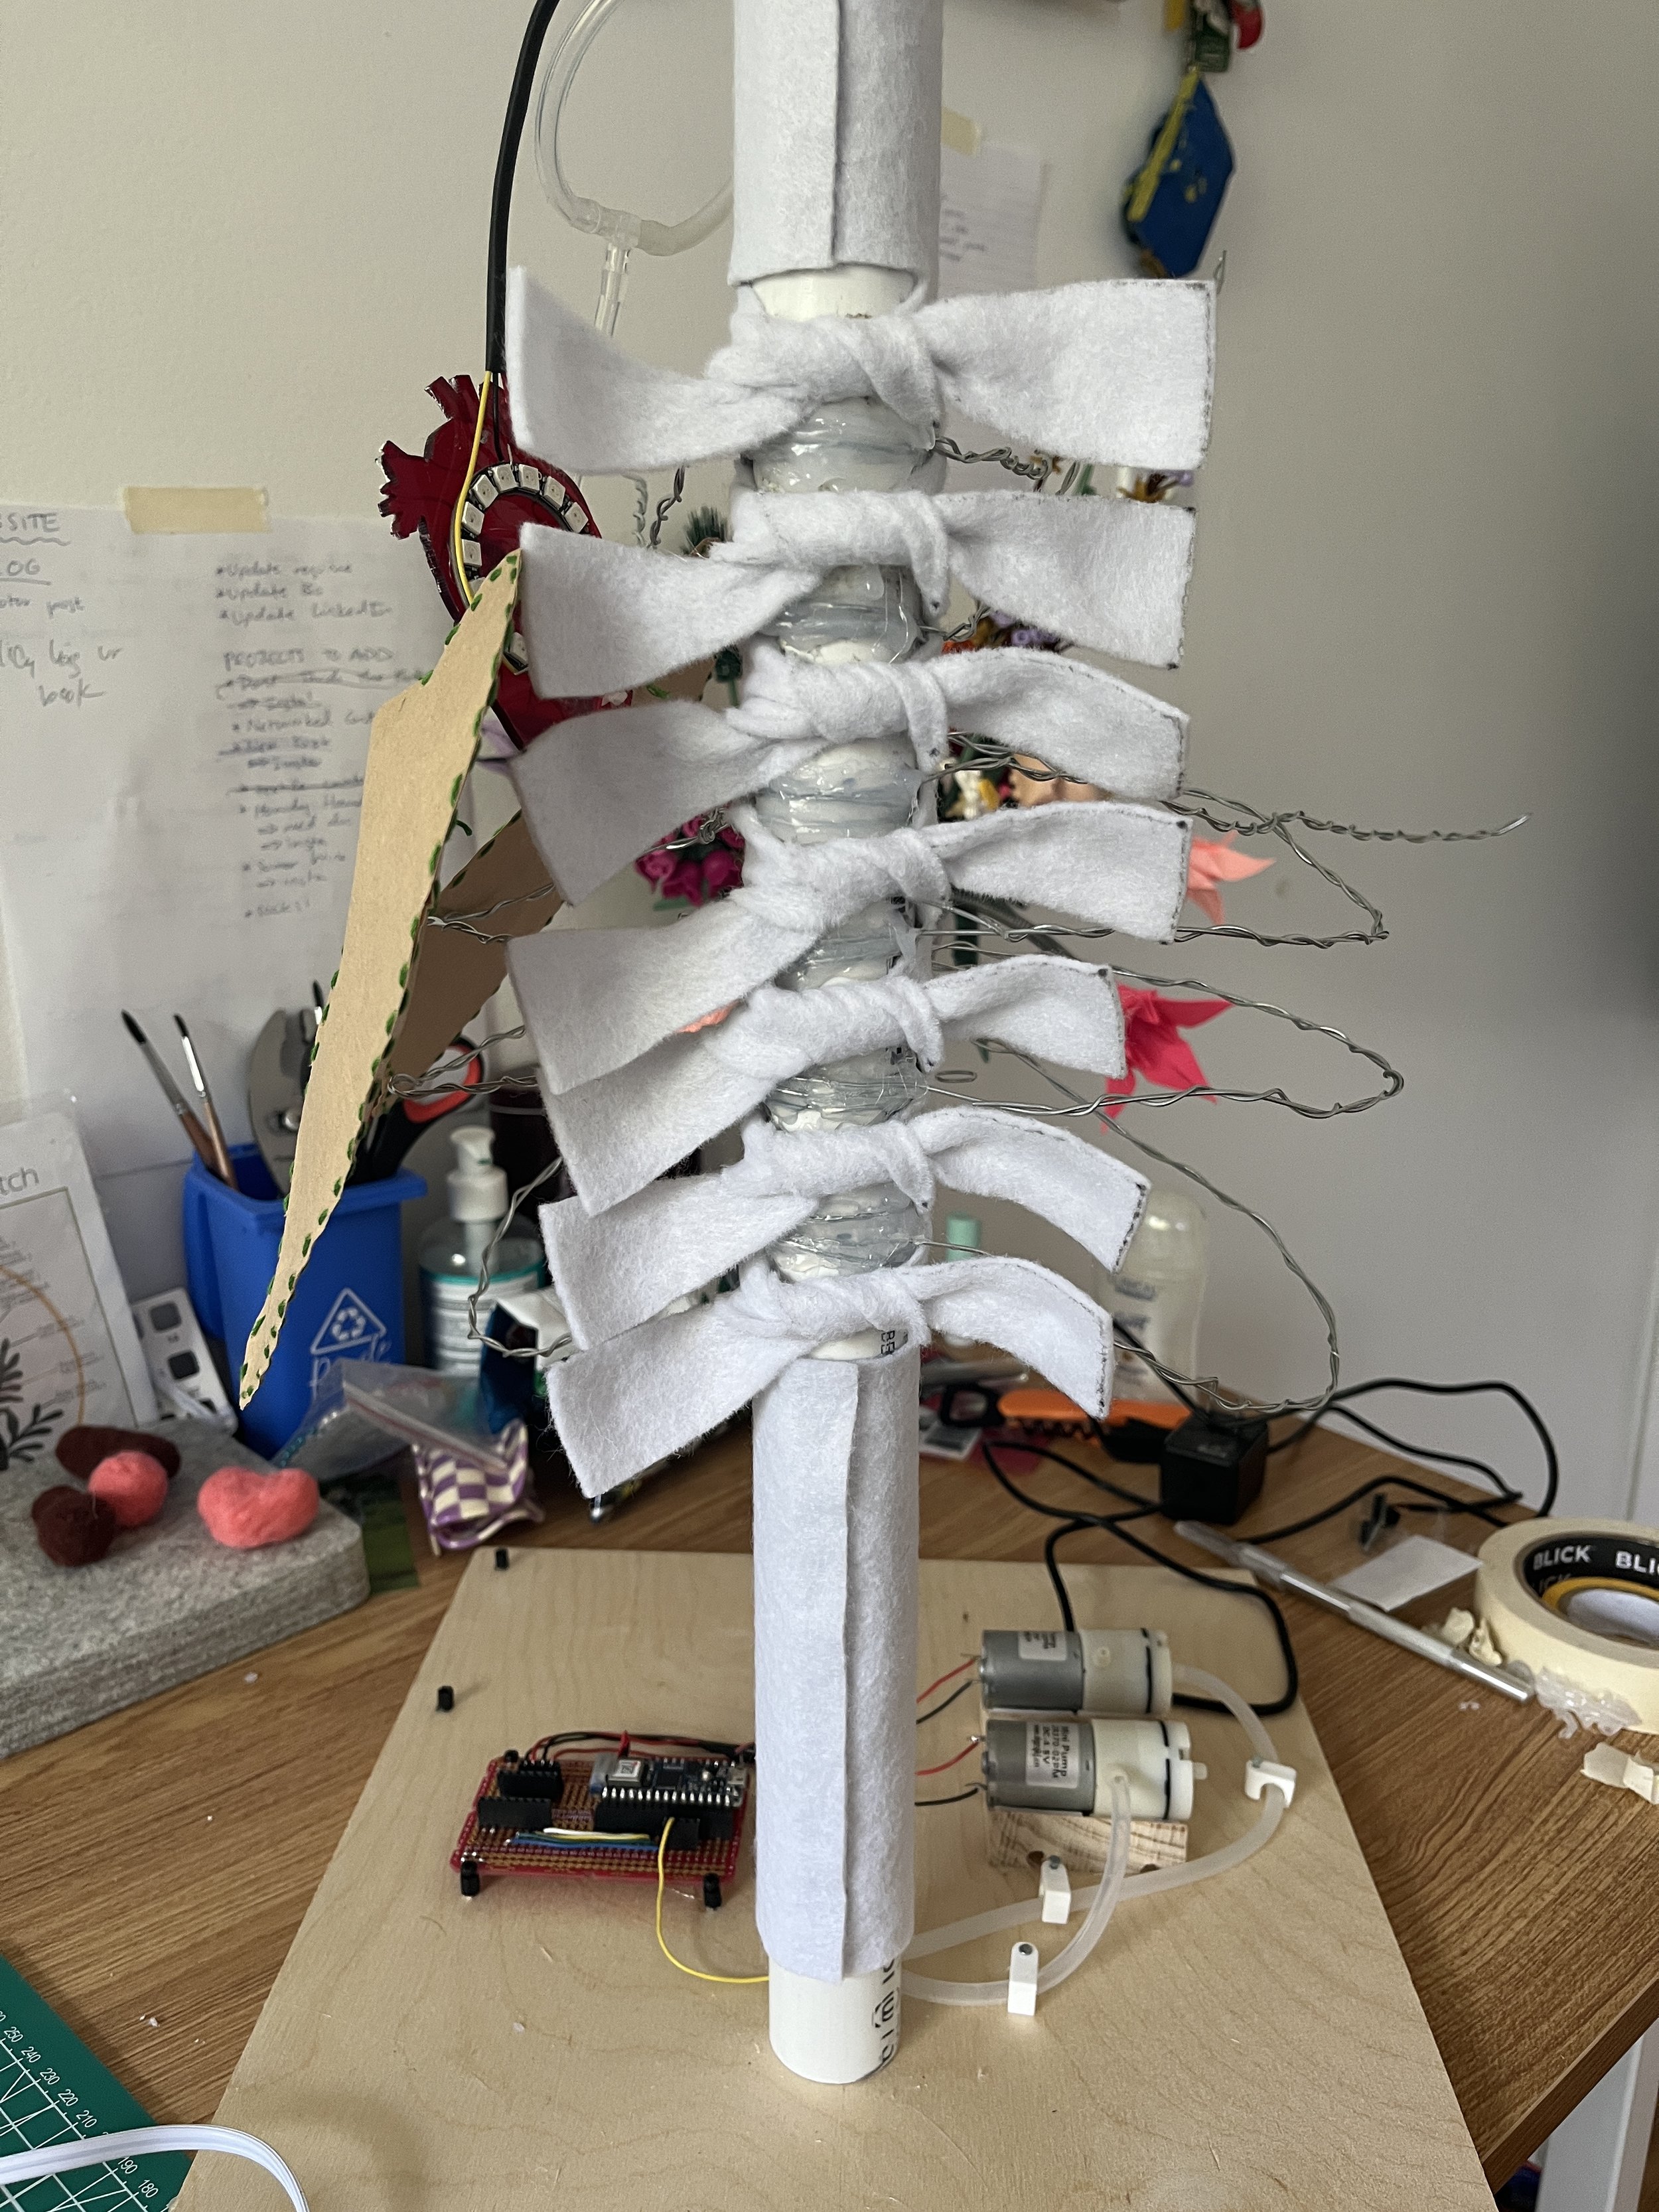
All my work this far has been flat and this ultimately needs to become an upright sculpture so I built a stand to hold the lungs and electronics in place. With some advice from the amazing Phil, I built a stand out of a 12x12x0.5 inch piece of ply wood, an 18 inch dowel, and 18 inches of PVC. I used a dremel to cut a notch out of the bottom of the PVC so that I could feed all the tubing and wires through it. The images below show the stand and the chaos of the end-of-the-year ITP floor.

Lungs

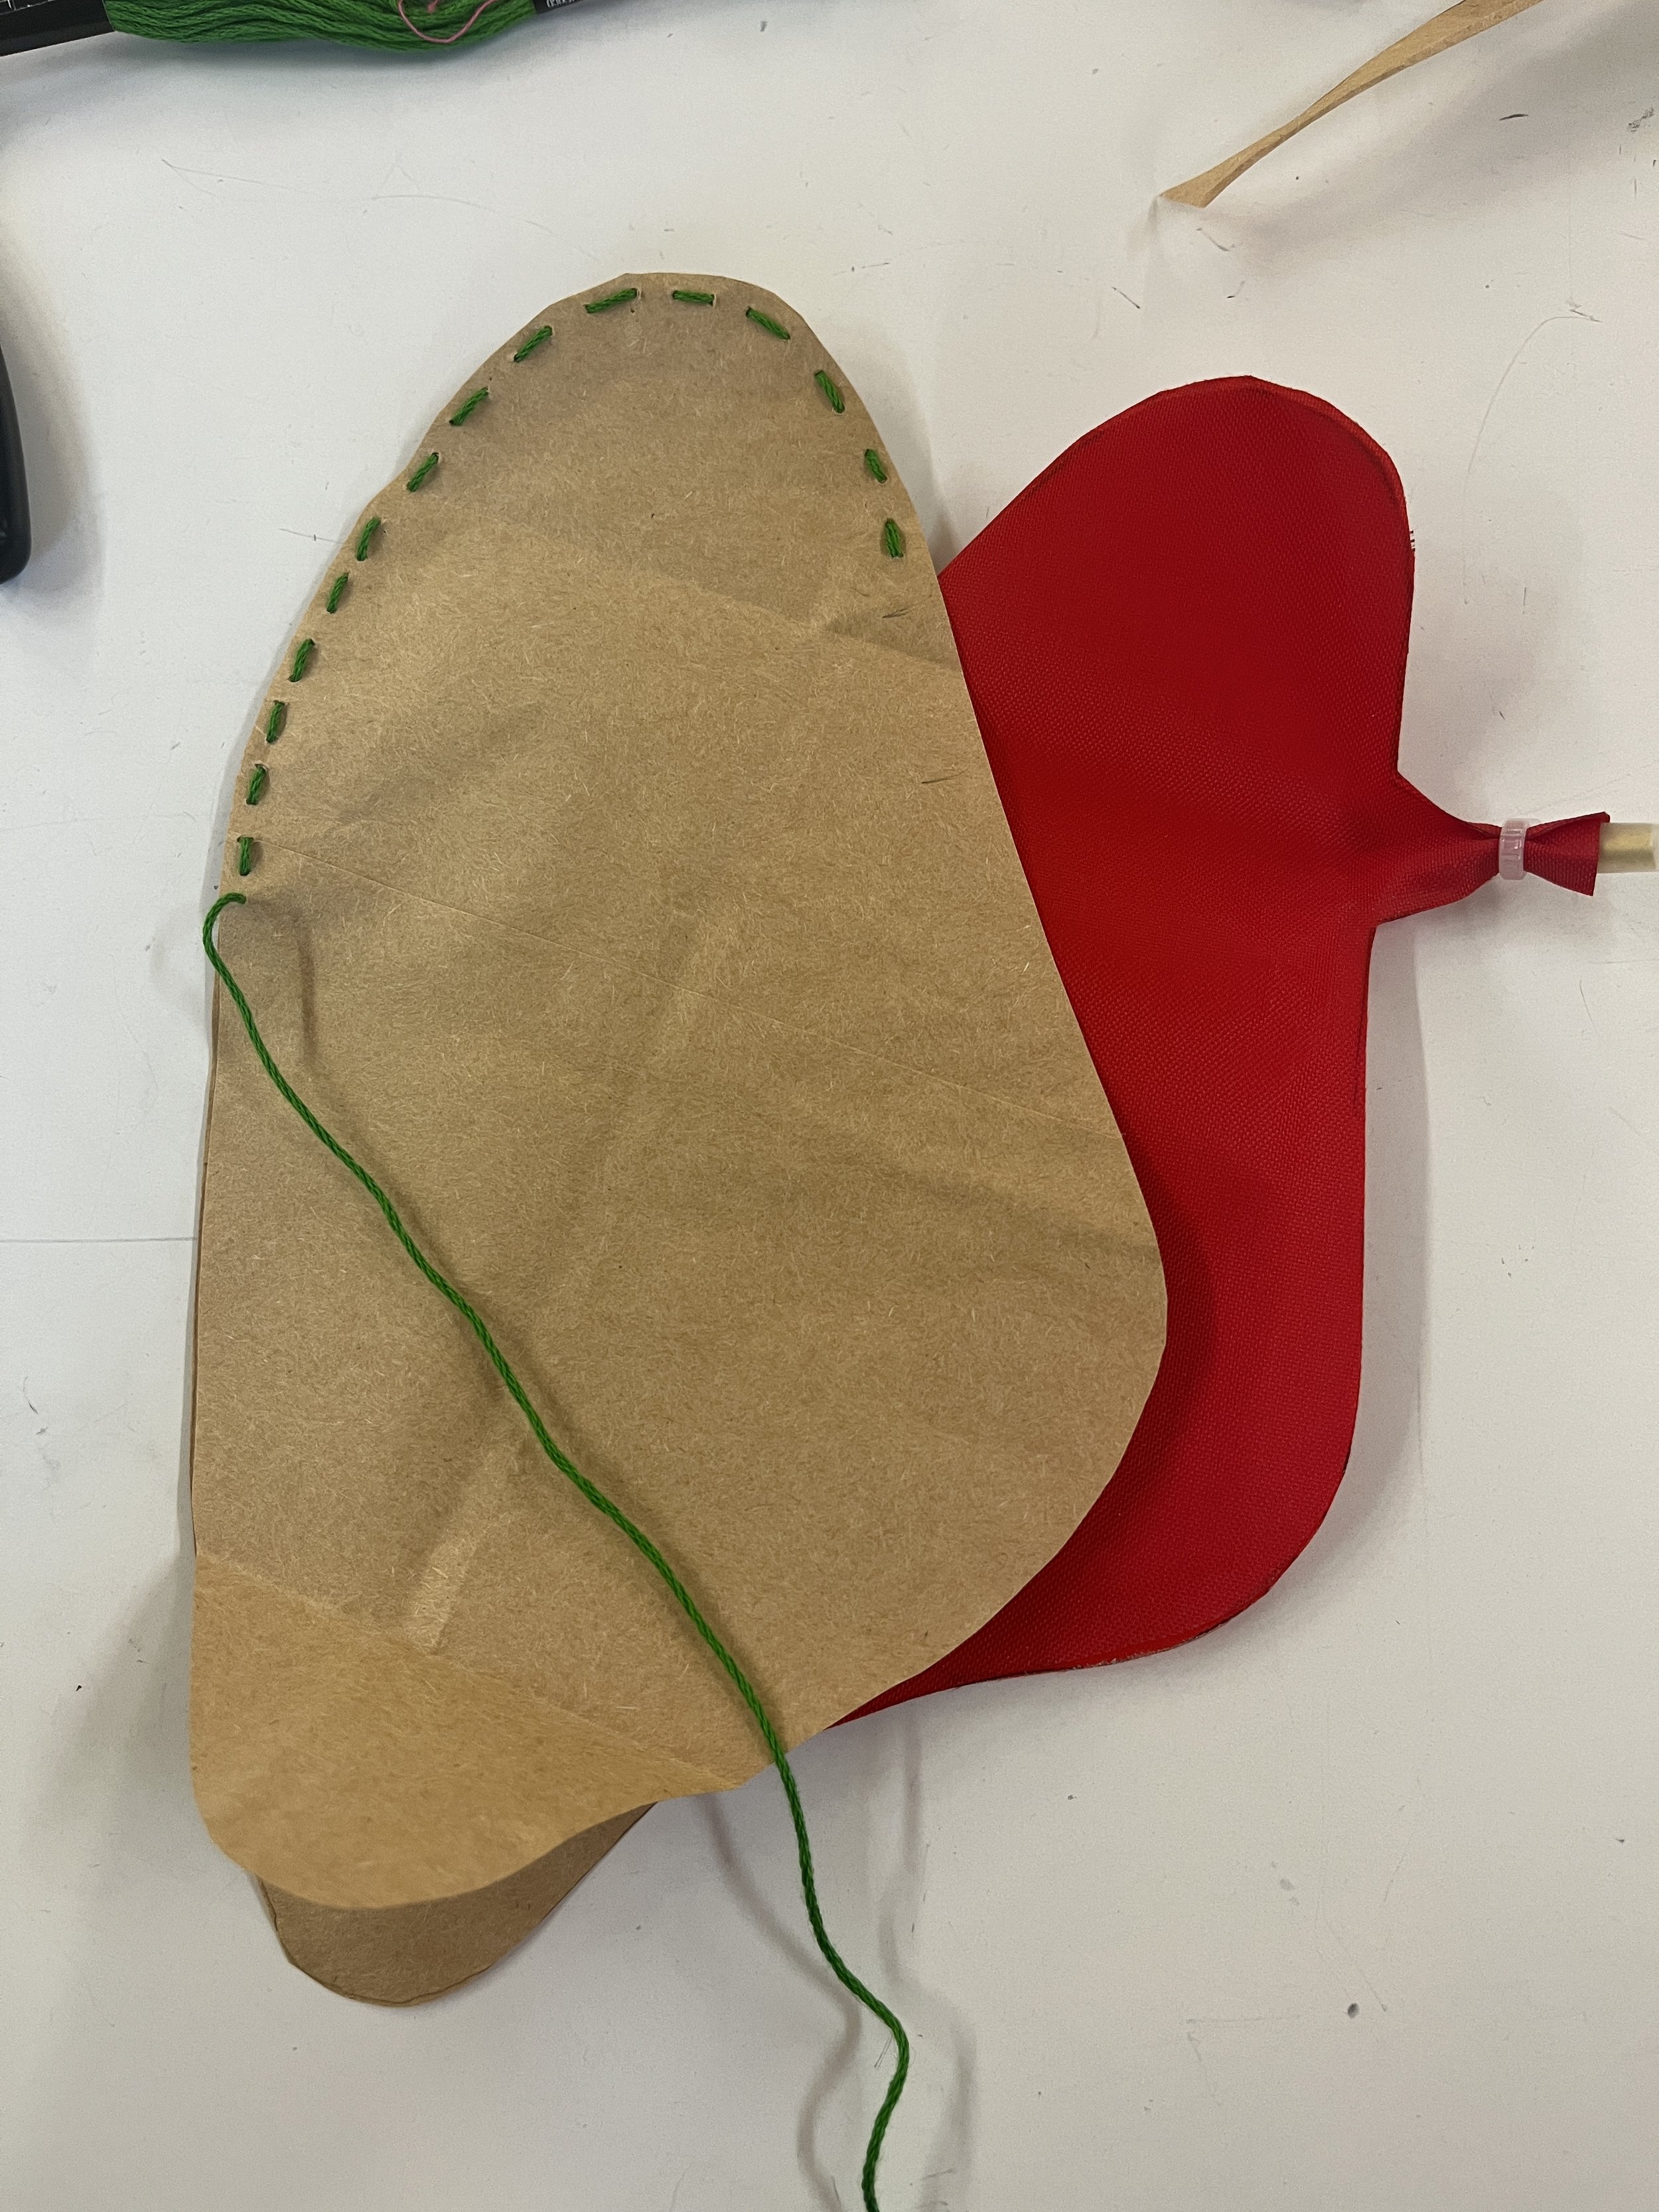
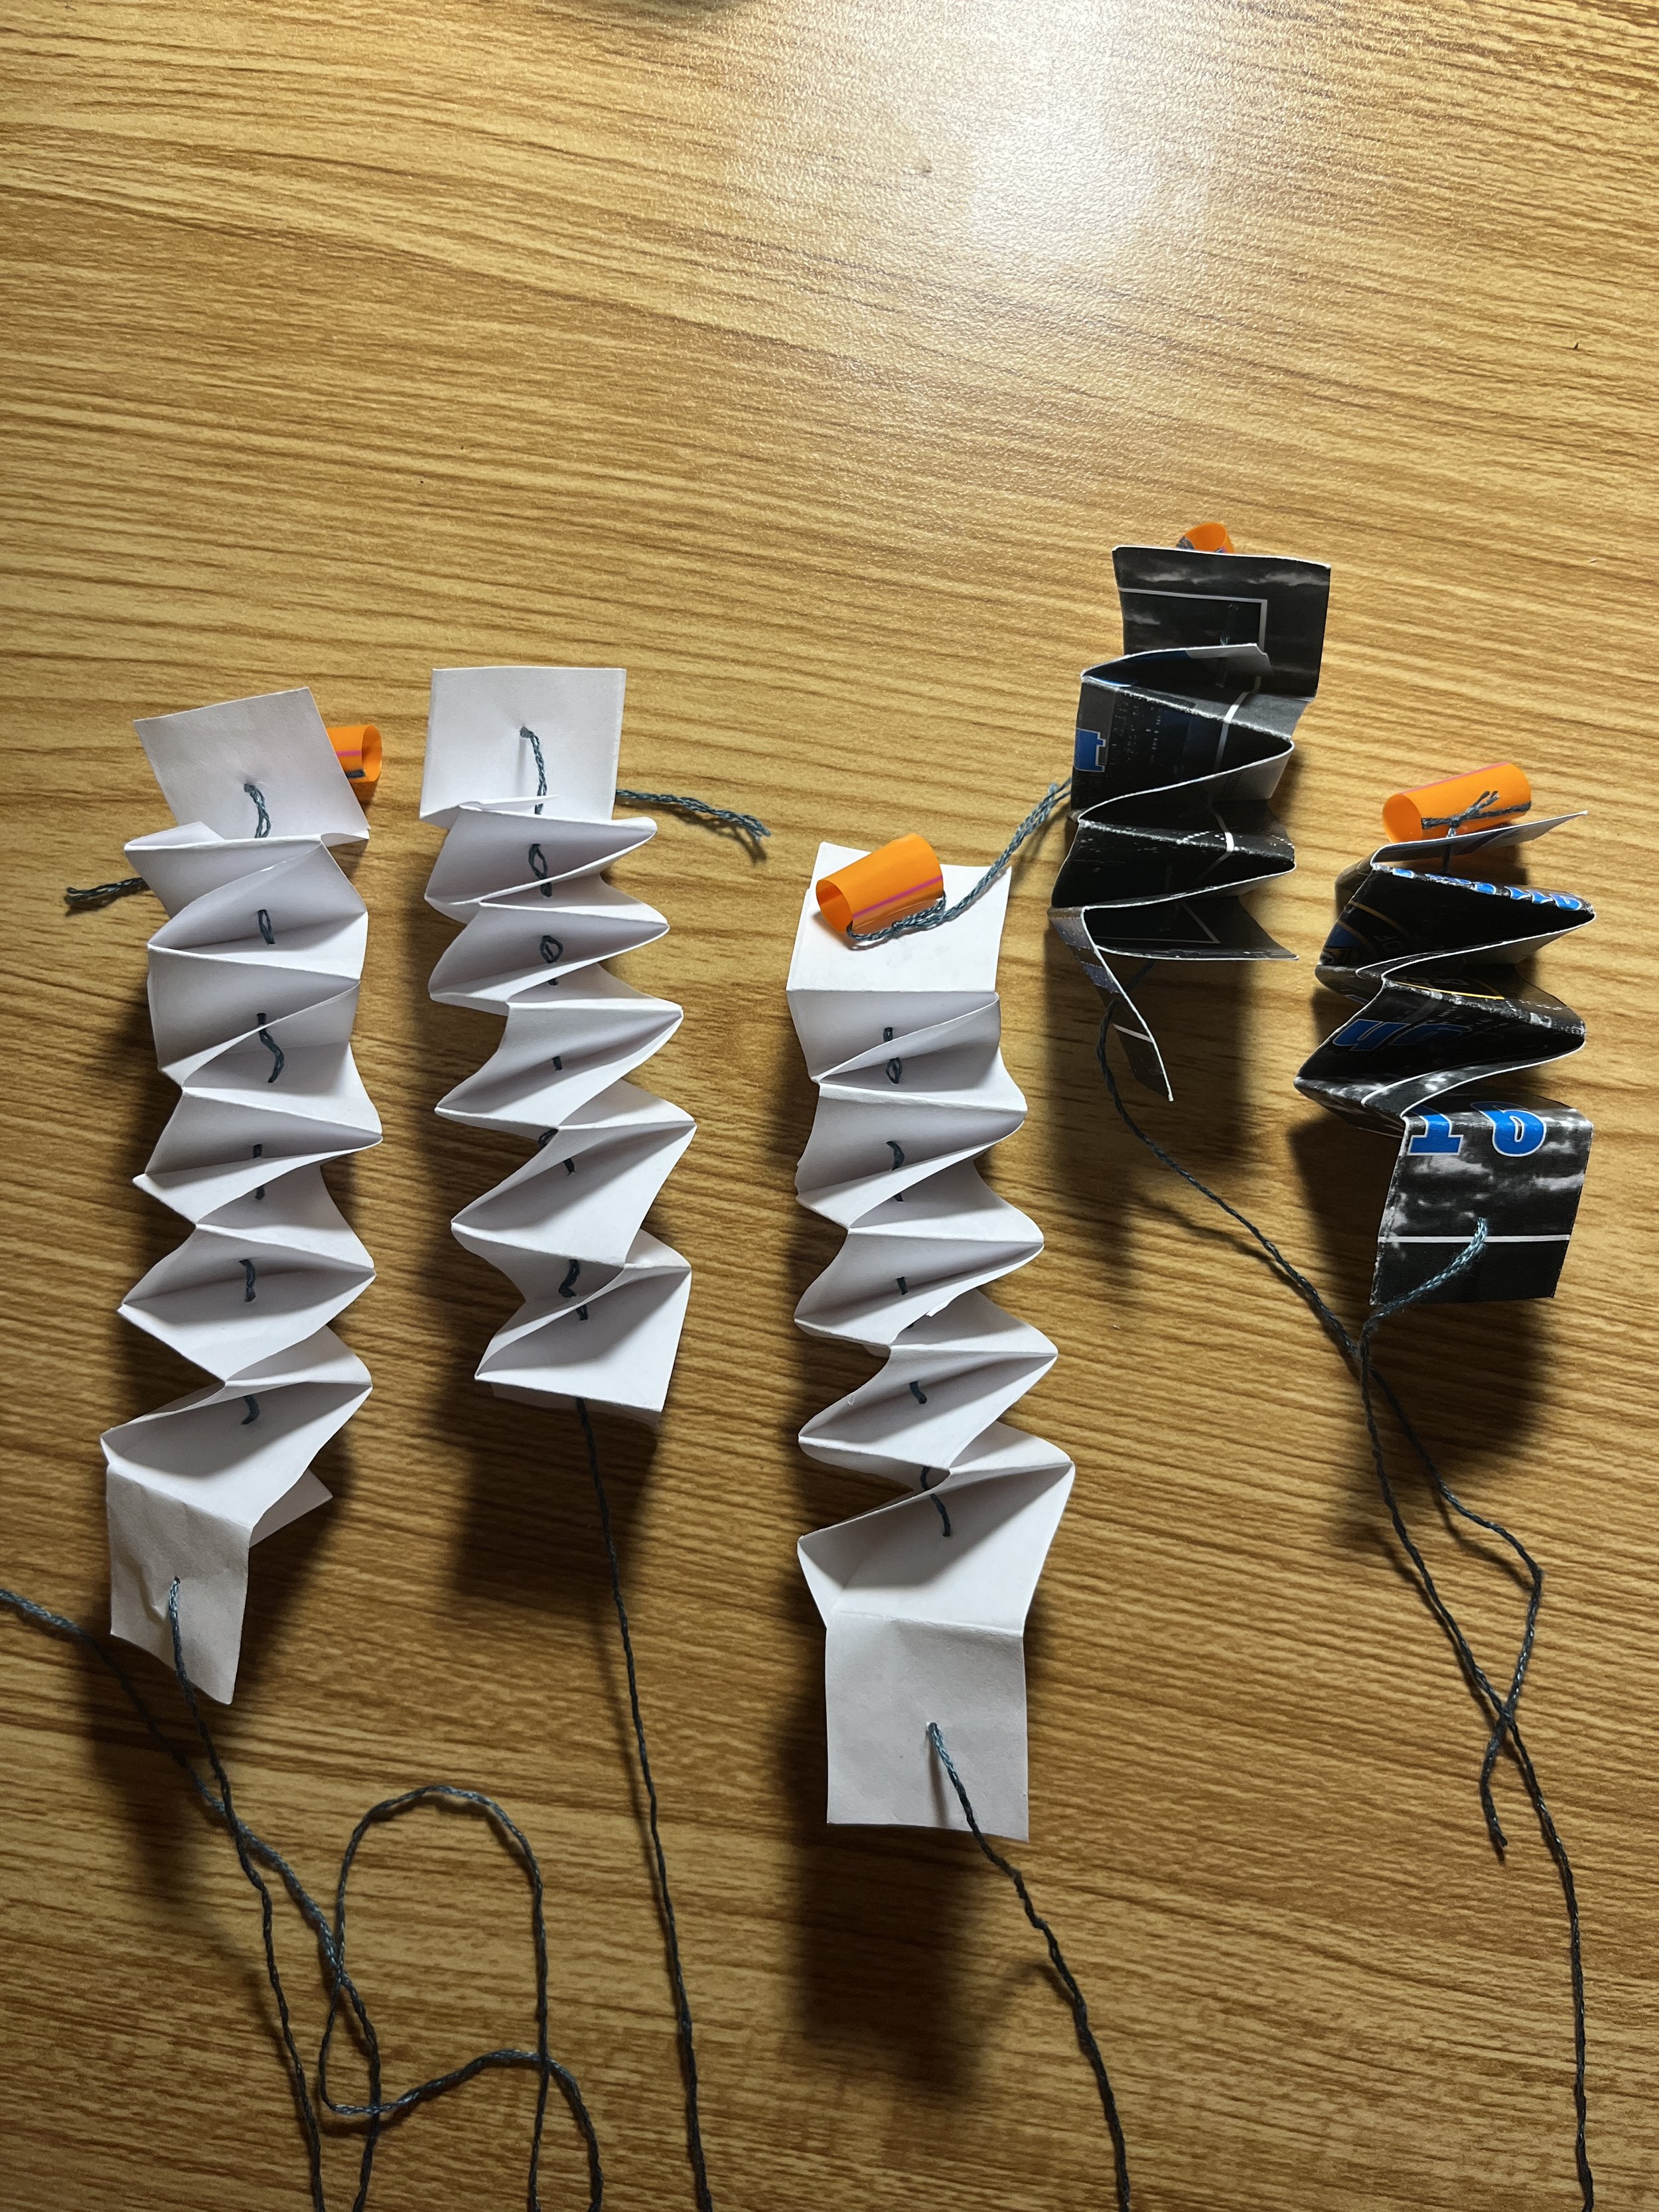
It was at this point I realized the air bags I made detailed in my last blog post (vinyl air bag with a paper covering glued on) would NOT WORK! Who knew that gluing the paper down would strop the fabric from inflating! After a quick panic attack, I re-cut and ironed some new lungs. My friend Granny suggested I could sew together a paper covering for my lungs which was a totally genius idea and something I’m already pretty good at! Voila!

Just a note, but for this pneumatic system I used 3mm silicone tubing and these little T lure locks to create the system. Also if it’s not super clear from the pictures, I attached my thoroughly-researched air bags using zip ties and a one inch piece of 3.5mm brass tubing inside.

Mounting Electronics

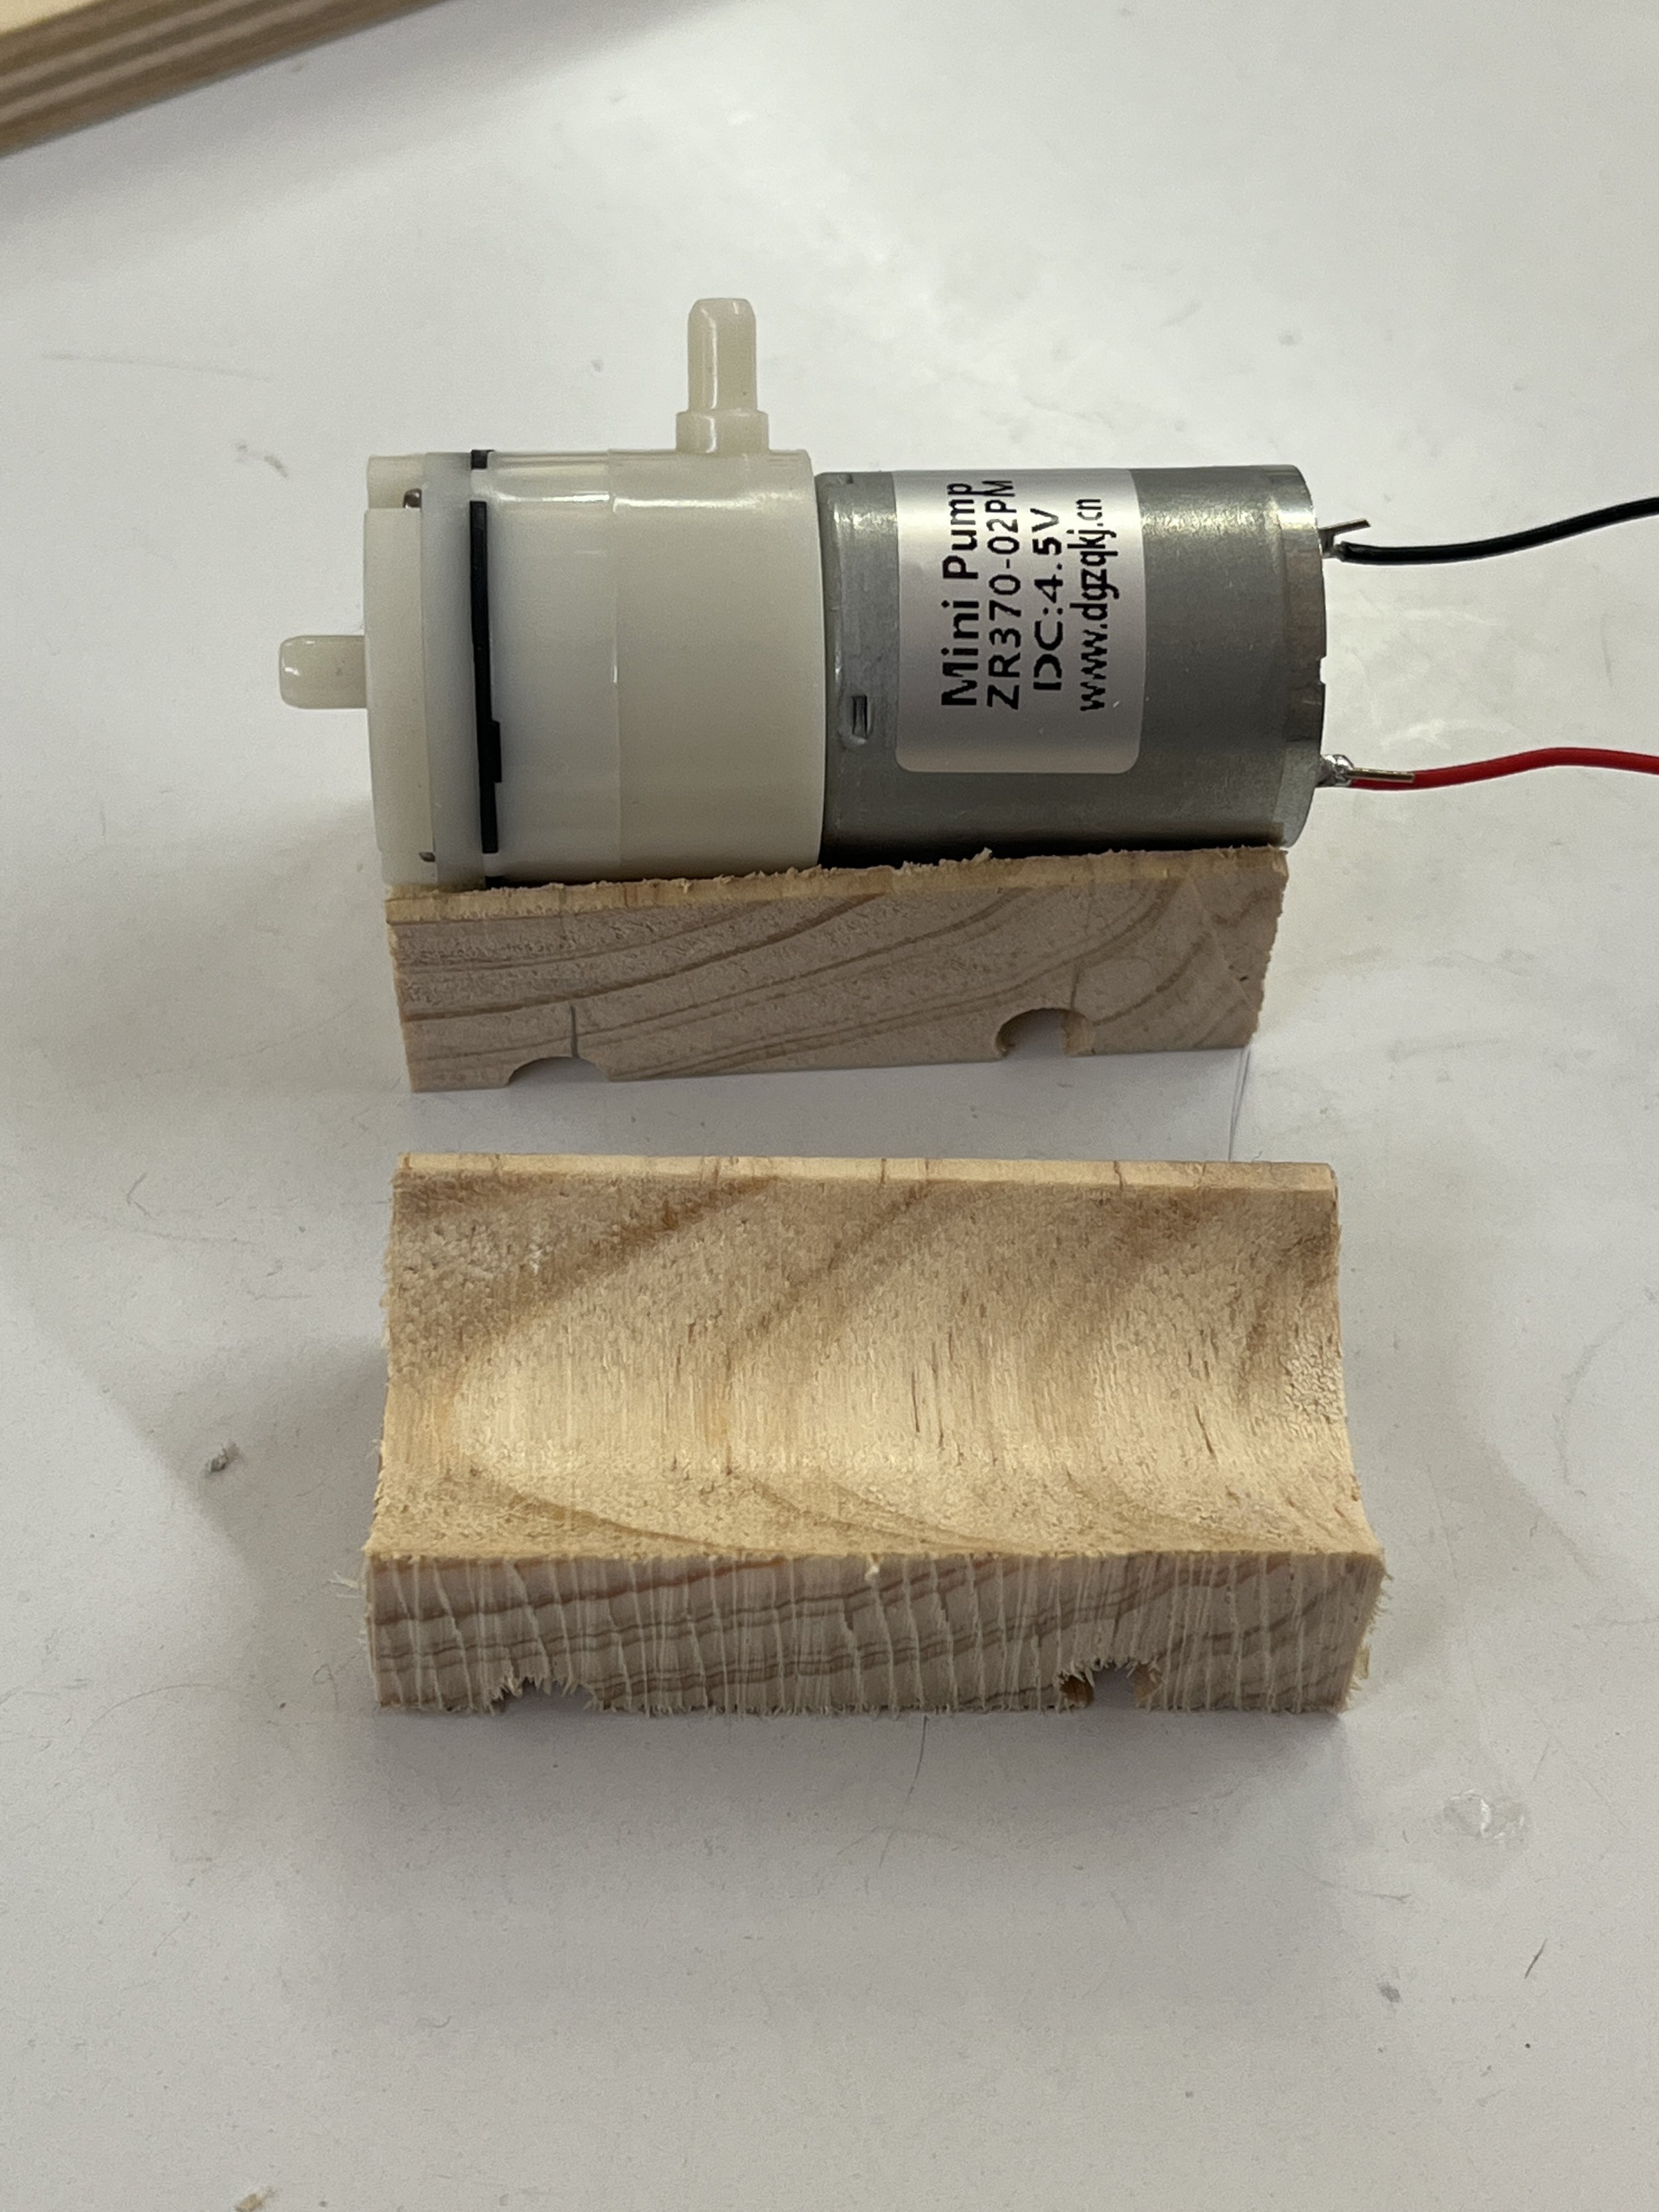
Again another fabulous idea from fab master Phil are these pump mounts. I cut them out of some scrap wood using the drill press and band saw exclusively! I attached the pumps using some double-sided foam tape. The holes on the underside of the mounts were meant for some zip ties for extra security but I didn’t end up needing them. I just screwed these mounts down to the sculpture platform.

I also soldered together a protoboard for this project so that the circuit would be more reliable than a bread board with jumper wires. I also screwed this into place using some stand offs. I cut all the wires and tubing to length and mounted them to the bottom panel using some cable clips to get a really clean setup.

Then there’s the acrylic heart. This was always intended to be a sculptural element but I realized quickly that it could be functional. I drew up this design on my iPad and etched it with the laser cutter. I glued a ring of neopixels onto it to indicate the air quality and also serve as a heart beat to indicate the sculpture is still … sculpturing during the off time of the air pumps.

Ribcage

I feel like building the ribcage was really the art part. It was a little daunting at first because I had no idea what I was doing but eventually the sculpting became really organic and freeing! I’ll try my best to explain the process.

Basically, I got this 18 gauge armature wire from Home Depot. I cut it to length using wire cutters and doubled it up and twisted on both ends. I knew I was going to make 6 ribs so I had those positions marked on the pipe. I wrapped the middle part of the wire around the pipe twice and desperately hot-glued it into place. It was a little messy at first and I definitely lost feeling in my finger tips over time, but the hot glue really worked for this build!

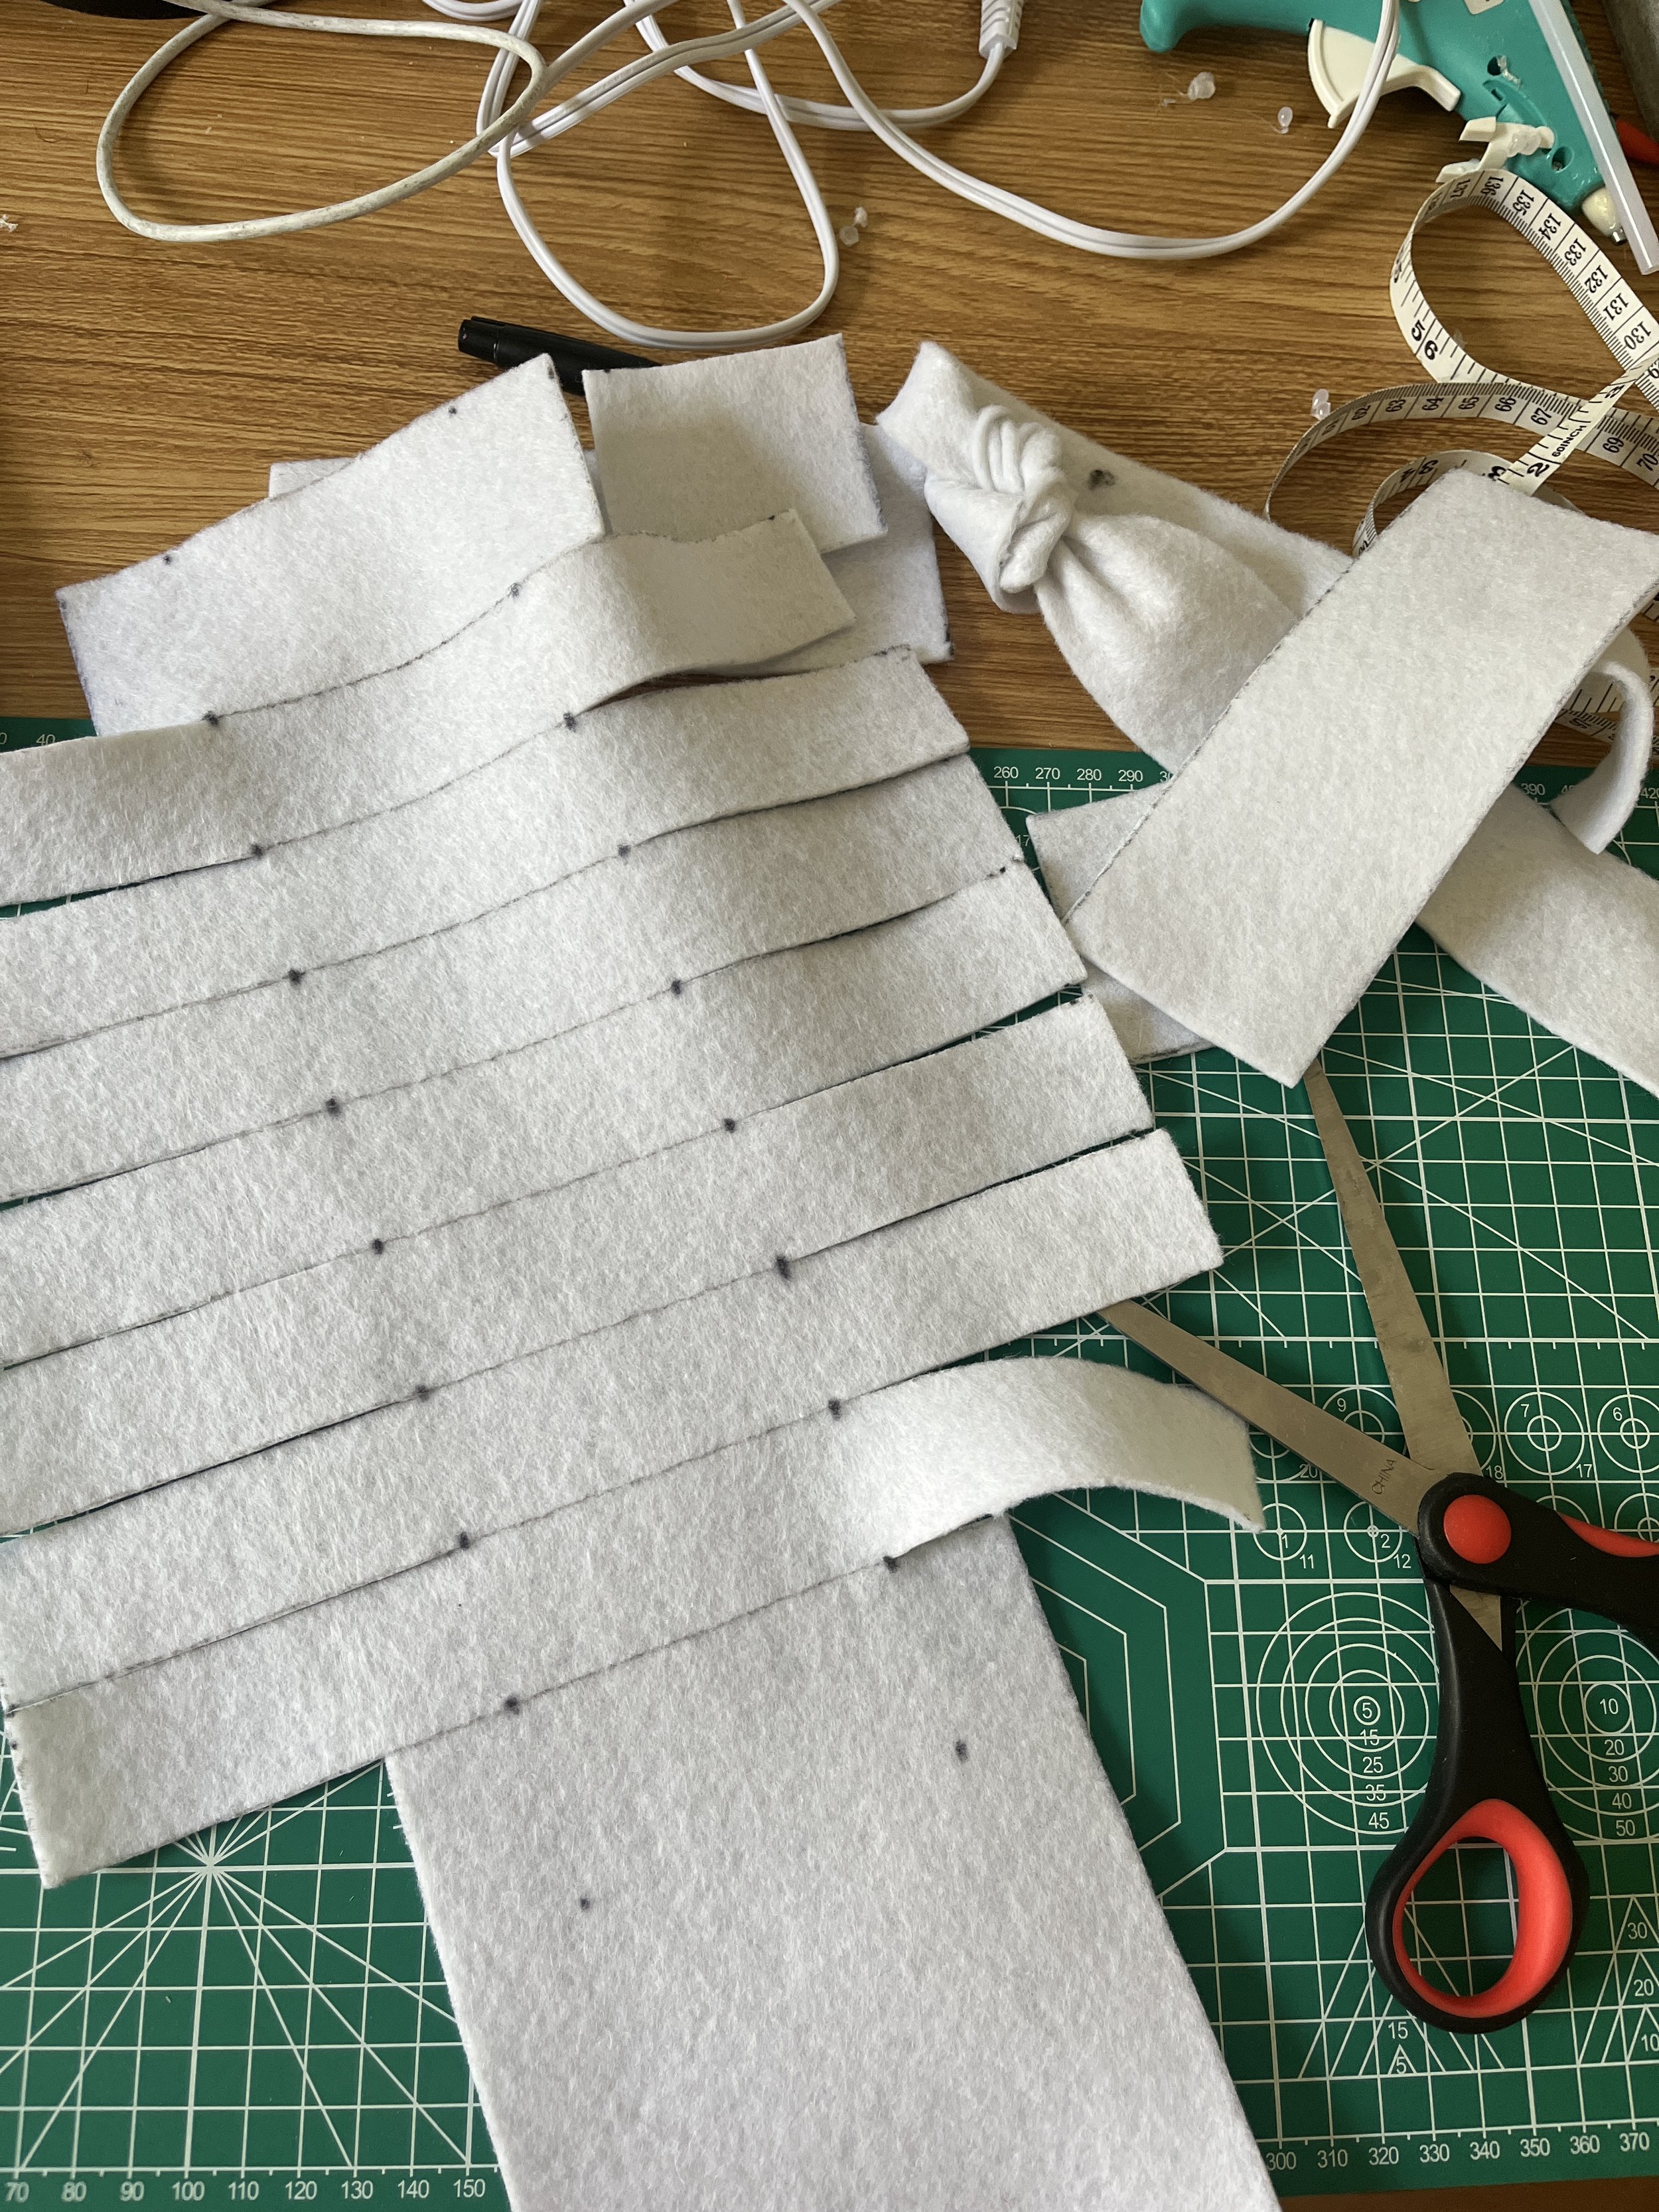
To cover up the pipe I used some white felt. I did a lot of measuring, drawing, and cutting and came up with this pattern. I hot glued it in place and knotted the strips around the ribs. Admittedly, I took some inspiration from tie blankets even though I’ve never made one myself but I thought the knotted felt would make for a good abstraction of the human spine.

Now I had a soft-presenting spinal column I wanted to achieve the look of soft ribs too. I had originally planned to needle felt the wire ribs but I wasn’t sure of the logistics now that the wire was free-floating and it seemed time consuming. I pivoted and bought some white yarn from Michaels and just wrapped it around the wire. I think the yarn would make it easier to felt onto the ribs in the future.

Code

So I think I’ve been kind of glossing over the additions to the code week-by-week, but here are some important milestones:

  • First, I integrated the pump and API code. This means that at a specified interval, the Arduino will get the AQI data from the OpenWeatherMap API and run the pumps.

    • If the AQI is bad, the rate the pumps switch from suck to blow is faster than if the AQI is good.

    • Remember I’ve implemented a watchdog timer, so that needs to be reset accordingly!

  • I’ve also implemented the neopixel ring functionality

    • It does some indication at the start of the code as to the status of the internet connection.

    • It does a light up animation when it grabs new data from the API. The color of the pixels also indicates the current air quality. Red LEDs indicate an AQI of 5 which is really bad. White LEDs indicate an AQI of 1 which is good air quality.

    • There’s also a breathing animation that happens during the off time of the air pumps in hopes that the sculpture will still be engaging to look at during that time.

I’ve also uploaded all my code to Github and this is what is currently running on my sculpture.

Final Product

Pneumatic IoT sculpture

A breathing sculpture made out of wood, PVC, wire, and textile. The beating heart changes color and is connected to the internet. It periodically checks the air quality of my hometown in Arizona. Depending on the quality, the breathing turns from frantic and labored to soothing deep breaths. This project is a reminder that what we put into the world will eventually come back to us.

The idea for this piece was inspired by my mom. Though I haven’t lived with her for many years now I still love her so much. At the start of the pandemic she developed a chronic cough. It was really worrisome because it persisted for years. My dad took her to pulmonologists, put a humidifier in each room, and even replaced the windows and screens in our house. She doesn’t suffer from an intense cough anymore, but my parents are convinced it’s because of the worsening air quality in Mesa, AZ. Anyways, it was a very special moment to have my family come to the ITP Spring show and have my mom see my sculpture in person … on Mother’s Day. I can’t make this stuff up! :’)

Future Improvements

  • Bigger and better lungs. More noticeable breathing. Would stronger pumps do the trick? Do I need to design a custom pneumatic actuator? Should I use a different material that’s crinkly/noisy maybe?

  • Add in a cough functionality and threshold.

  • Build an interface to customize the location, potentially dials and screen for changing lat and long.

  • Retry making ribcage by felting

    • I intentionally constructed the ribs so that the PVC pipe can be removed (without disturbing the electronics and pneumatics) and start over

Resources

https://www.youtube.com/@juliesfeltedfriends/featured

https://www.youtube.com/watch?v=0I91vk6BaZ8

https://www.youtube.com/watch?v=h6m3pUeebPg

Special Thanks

Phil Caridi, Kari Love, Tom Igoe, Amitabh Shrivastava, Granny Liu, Kay Wasil

[ITP: ConnDev & SoftRob] Lungs III

This is a continuation of my previous blog post.

Connected Devices

API call errors

After doing some duration testing of my API calls I learned I had a problem. Twice I had been running my code for multiple hours and after some time I saw that I would get repeated errors from my HTTP get requests. I wasn’t able to get to the bottom of WHY this was happening because I don’t have the time for that right now, but Jeff Feddersen suggested I implement a watchdog timer. The way this works is the timer is configured to reset before a given time interval. If it’s not reset in time, the SAMD21 resets and executes the code from the top. In my code, I keep track of how many error codes I receive in a row. If it’s more than three the code falls into an infinite while loop forcing the the watchdog timeout to occur without being reset, so the whole sketch will start from the beginning when the MCU is reset.

Soft Robotics

Programmable Air? Pumps?

Once the API calls were coming in reliably, it was time to see if the Arduino Nano 33 IoT is compatible with the Programmable Air. Admittedly, this should have been one of the first things I tried because the plan was to make internet connected air pumps, but I quickly learned it wasn’t. The Programmable Air examples don’t compile for the 33 IoT, the EEPROM library isn’t compatible with the MCU. I tried duplicating the library and commenting out all the EEPROM stuff that was mainly using for storing pressure readings (I don’t need that, right?) and the timing control example compiled. I could hear the valves clicking but the pumps didn’t turn on.

This is the Programmable Air (PA) pinout. It shows that the pumps are connected to D10 and D11 of the Arduino Nano. In the switchOnPumps() function in the PA library an analogWrite for both of those pins turns on the pumps at a certain power. I checked the Arduino 33 IoT pinout and D10 and D11 don’t seem to be analog pins and a digitalWrite of those pins didn’t get the function working for me. I’m not exactly sure of what makes the Arduino Nano 33 IoT incompatible with the PA but I had to shift gears.

I had my own pumps already because step Z was to build up my own pneumatic system because the PA isn’t mine. The Adafruit product page says you can drive the pumps using a standard motor driver. I soldered header pins to the DRV8833 and wired it to my Arduino Nano 33 IoT and it worked! Don’t forget to pull the SLP pin HIGH. And then I hooked up a second pump, for inflation and deflation, AND THAT WORKED TOO! I’m a genius and reinvented the PA. Jk, the Programmable Air is much smarter than this simple setup!

The image below shows the full two pump system. To the right is a quick schematic I sketched and the circuit prototype below.

The pumps aren’t rated for continuous use so I plan to write code that only does a “breathing” cycle every few minutes.

Air bags

The paper air bags proved to be too leaky in all my past testing, so I decided to change my vision a bit. I cut the lung shapes from the vinyl fabric, sealed the edges of the air bags with an iron, and glued a paper bag skin. Fingers crossed this will work once they’re interfaced with the pumps!

[ITP: ConnDev & SoftRob] Lungs II

This is a continuation of my previous blog post.

Connected Devices

API Calls

So I have been really stuck on getting the AirNow API calls to work. In office hours we tried the “SimpleGet” sketch from the ArduinoHttpClient library and a get request to “www.airnowapi.org” returns status code -2 meaning there was an error with communication to the API. When I type curl -L ‘https://www.airnow.gov’ the command works as expected returning the html of the page in my computer’s terminal. Typing curl -L ‘https://www.airnowapi.org’ works too!

curl -L ‘www.airnowapi.org/aq/observation/latLong/current/?format=application/json&latitude=40.6924&longitude=-73.9875&date=2023-04-04T00-0000&distance=15&API_KEY={apikey} returns an API response with the AQI data in the terminal as well which is super perplexing. Using that example sketch I also learned that I am able to make SSL connections and send https requests which I thought I wasn’t able to do before.

At one point I was getting a 302 error which means a redirect was happening. I looked to this Tom example to write a function to redirect the request to the correct server address but that did not end up working either because it doesn’t seem to find the new temp server and I don’t really know enough about http requests to know what it’s looking for either…


So I GIVE UP with AirNow! I started with the Weatherbit API but after getting a free key I found that it costs $475/mo if I want to get air quality data, so no go. I found the OpenWeather API which has free current air quality data. Winner! I modified the “DweetGet” sketch and can read the full API response from the Arduino serial monitor, yahoo! The API responds on the pollutants outlined in the table below.

I’m now trying to make sense of the values it is responding with. When I open my Weather App on my iPhone I see that the air quality in Mesa, AZ is 47 which is “good” and the AirNow dashboard reads 45, so that lines up pretty well. The API calls on my Arduino say the AQI is 3…

Looking at the API documentation it shows that the AQI is on scale from 1 to 5, 3 being moderate air quality. Moving forward I can either use this 1 to 5 number or understand what the other chemical pollutants mean in terms of air quality and how I want to use them in the “breathing” of my piece.

Soft Robotics

New materials:

  • 3.5mm brass tubing

  • Zip ties

  • Stuffing

  • Latex gloves

  • Vinyl fabric

Vinyl Airbag test

Subtracted volume test

Added coke bottle volume test

I added a coke bottle in line with the inflation pump in hopes of getting the lung to inflate faster. If the pump is constantly pumping air into the bottle it should act as compressed air when opening the valve and should make the rate of air flow much faster. Even with all the time I put into constructing the Coke bottle bong, this didn’t prove to be a good solution because the tube parts were too leaky.

Vinyl lung test

I cut this lung shape out of the heat-sealing vinyl fabric. So far it seems like the most reliable and straightforward solution to making “breathing” lungs.

[ITP: ConnDev & SoftRob] Lungs I

This is a continuation of my previous blog post.

Connected Devices

AirNow API

AirNow is the US Environmental Protection Agency’s site for reporting air quality. The API makes air quality data from all over the country available by http request. Specifically, I am interested in the Air Quality Index (AQI) which reports on levels of ozone, particle pollution, and other common air pollutants.

I created an account to get an API key. Looking at the AirNow web services, you can get air quality data by zip code, but there’s a difference between a “forecast” and the “current observations” request. Here’s what a test request and response looks like using the API’s query tool:

Getting AQI with Arduino

I started with this Arduino code from Tom. I am in luck because I’m using the exact same API as the example, almost like I planned for that… ?! But jokes on me, I cannot get the sketch to work. With a few debug statements, I can see that I’m not passing the http.connected() condition. Also, it takes a really long time to get past the “http.get(route)” and “http.skipResponseHeaders()” lines.

Historically, I’ve never been able to get an SSL connection to work (idk why) so I switched the code around to http calls (not sure if I CAN do this with the AirNow API, but worth a try). That also never passes the http.connected() function.

When I “curl www.airnowapi.org/aq/observation/zipCode/current/?format=text/csv&zipCode=85215&distance=25&API_KEY=800547F9-0F0F-433E-BC00-6454026B35C8” in my computer’s terminal window this is what I get back:

I don’t really understand this response. I thought this kind of request would be a “get” and I was kind of expecting an API response back like I saw in the AirNow query tool.

Soft Robotics

I want the lungs of my sculpture to be paper bags. I’m starting to build out this project with the Programmable Air designed by Amitabh. Here are some of its specs:

  • Has 2 pumps and 3 valves

  • Can suck, blow, and vent air

  • Can achieve -0.5 to 0.5 atmospheres of pressure

When working with the Programmable Air, don’t forget to plug in a 12V power supply into the barrel jack like I did because things will not work. Also, when uploading code to its Arduino Nano be sure to choose “ATMega328P (Old Bootloader)” for the processor in the Arduino IDE. I started with the “factoryFirmware” example sketch from the PA library which lets you suck and blow air using the onboard buttons. This sketch will be a good way for me to test my paper air bags.

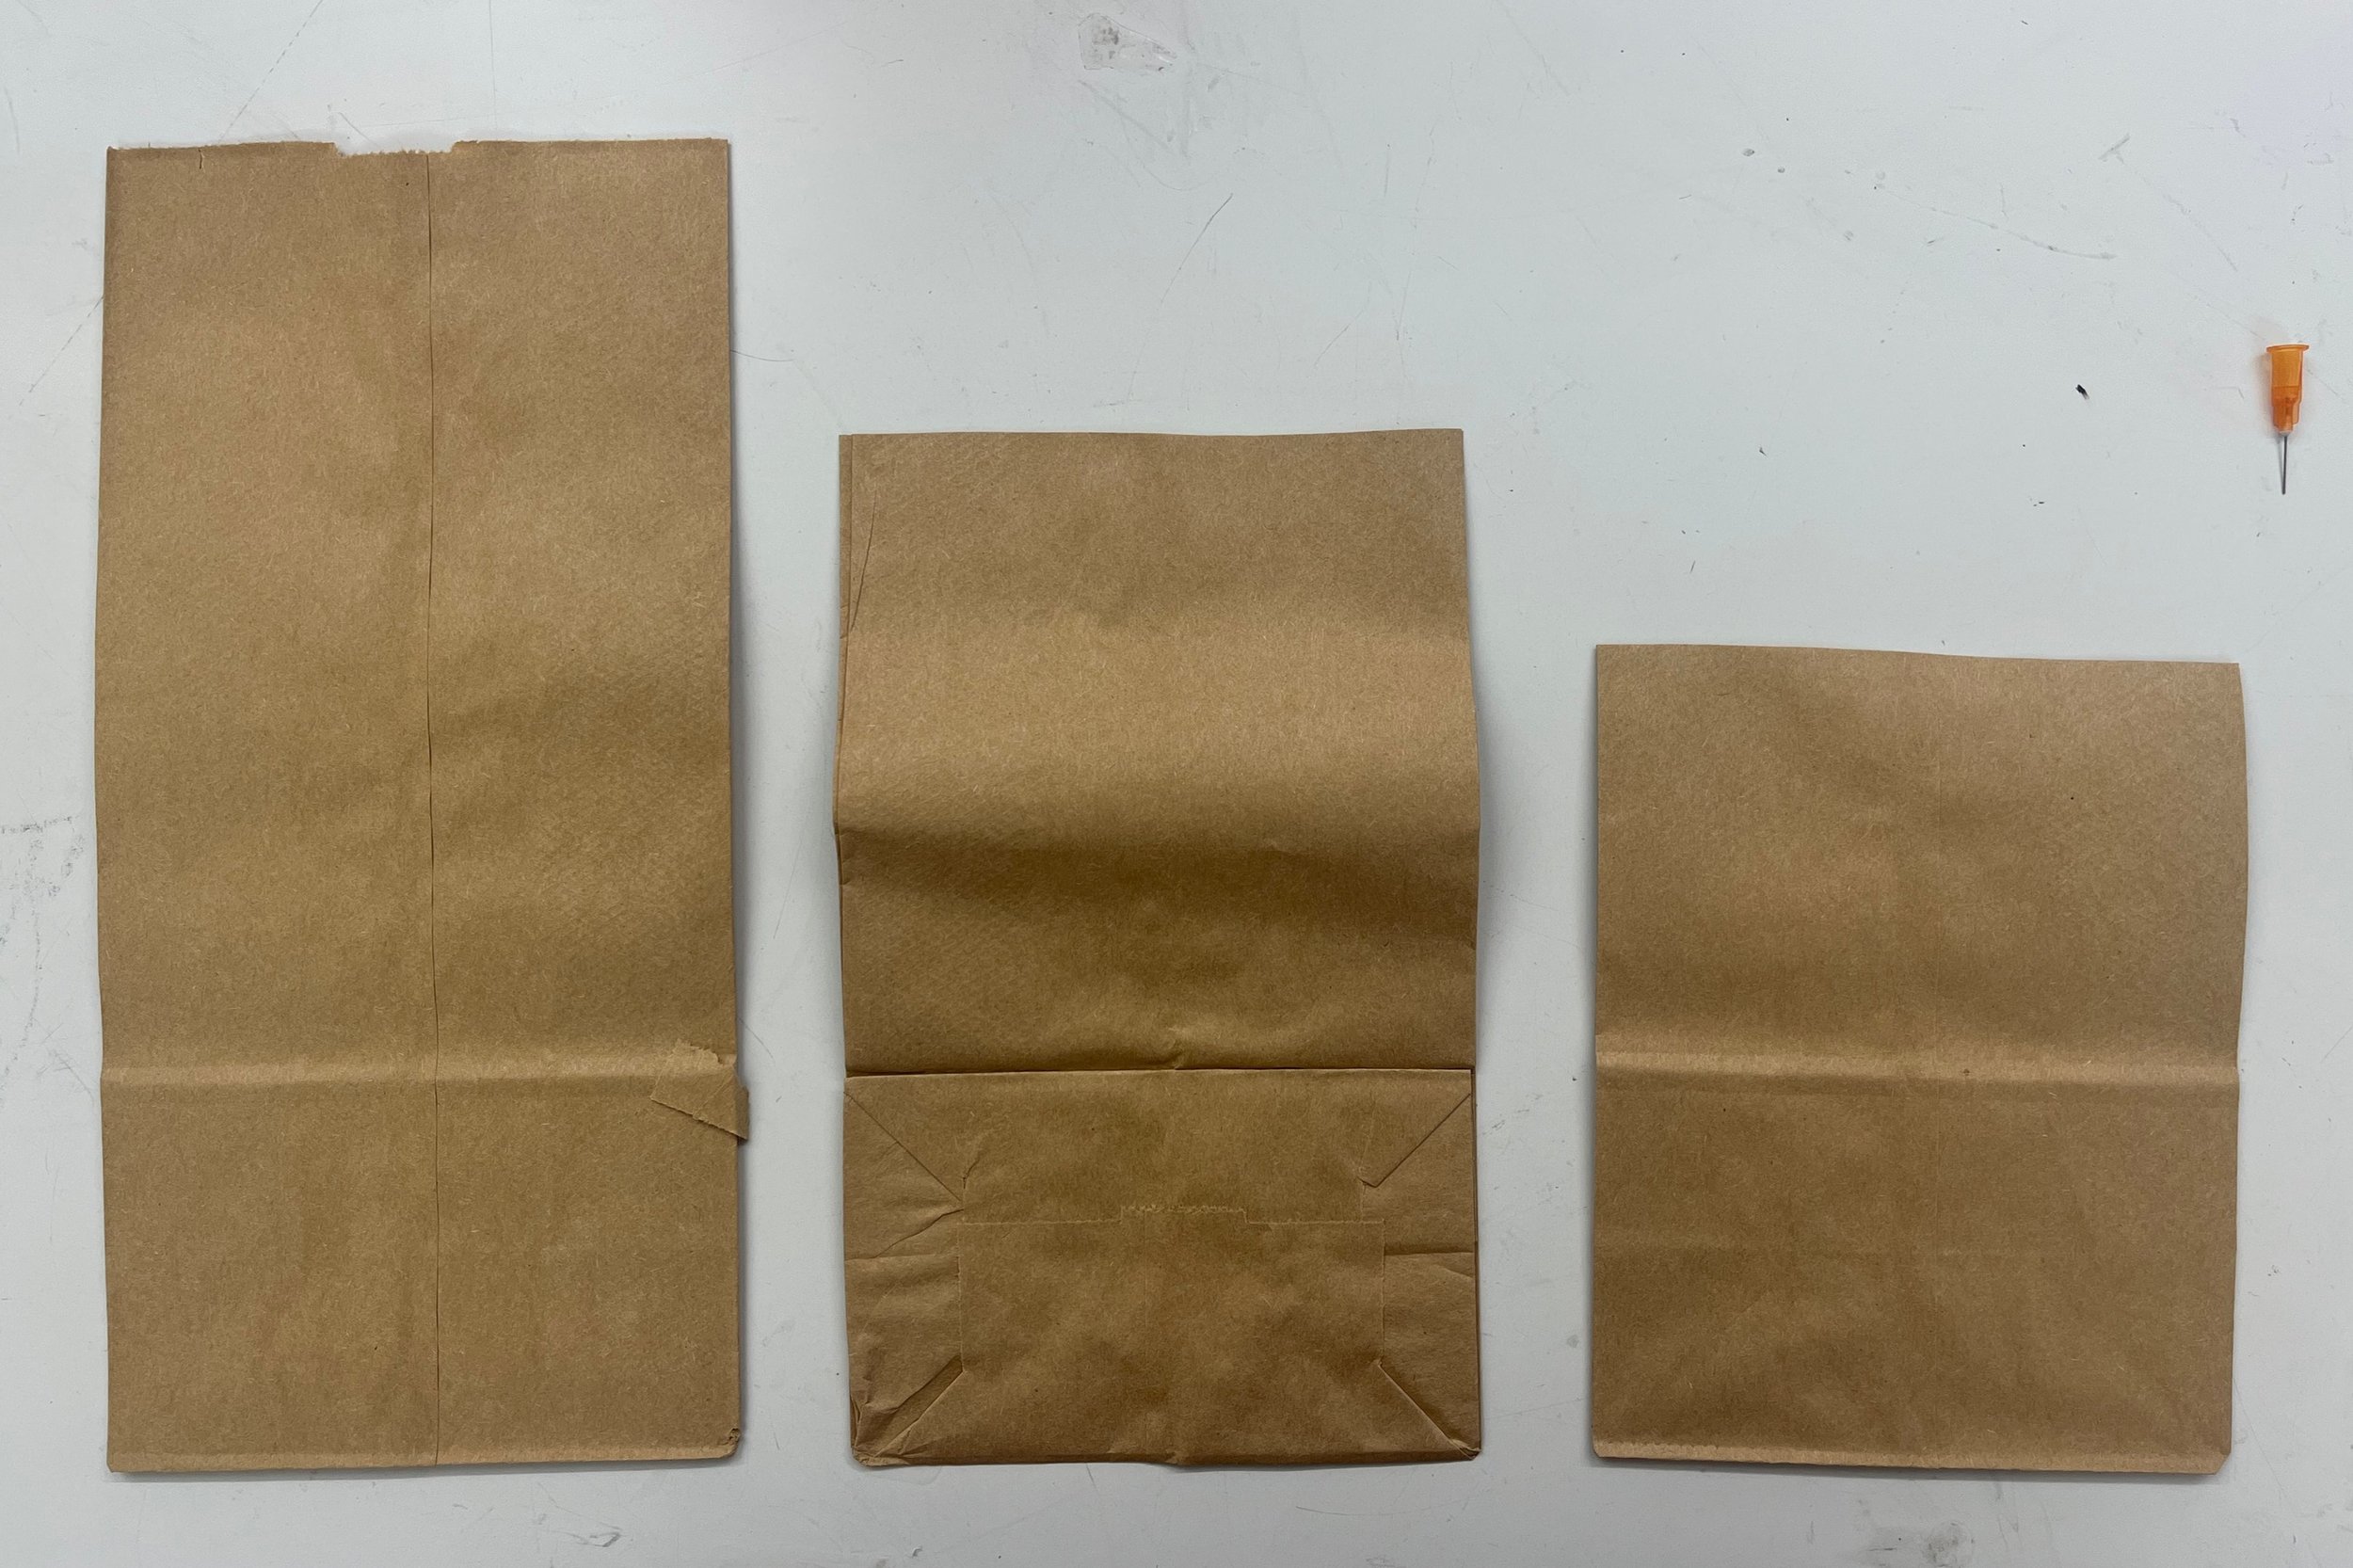
I really like the aesthetic and context of sack lunch bags, so that’s what I’d like to use for my sculpture. Below you can see the different sizes I was working with. I hooked these up to the PA and tested suck and blow.

Air bag sizes

Small airbag, did not work. Maybe there’s a leak or the material is too stiff? That’s why I tried a crumpling method…

I have some video documentation of my results, as you can see, it doesn’t really look like breathing lungs. The videos are 2x speed and the inflation/deflation was slow and subtle. The small air bag didn’t work at all, I’m thinking I must have a leak in my bags. I was also having issues with the zip ties not working and it did cross my mind that I could be tightening the zip ties too much and constricting the air flow completely.

The last thing I wanted to try out were the two “lungs”. Luckily we got this tee coupler thing from Amitabh’s lecture day which really comes in handy when you want to blow up two things at once. I didn’t need to take any video documentation of this setup because the air bags didn’t seem to change shape at all.

To get a better flow rate I could try Amitabh’s coke bottle method where a pump is constantly filling a bottle with air and a valve controls the flow to the rest of the system. I’m also thinking the volume and/or the material of the bags could be an issue but I am not sure where to begin with debugging.

Felting - First Attempt!

I watched a lot of felting tutorials this week and it really just seemed like all it is is stabbing wool with a special needle… and it is! Here’s my first try at forming some simple shapes.

[ITP: ConnDev & SoftRob] Beginnings of a Final Project

Idea

Right around the pandemic hit my mom developed a chronic cough that was eventually determined to be caused by the air pollution in Phoenix where she lives. This project would be an art piece. It’s comprised of a wired ribcage that will be “softened” with felt or fabric of some sort. Inside there will be paper bag “lungs” and acrylic “heart” which will beat in certain rhythms based on current air quality readings from an API. There might be a condition that could trigger the sculpture to “cough”. This project idea would be a combined final for my Connected Devices course.

Project proposal quad chart

Materials

I’ve already ordered a handful of materials that should arrive on Friday.

From Adafruit:

From Amazon:

My Experts

Kate Hartman was my professor for Textile Interfaces last semester and she’s an expert in wearable electronics. Kate isn’t available for a call this week but I asked her about her thoughts on fabricating the felt ribcage over email. She suggested I use armature wire for the ribcage: “You could create a sewn fabric or sheet felt rib cage, fill it with stuffing, and then insert the armature wire. You could even felt on top of the material while it is still flat before sewing the tube that makes up the rib.” She also sent me some other interesting resources I still have to check out.

I set up some fabrication office hours with Phil Caridi for this Wednesday after class. Maybe he has some more things about felting!

I also set up an office hour with Kari Love for Friday to chat about driving the air pumps and potentially fabrication.

I have also been in touch with Amitabh Shrivastava (@tinkrmind_, creator of Programmable Air) online so maybe I will get some helpful insights from him as well!

State of the Art

Lungs, Kit Paulson

Zebra Shipping Paper Airbags

The Inner Self Collection, Wei Ting Liang

Path Forward

  • Research felting and armature wire

  • Office hours with Phil

  • Get ribcage materials from Michaels

  • Try inflating a paper bag with the Programmable Air

To see the next blog post about this project click here.

Resources

https://americanart.si.edu/artwork/lungs-117714

https://www.signode.com/en-us/productslist/shippers-paper-airbags/

https://trendland.com/weiting-liang-collection/

[ITP: Soft Robotics] PolySwatch and Final Project Idea

PolySense Swatch(es)

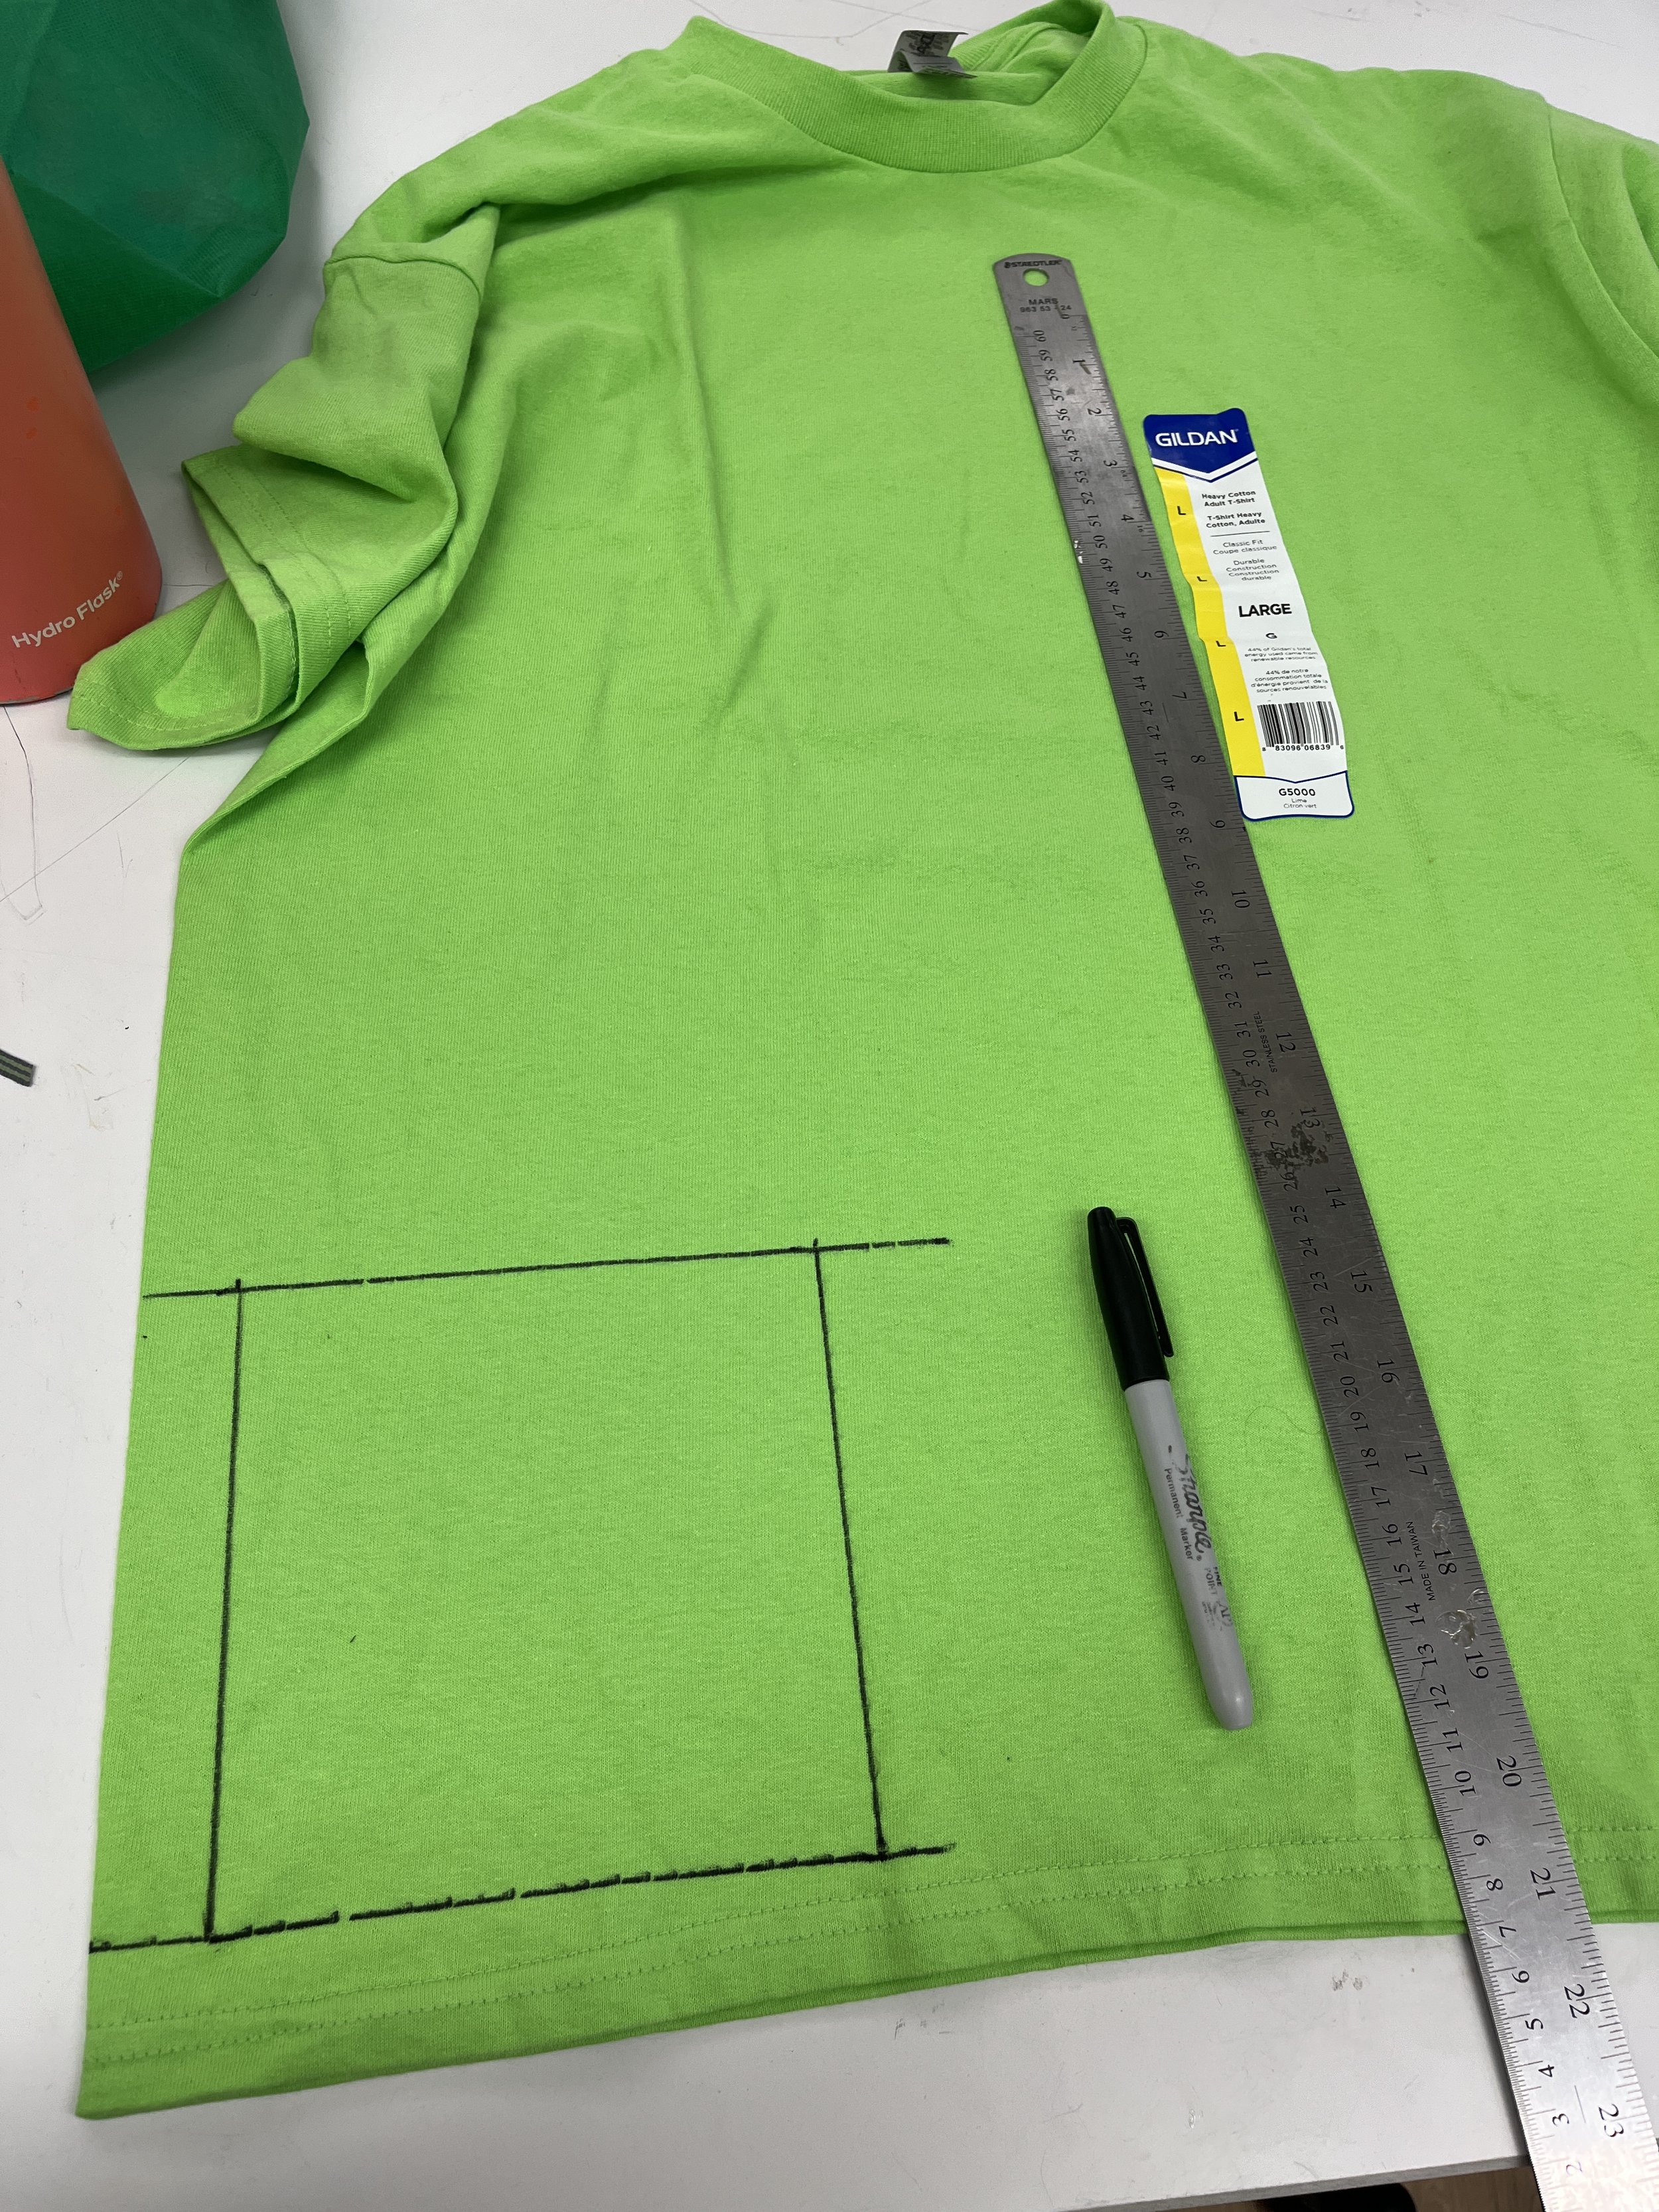
I made two swatches for our PolySense experiment this week. I started with a cotton T-shirt because I thought it would be pretty absorbent and I like that it has a bit of stretch. The bright green color was intentional as well because I was unsure whether the PolySense process would affect the color at all. I was interested in trying out the batik method, using wax to mask portions of the fabric.

It seemed a little daunting to learn to batik in a day and I read in the PolySense documentation that you could use hot glue to do some masking … so that’s what I did. I sketched out a design, it is meant to look a bit like PCB traces and then I applied hot glue to the negative areas. I have no idea how this might end up behaving, maybe the “traces” or “vias” might work as pressure sensors. However, I had a realization that the traces are not independent of each other because I didn’t do this masking on the bottom side of the swatch … so they’re all connected, whoops!

I also wanted to experiment with conductive thread. I realize the whole swatch should become conductive after the bath, but I sewed this tic-tac-toe shape into the swatch in hopes that it might behave as a matrix and give you some location information about where pressure is applied. Alligator clips could be attached to the tabs on the edges of the swatch and go to different pins of a microcontroller. I’m not convinced this will work like I hope it should, but it’s really just a thought experiment. I also added some fabric paint for fun and just to see how it will look after the process.

Final Project Idea

Right around the pandemic hit my mom developed a chronic cough that was eventually determined to be caused by the air pollution in Phoenix where she lives. This project would be an art piece. It’s comprised of a wired ribcage that will be “softened” with felt or fabric of some sort. Inside there will be paper bag “lungs” and acrylic “heart” which will beat in certain rhythms based on current air quality readings from an API. There might be a condition that could trigger the sculpture to “cough”. This project idea would be a combined final for my Connected Devices course.

Project proposal quad chart

Next steps:

  • Buy paper bags and test with programmable air

  • Order pump (does it need a controller?) and neopixels from Adafruit

  • Research wire puppet making and think through how you will build the ribcage so that it will be able to stand on it’s own

  • Identify the correct API and start gathering some data

    • Integrate pump and neopixels into code

  • Build heart

[ITP: Soft Robotics] PolySense and Soft Materials Store Visit

PolySense

PolySense is the in-situ polymerization for electrical functionality of any fibrous or porous material. This process can make pressure, stretch, capacitive touch, humidity or temperature sensors out of any soft material. To do this you need pyrrole and iron chloride and some sort of mixer. These are the basic steps:

  1. Add water to mixer

  2. Measure and add monomer

  3. Add the fabric and mix for 10 minutes

  4. Measure and add oxidizing agent

  5. Mix for 30-45 minutes

  6. Dry the fabric

The PolySense group have experimented with shiburi (tie-dye), weaving, and batik (wax resist) to create different electrical results. The questions I have for Cedric Honnet are:

  • How do you know what quantity of solution/water you need for a certain amount of material?

  • How do different materials and soak time affect the final electrical properties of the polymerized material?

Soft Material Store

Oh Michael, Michael, Michael … this store is like a clingy boyfriend I keep going back to; it finds me no matter what city I move to! It is a little bit of a cop out that I went to Michaels craft store to explore soft materials. I grew up going to my local Michaels as a little kid for sticker shopping with my mom and picking up little craft kits. Nowadays, I’m there regularly to grab supplies for my more “grown-up” projects (though I still love sparkly stickers). I know the store and their inventory pretty well and that there would be so many soft materials to check out. Not sure they’re the “outside-of-the-box” soft materials but here are the ones I found most compelling:

Me and MIchael

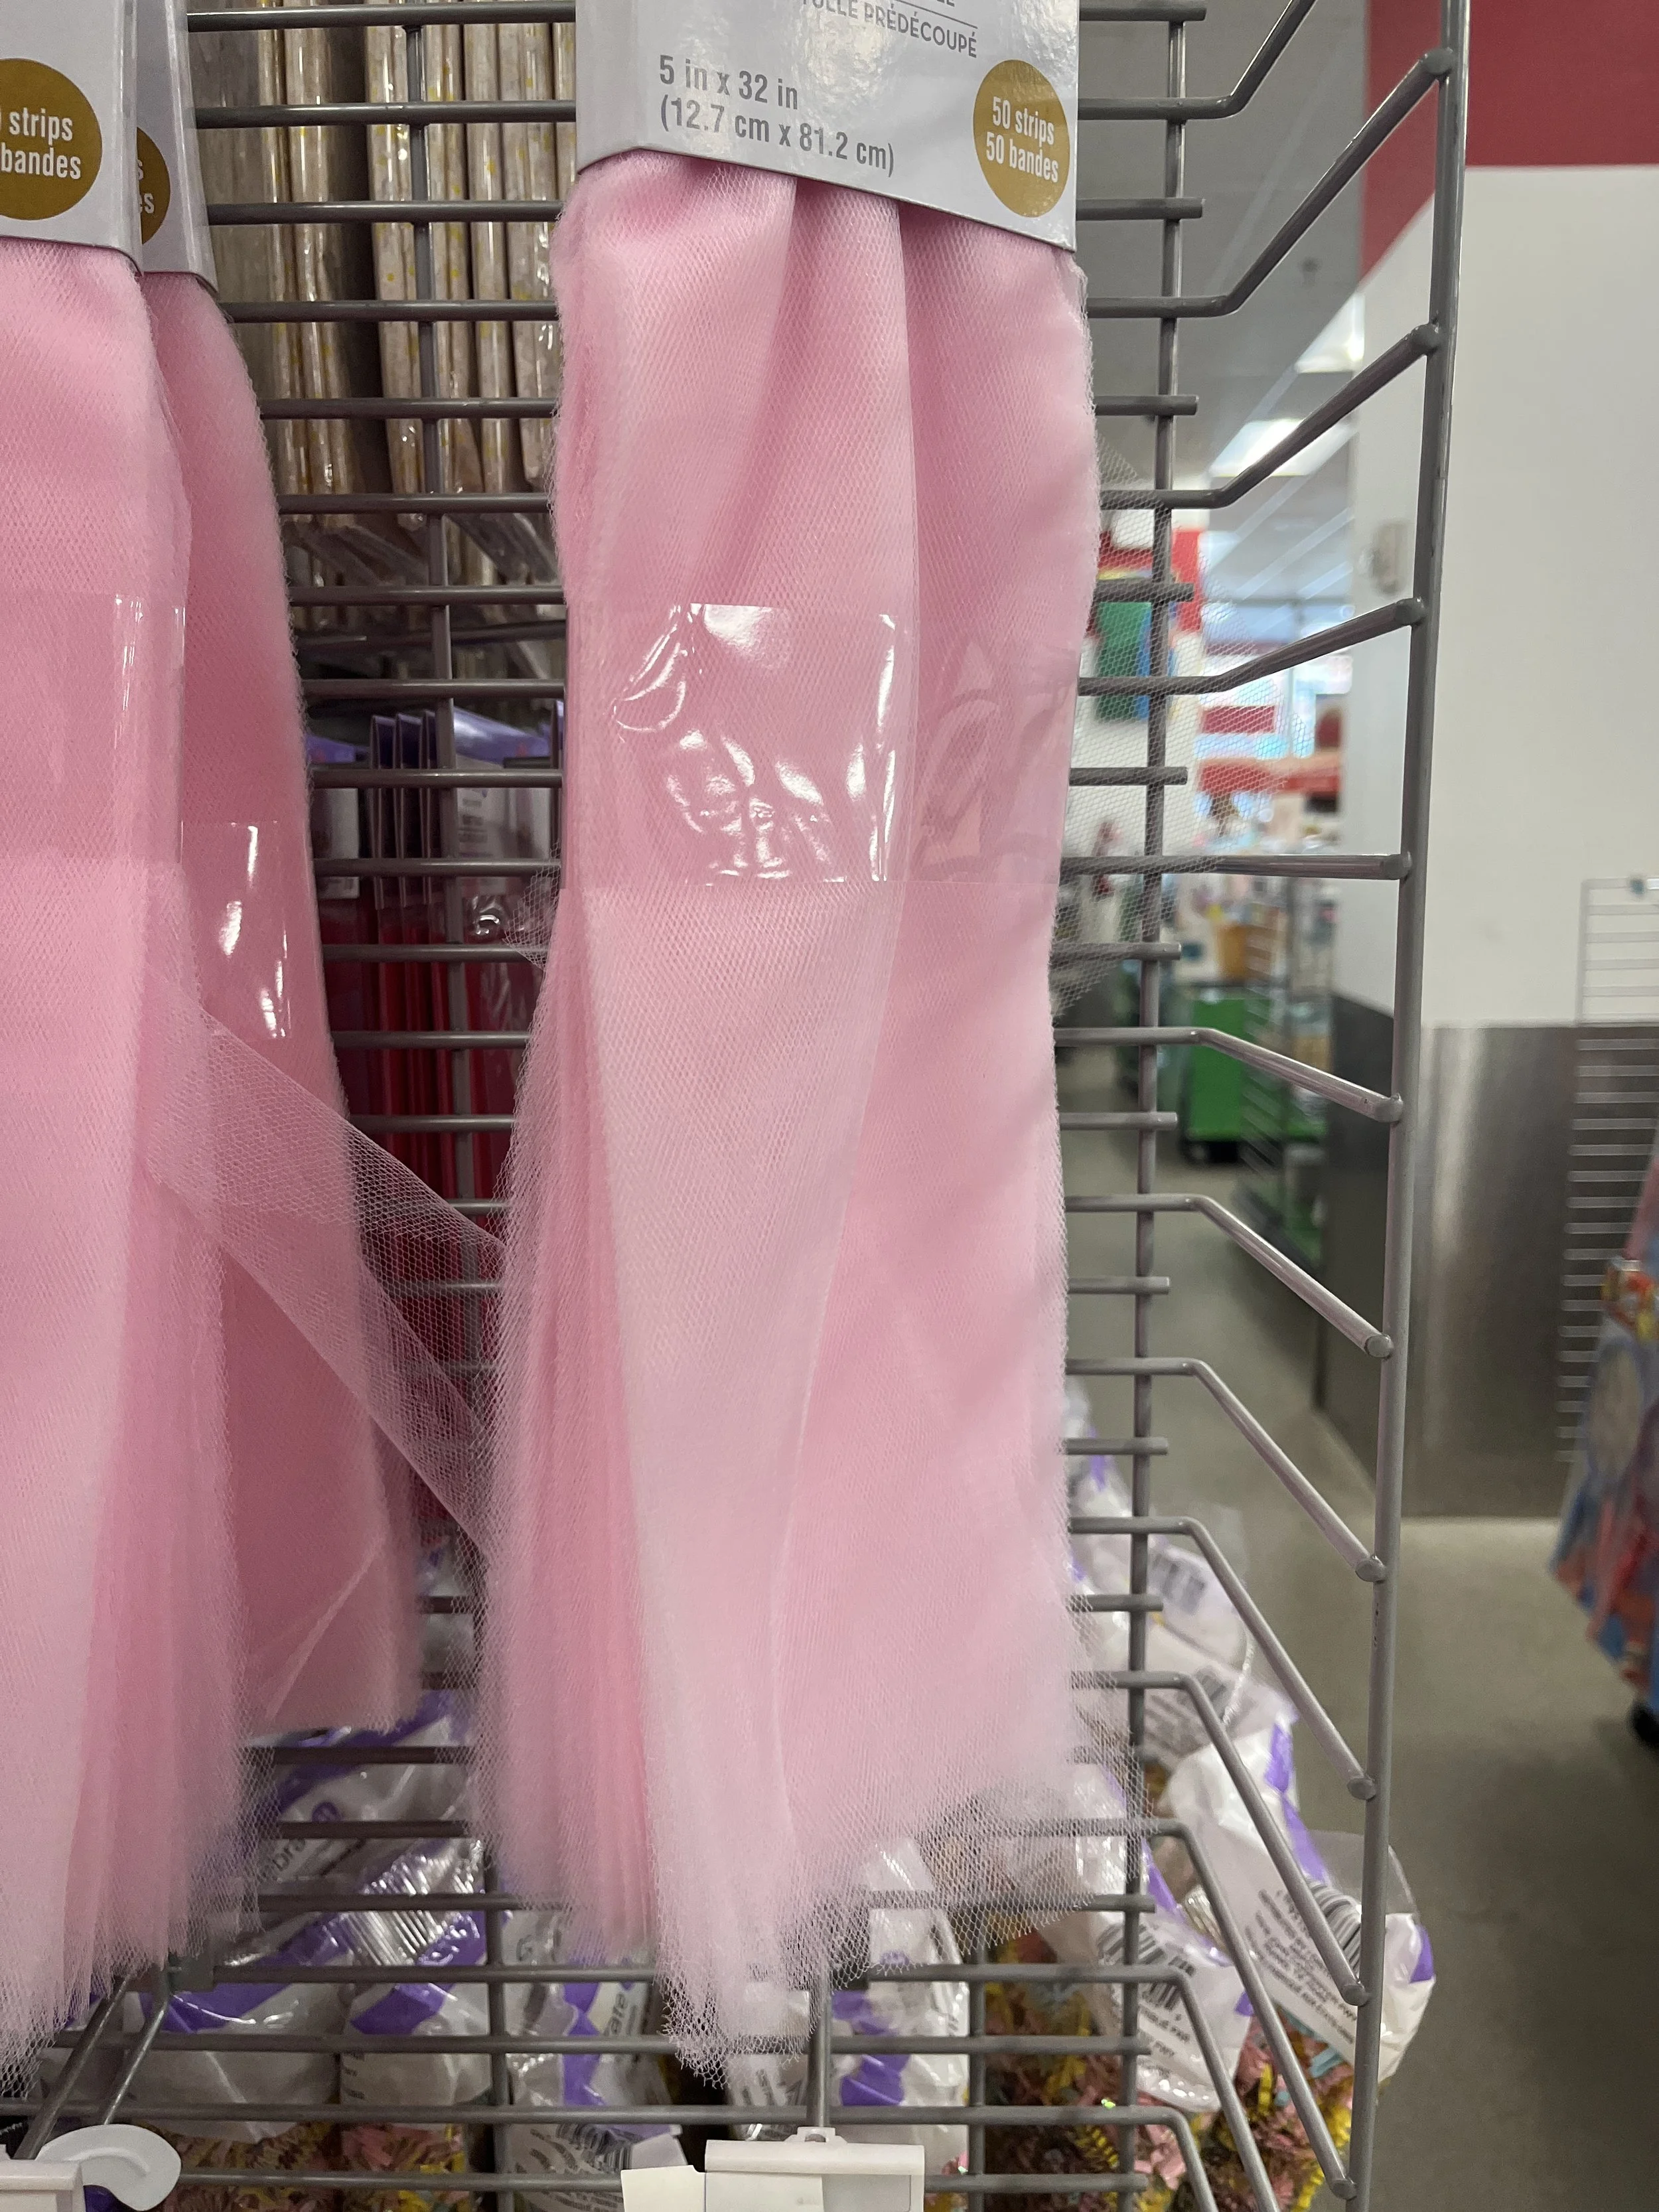
Tulle - texture, layering, netting, whimsical/airy feel

Fake grass - immediately I think of making dioramas or scenes for minatures

Sherpa - soooo soft, sensory, comforting, I wonder what you could do with dyeing it or cutting it into weird shapes

Burlap - natural, grainy, fibrous

Fabric flowers

Styrofoam - I guess this kinda doesn’t count as soft, but there’s something about the weight of styrofoam that gives it it’s softness?!

Faux fur - I love these crazy colors

Wax - not sure if this counts as a soft material… it can be melted to a liquid (does that even count as soft?!) and reshaped into anything!

Craft clay - starts soft, can literally form it to any shape using your hands, baked and hardens

Squishmallow - these really have the softest, squishiest texture, no idea what you would make with these…

Fabric butterflies - just cute

[ITP: Soft Robotics] Bio-inspiration and original mold design

Ok, I am so behind in this class!! Nothing like using spring break to catch up, get ready for a bunch of soft robotics blog posts all in a row!

Bio-inspiration

I have been spending spring break at my parents house in Phoenix, AZ. Their house basically butts up to the Sonoran desert, so there’s ton of bio-inspiration to be found!

When we first moved here almost 20 years ago, I really hated the desert, I missed the trees and grass I grew up knowing. But with time I’ve grown to appreciate the desert, its weird, alien plants, and really marvel at how anything can grow in this climate.

I find the capabilities of cacti to store water inside themselves so interesting but specifically I’m looking toward the cholla cactus for bio-inspiration. They are sometimes called teddy bear cholla because of their cute, cuddly appearance and their white/yellow spikes look kind of like fuzzy fur. They’re also referred to as jumping cactus as well because the top lobes easily detach from the plant when something gets too close and gets caught on the plant’s fine spikes. It’s so clingy it gives the appearance of jumping.

It’s kind of interesting to think of this feature of detachability in technology. Like could it be beneficial in a particular system to have defined segments of a material that could easily detach from the whole? I’m not really sure what a specific application could be.

A lot of desert plants also sport spikes to protect themselves from hungry animals. Could technology benefit from a built-in defense mechanism like cacti have with their spikey thorns?

I <3 Saguaro

Cholla in the Sonoran desert

Original Mold Design

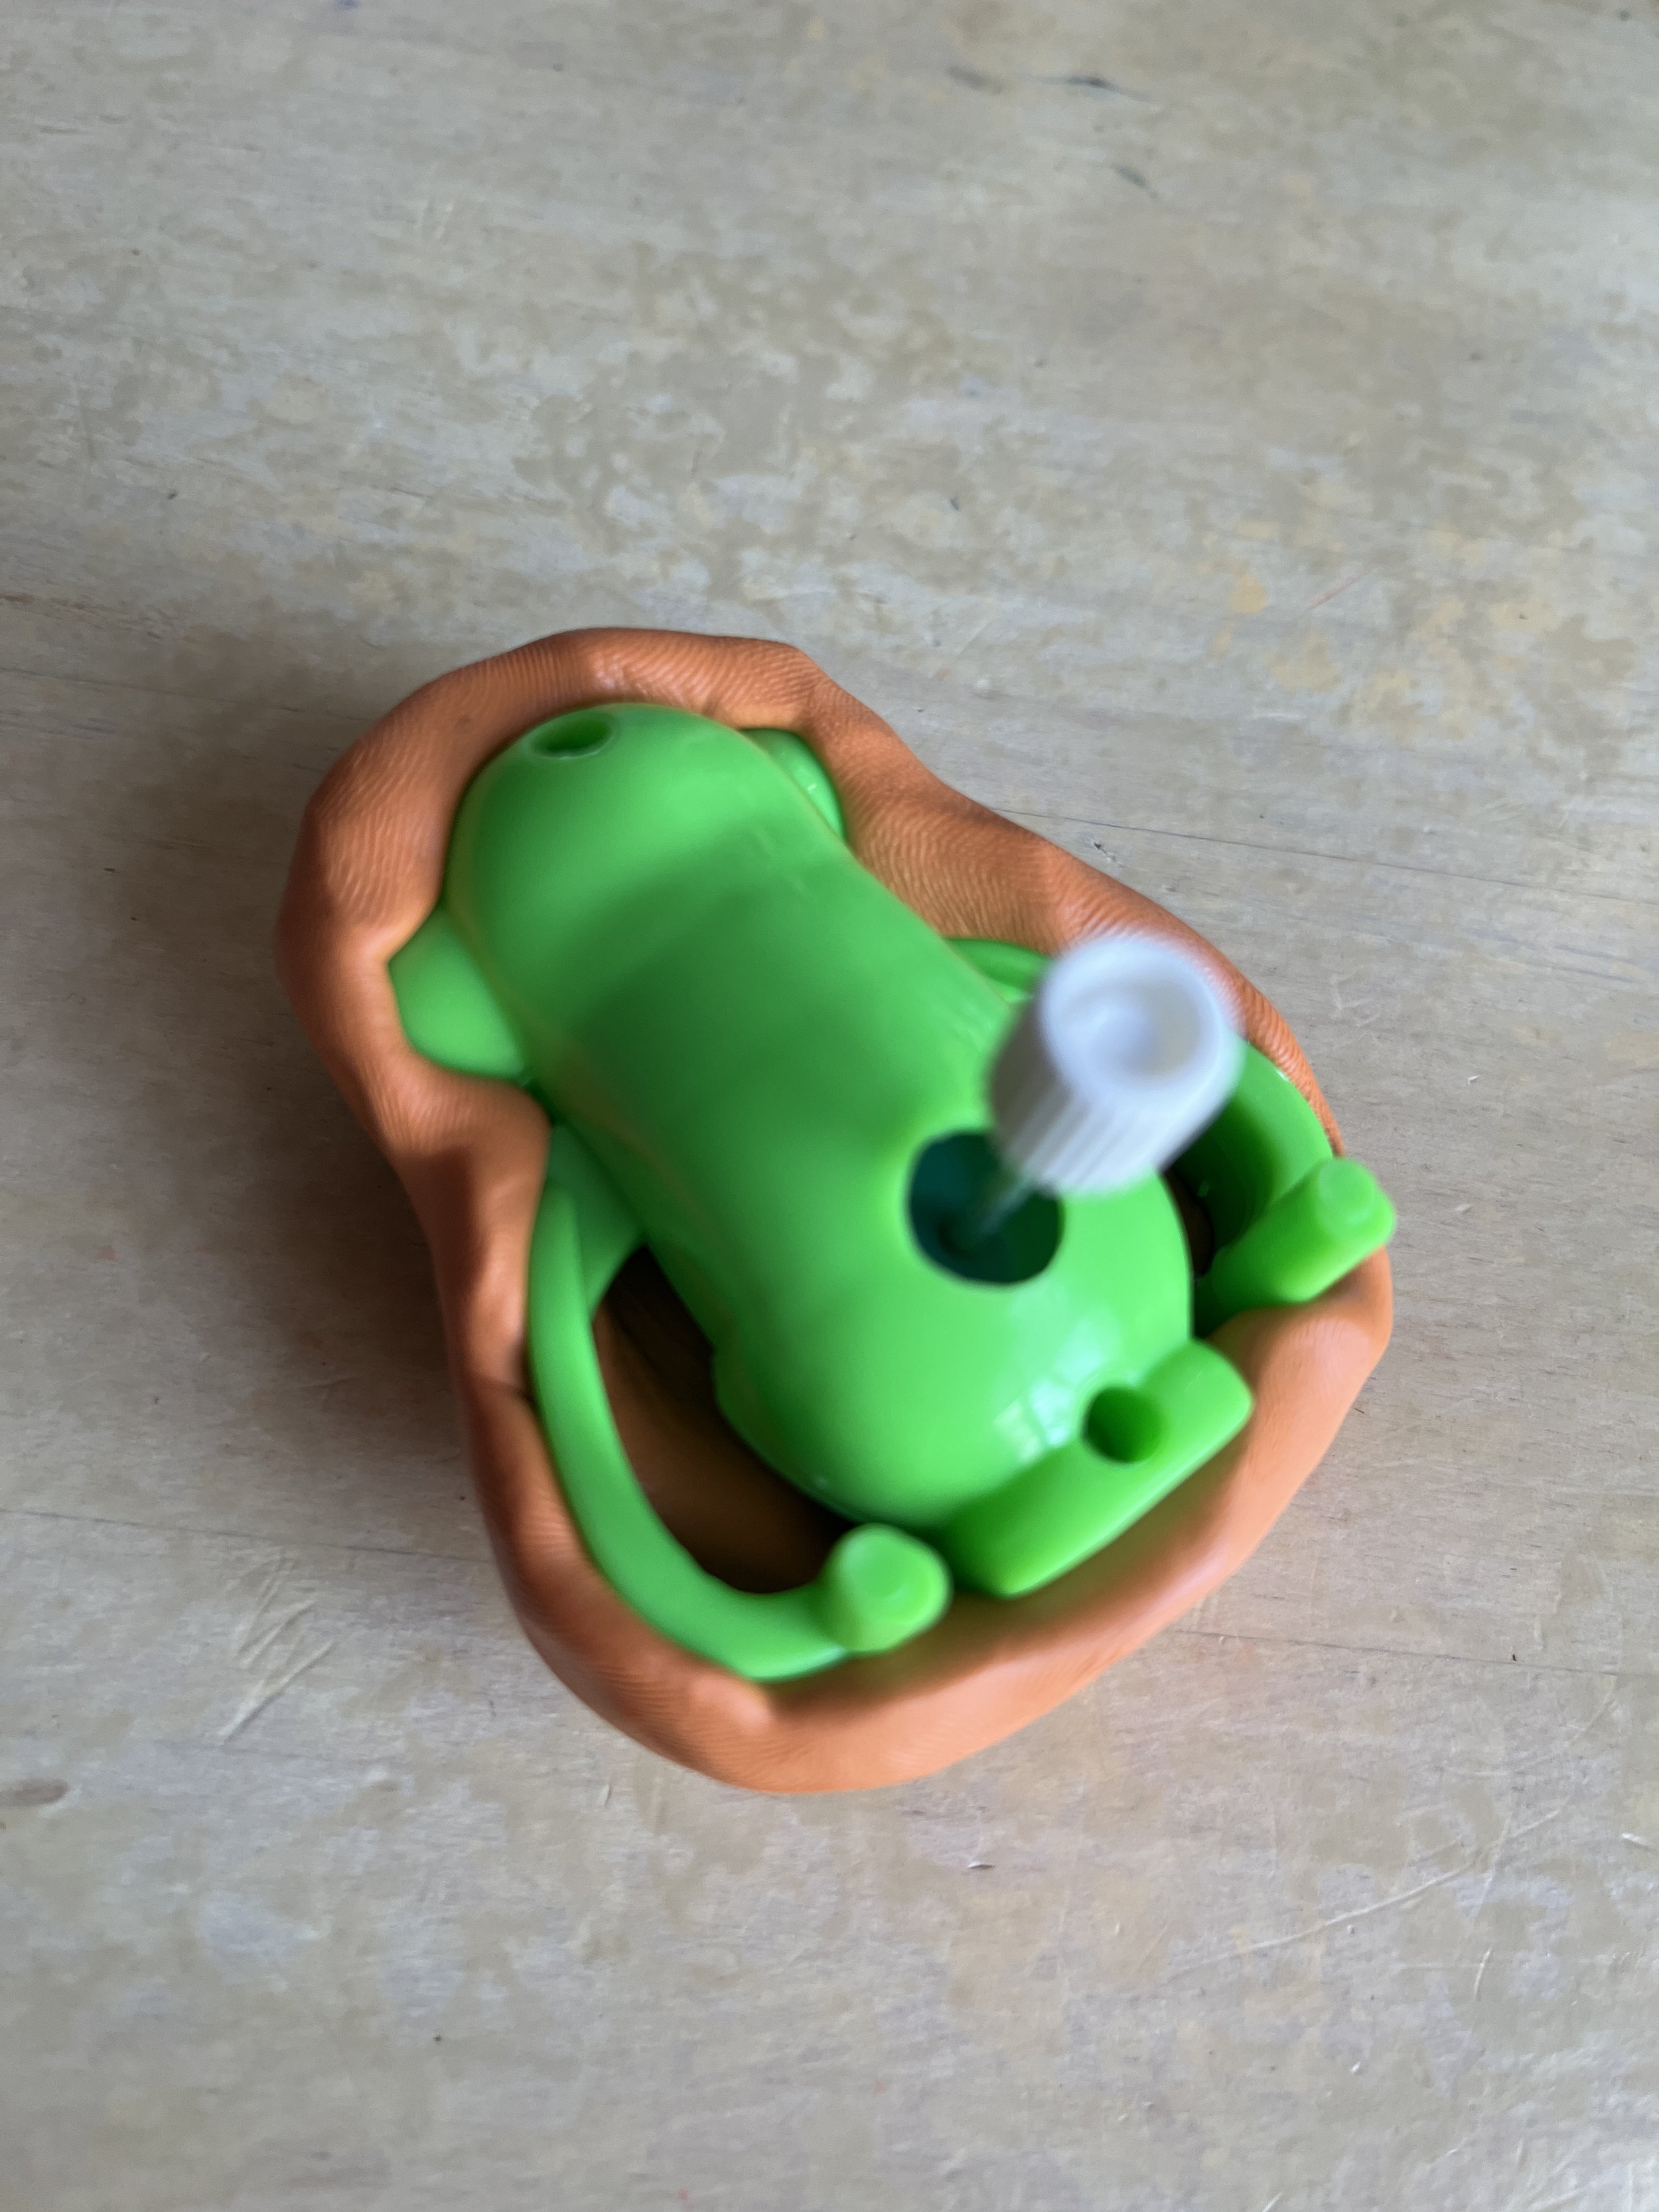
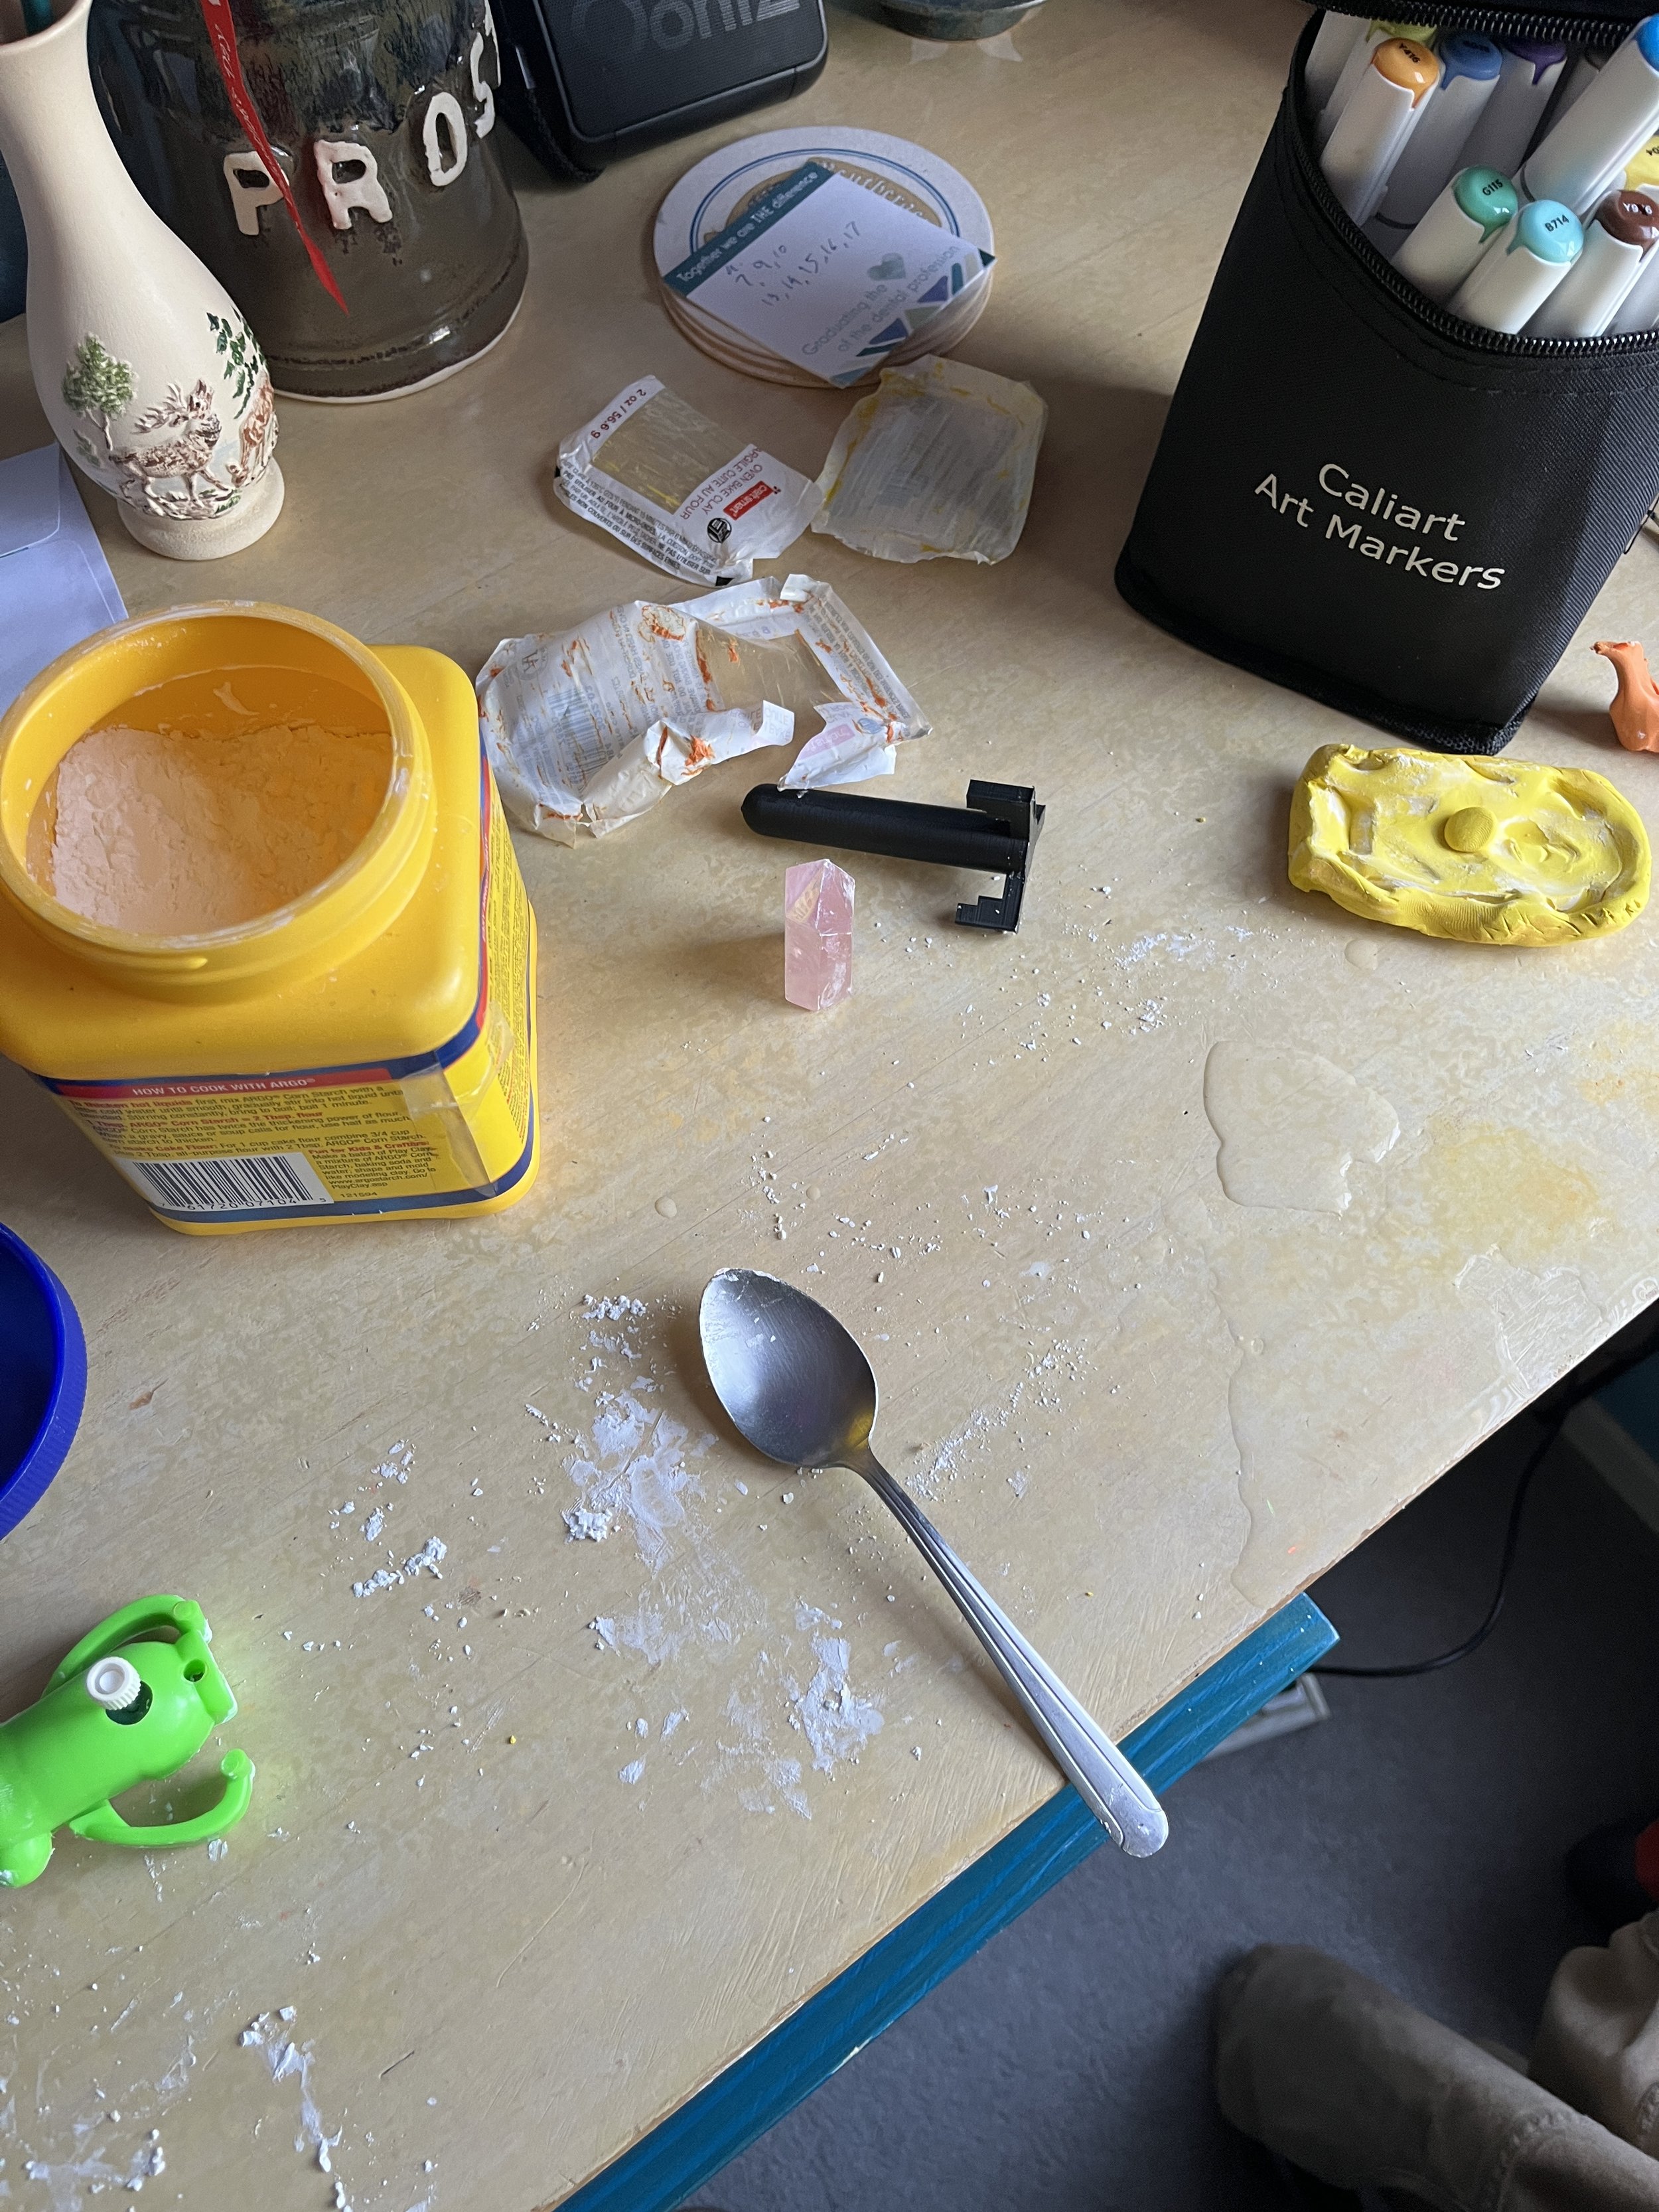
Casting this toy monkey didn’t really go as I had planned. I wanted to cast two halves of the front side of the monkey and then attach them together to get a hollow thing. Possibly also use the insert piece from the last assignment to make a hollow and/or inflatable silicone monkey. I had some issues working with the craft clay. First, I had a hard time de-molding the monkey and I would distort and bend the clay trying to remove it. Online I found that cornstarch could be used as a release agent for polymer clay and that seemed to help release the plastic better so that the clay could keep its shape but then I had a hard time attaching the two halves without the pieces collapsing in on themselves.

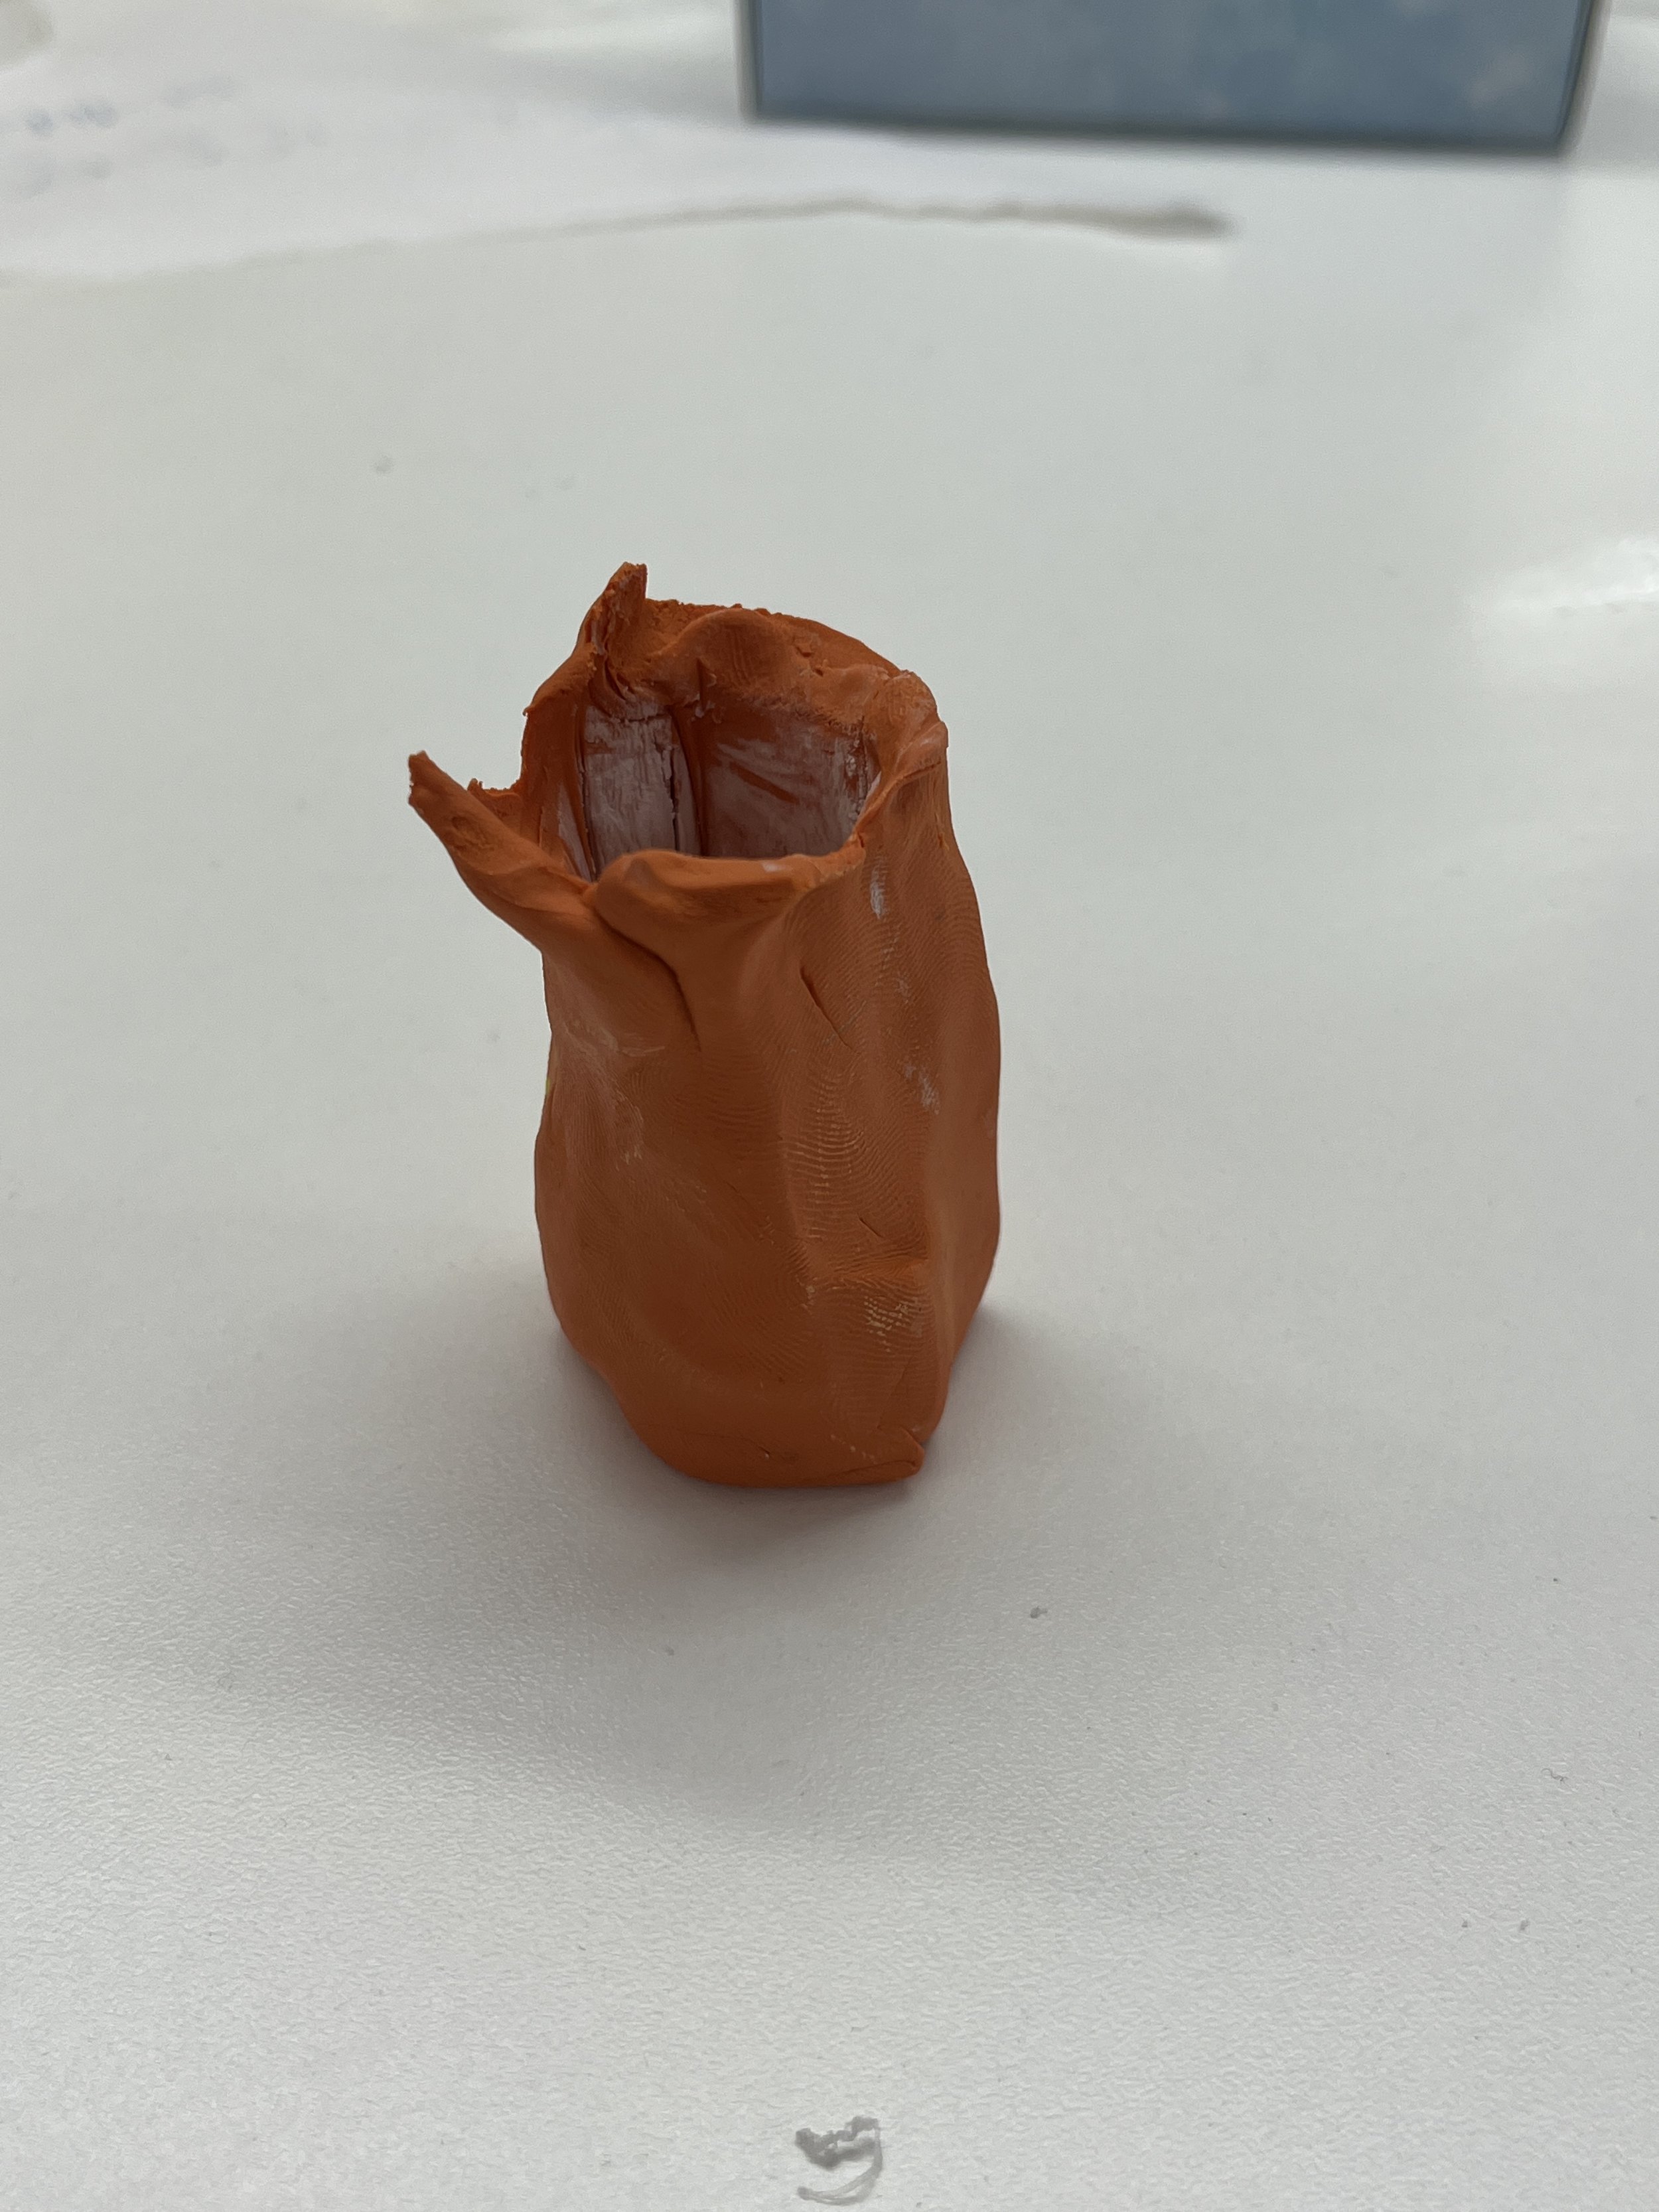
I scrapped the monkey and tried making a mold out of this crystal I found in my bed side table. This was easier to work with because I could just massage the whole piece of clay around the whole object. However, working with the cornstarch made it a bit trickier because it stops the clay from sticking to an object so it was hard to make a close fitting mold. I found that the clay slid around a lot.

Silicone Casting

Finished? product?

This was hard! I’m not good at making molds … yet! I somehow got it in my head that the only other way I could make a mold was to 3D print something, which I’m a little scared of. But Kari showed us so many other examples of molds that didn’t require any 3D printed components, so I want to revisit this assignment sometime and try to design and build another mold. Also! I want to not be scared of the 3D printer! I hope to learn to model and print sometime too.

Resources

https://en.wikipedia.org/wiki/Cylindropuntia_bigelovii

[ITP: Soft Robotics] Material ConneXion Library

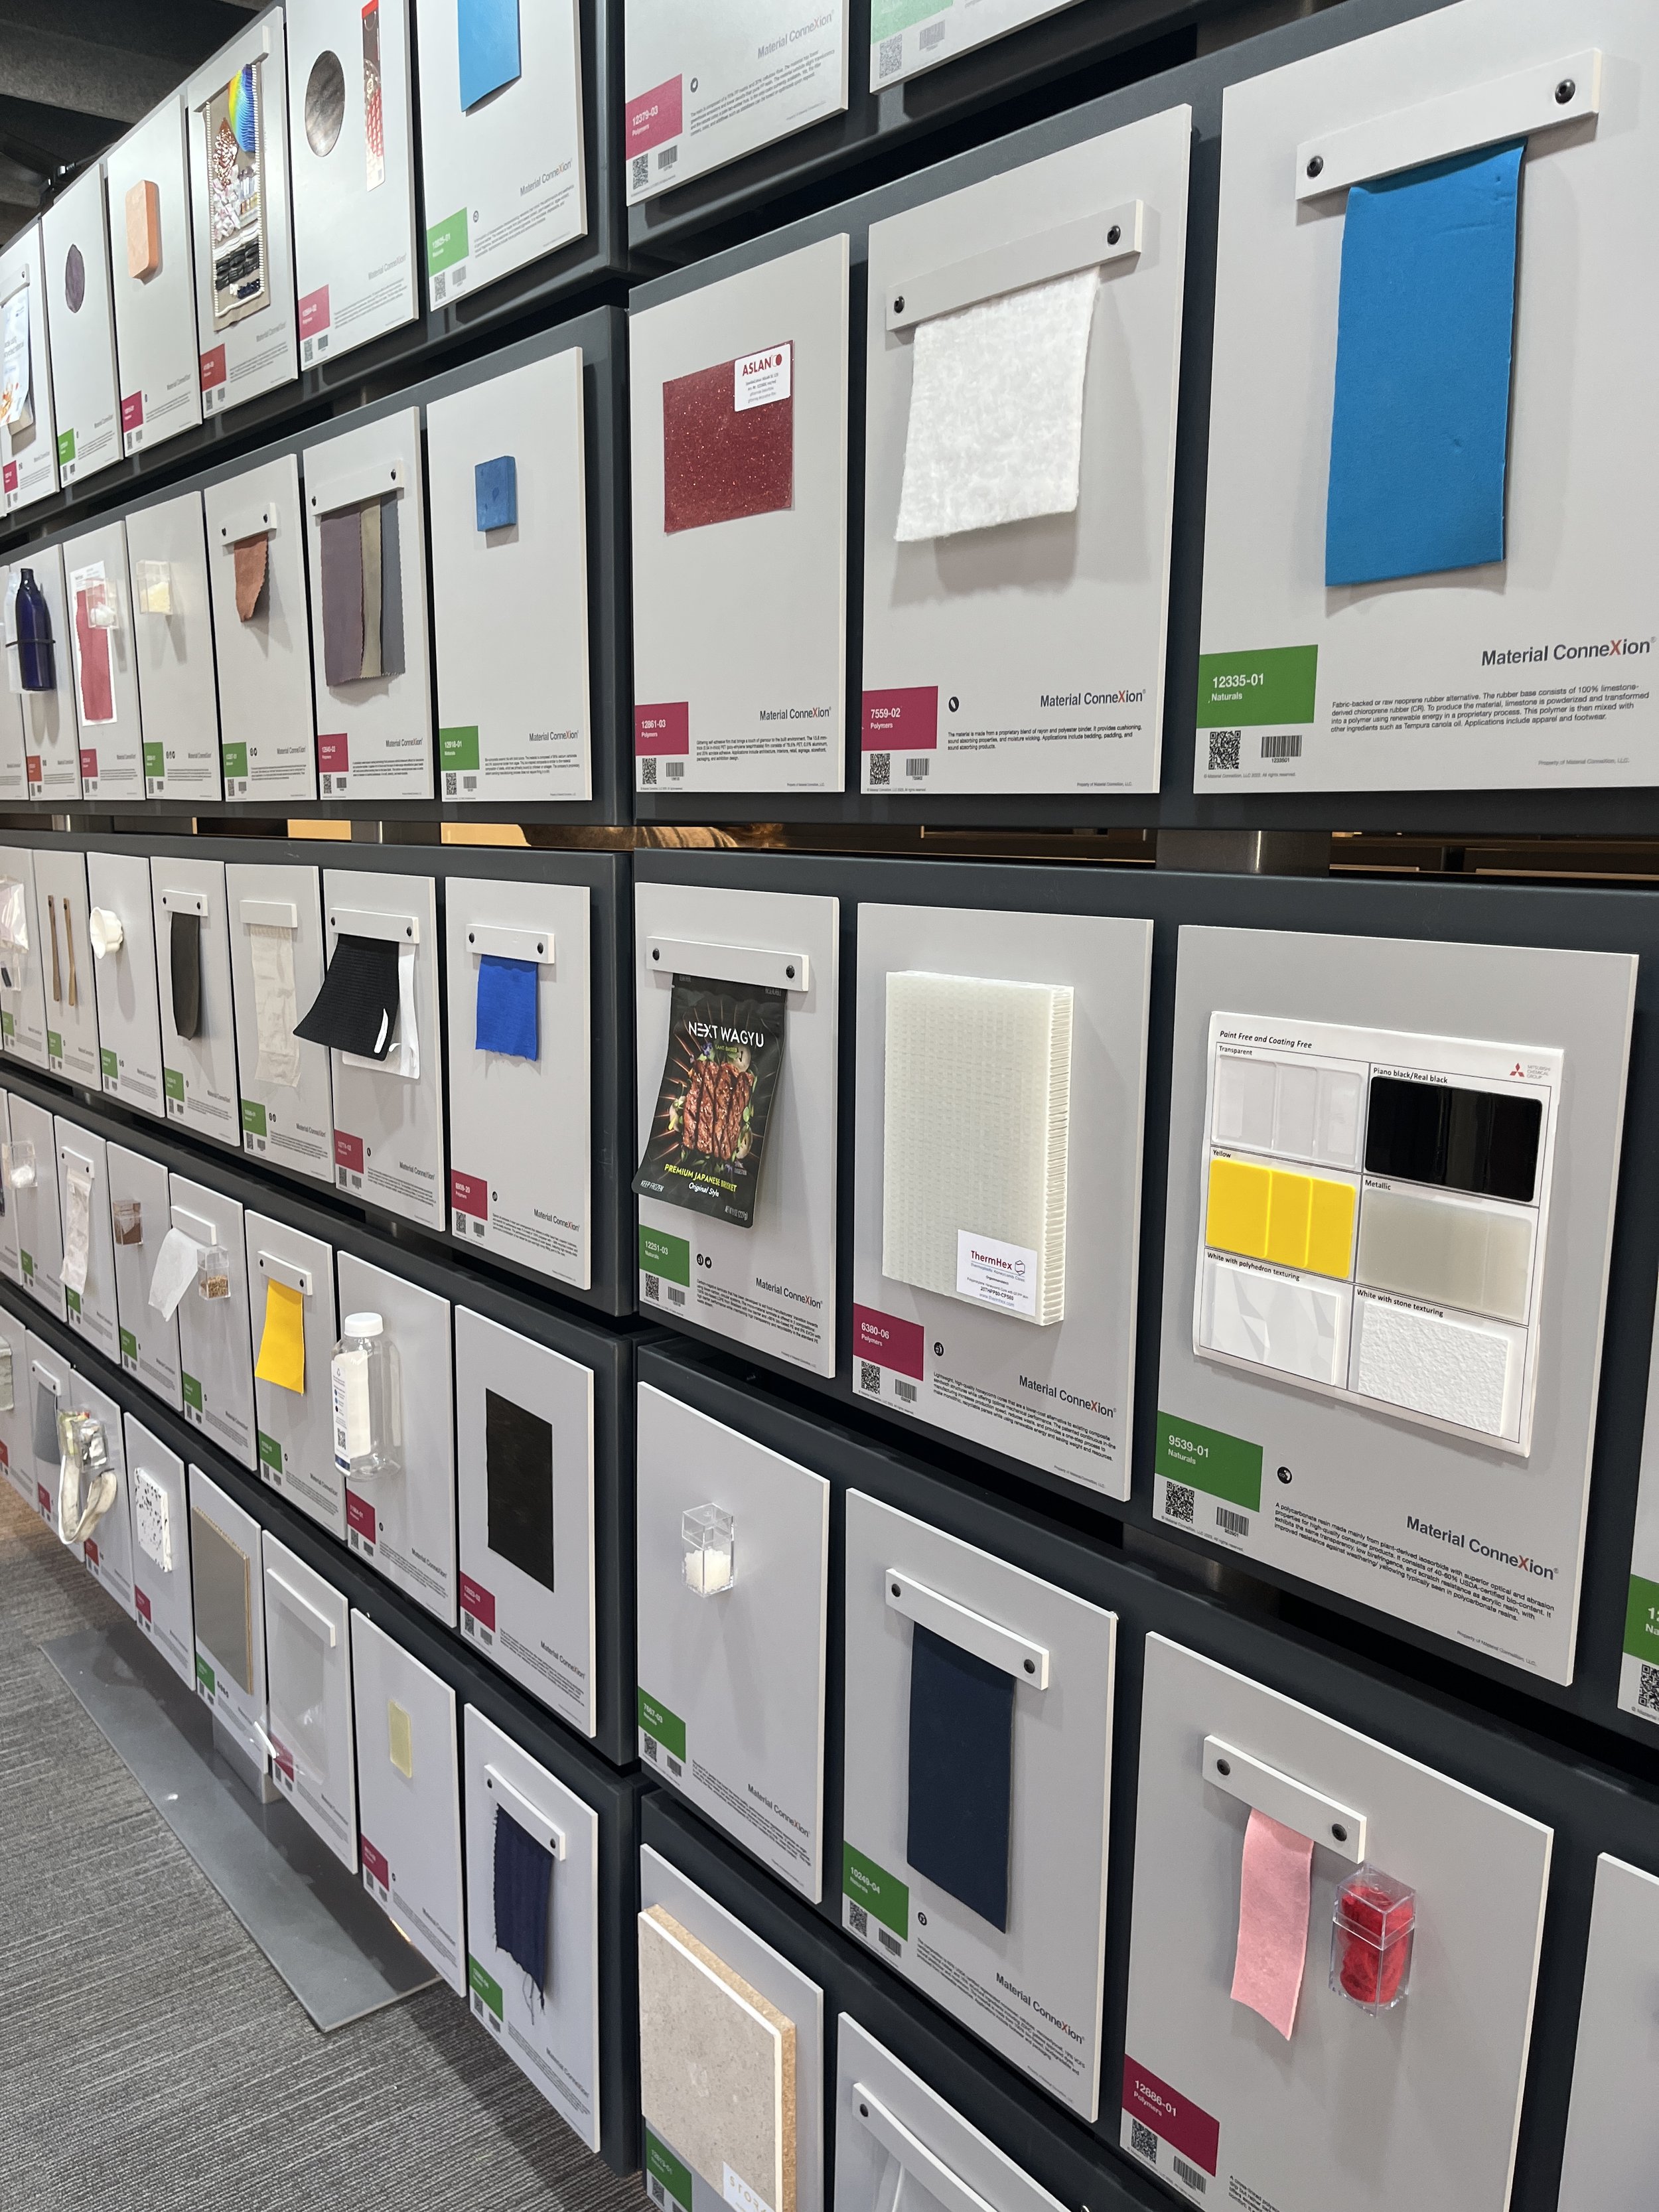
Last week for class, Kari took us to the Material ConneXion library. The Material ConneXion is a “materials library and consultancy … MCX helps companies source materials that enhance the performance, aesthetic, and sustainability of their projects.” This is a really amazing resource for students and makers. There are swatches of all kinds of novel and innovative materials that are so new that they maybe still under development. Learning about cutting-edge materials can inspire new projects and methods of making as an artist/engineer. It was a ton of fun visiting the library and getting to touch all the materials!

Honestly I am most attracted to things that are shiny, colorful, or look like they might feel good to touch (smooth, squishy, soft). I found a lot of the materials interesting and saved a lot of swatches to my MCX account but here are a few materials that might be particularly relevant to my work:

e-broidery

“Flexible, durable and washable textiles integrated with light emitting diodes (LEDs) … e-broidery is able to cohesively combine active lighting into fabrics without compromising their drape and strength.”

This material is particularly interesting to me because I am truly excited about e-textiles but sometimes adding electronics into fabrics can make them clunky and/or lose the materials softness.

Link: https://www-materialconnexion-online.proxy.library.nyu.edu/database/761001.html

Manufacturer: Forster Rohner Textile Innovations (Switzerland)

Fiber Optic Fabric

“The fabrics emit light from the cut ends of the fabric as well as at any point along each fiber that has been bent, scratched, or otherwise deformed.”

I met this incredible artist, Aruma, last year and she makes a lot of amazing textile work and many projects using fiber optic fabrics. Her work is super inspirational and I’m curious what I could make with a material like this.

Link: https://www-materialconnexion-online.proxy.library.nyu.edu/database/739001.html

Manufacturer: LumiGram LLC (France & US)

Nth Light

“Bright, printed, paper-thin lighting technology that consists of micro-scale inorganic LEDs on a thin, flexible, lightweight substrate.”

Again, more light-up stuff! This company is based in Tempe, AZ close to where my parents still live.

Link: https://www-materialconnexion-online.proxy.library.nyu.edu/database/871101.html

Manufacturer: NthDegree Technologies Worldwide Inc (US)

MEBA BioResine

“A bio-based thermosetting resin … composed of discarded biomass and other renewable raw materials (such as waste cornstarch, sugarcane, vegetable oils, and fats), its production drastically reduces the use of fossil fuels and CO2 emissions.”

This picture doesn’t really do the material justice, it is so pretty! Now that we’ve learned about silicone casting, I’m pretty interested in casting resin as well. It is astounding that this bioplastic can be made of raw bio waste.

Link: https://www-materialconnexion-online.proxy.library.nyu.edu/database/701702.html

Manufacturer: MEBA S.a.s (Italy)

Recycled Range

“Family of sewing and embroidery threads made from 100% recycled PET bottles … These threads exhibit … features such as excellent breaking strength, abrasion resistance, and sewability despite the recycled content.”

I’ve been learning to embroider over the last year or so and I know what a difference different fibers make for being able to hand-sew something. I’m not sure what kind of carbon footprint the thread/skein industry has but it could be interesting to sew something with plastic water bottles!

Link: https://www-materialconnexion-online.proxy.library.nyu.edu/database/1026104.html

Manufacturer: Amann Group (Germany & US)

[ITP: Soft Robotics] Silicone Casting

Making a Bibenda Actuator

Because it is made from flexible silicone and has stiff internal restraints, a Bibenda actuator is a soft, bending, pneumatic robot. Kari outlines the whole silicone casting process with pictures in her book. Kay, Adnan, and I made our actuators together because the number of steps and timing in this process was a little bit daunting. Here’s a quick overview of the general procedure:

1. Cut parts for the mold. This consisted of cutting a length of PVC pipe, a square of styrene and the insert is that black 3D printed cylinder.

2. Construct the mold by attaching the PVC tube to the styrene using PVC primer and PVC cement. Also cut and sew the fabric gauze sock seen on the mold insert.

3. Mix one part A and part B of the Eco-Flex 00-50 silicone. The pot life of the silicone is 18 minutes, so we needed to work fast after mixing. Then put the silicone and the insert in the vacuum chamber to degas for 5 minutes.

4. Pour the degassed silicone into the mold we made, carefully to not create more air bubbles. This part was super hard and messy.

5. Second degas for 5 minutes. Putting the silicone in the vacuum chamber makes all the bubbles in the silicone come to the surface.

6. Let cure for at least three hours.

Finished Soft Robot!

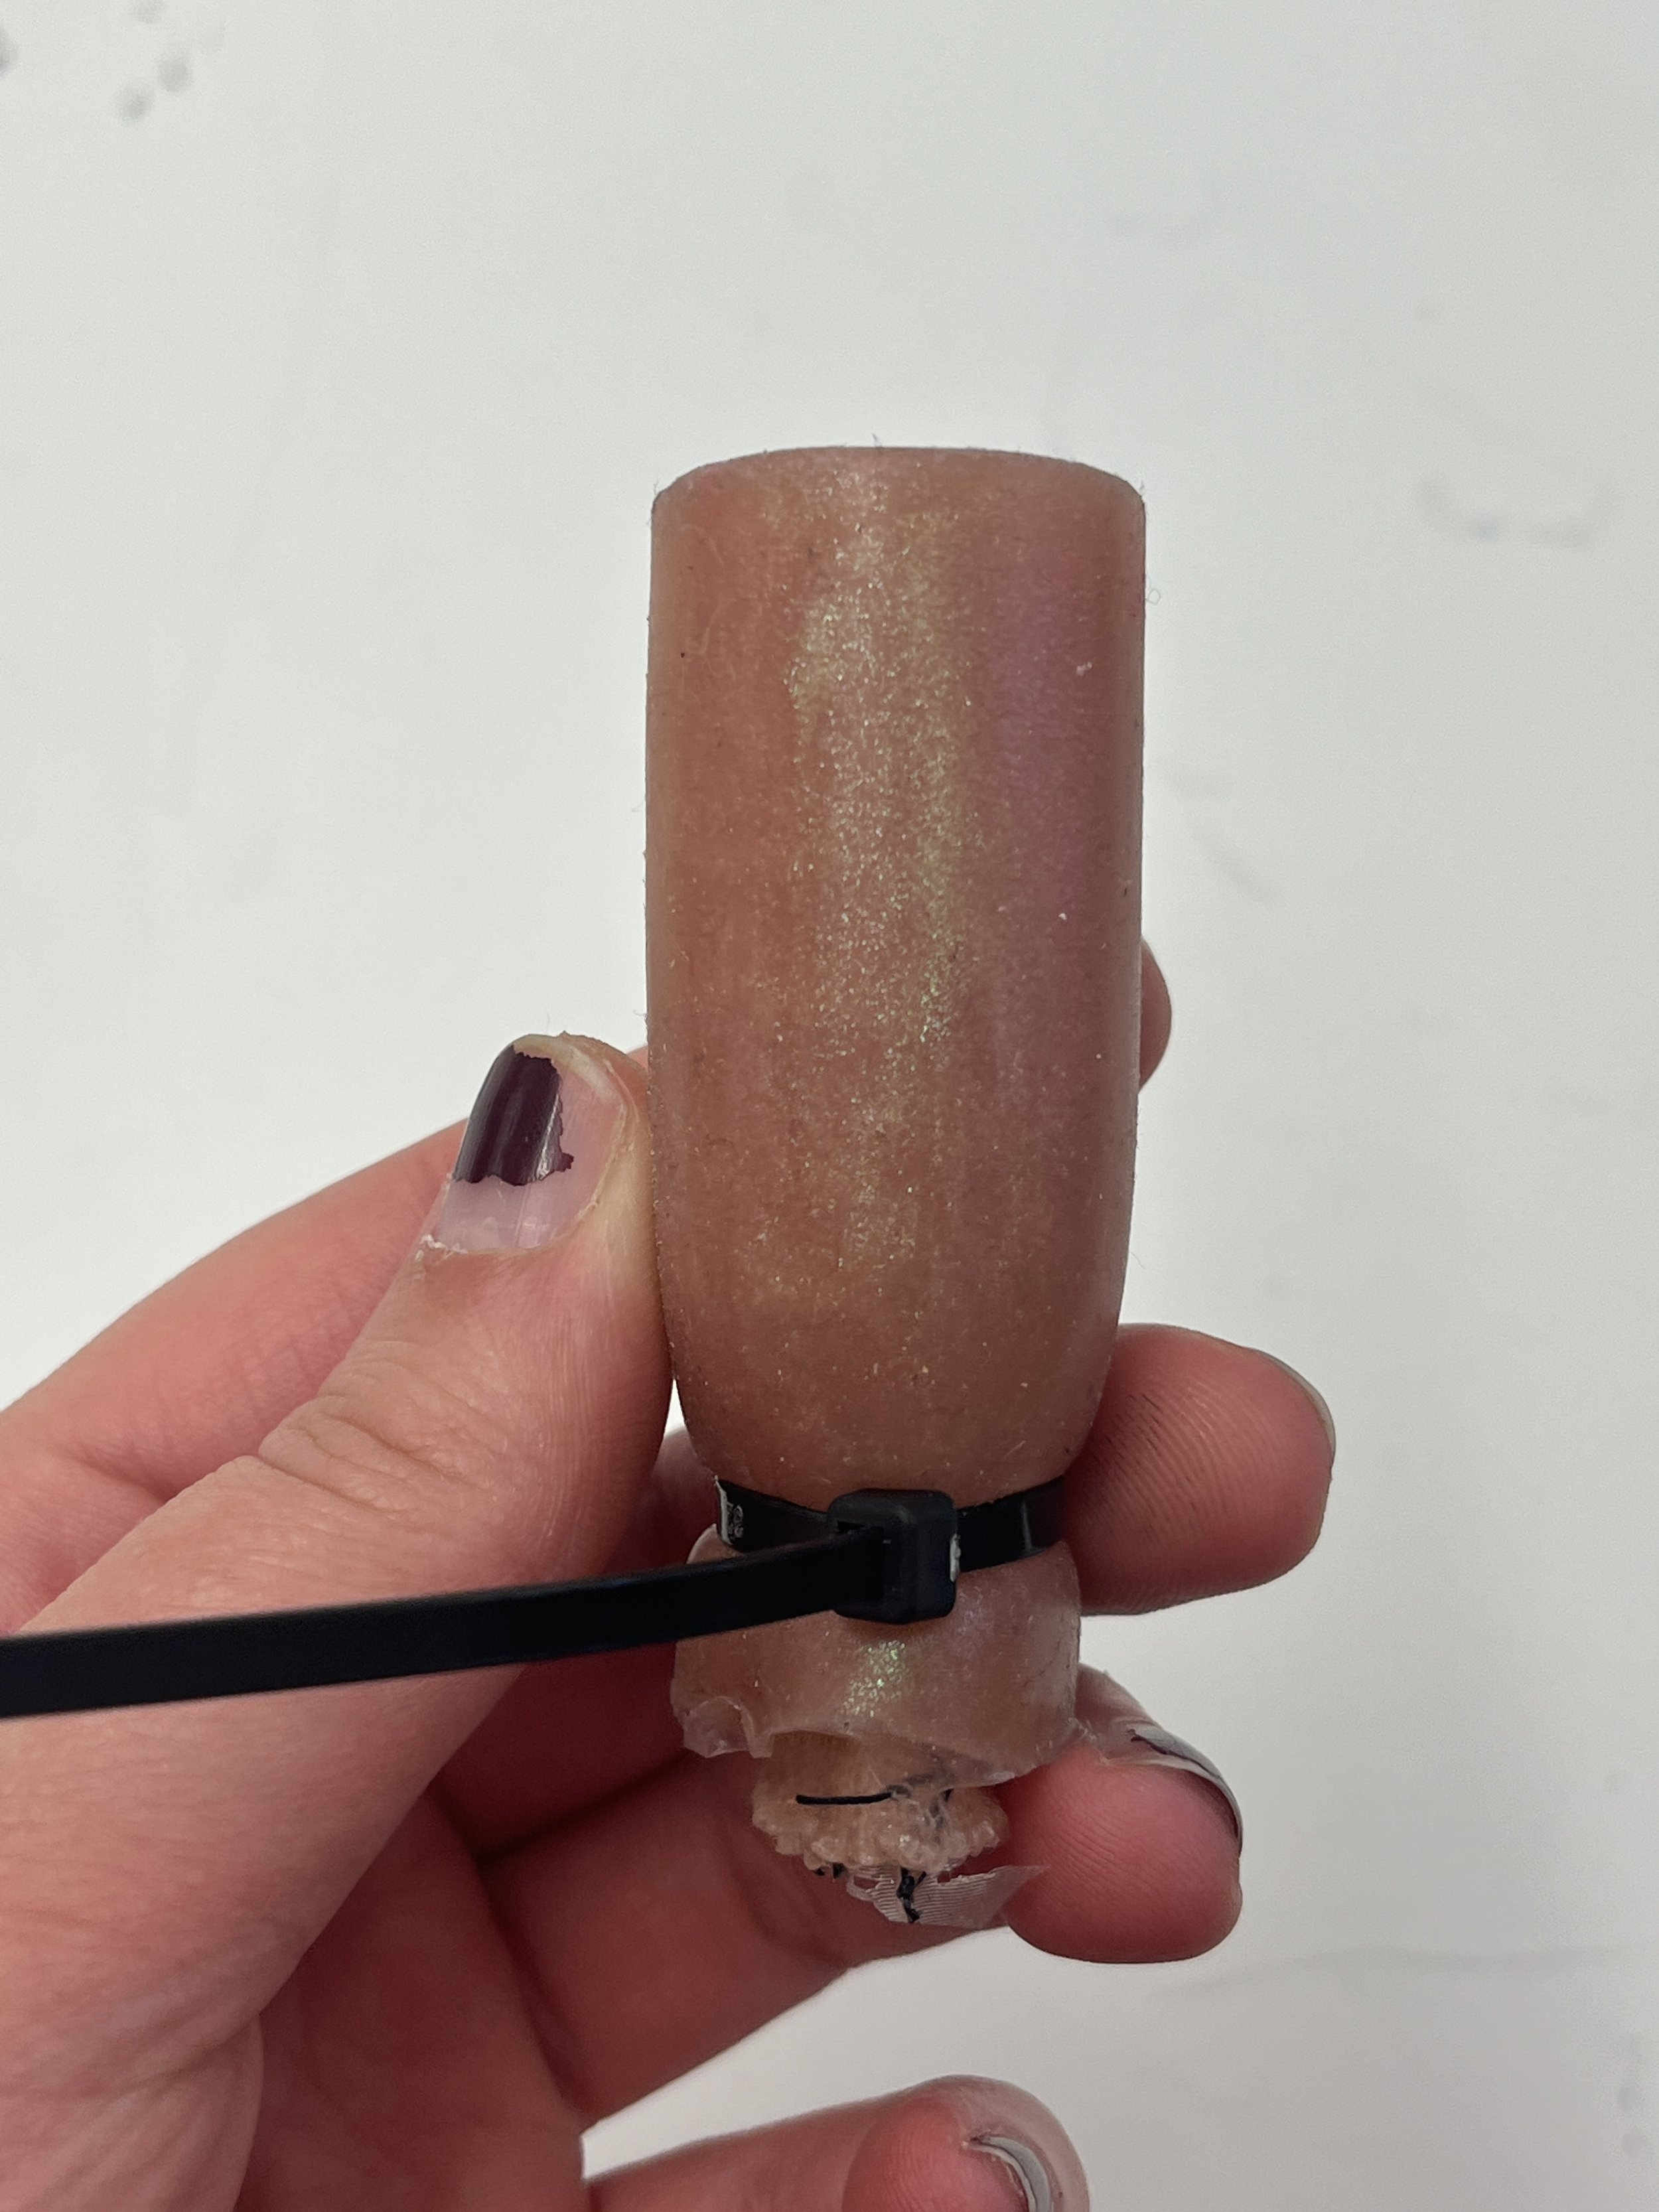
Kay and I bought some pigments for the silicone a couple of weeks ago so we mixed in glittery mica powders during the third step. So we made kinda funny looking, colorful caterpillars!

TODO: add video here!

[ITP: Soft Robotics] Flat Patterned Inflatables

Real life inflatable

I saw this really crazy inflatable on Instagram! It looks like octopus tentacles coming out of an old building in India. I haven’t been able to find a ton of information on it, but I think this piece was curated by Gallery XXL in Mumbai. The piece is located in a century-old building called Kalanjee Bungalow in Colaba and is part of an exhibition called “OUTSIDERS” alongside other graffiti and urban art pieces.

Simple Soft Actuator

I started with the spiral soft actuator from the lecture notes last week. It was kinda hard to cut this design out, the material is so slippery. I’m also not sure why some of my pictures have those weird stripes in them, I think it’s from some camera setting.

Line up two pieces of mylar, non-shiny sides facing each other. Draw cut pattern.

Cut out actuator making sure to cut through both layers of mylar. I used a bit of tape to keep things in place.

Use a small hair iron to heat seal the edges of the inflatable.

Mylar Balloon

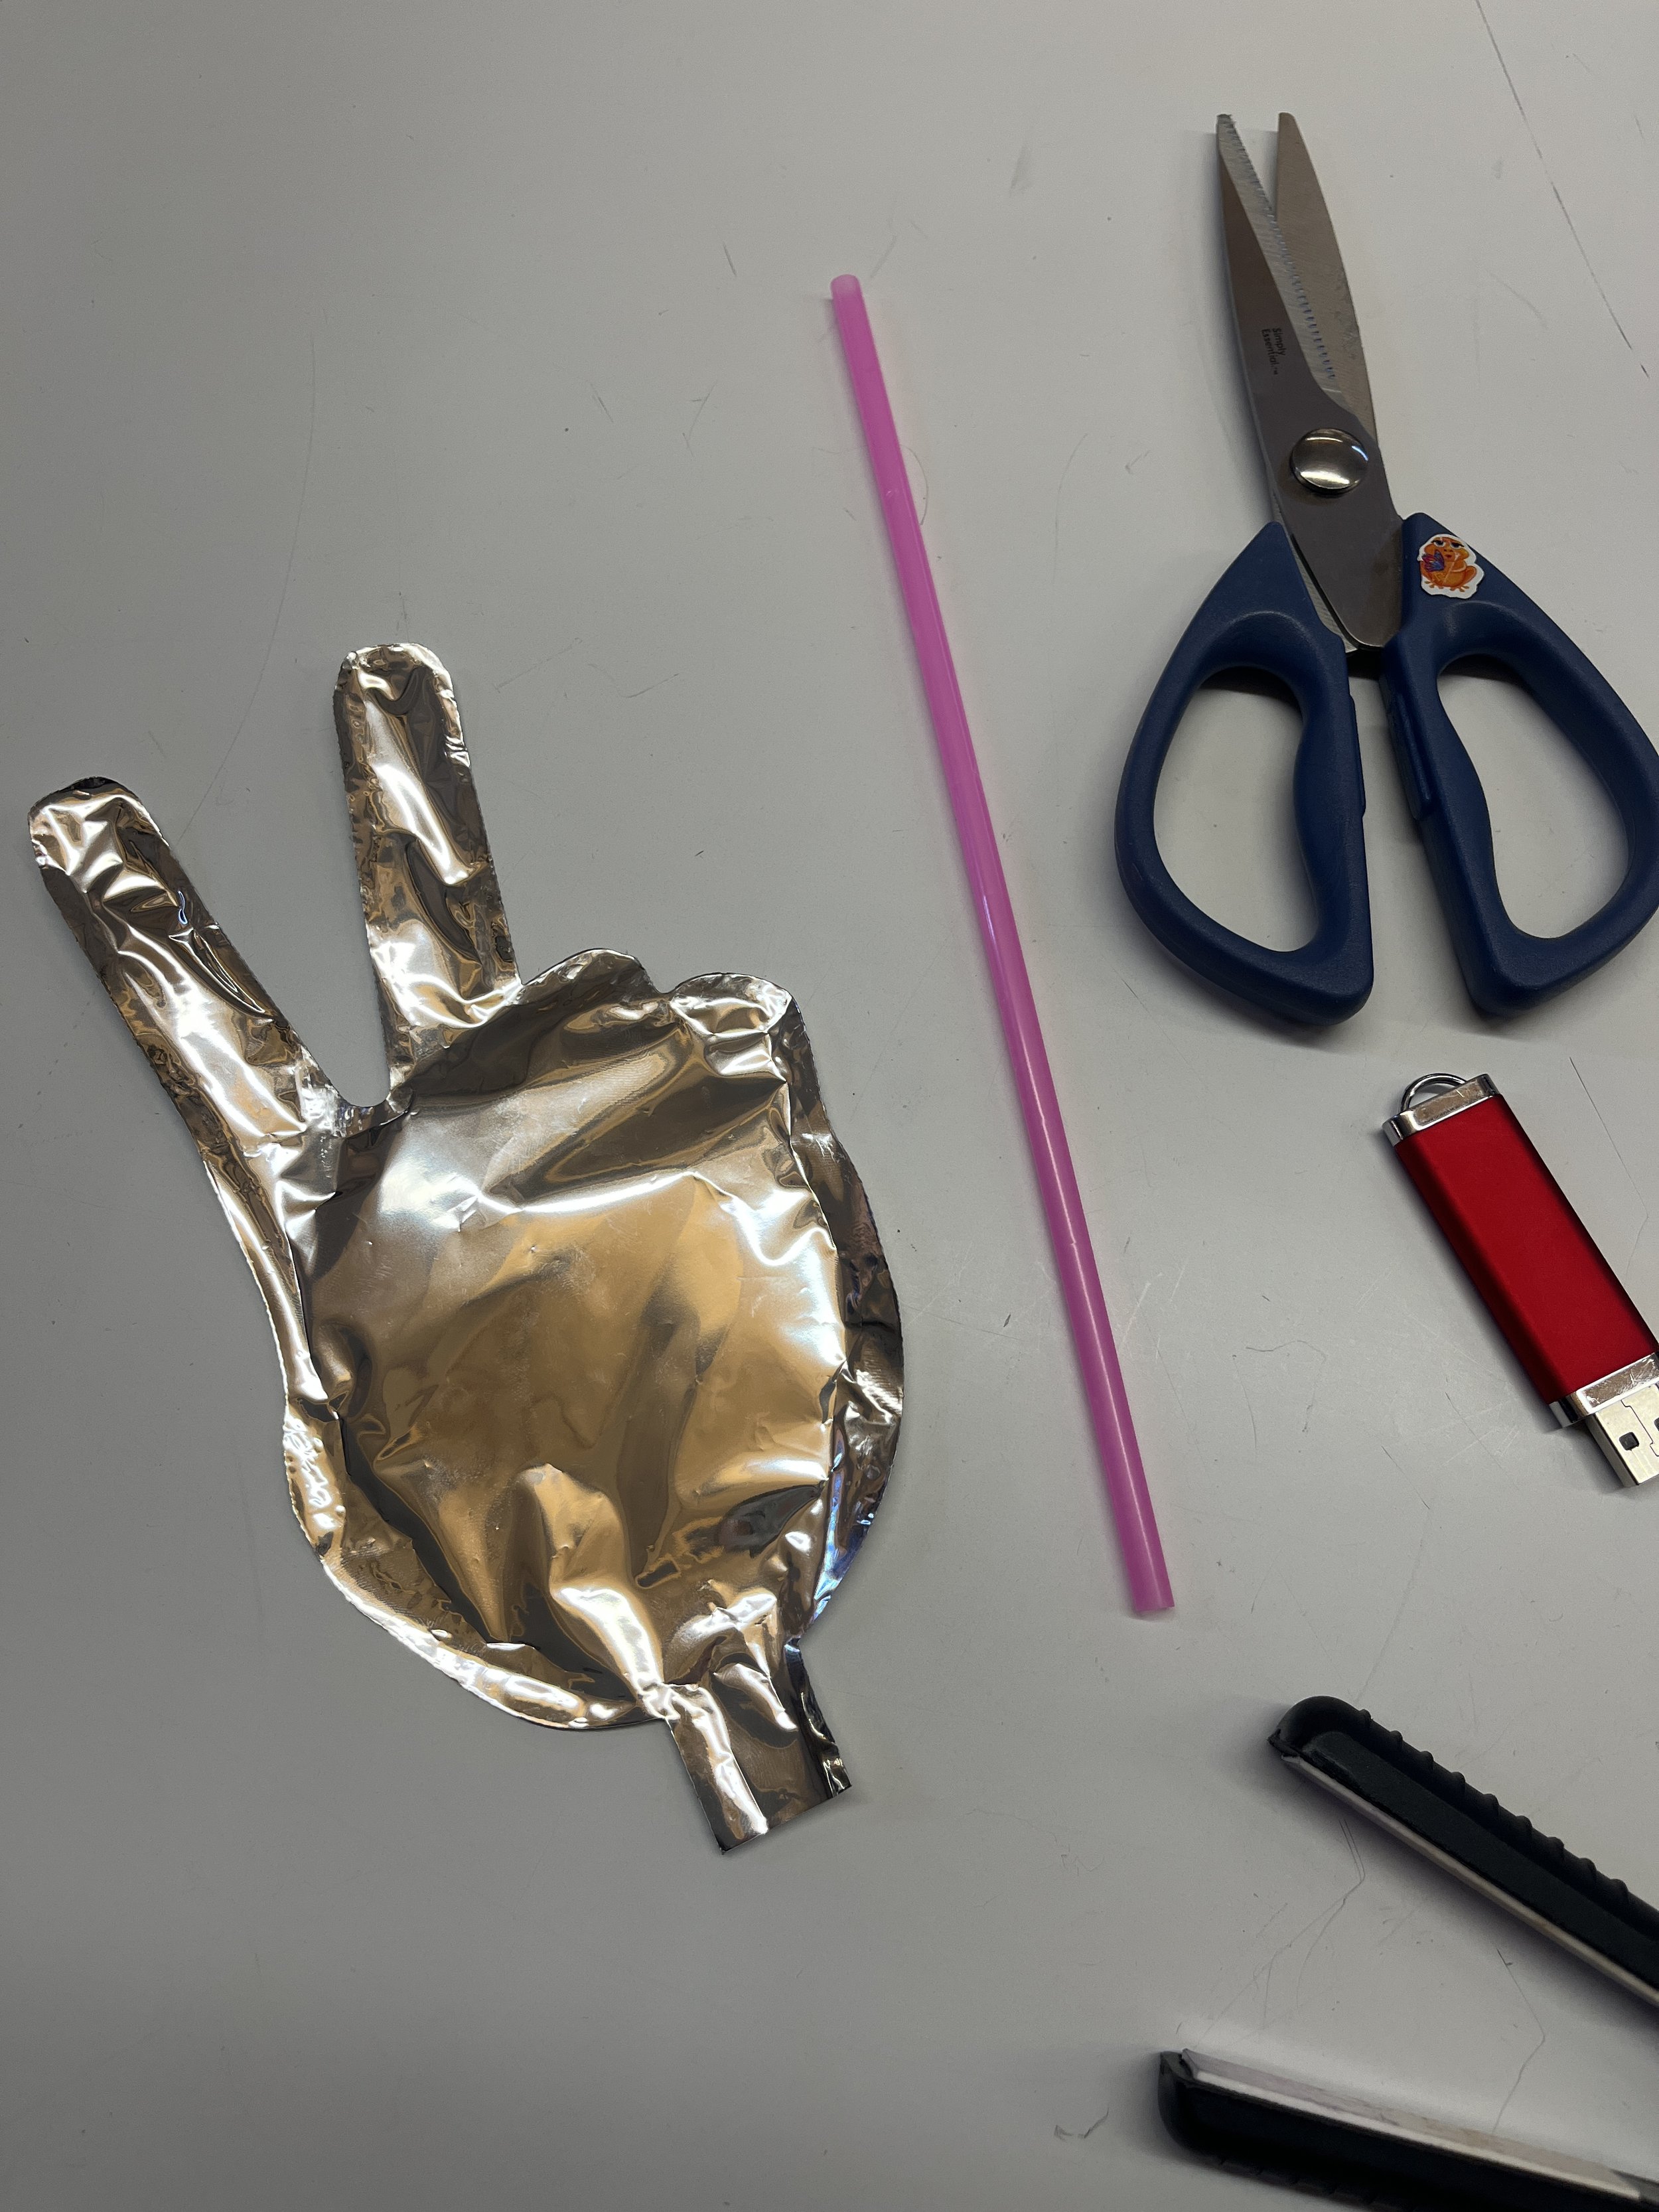
Have you ever wanted to make a hear balloon a flower balloon? Well I guess I did that.

Draw flower design.

Cut out the flower. This material was harder to work with because the cut edges kept on rolling up.

Heat seal the edges using an iron.

Cut out the flower’s inner circle and heat seal. It’s important to not forget to leave a tab with an opening so that you can blow air into the inflatable.

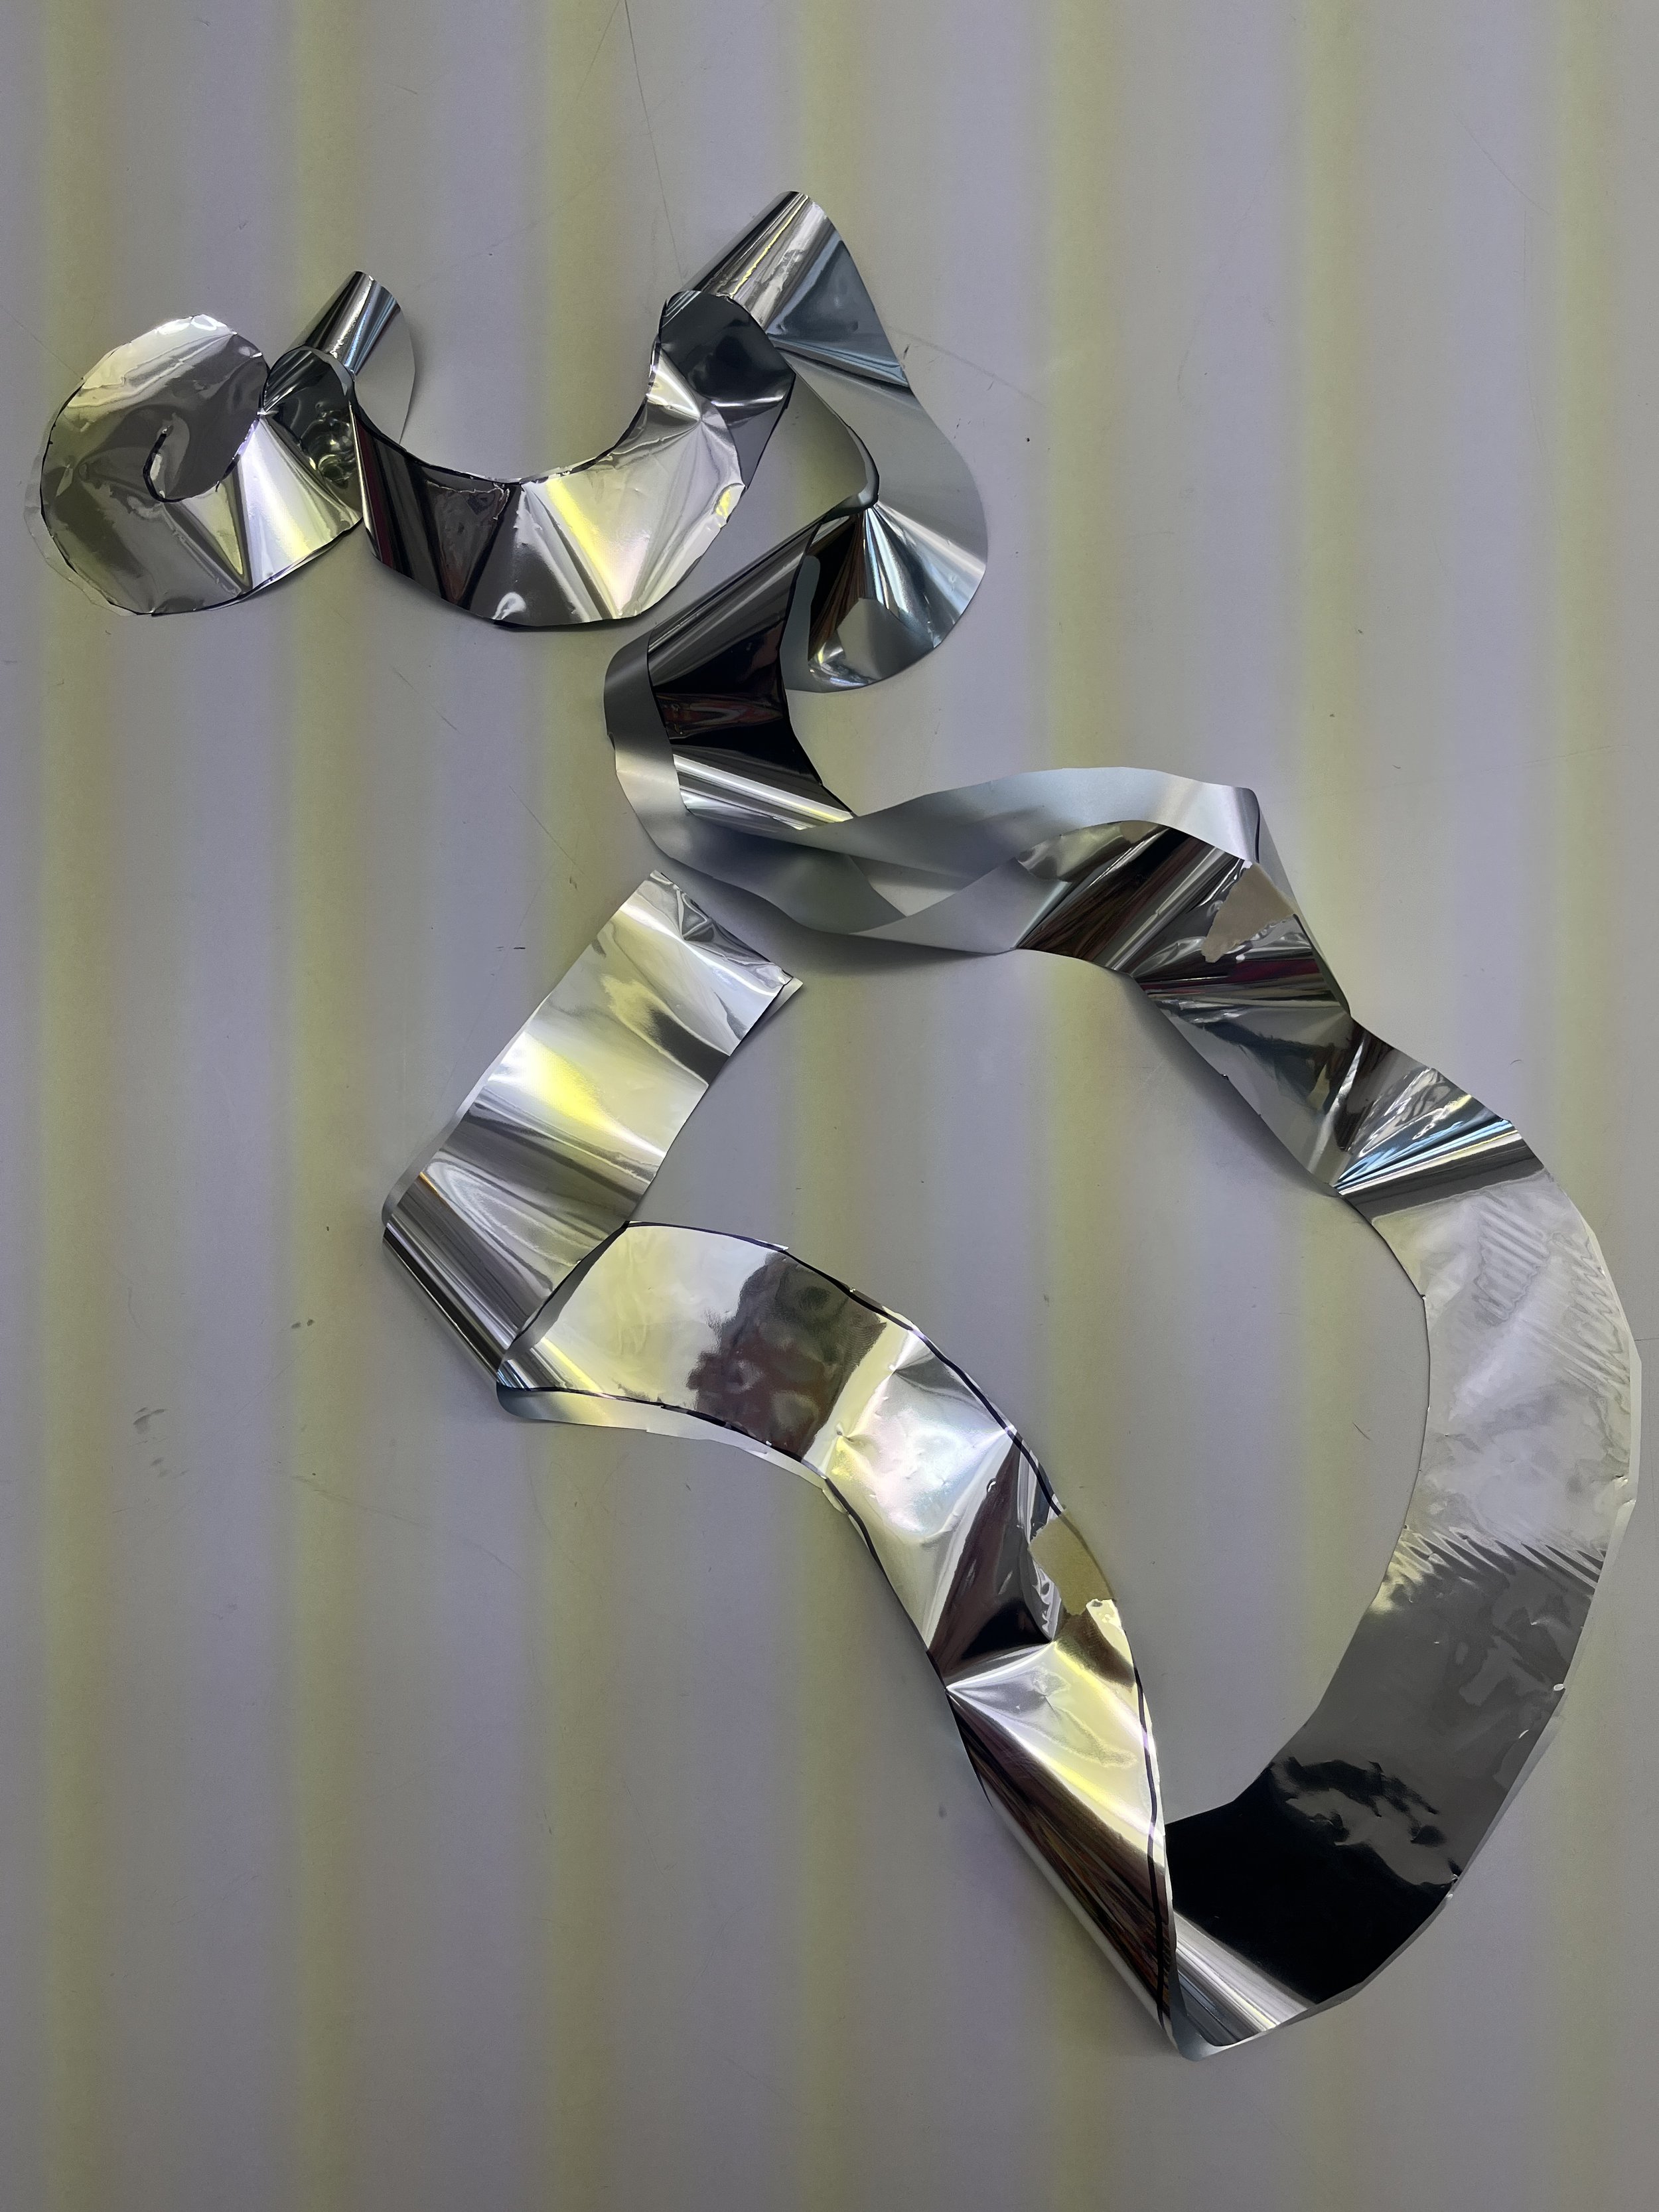
Laser Cutting Mylar

Laser cutter settings: speed = 100, power = 20, frequency = 5000.

Draw the laser cut design in illustrator. I found this image and used it as a reference.

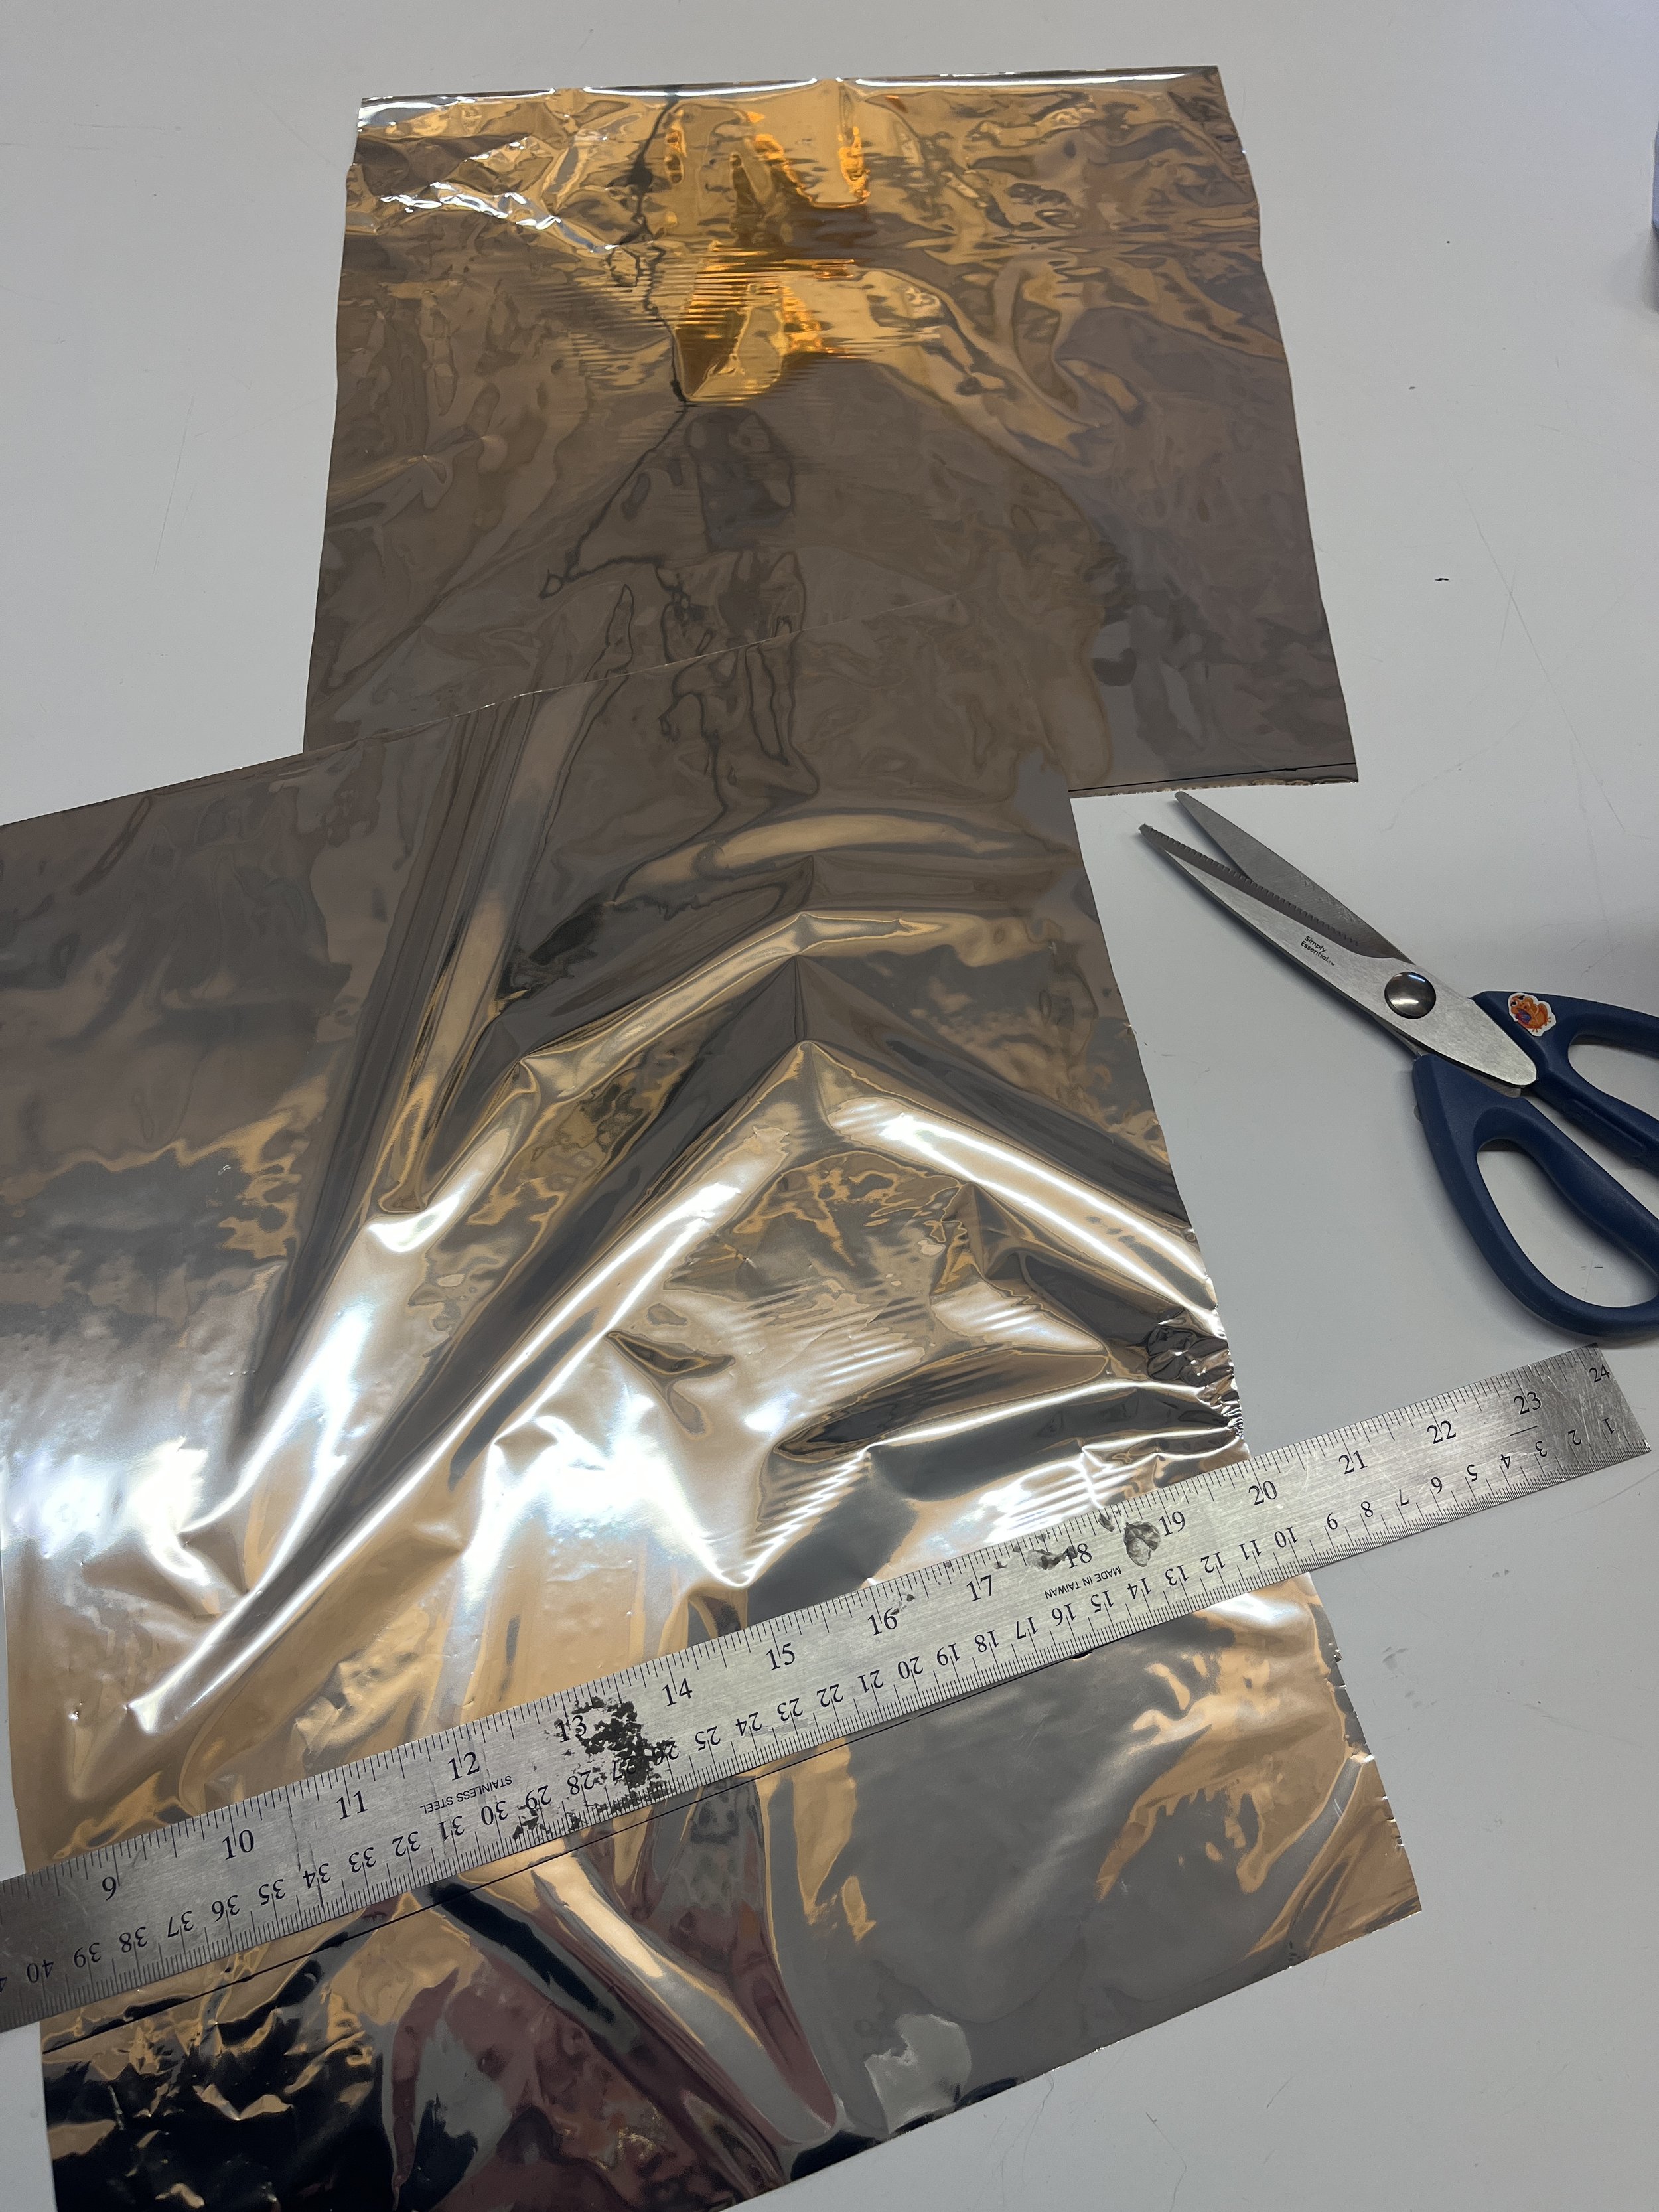
Cut the mylar to a 12 inch height (to fit in the laser cutter bed). Stack the two pieces of mylar with the non-shiny sides facing inside.

Heat seal the edges like before. It was the easiest this time because the laser kind of joined the edges a bit so the material wasn’t sliding around.

[ITP: Soft Robotics] Cable control

Real life cable control

I follow this really crazy artist on Instagram named Callen Schaub. He has been pursuing his “Fake Art” movement because his work consists primarily of what I used to call spatter art growing up. He spins ginormous canvases and drops paint on them, many times using a pendulum mechanism. This is a really interesting use of cable control to literally make works of art (?!).

The cables below are not necessarily controlling any sort of kinetic mechanism, but I definitely noticed them outside of my apartment window. They are kind of draped hap-hazard and precariously tangled which freaks me out a bit. An interesting cable system for sure…

Soft Cable Experiment

Extendo

Retracto

[ITP: Soft Robotics] Soft-enough Materials

For my exploration of soft materials, I was really captured by the trash I was collecting from my week of being sick. I got a lot of takeout and that comes with many soft materials: bags, napkins, packets of goop, packets of salt… it’s a soft score!

What’s considered soft anyway? From class, we decided that soft meant: bendy, squishy, stretchy, flexibility, compressive, elastic, and deformable. Also, softness can be a factor of an items material properties or its form.

Some soft materials, and funny packaging, I collected last week.

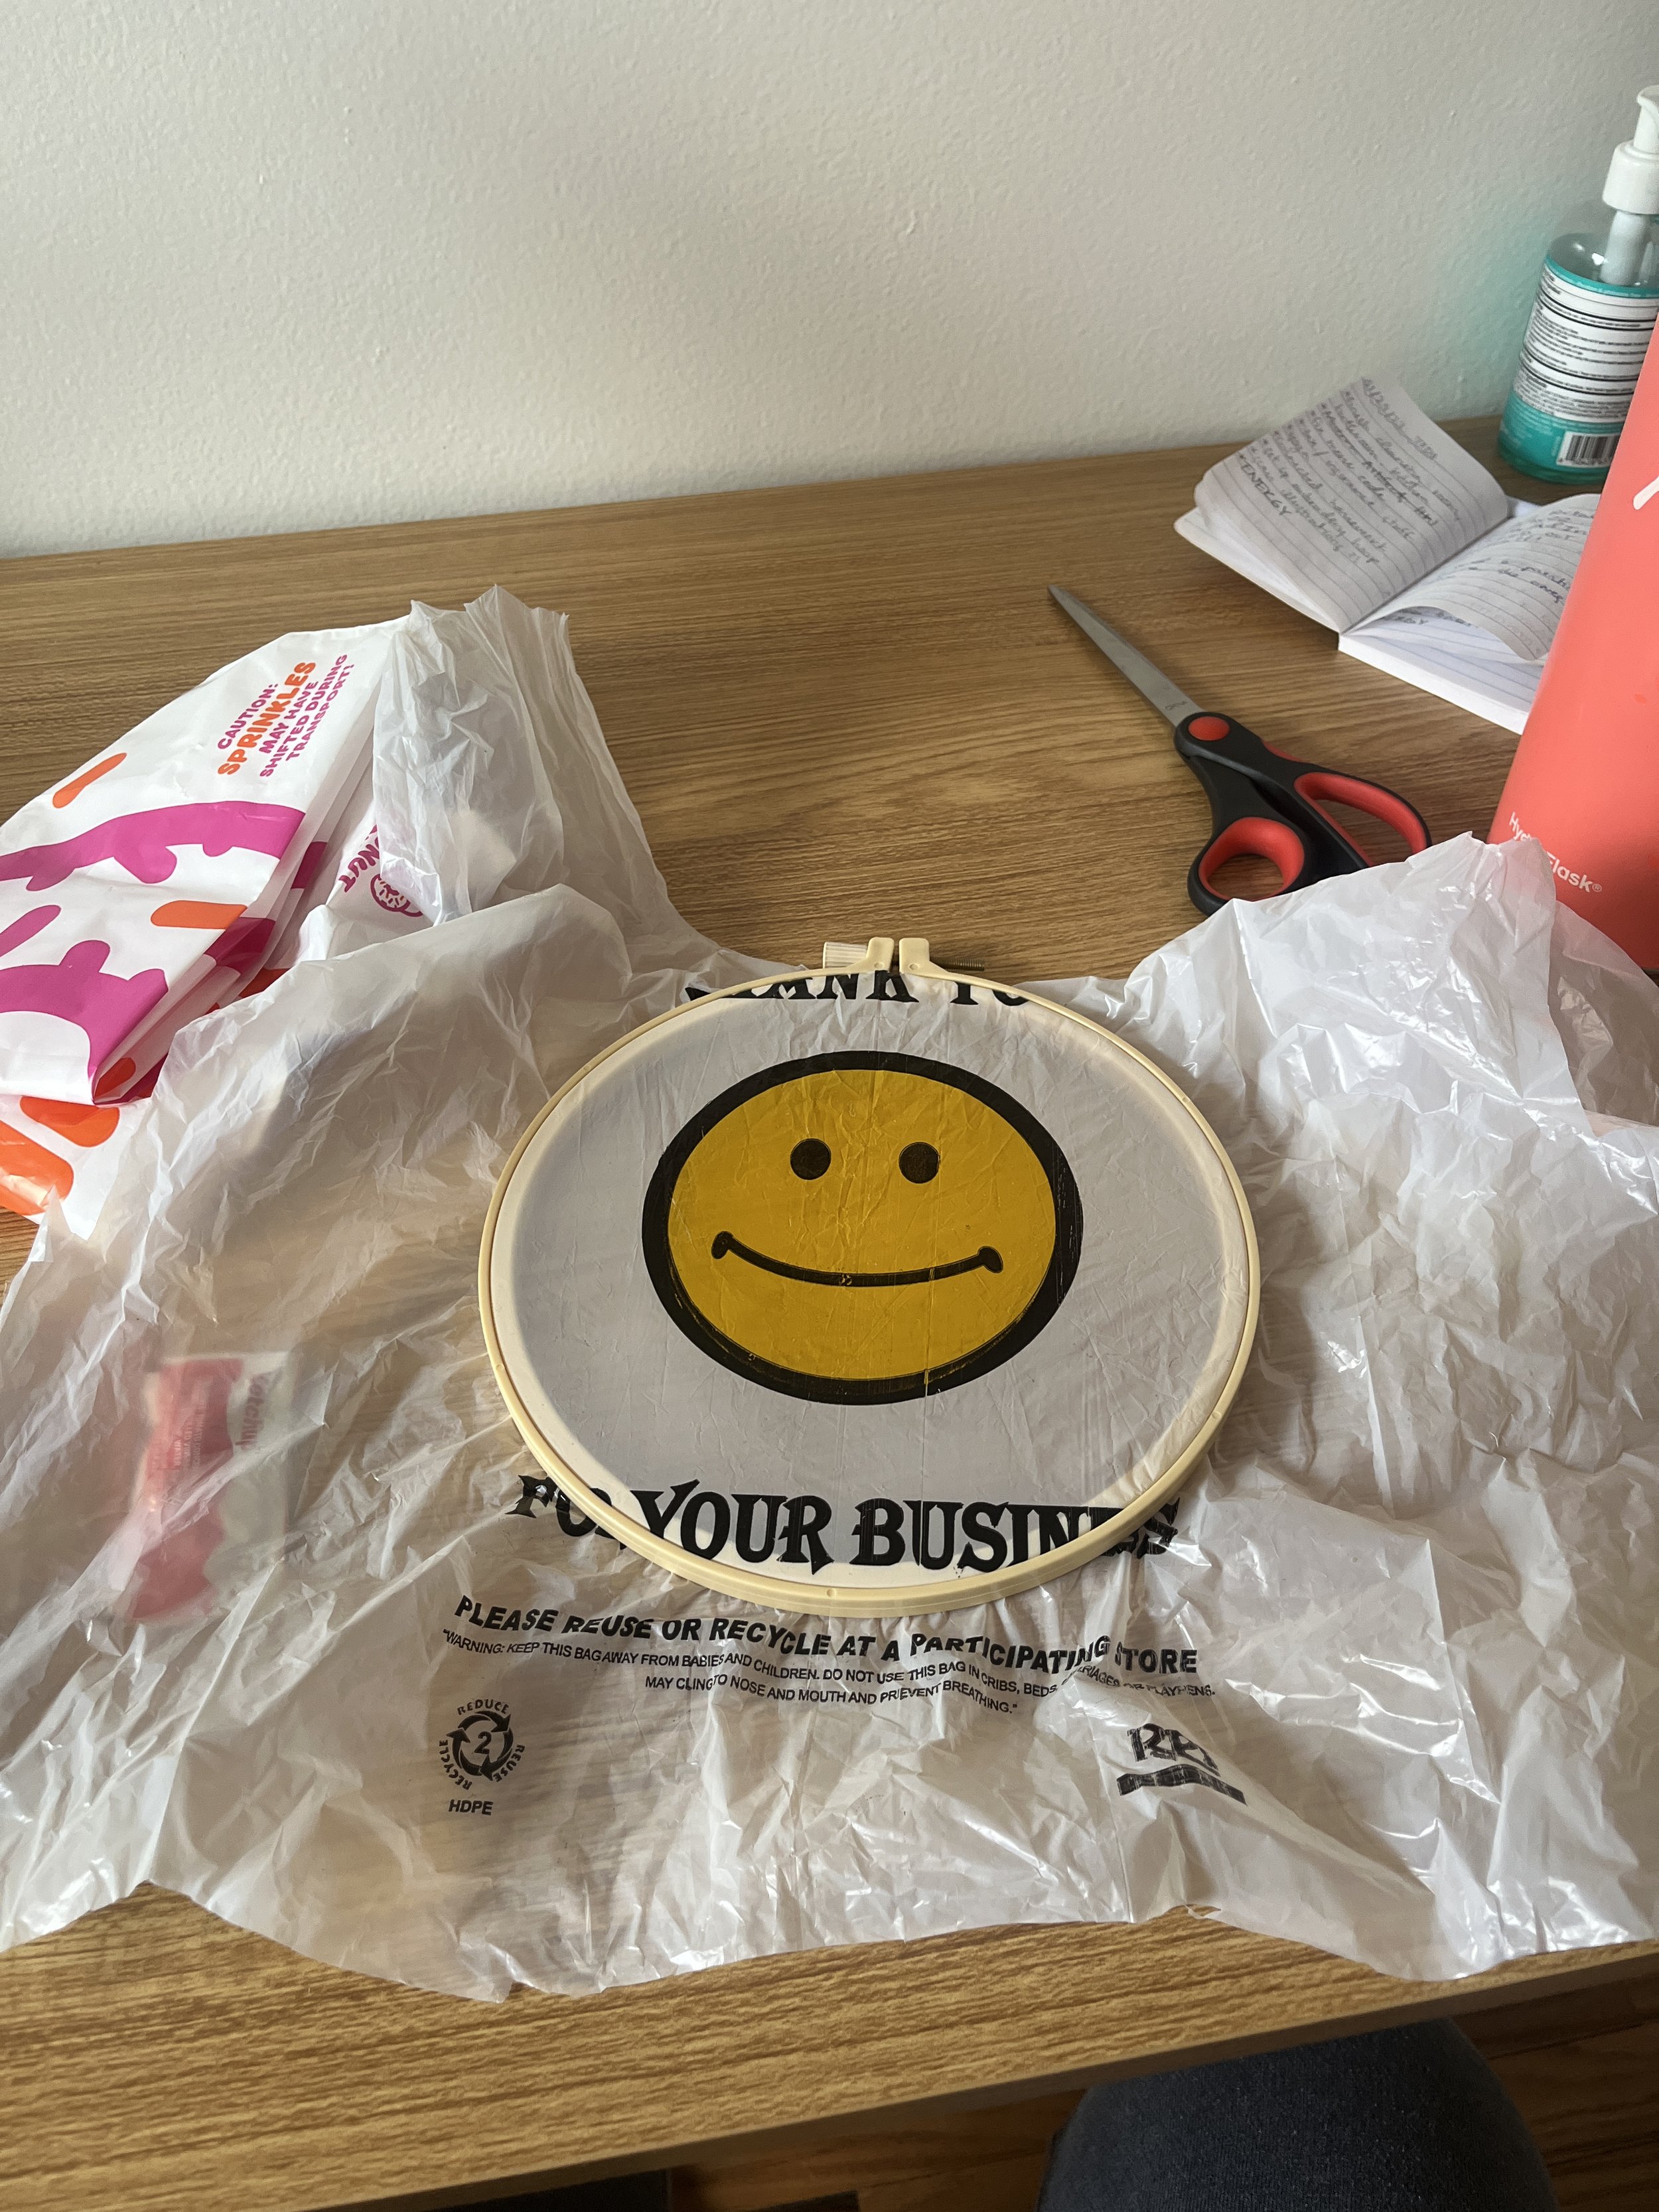
Just holding onto these everyday materials I thought of some crazy experiments I couldn’t get out of my mind. First, can you add some embroidery to a super cute plastic bag? Answer: no.

Well, I guess, I don’t think so. I started by cutting this bag so that it was just one side with the graphics on it. You can see that the holes made by the needle didn’t hold their shape and if I try to pull the stitch tight it rips holes in the bag. I kinda want to try this again but embroidering through both sides of the bag, maybe that will give the stitch a bit more integrity?

OK, this idea haunted my dreams: saucy quilt. These takeout sauce packets reminded me of my favorite toy from the first robotics class, the water wiggler. They also evoked parts of a quilt or crochet squares. It’s this reason I was bent on attaching them together with thread and needle, even though this could have ended up being a big mess if I poked a hole through the sauce part of the packet.