Brain Board
Here’s how I’m feeling about brains this week!
Mojo Jojo from the Power Puff Girls
Third Brain from Spy Kids
Abby Normal brain from Young Frankenstein
It’s crunch time baby
Since I was waiting for my boards to come in from JLC I decided to cook up some more agar. I’m still unsure what exactly I’m going to use this for but I’ve gotten pretty good at cooking it and I know that it needs a long time to dry out, so the sooner it is cooked, the better.
RECIPE
Water = 700mL (less water this time), vegetable glycerin = 60g, agar agar = 30g, 1/2 capful of vinegar, a little bit of conductive metal powder
COOKING SEQUENCE
140 degrees for 5 minutes, 176 degrees for 7 minutes, 212 degrees for 7 minutes, 248 degrees for 3 minutes, 212 degrees for 7 minutes. Since I used less water, the mixture boiled more and I was left with many little bubbles in the cooked plastic. When I was done cooking, I poured out half of the plastic into the baking sheet. I added the conductive powder to the plastic remaining in the pot, stirred it in as best and quick I could, and poured that into the other half of the baking sheet. I needed to move quickly because the plastic solidifies really quickly once the heat is turned off. Below is a picture of my yin-yang sheet of plastic.
Spoiler alert: the bioplastic didn’t become conductive…
My brain arrived! FINALLY!
Paying $60 for expedited shipping from China really paid off, I got my boards in time. I ordered my brain boards from JLCPCB. The minimum order quantity is 5 boards and since I had the two brain boards, I have 10 brain PCBs now! I also ordered the stencils to help with building up the circuits.
Other things you will need for populating a PCB:
Solder paste
Flux
Painters tape
Spatula or putty knife
Tweezers
Surface mount components
Hot air gun
Paper towels (bonus points: microfiber cloth) and isopropyl alcohol
Here are the steps I followed to populate my brain PCB’s:
1. Create a jig to hold your PCB in place using extra boards and tape
2. Line up your stencil to the circuit board and tape it in place on one end
3. Load up your putty knife with some solder paste
4. In a slow, controlled motion, apply the solder paste by dragging the putty knife across the stencil. This can be tricky! Make sure not to bump the stencil and check that the paste made it onto all the pads.
5. Gently lift up the stencil and remove it from workspace. Double-check that solder paste is covering all the pads.
6. Remove components from packaging and place them on board using fine tweezers. Make sure components are placed in the correct orientation.
7. Once all the components are placed on the board, use the hot air gun to make the solder paste reflow. Point the hot air directly onto each component. You’ll want to find the sweet spot in the height where the hot air doesn’t melt the component but still melts the solder paste. You will be able to tell if the solder has melted once the component shimmies into it’s correct place, centered on the footprint, due to the surface tension of the solder paste.
8. Soldered board. Repeat the outlined steps three more times to populate all four sides of circuit board!
So yeah, you just have to repeat that process three more times to populate both sides of both brain boards. I made a lil time lapse of the process. It really wasn’t so bad once I had all the materials and equipment I needed and I’m honestly impressed that I could get this done in our ITP shop!
Here’s the assembled thing:
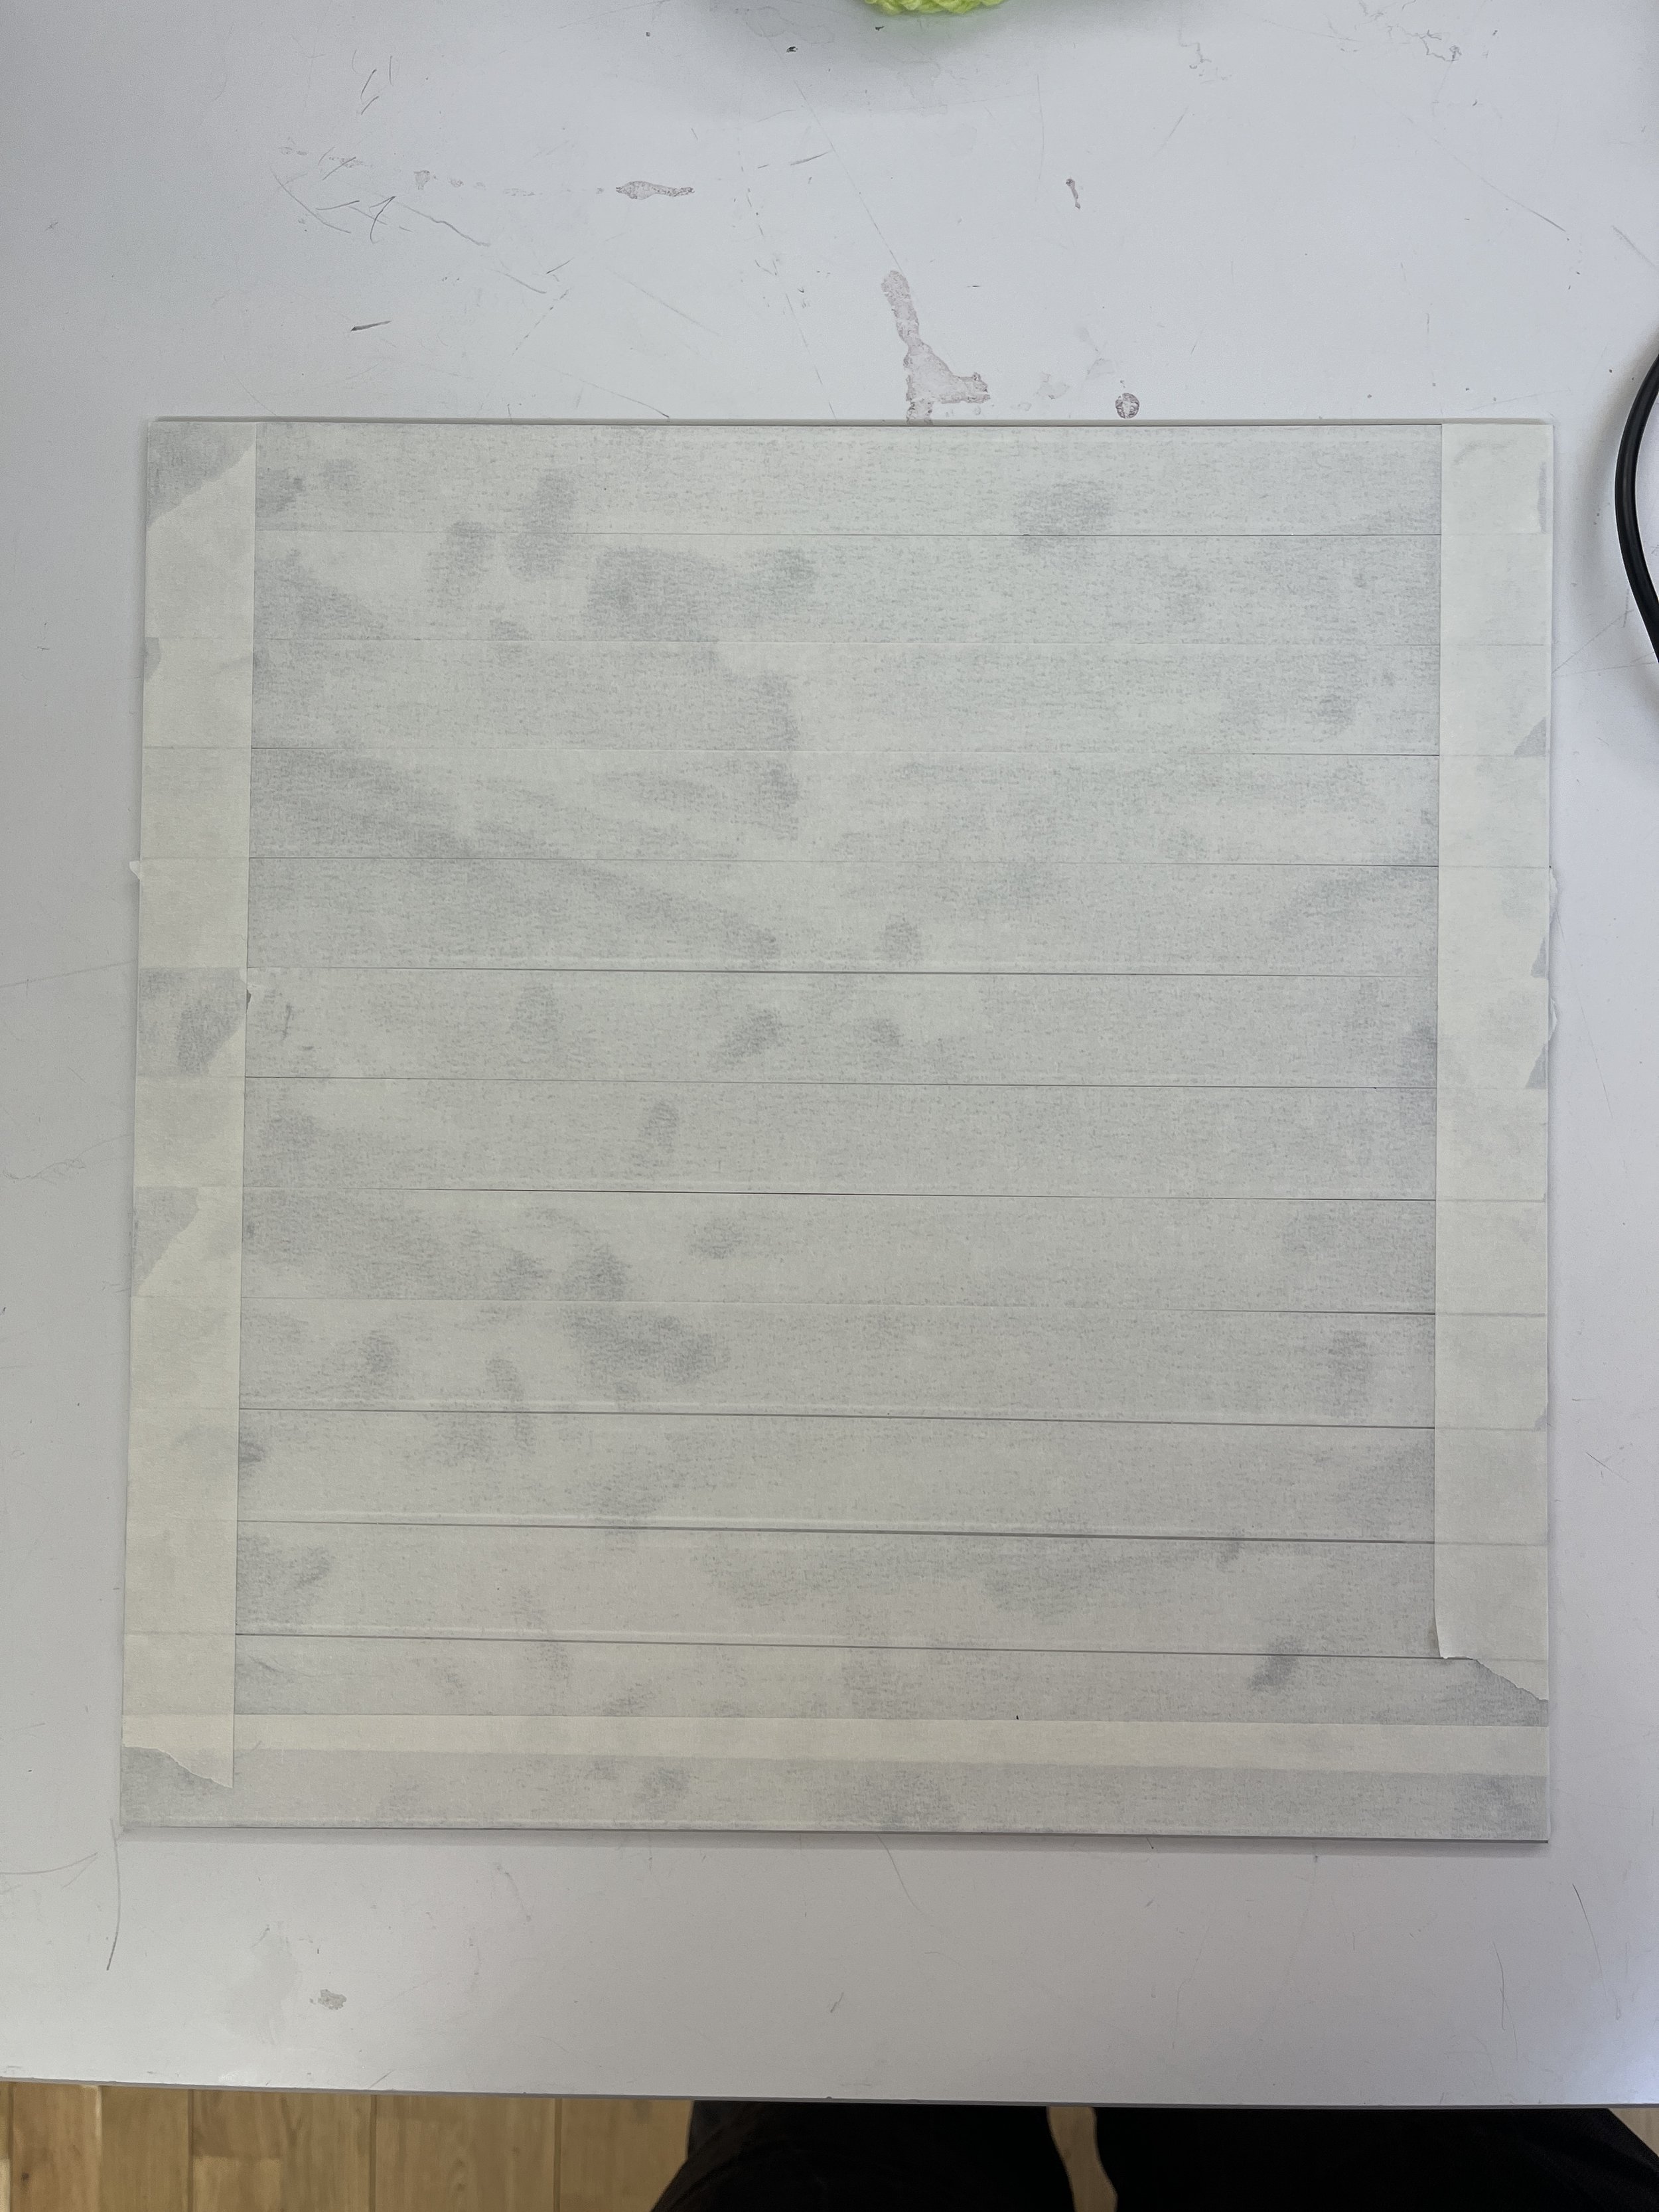
Next, I laser cut the other cross sections of my brain using some smokey gray acrylic (my laser files are on my Github repo). I also was curious about trying out two-way mirrored acrylic that I found at Canal Plastics. I was told that I needed to tape up the whole surface of the mirrored acrylic before laser cutting it because otherwise the laser beam would reflect right back into itself?! Not sure if that’s real, but I did tape up my acrylic anyway!
Now that I had the majority of the sculpture built I had to figure out how to display it. I had some really great help from Phil in the shop but I ended up going with my friend Bianca’s inspiration, the Third Brain from the Spy Kids movie. The way those pinchers hold the tiny brain reminded me of helping hands used for soldering. Works on many levels and I didn’t need to really build anything yay!
Pro tip: Put heat shrink on the ends of the alligator clips so that they don’t scratch up the circuit boards!
Here’s my vision for the final exhibit:
Software
Here’s where things get a lil hairy…. it’s always the software that gives me trouble. And idk how to design interaction either…
After some introspection, getting in touch with my body, I wanted to write an Arduino sketch so my brain would behave in the following way:
Nominal state: Neurons firing constantly, thought loop looping.
Someone detected in front of brain: uh oh, I’m nervous. Neurons firing quicker, thought loop LOOPING!
That person still there: I’m super nervous! Neurons don’t know how to fire anymore. Disco time!
Is this how it is to be in my brain?! Possibly.
STHS34PF80 Qwiic board
I started with this brand new, spiffy sensor from SparkFun. The STHS34PF80 is a human presence and motion sensor that measures the precise black-body radiation as described by Planks’ law. It can discriminate between stationary and moving objects, has 80 degree field of view, 4m range, and monitors ambient temperature conditions. It’s a classic Qwiic board, 3.3V supply and logic voltage, I2C communication, and configurable SPI.
Though I was super excited about this shiny, new sensor, I had a lot of issues with it. Off the bat, there were compilation errors with running the examples from the library… so not a good start which made me skeptical of the software as a whole. I was getting temperature readings that didn’t make any sense to me. I also didn’t understand the presence readings and the interrupts example was inconsistent and didn’t trigger readings every time I waved something in front of the sensor. With time running out, I decided to change sensors to something that is tried and true.
Interlude: what is black body radiation?
A black body is a theoretical object that perfectly absorbs all incoming electromagnetic radiation, emits radiation like heat and light
Black body radiation used to understand temperature, size, and age of celestial objects
i2c_scanner sketch. Why does this sensor return so many I2C addresses? Default is 0x5A.
Example 1 from library. No idea why temperature is negative.
Example 2 interrupts
Regular old PIR
Luckily, attending a tech and art program and being surrounded by super awesome people has its perks, and was able to get my hands on a replacement sensor immediately. The Adafruit site has some really great documentation on getting to know your PIR sensor. I was able to hone in its parameters and get it to trigger reliably when someone is detected standing in front of it.
There’s probably no reason to get into the weeds too much here, but I had a lot of issues with using interrupts for the sensor and running light up sequences for my LEDs. I eventually ditched the interrupts and just do basic polling to check the status of the sensor. Not ideal, because the code is blocking, but it does the trick for now.
When it comes to lighting up the neopixels, I was originally inspired by this well done example that achieves a “comet” effect. This worked well for me before I incorporated the sensor and the animations would freeze when interrupts were triggered. I switched to the neopixel library and wrote some code that *kinda* works like I would like.
As always, you can find my final code at my Github repo here.
Graph theory and nearest neighbor bs
I also had high hopes that I could get the “neurons” to fire randomly, following neural pathways. I got a lot of help from my buddy Tres to come up with an algorithm to travel the “graph” of neurons/LEDs. We consulted chat-GPT and got some code that would compile but not a ton of luck running it. Might be something I revisit in the future.
More bioplastic weirdness
I was really motivated to figure out how I can incorporate some of my bioplastic research into my art practice. I decided to try to create a sort of “gray matter” for my brain by sewing together a cap for the sculpture. I found this pattern for sewing a ball and sent my sheets through the laser cutter. The laser didn’t cut all the way through (which I expected) and I used the line to cut out the pattern with a knife.
Kay, my most stylish friend, trying on the agar agar hat!
I also wanted to make a bioplastic glove to go along with my previous project. Through my research, I learned about this concept of “skin hunger”, the need for humans to have skin-to-skin contact. I had hopes that this glove would be conductive and would need to be pet, but the metal powder didn’t make the material conductive at all.
ITP Winter Show
Some feedback I got: people were really curious about how to calm down the brain. That’s something I should consider for future revisions.
Special Thanks to
It truly takes a village: Phil Caridi, Nick Poole, David Rios, Tres Pimentel, Jeff Feddersen, Erin Mamaril, Bianca Gan, Blair Simmons, Yeseul Song, Gabe Barcia-Colombo, Kay Wasil
Resources
SparkFun STHS34PF80 Qwiic Board
SparkFun STHS34PF80 Hookup Guide
SparkFun STHS34PF80 Arduino Library
Black body radiation video, and here’s another
Interrupt rabbit hole
Neopixels


