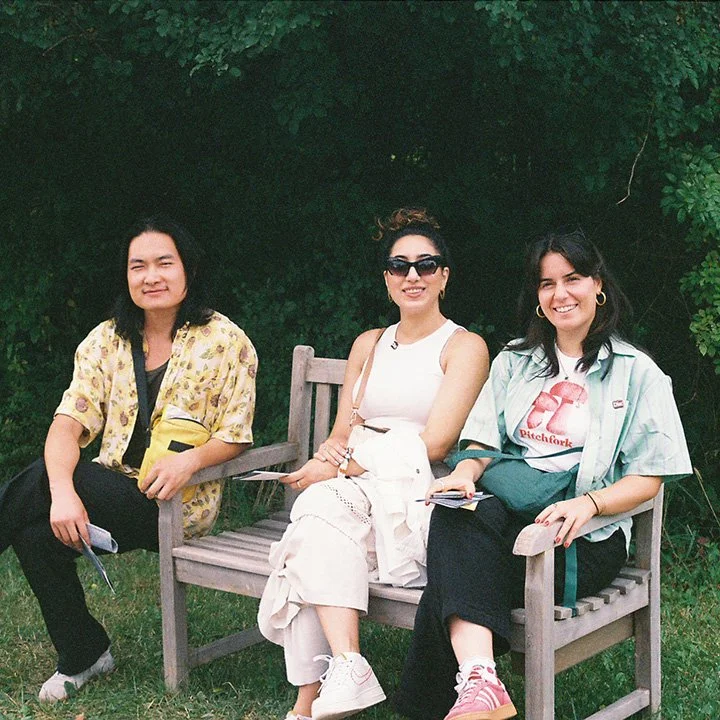
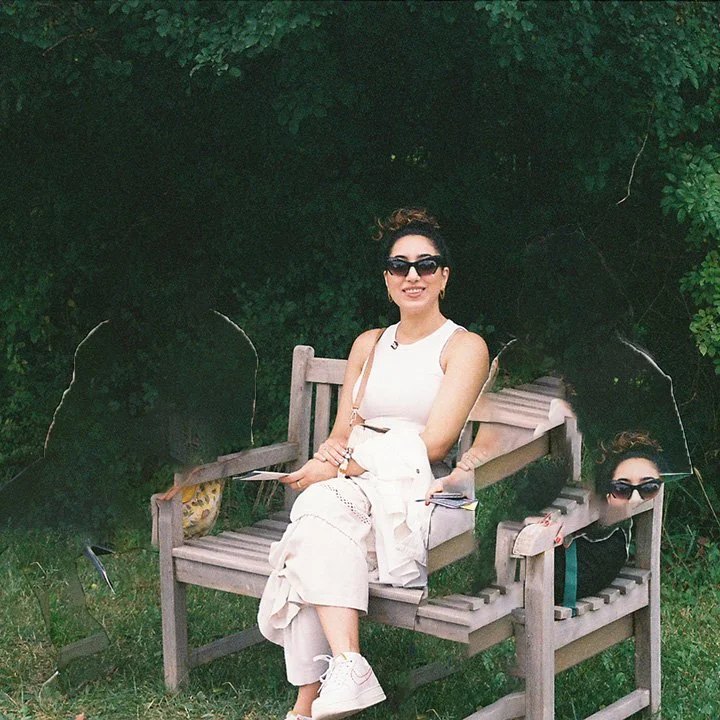
Last week was the first time I returned to NYC since leaving last fall. Returning felt weird. In some ways, it felt like no time had passed; I was quick to fall back into old patterns. Like catching the B38 in BedStuy to get to school or grabbing lunch from my favorite spots. But also much has changed and everyone is moving on to other things. As it should be, I guess!
With some luck, people still remember me there and were so gracious to give me space and opportunity to … chat about what I love: my current fixations in technology and craft. Feeling very lucky to go to a city and be able to share a bit of myself with people I love <3
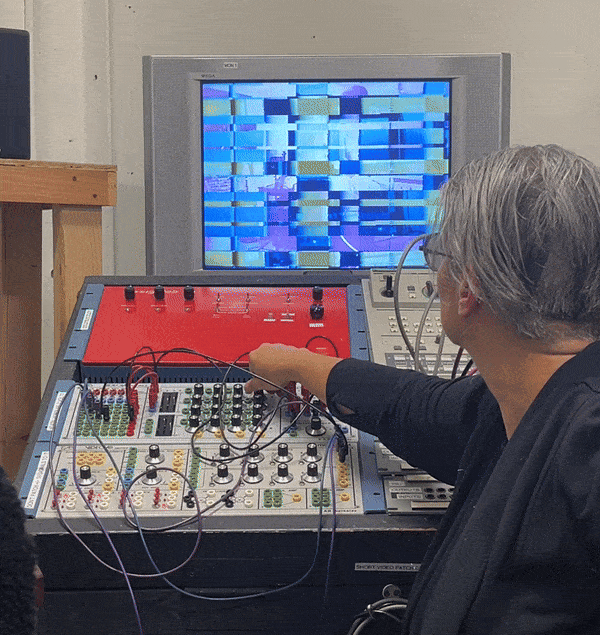
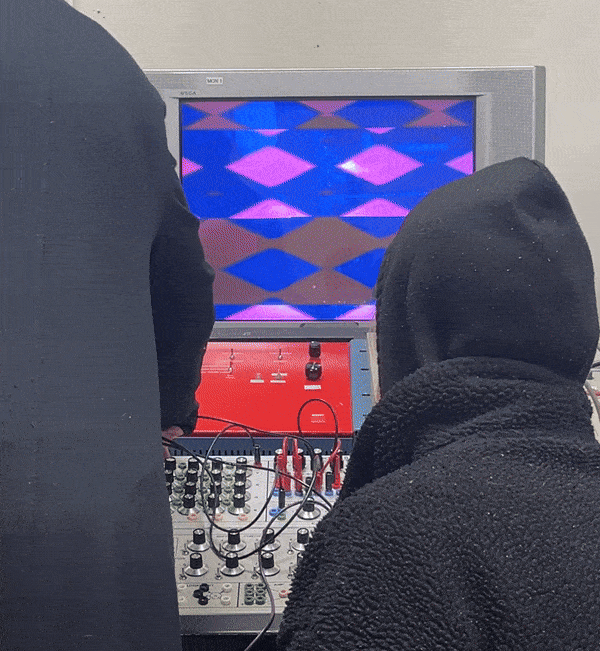
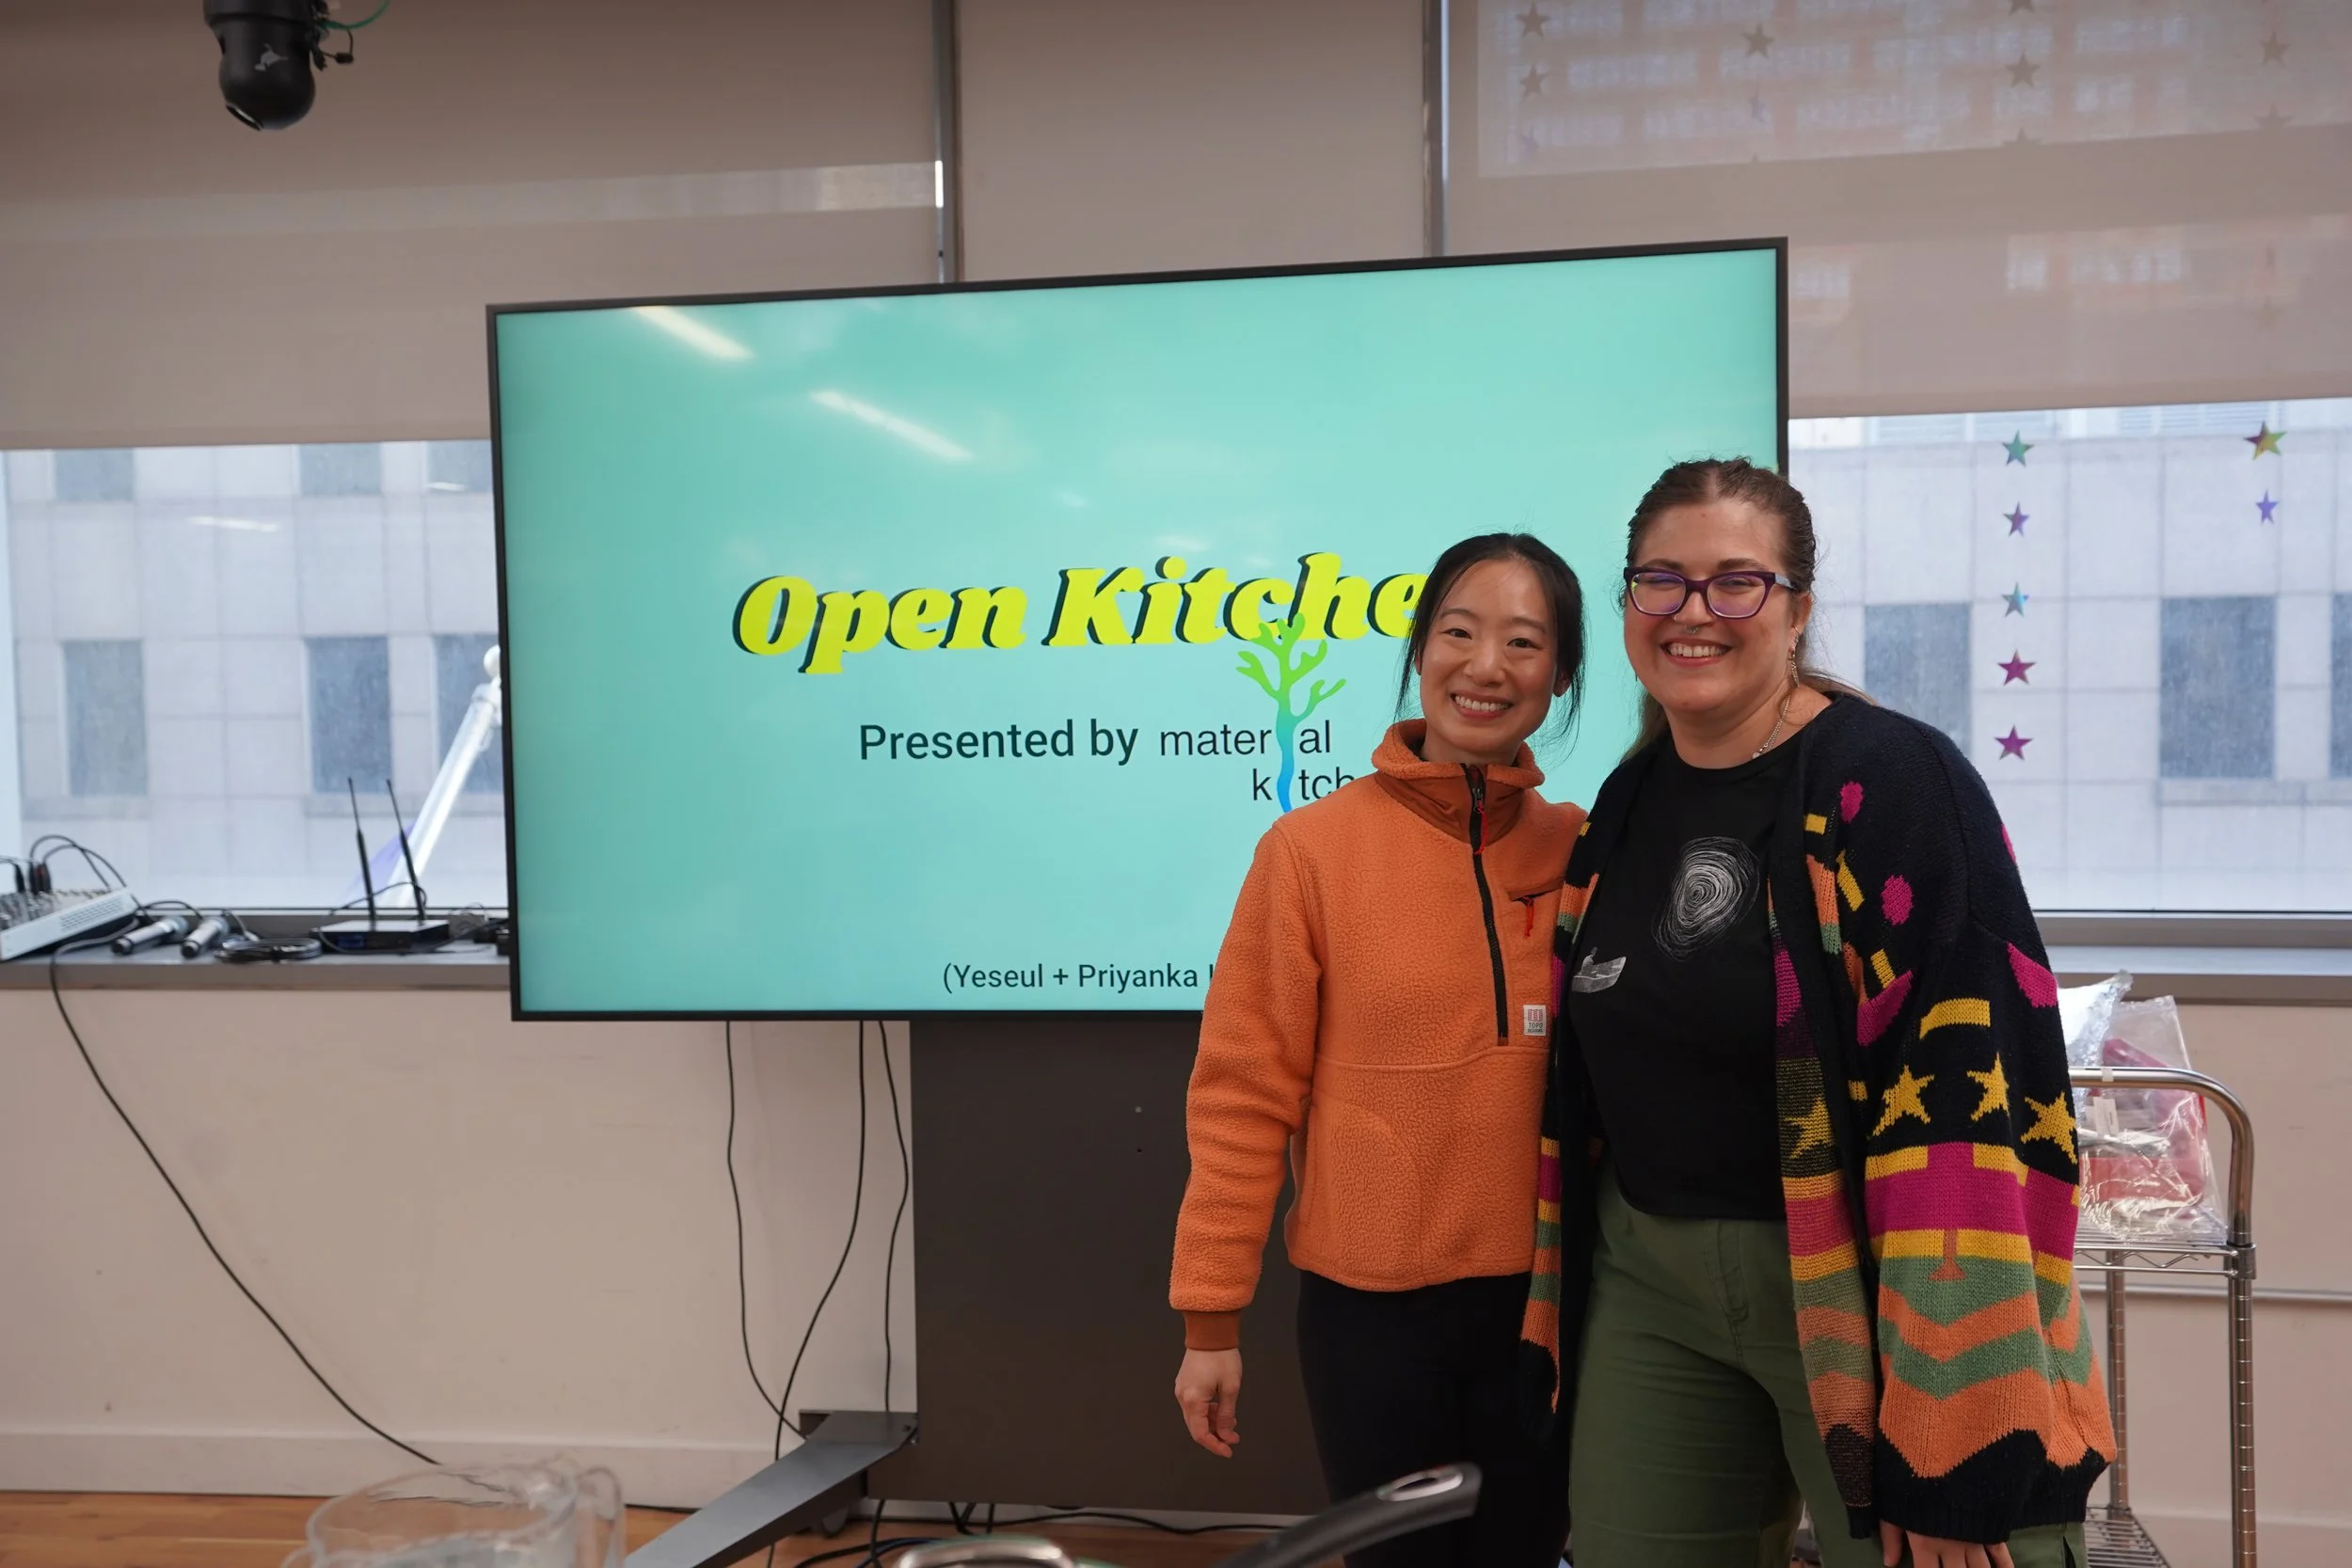
Open Kitchen by Material Kitchen
with Yeseul Song @ Interactive Telecommunications Program, November 7, 2025
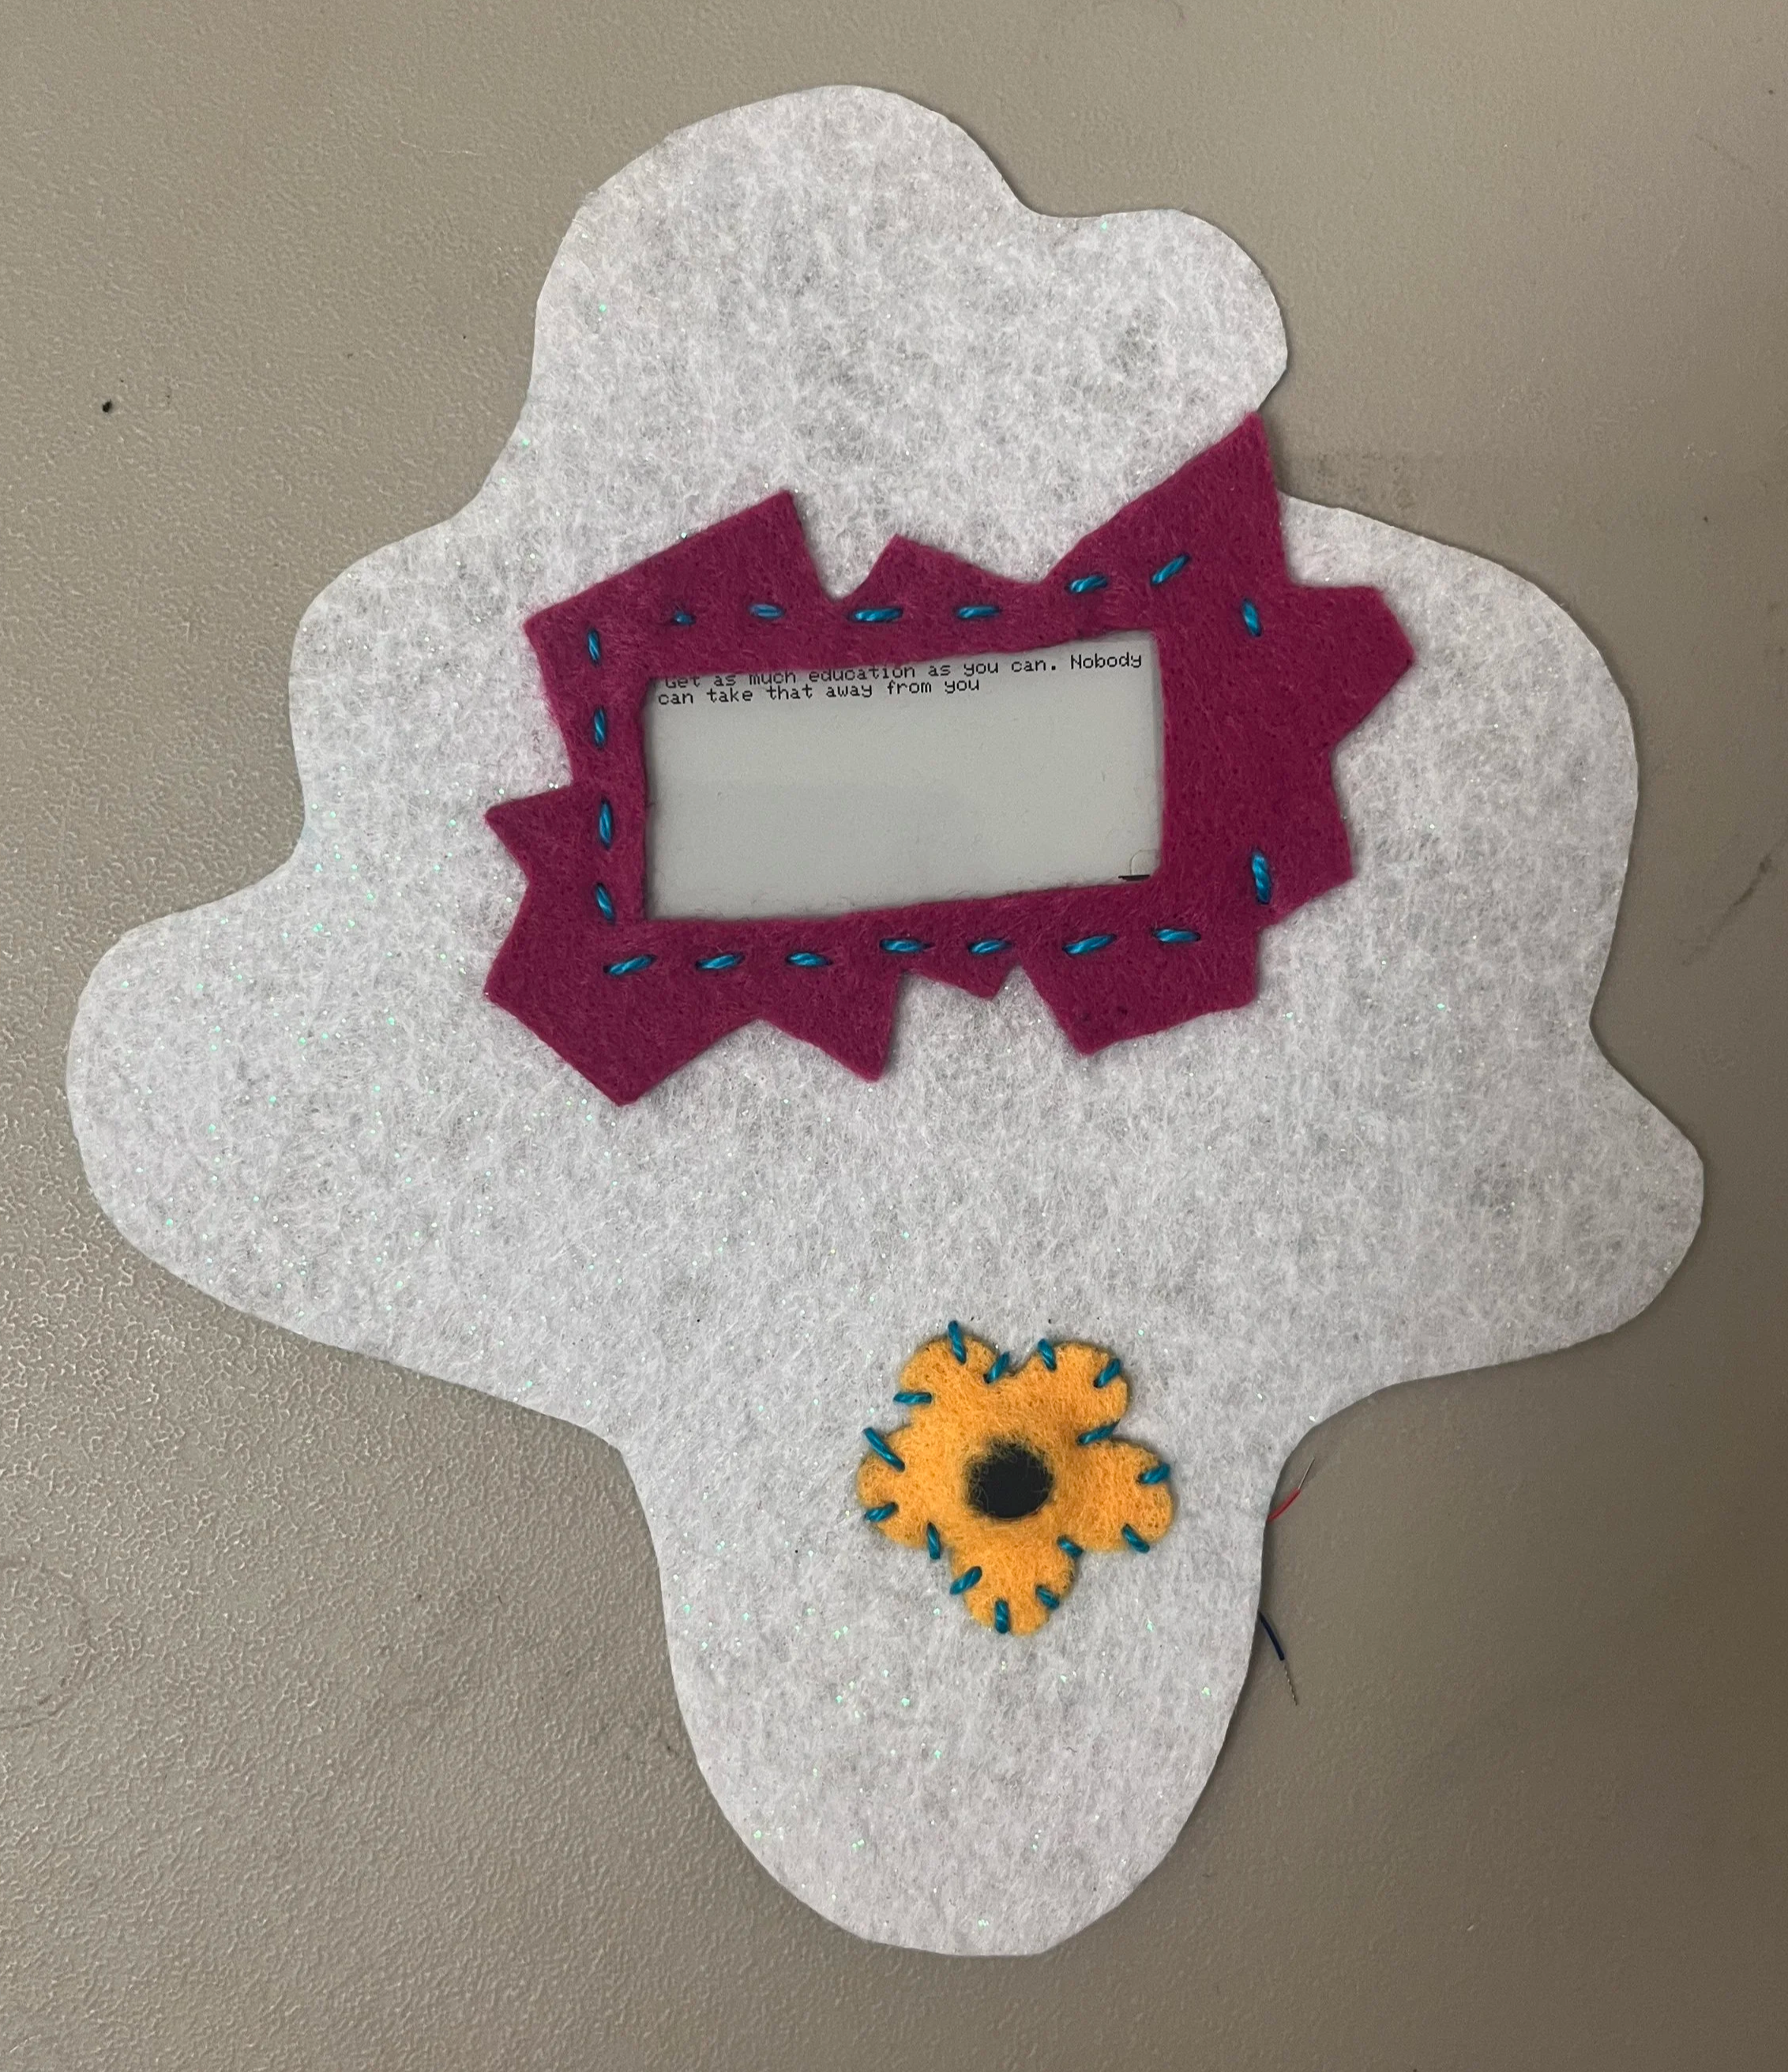
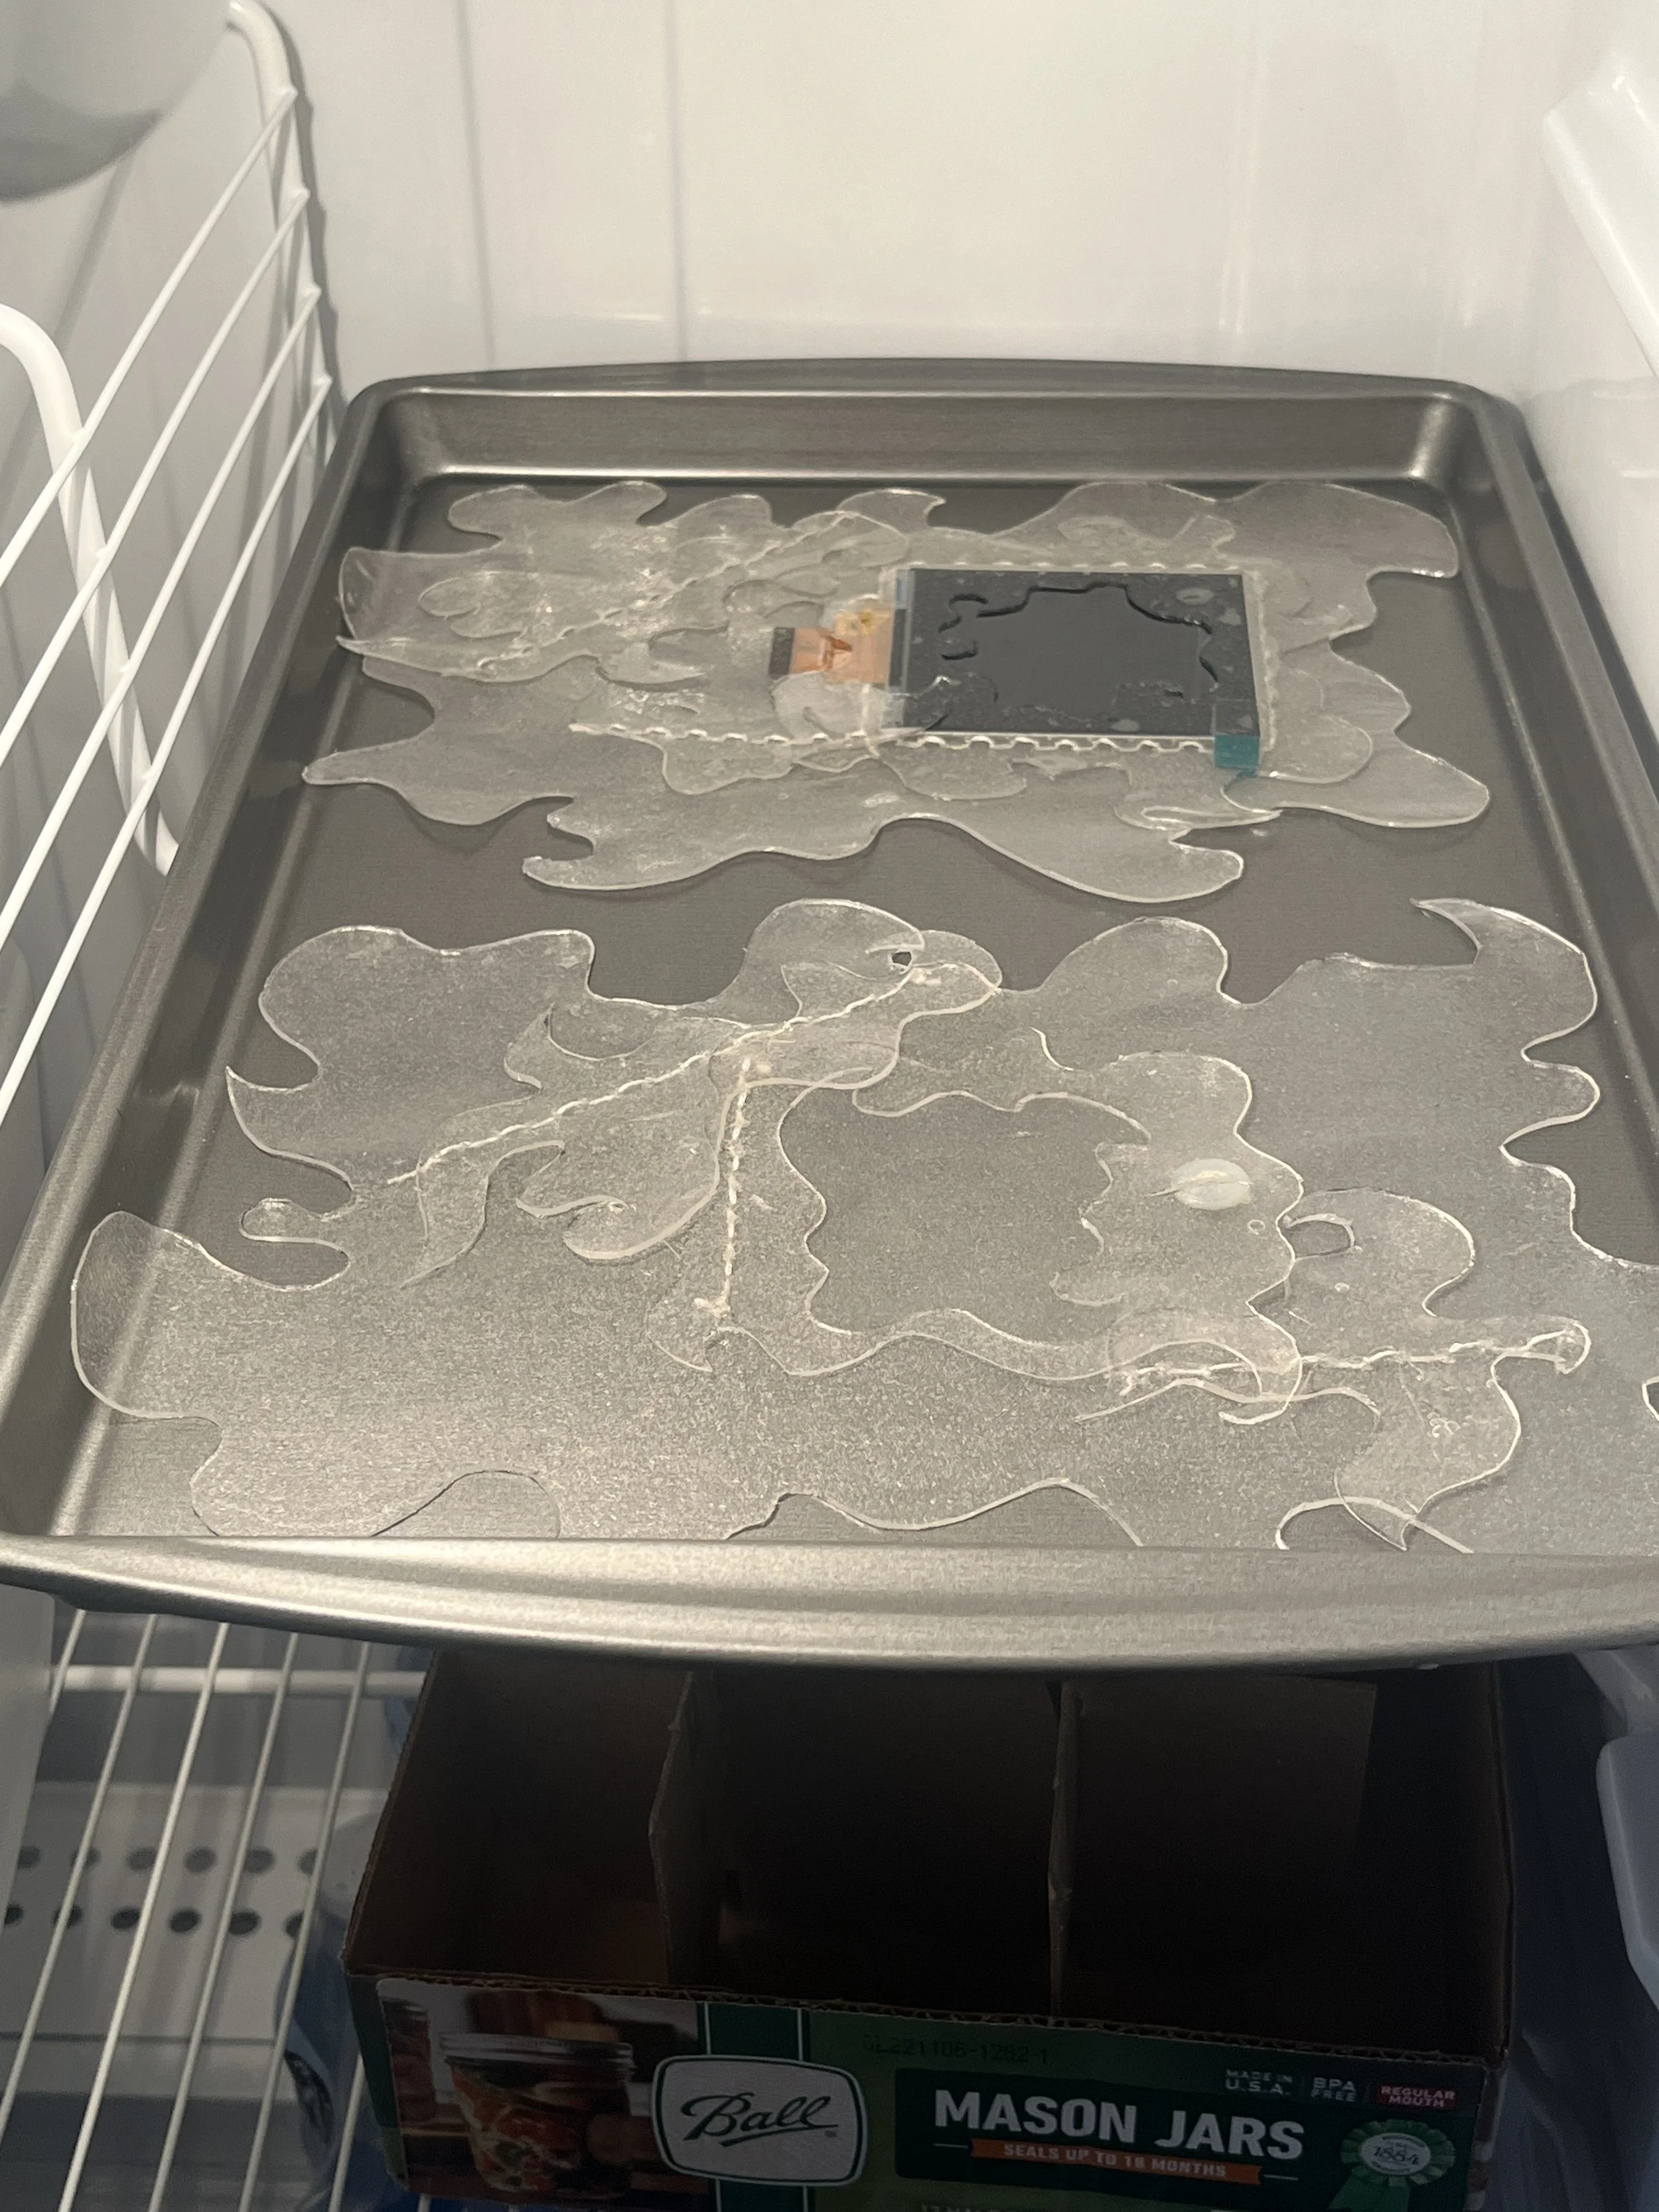
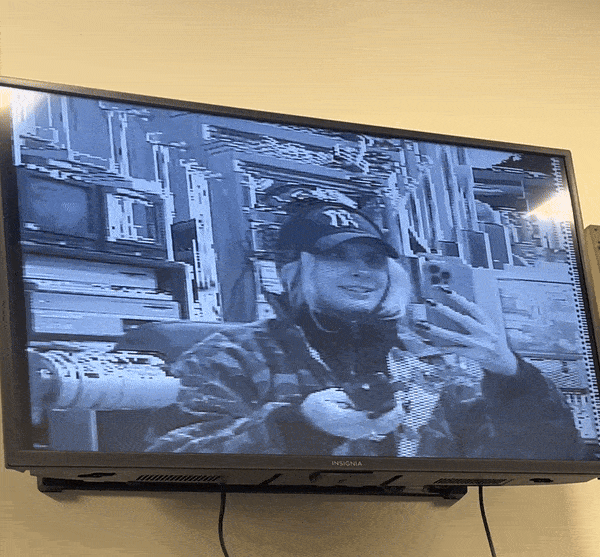
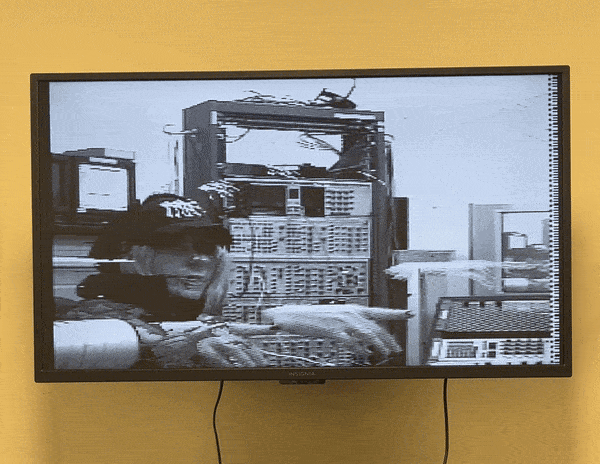
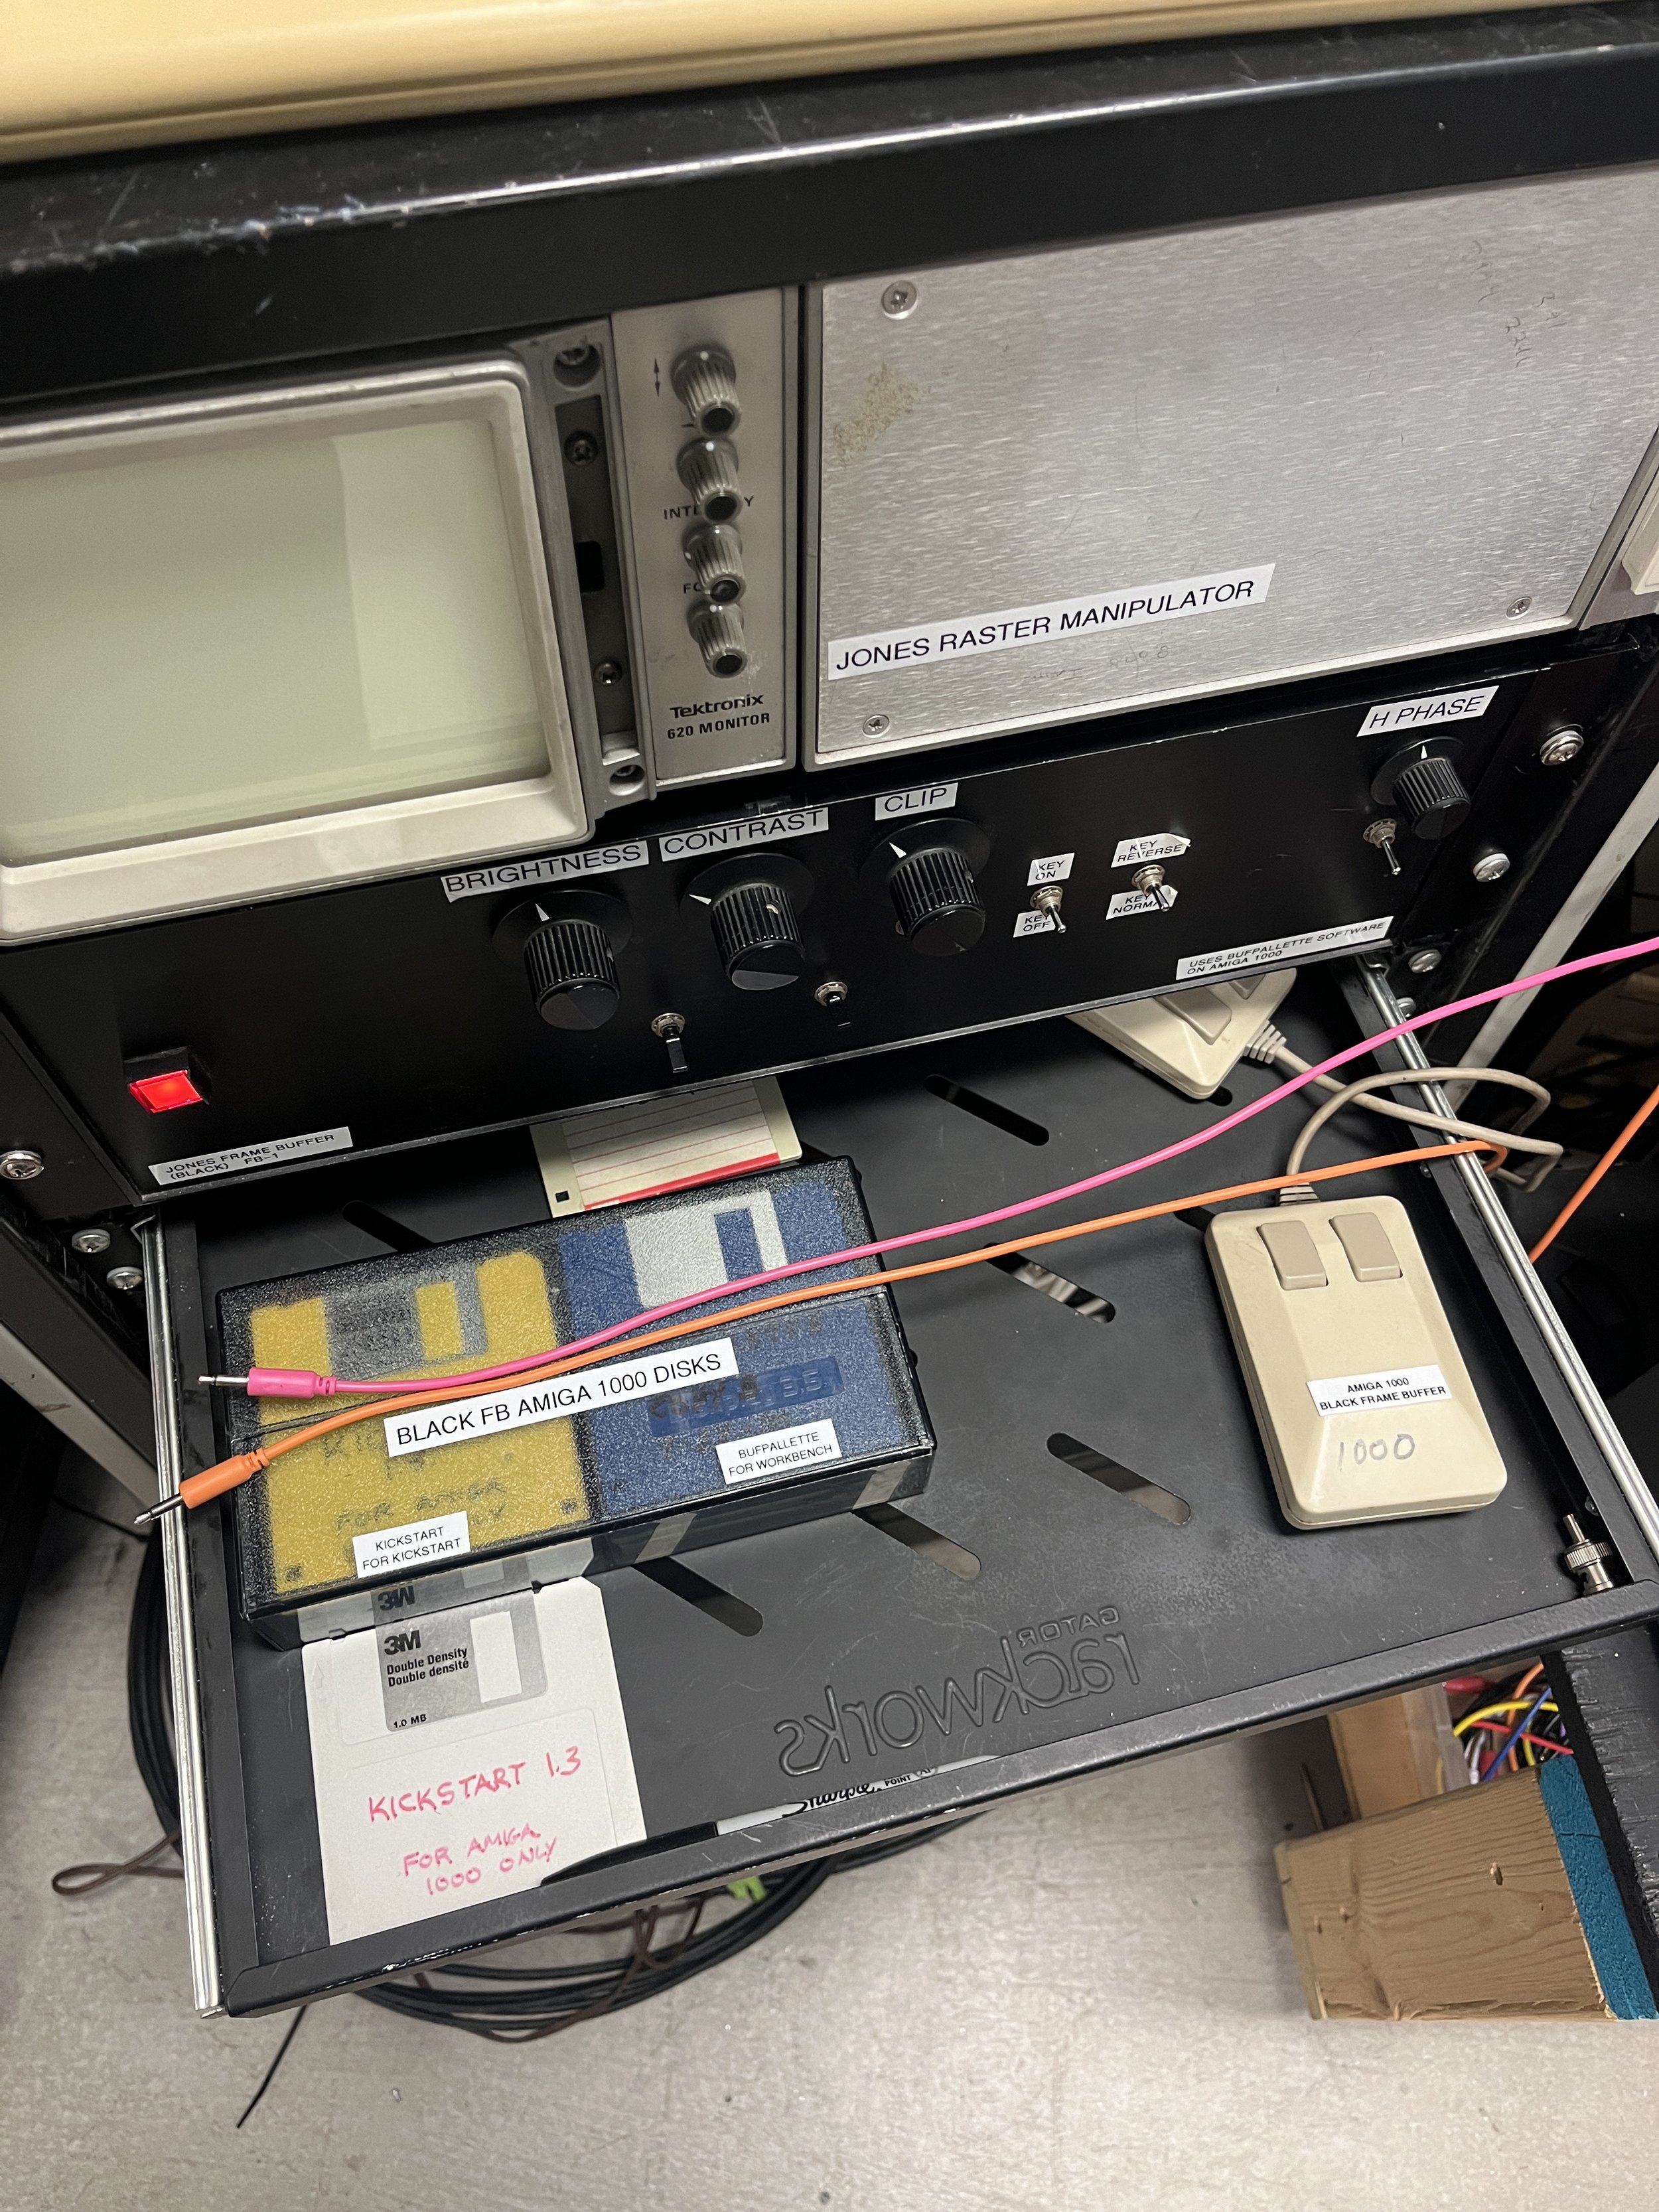
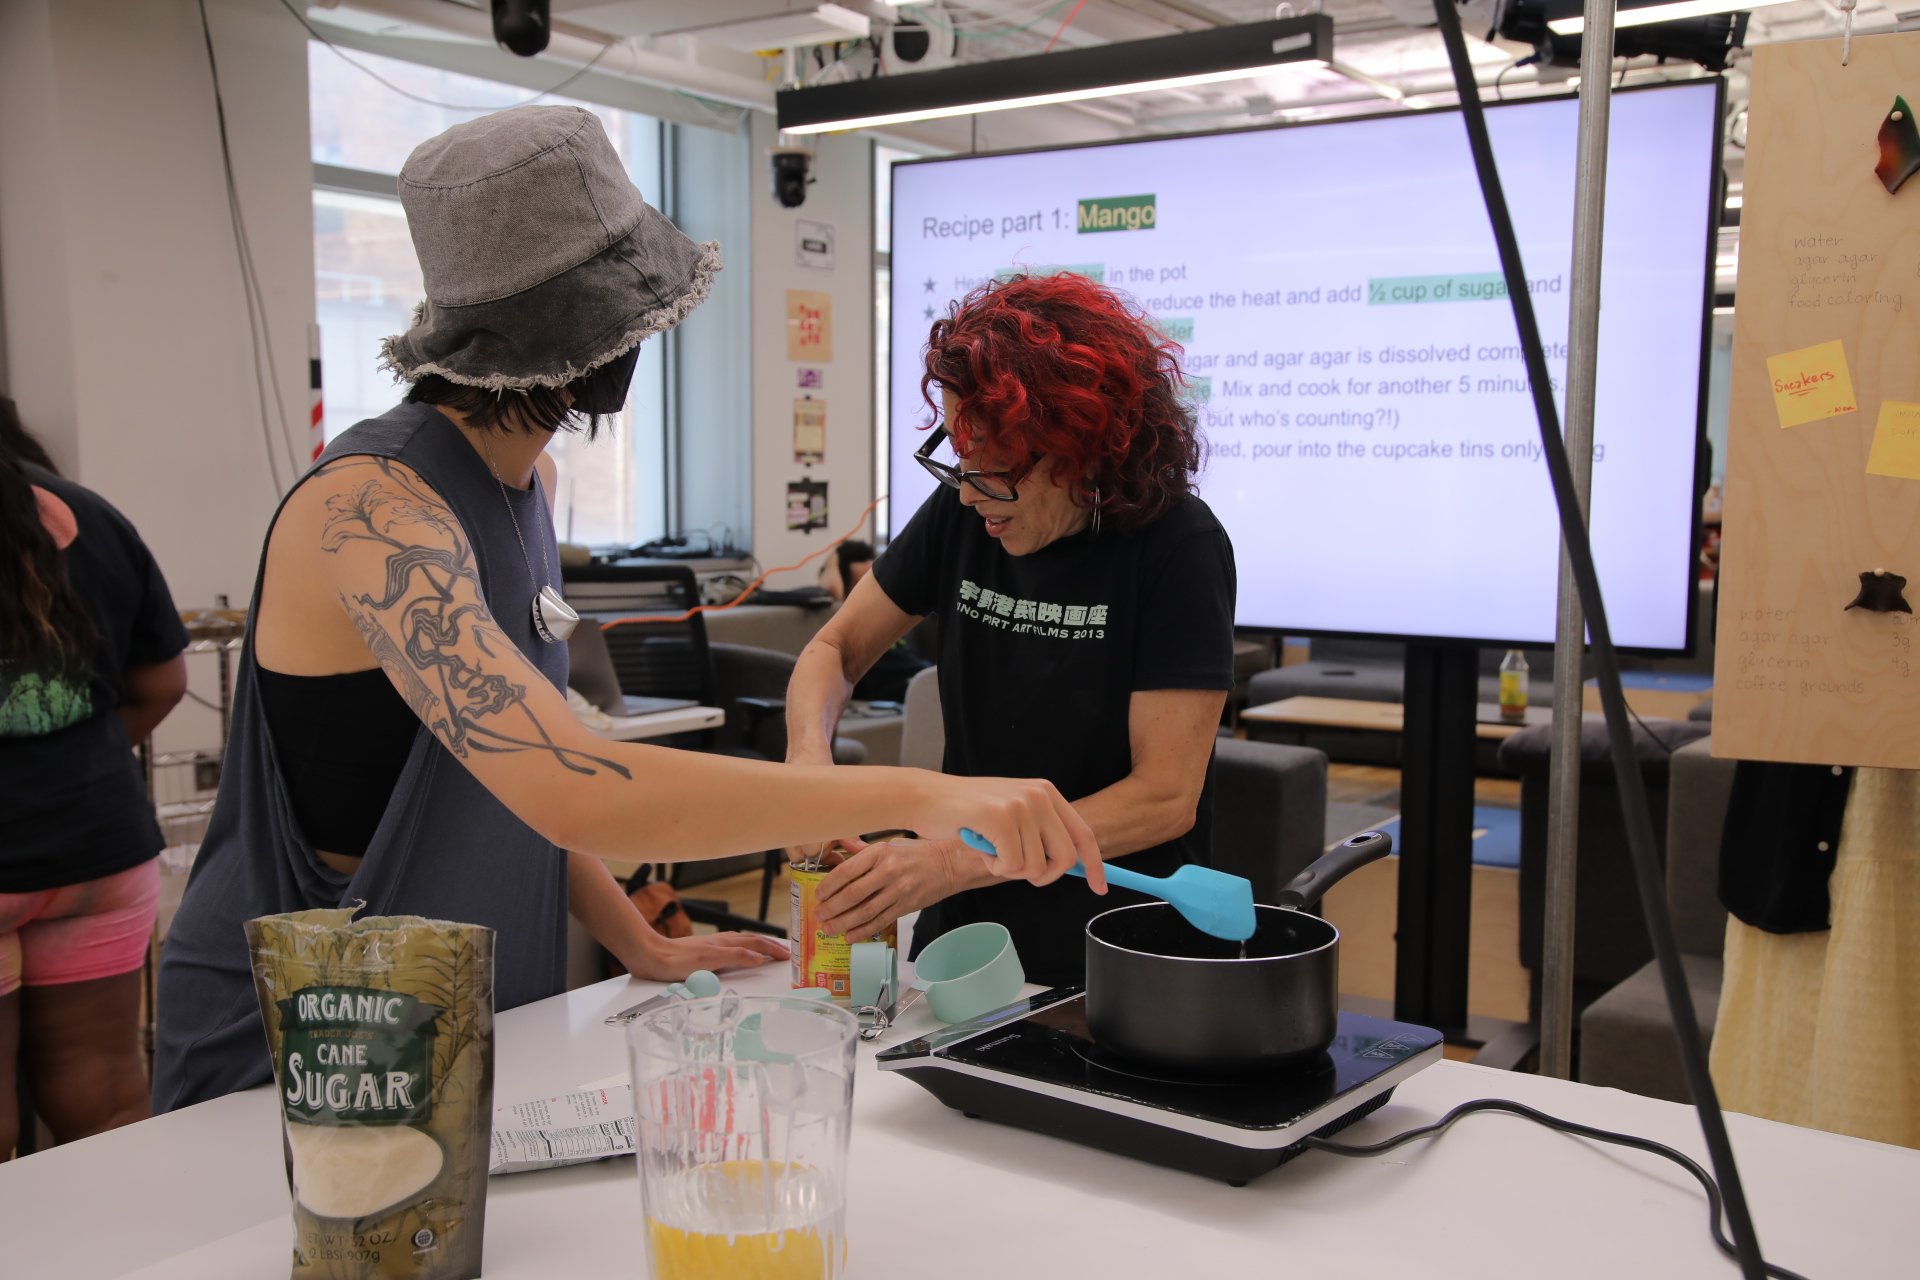
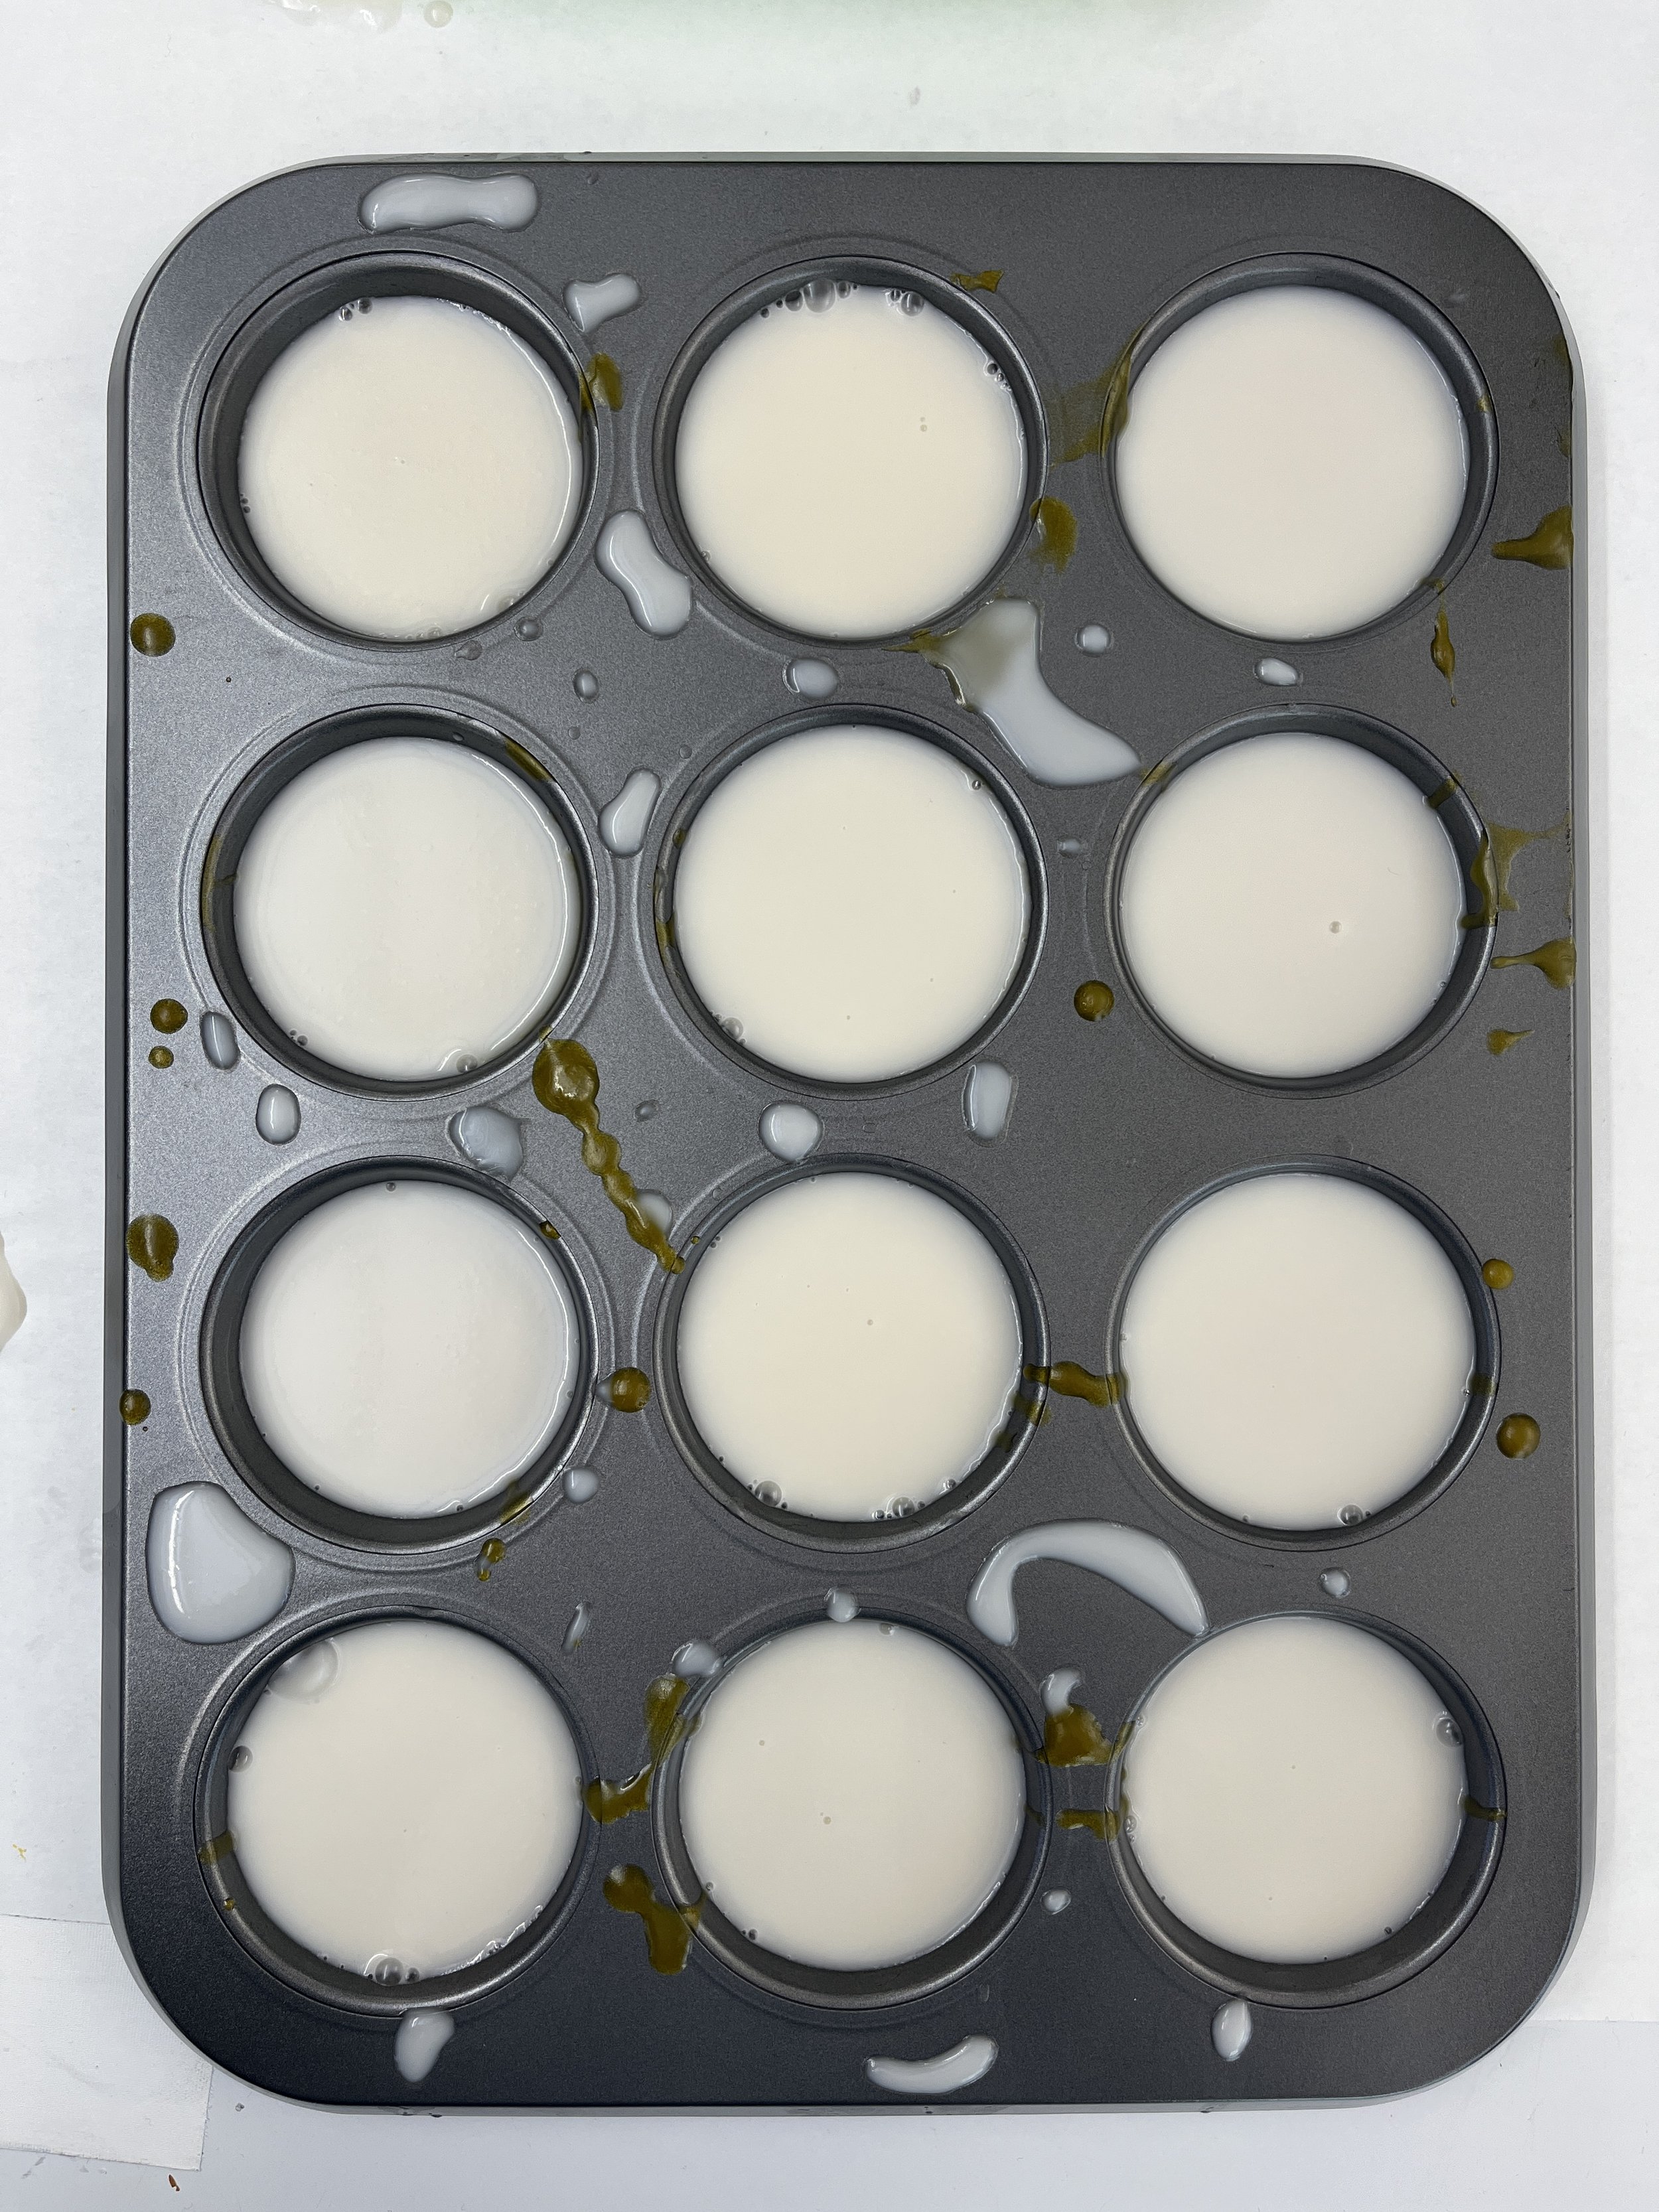
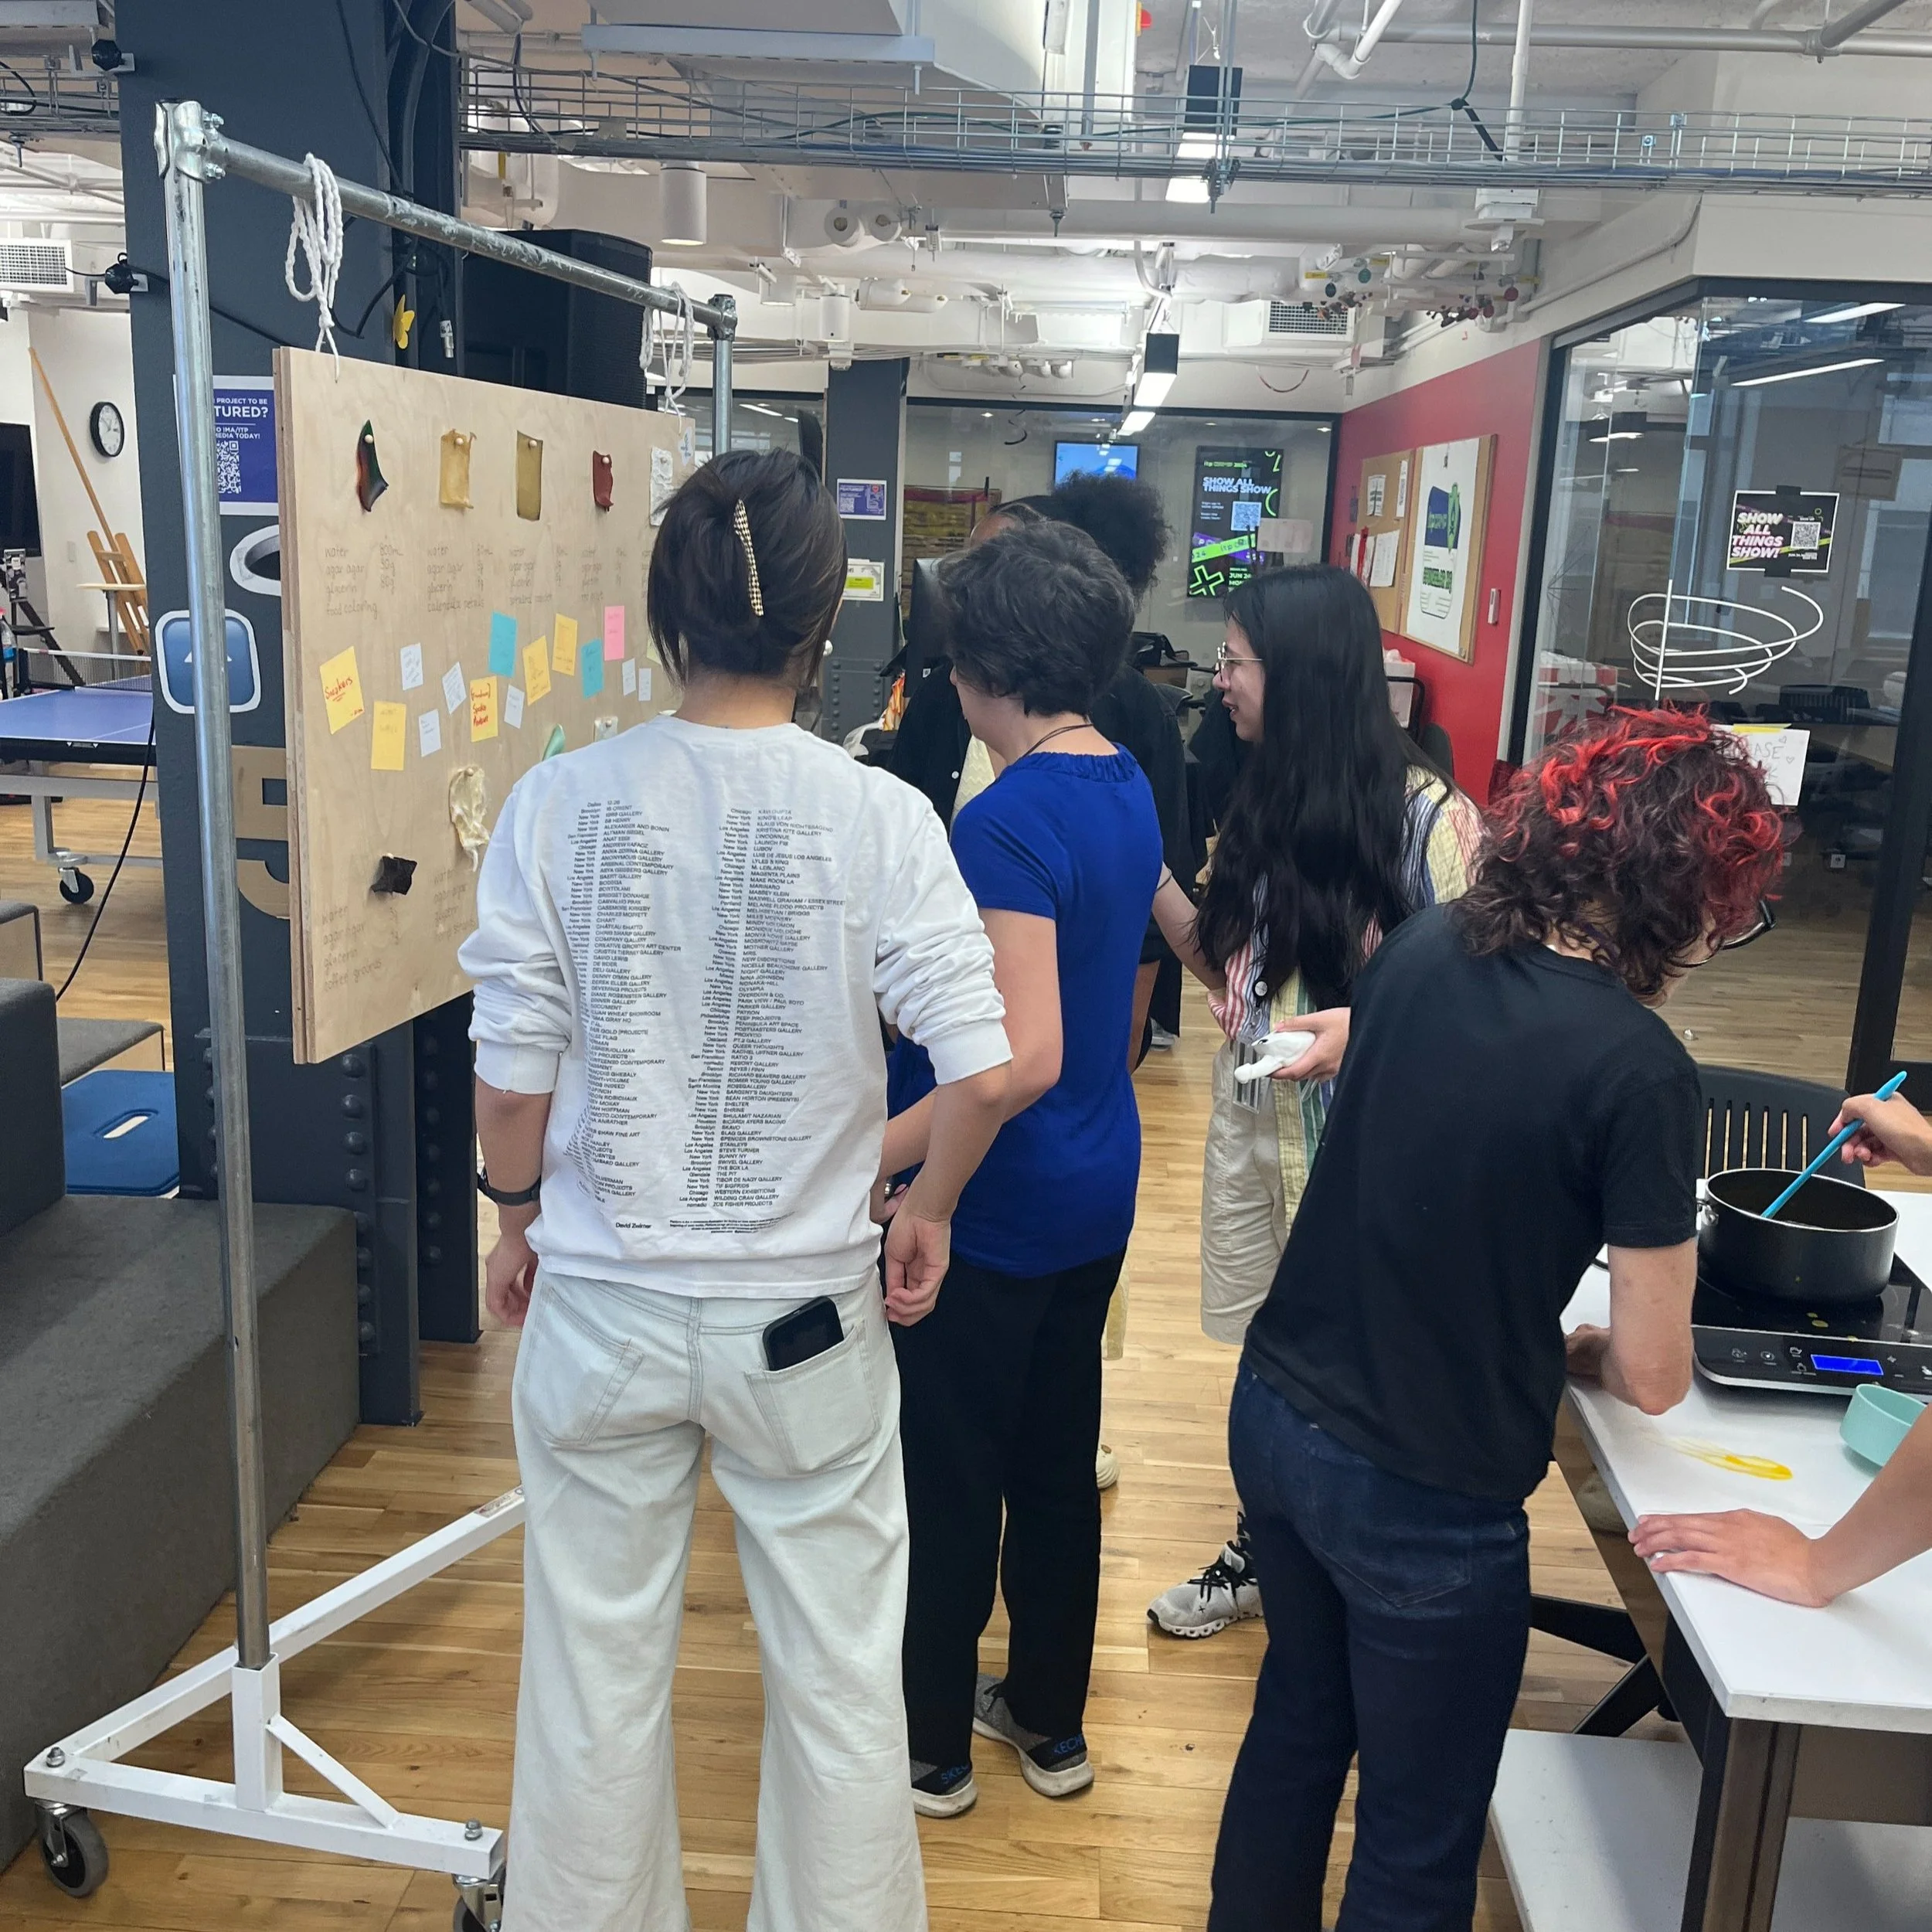
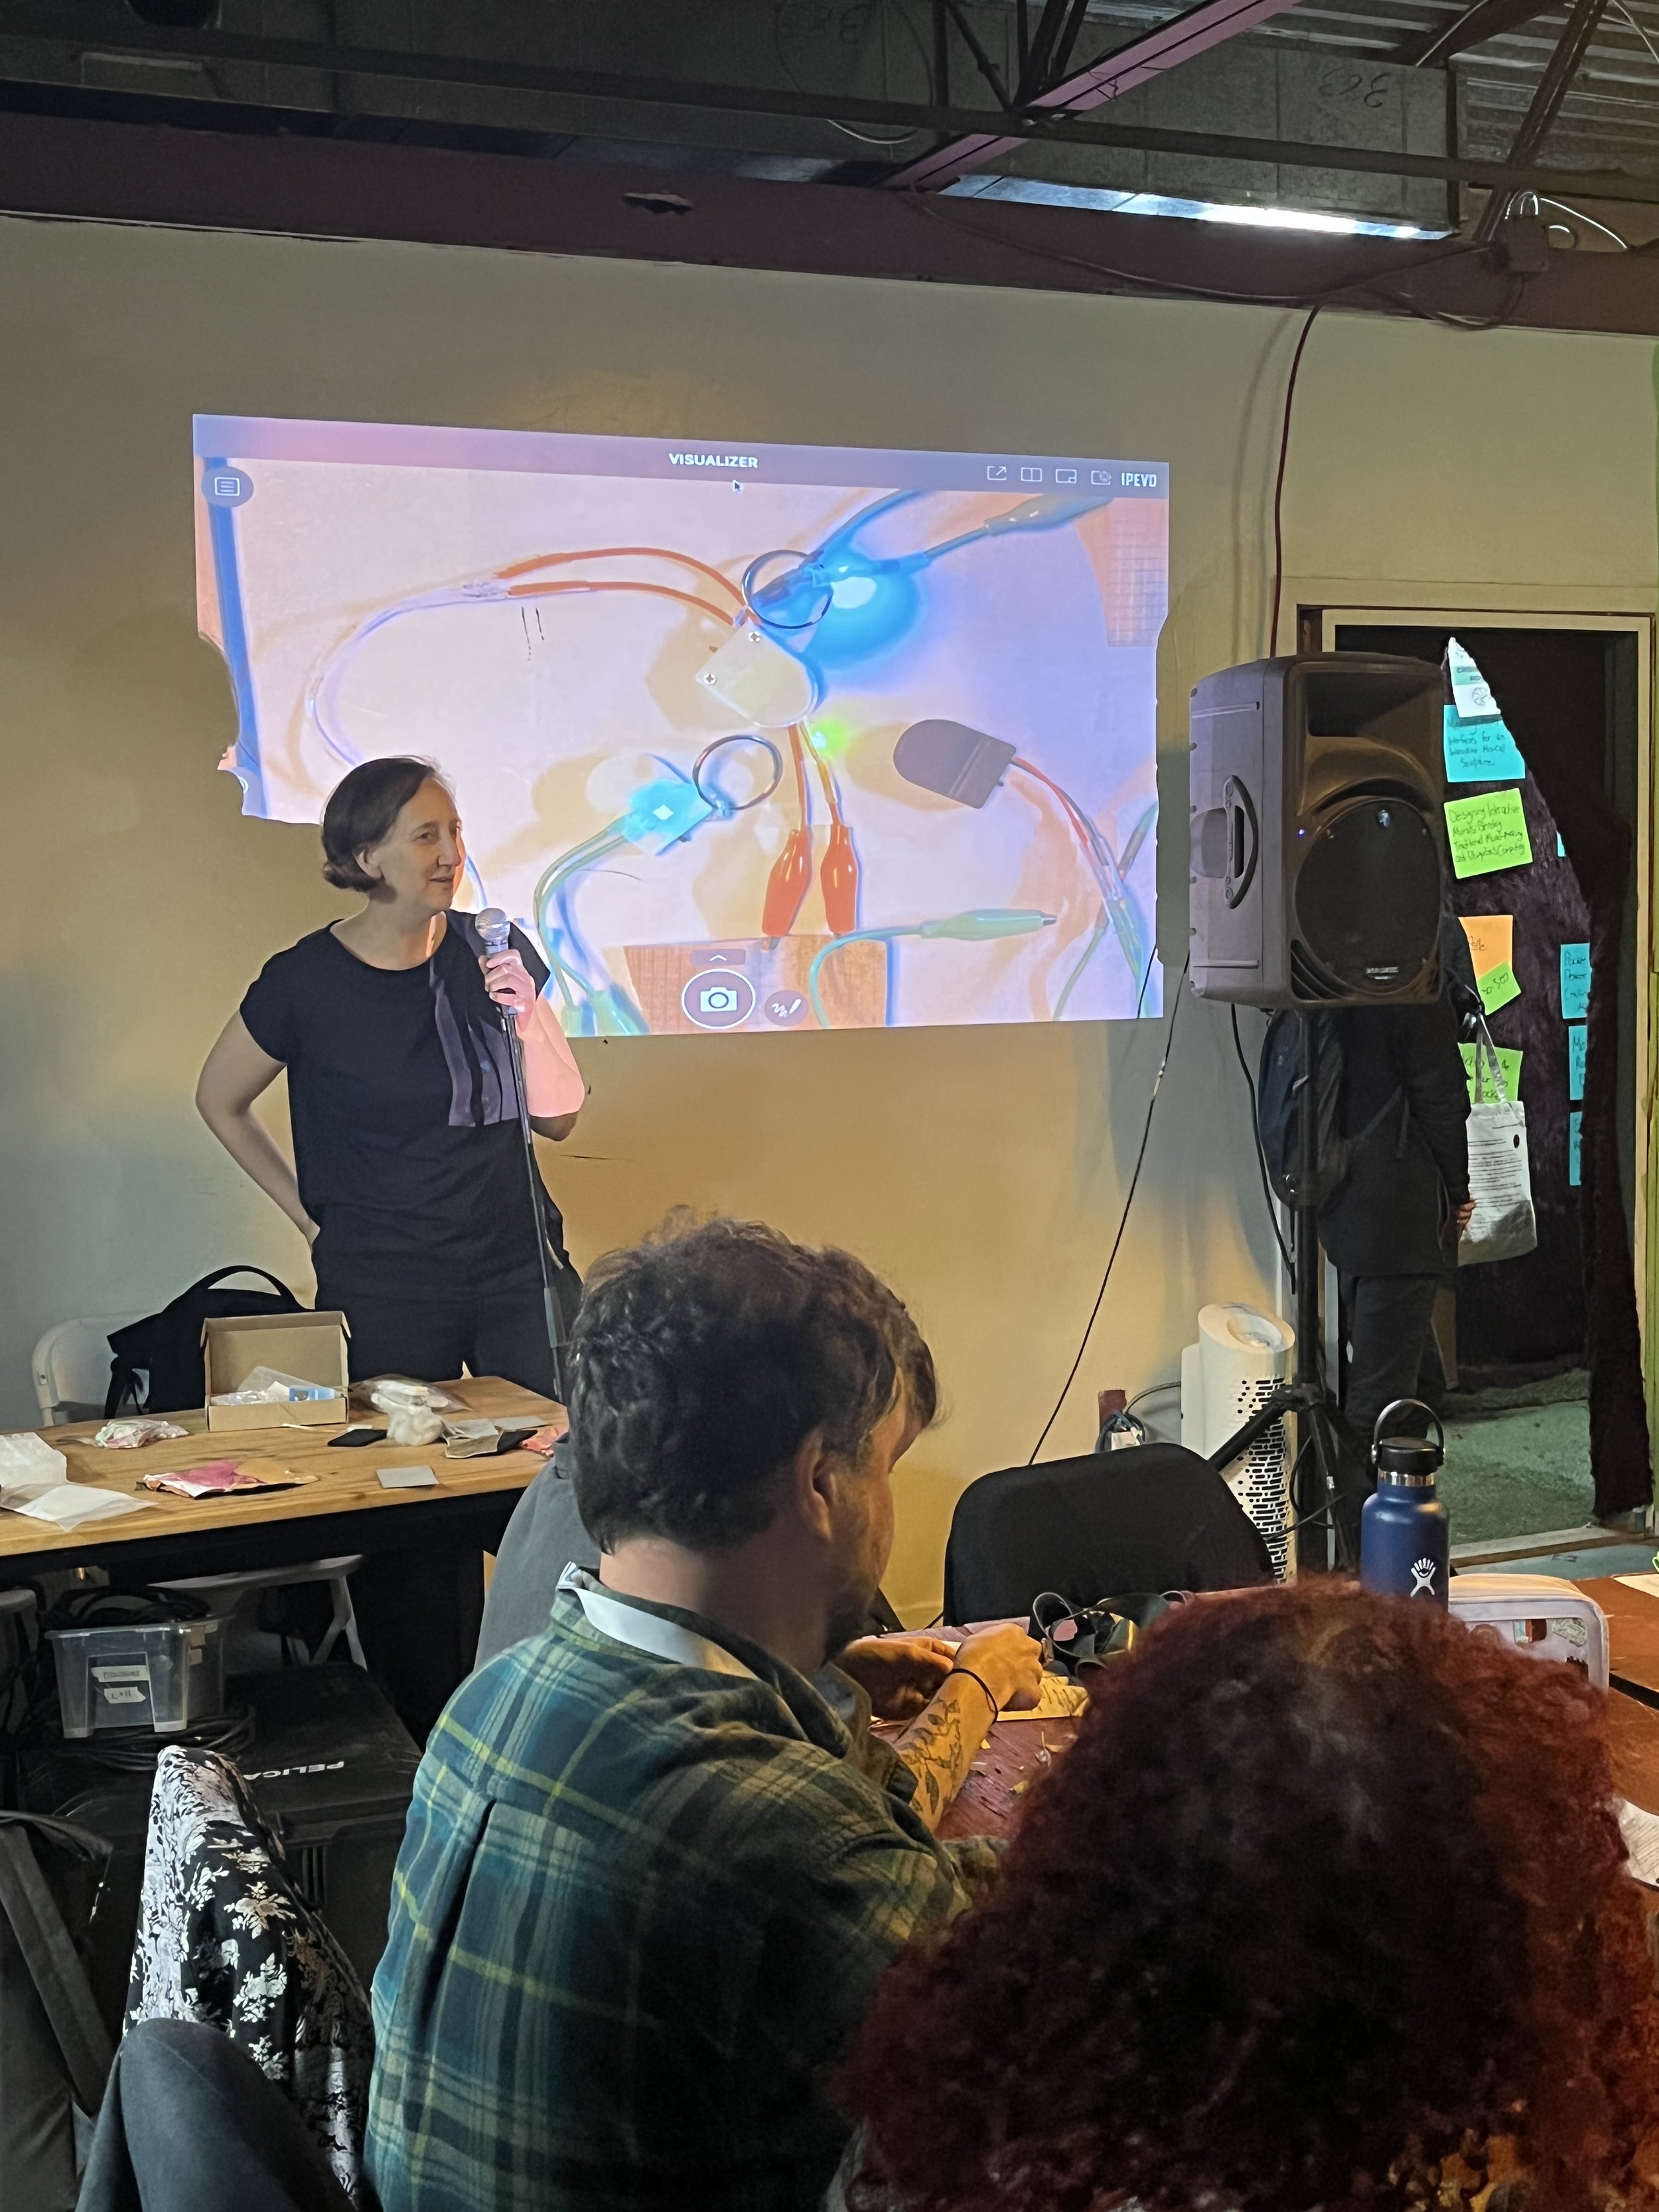
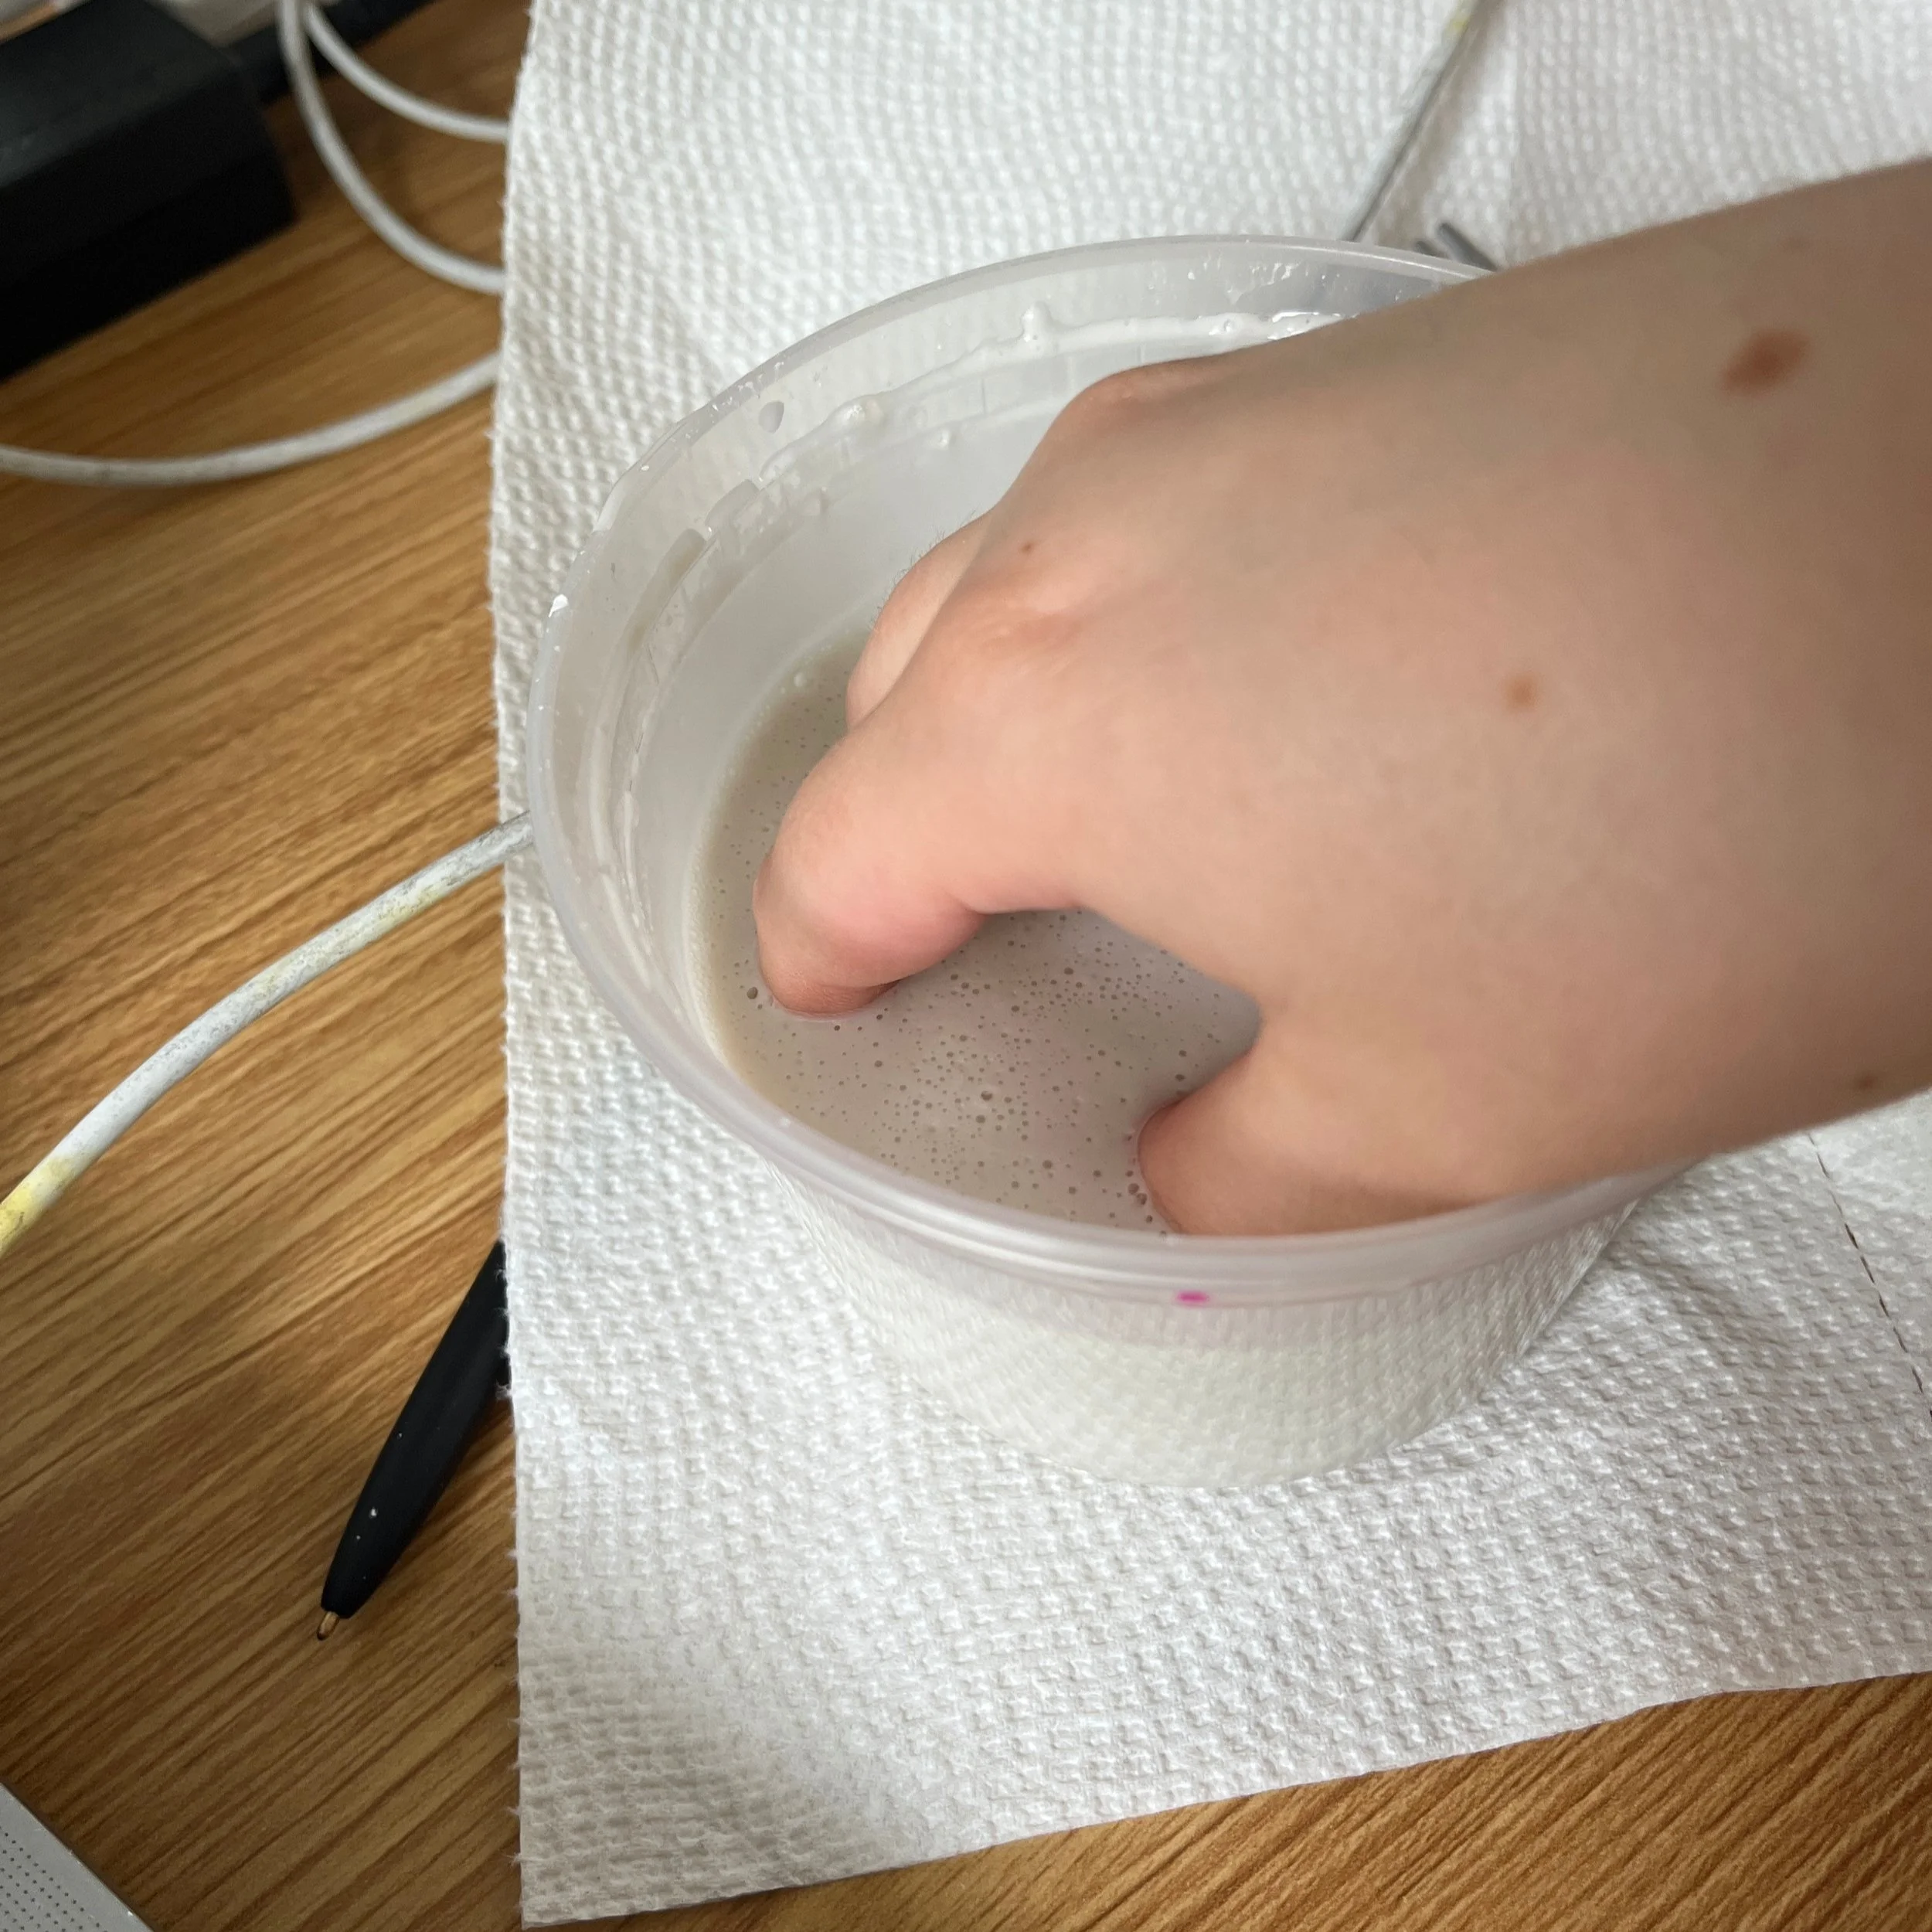
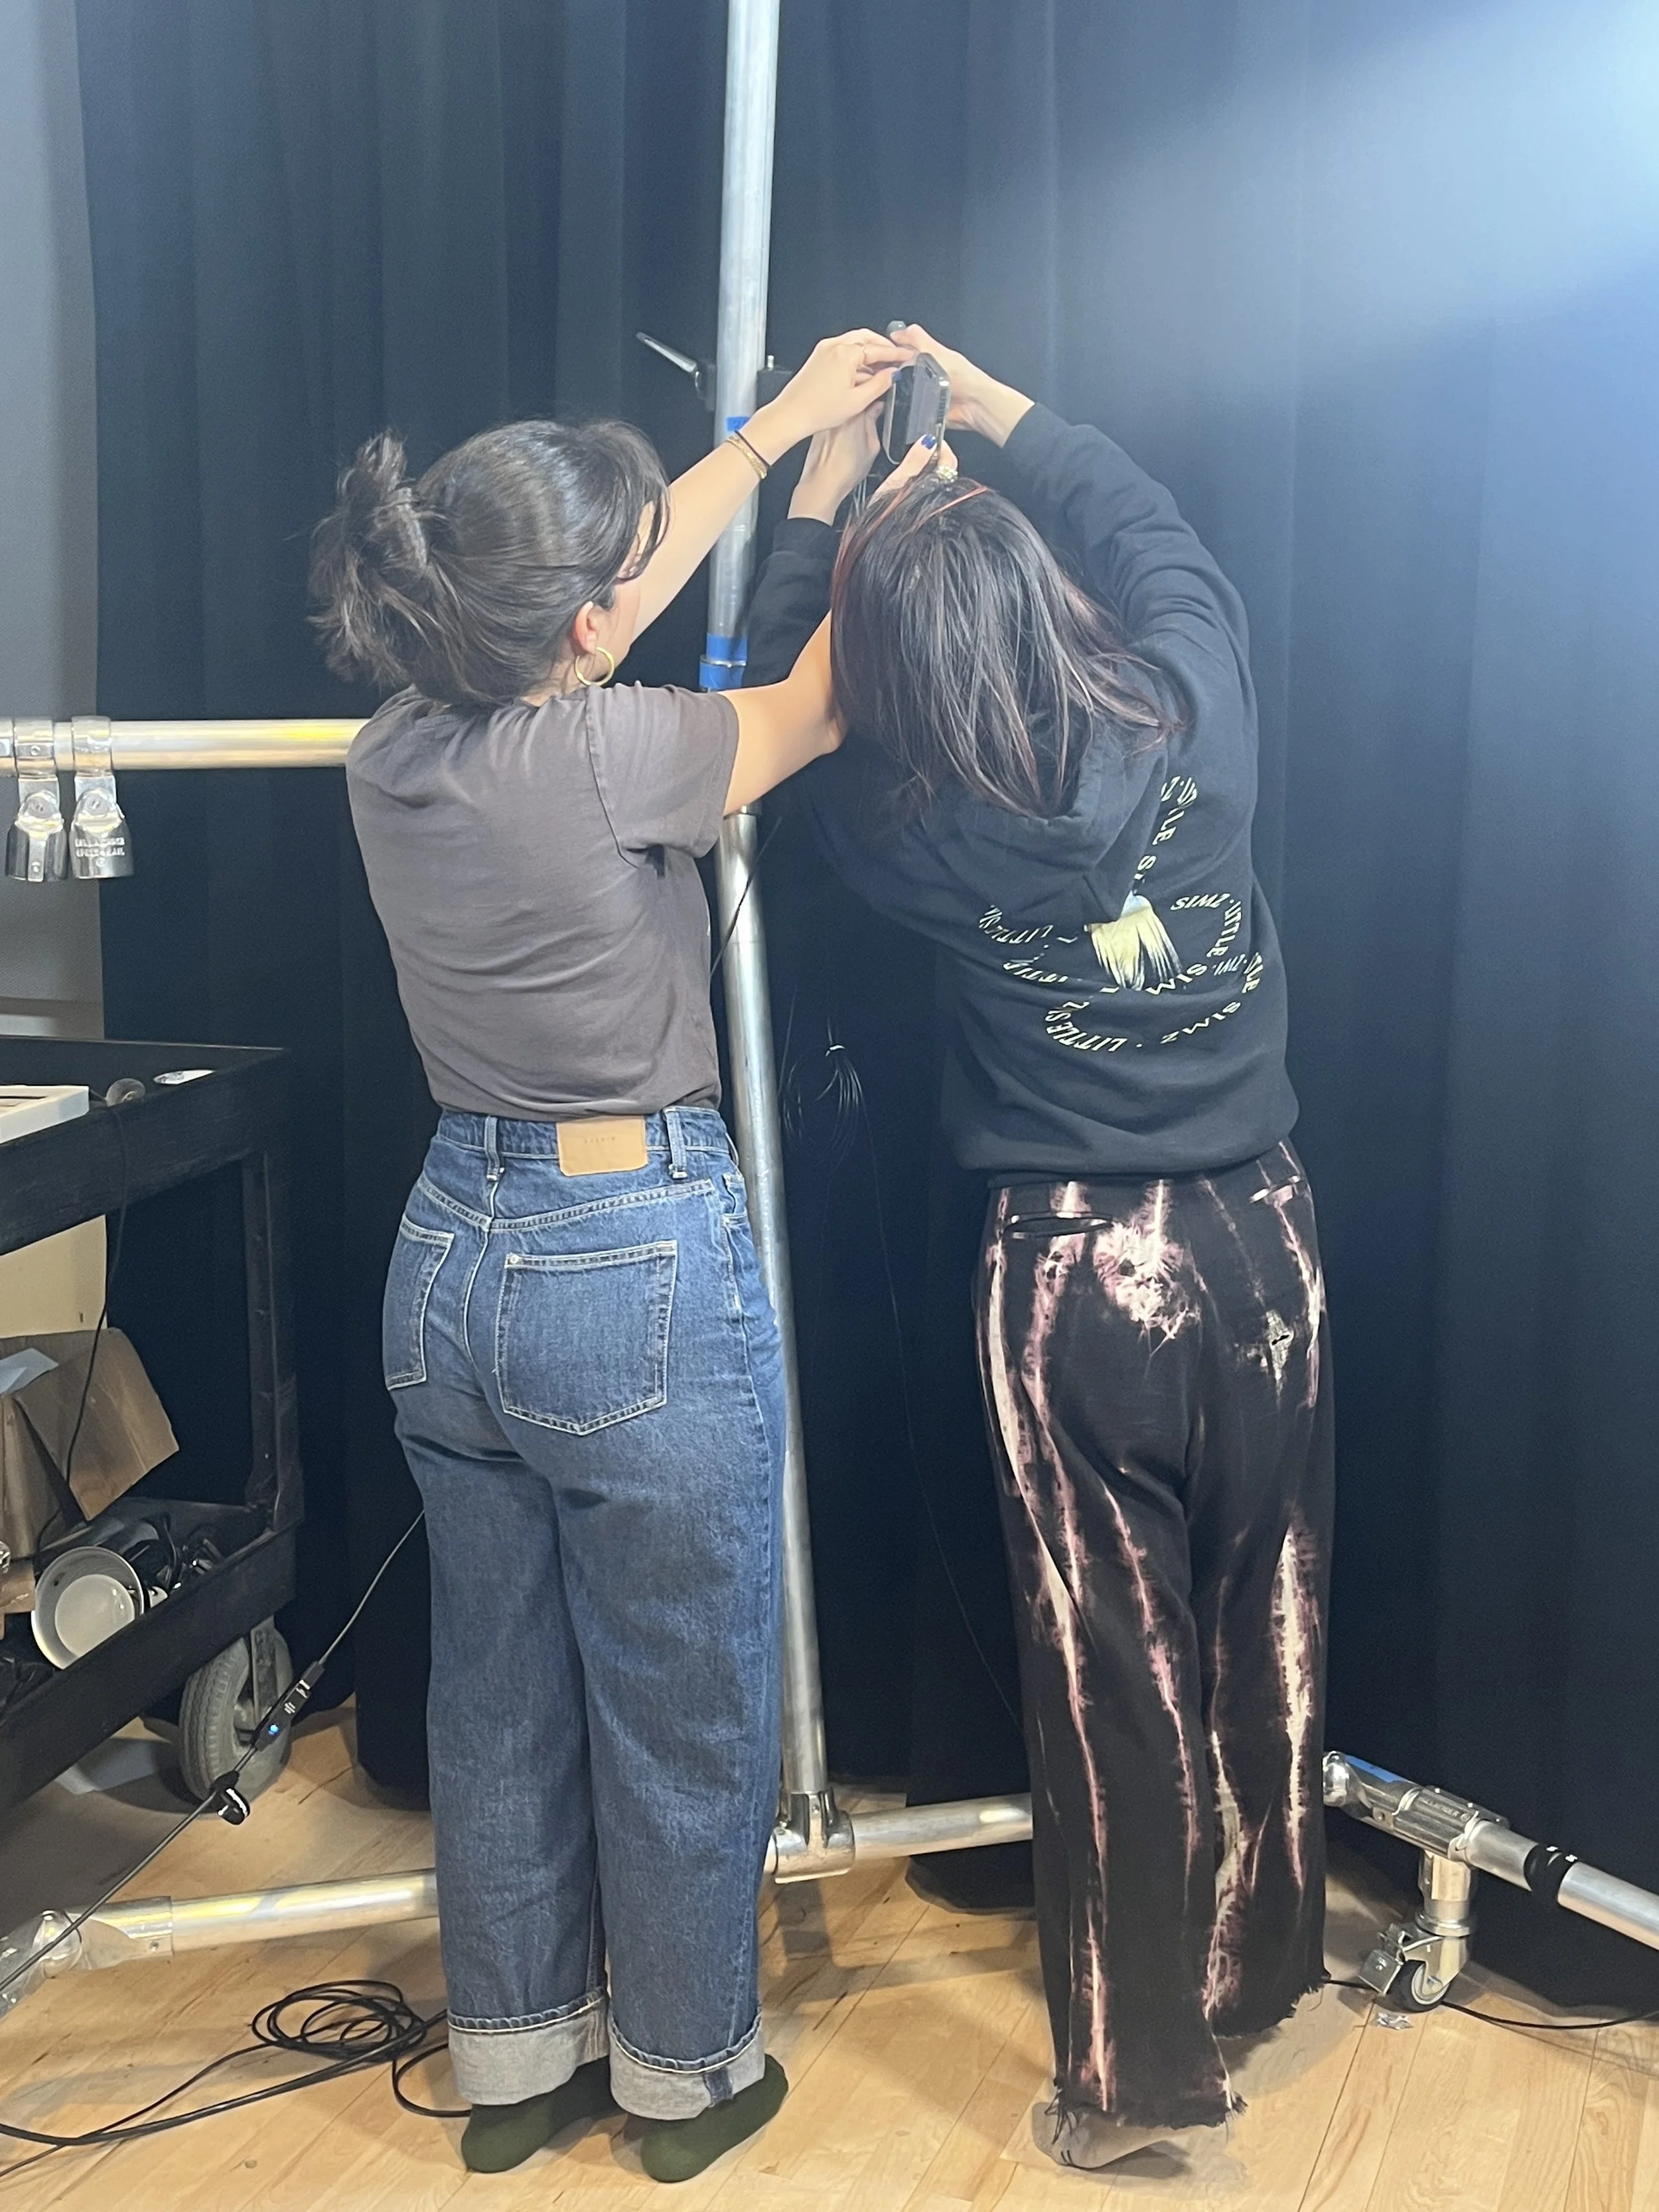
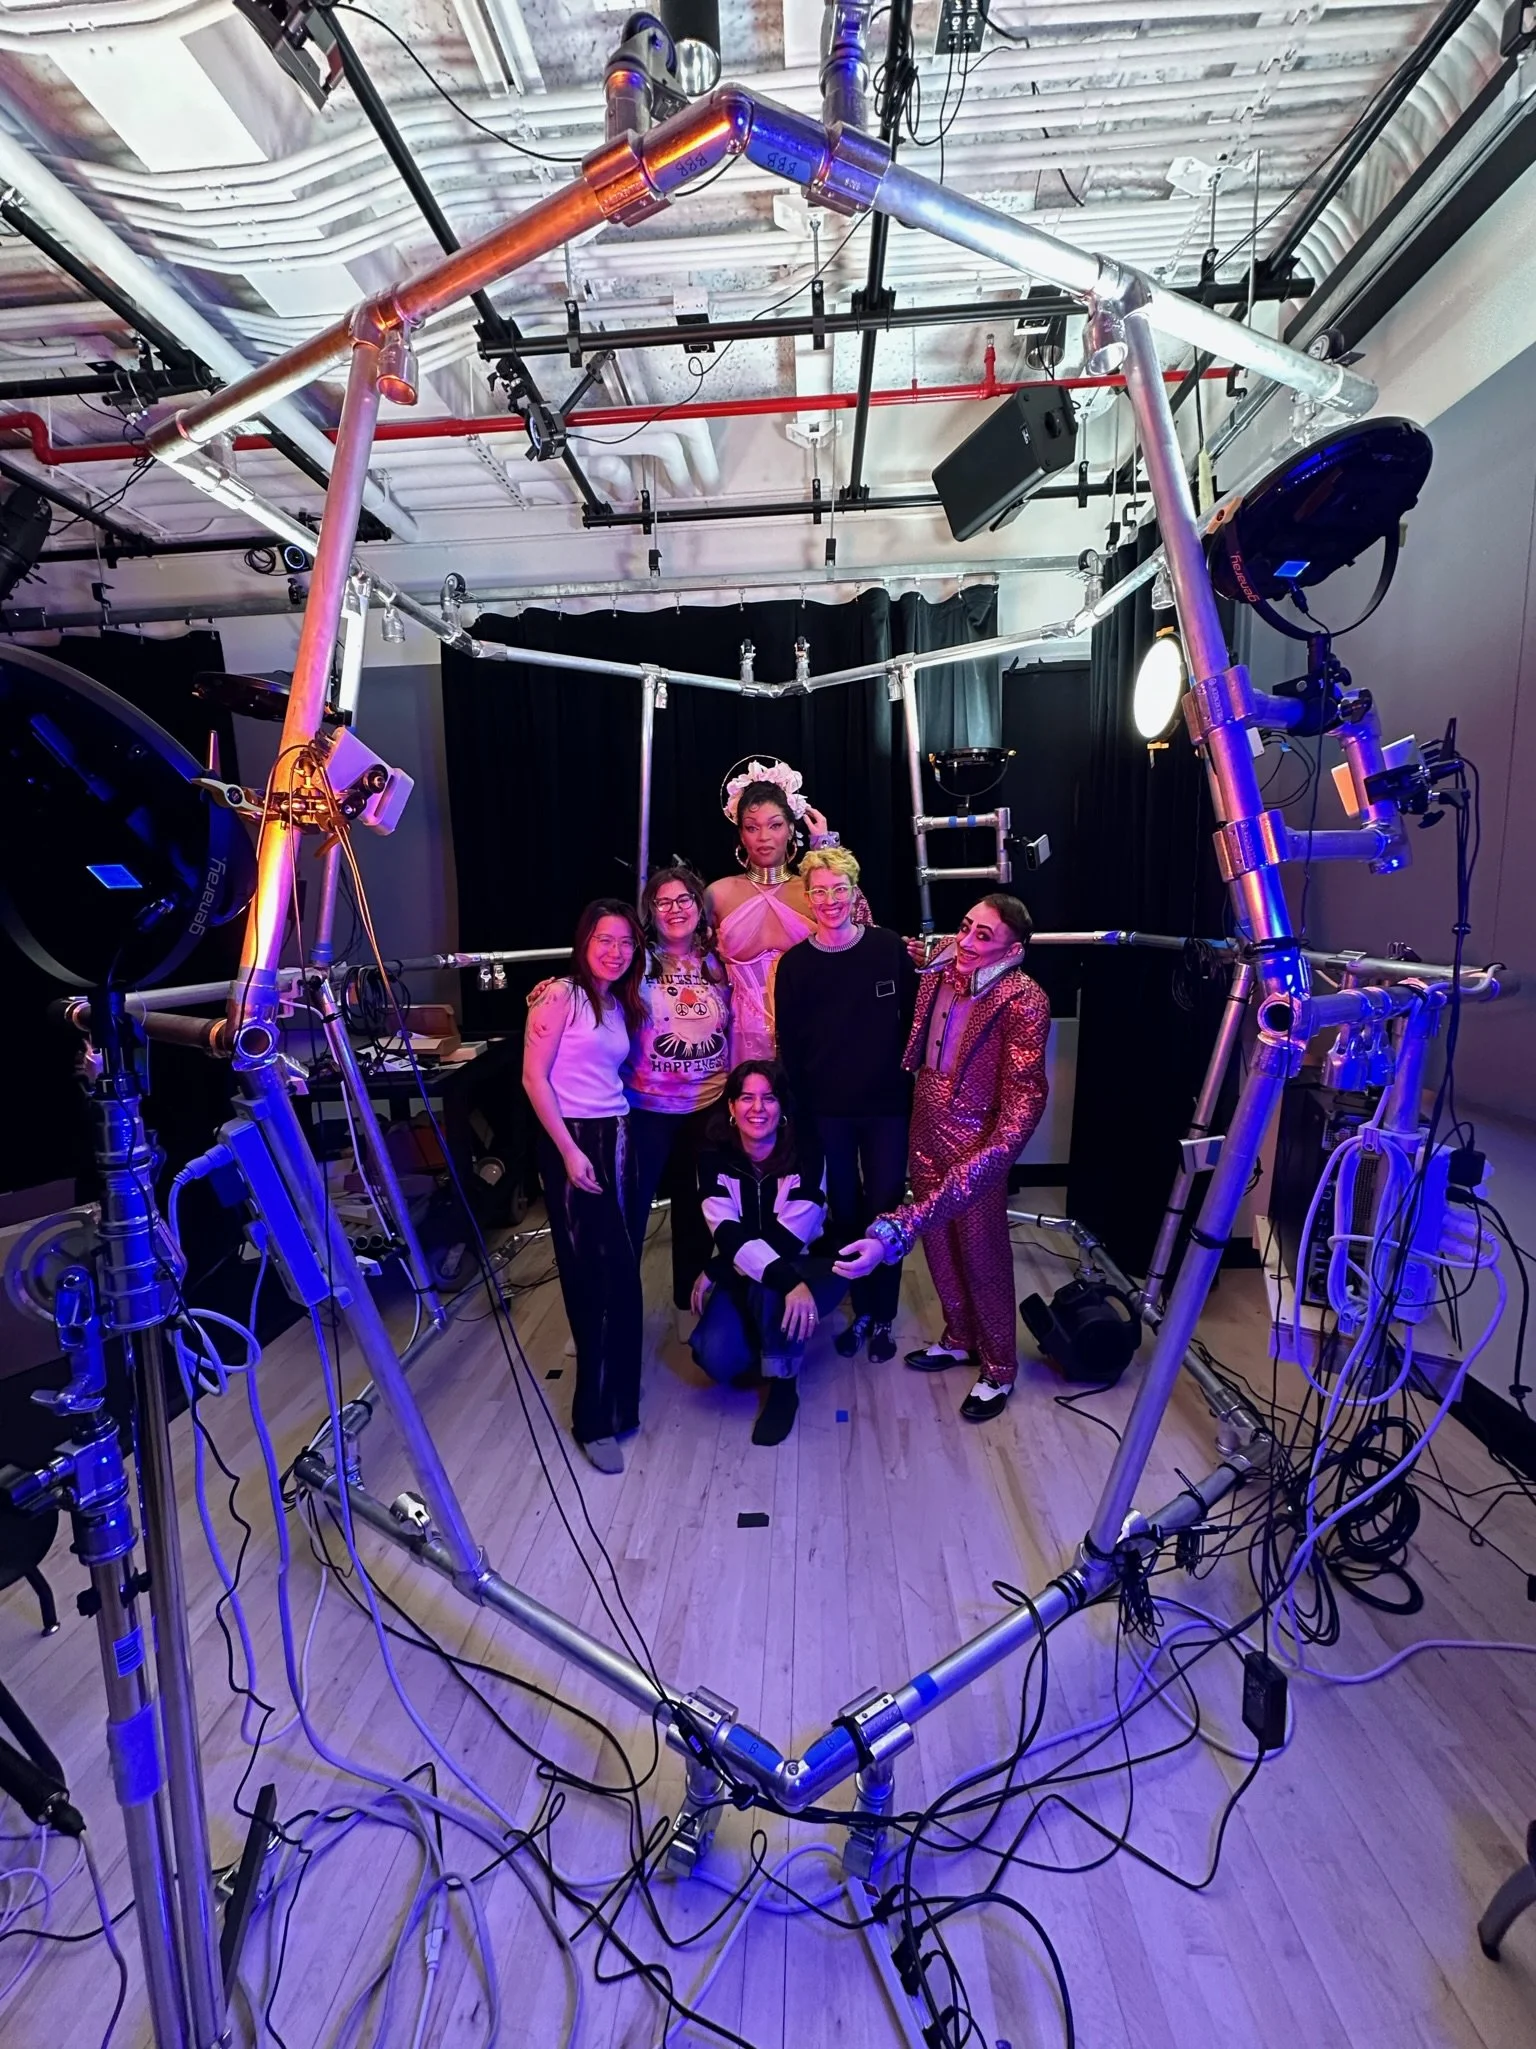
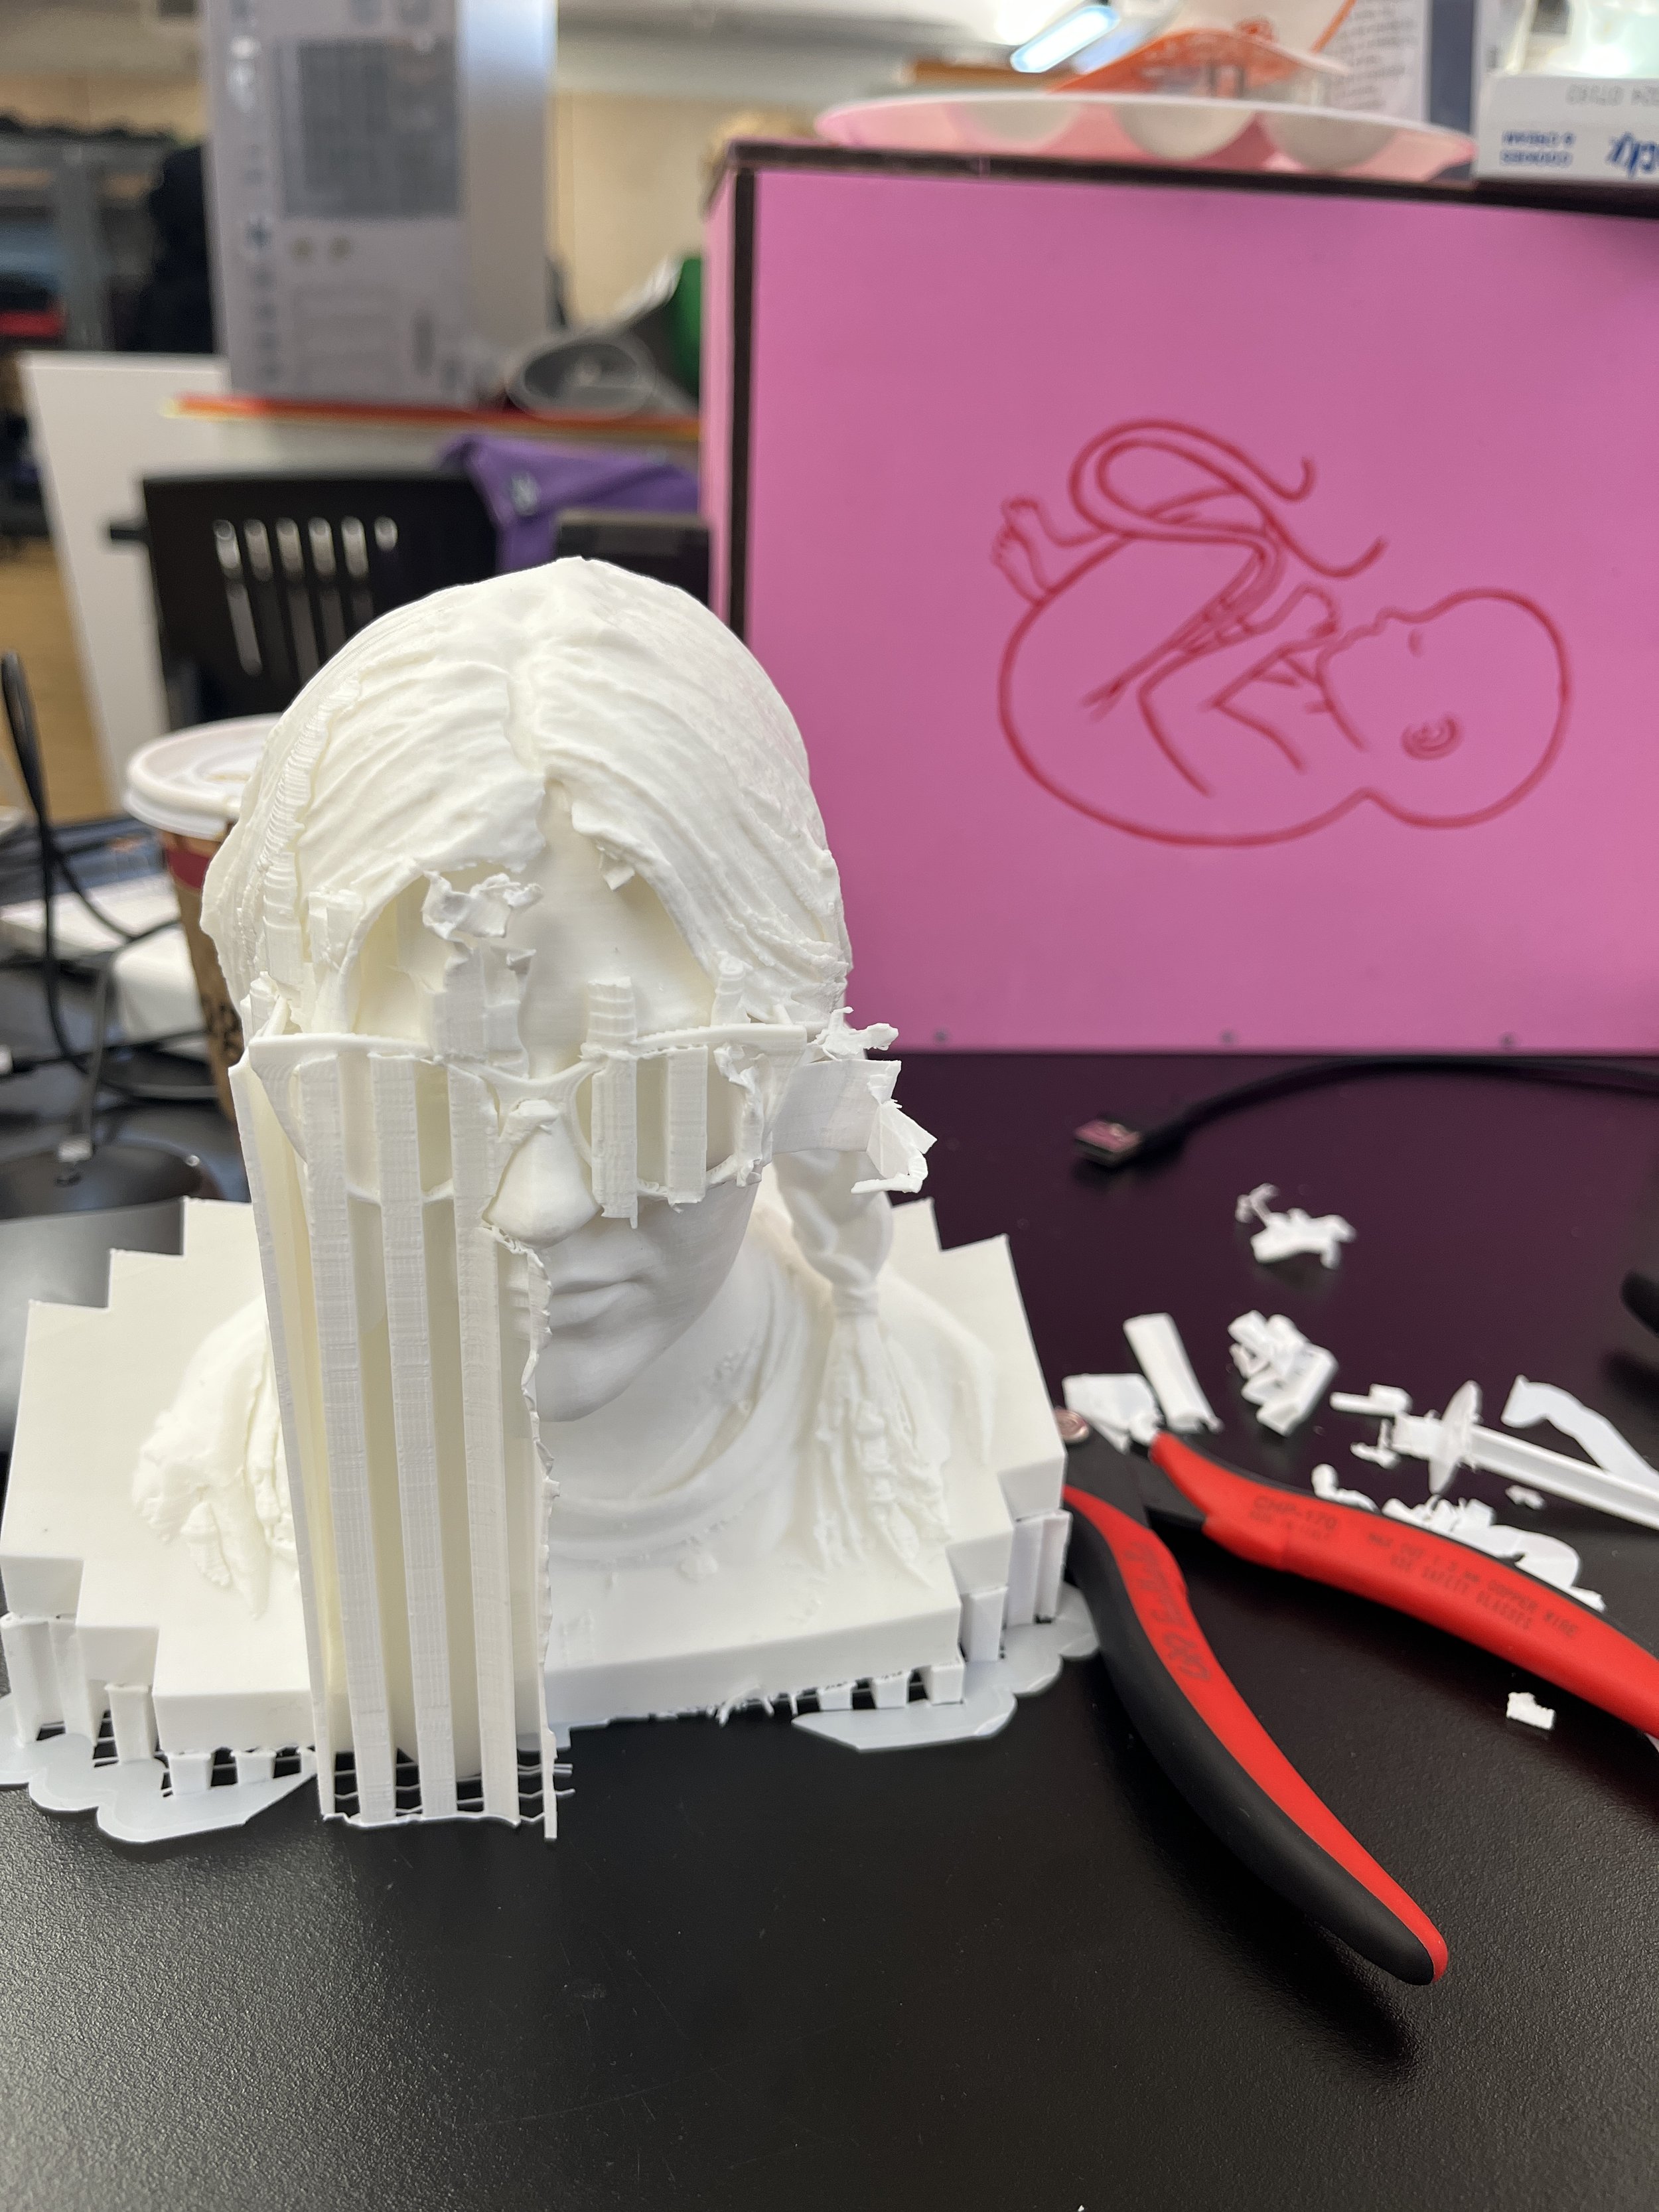
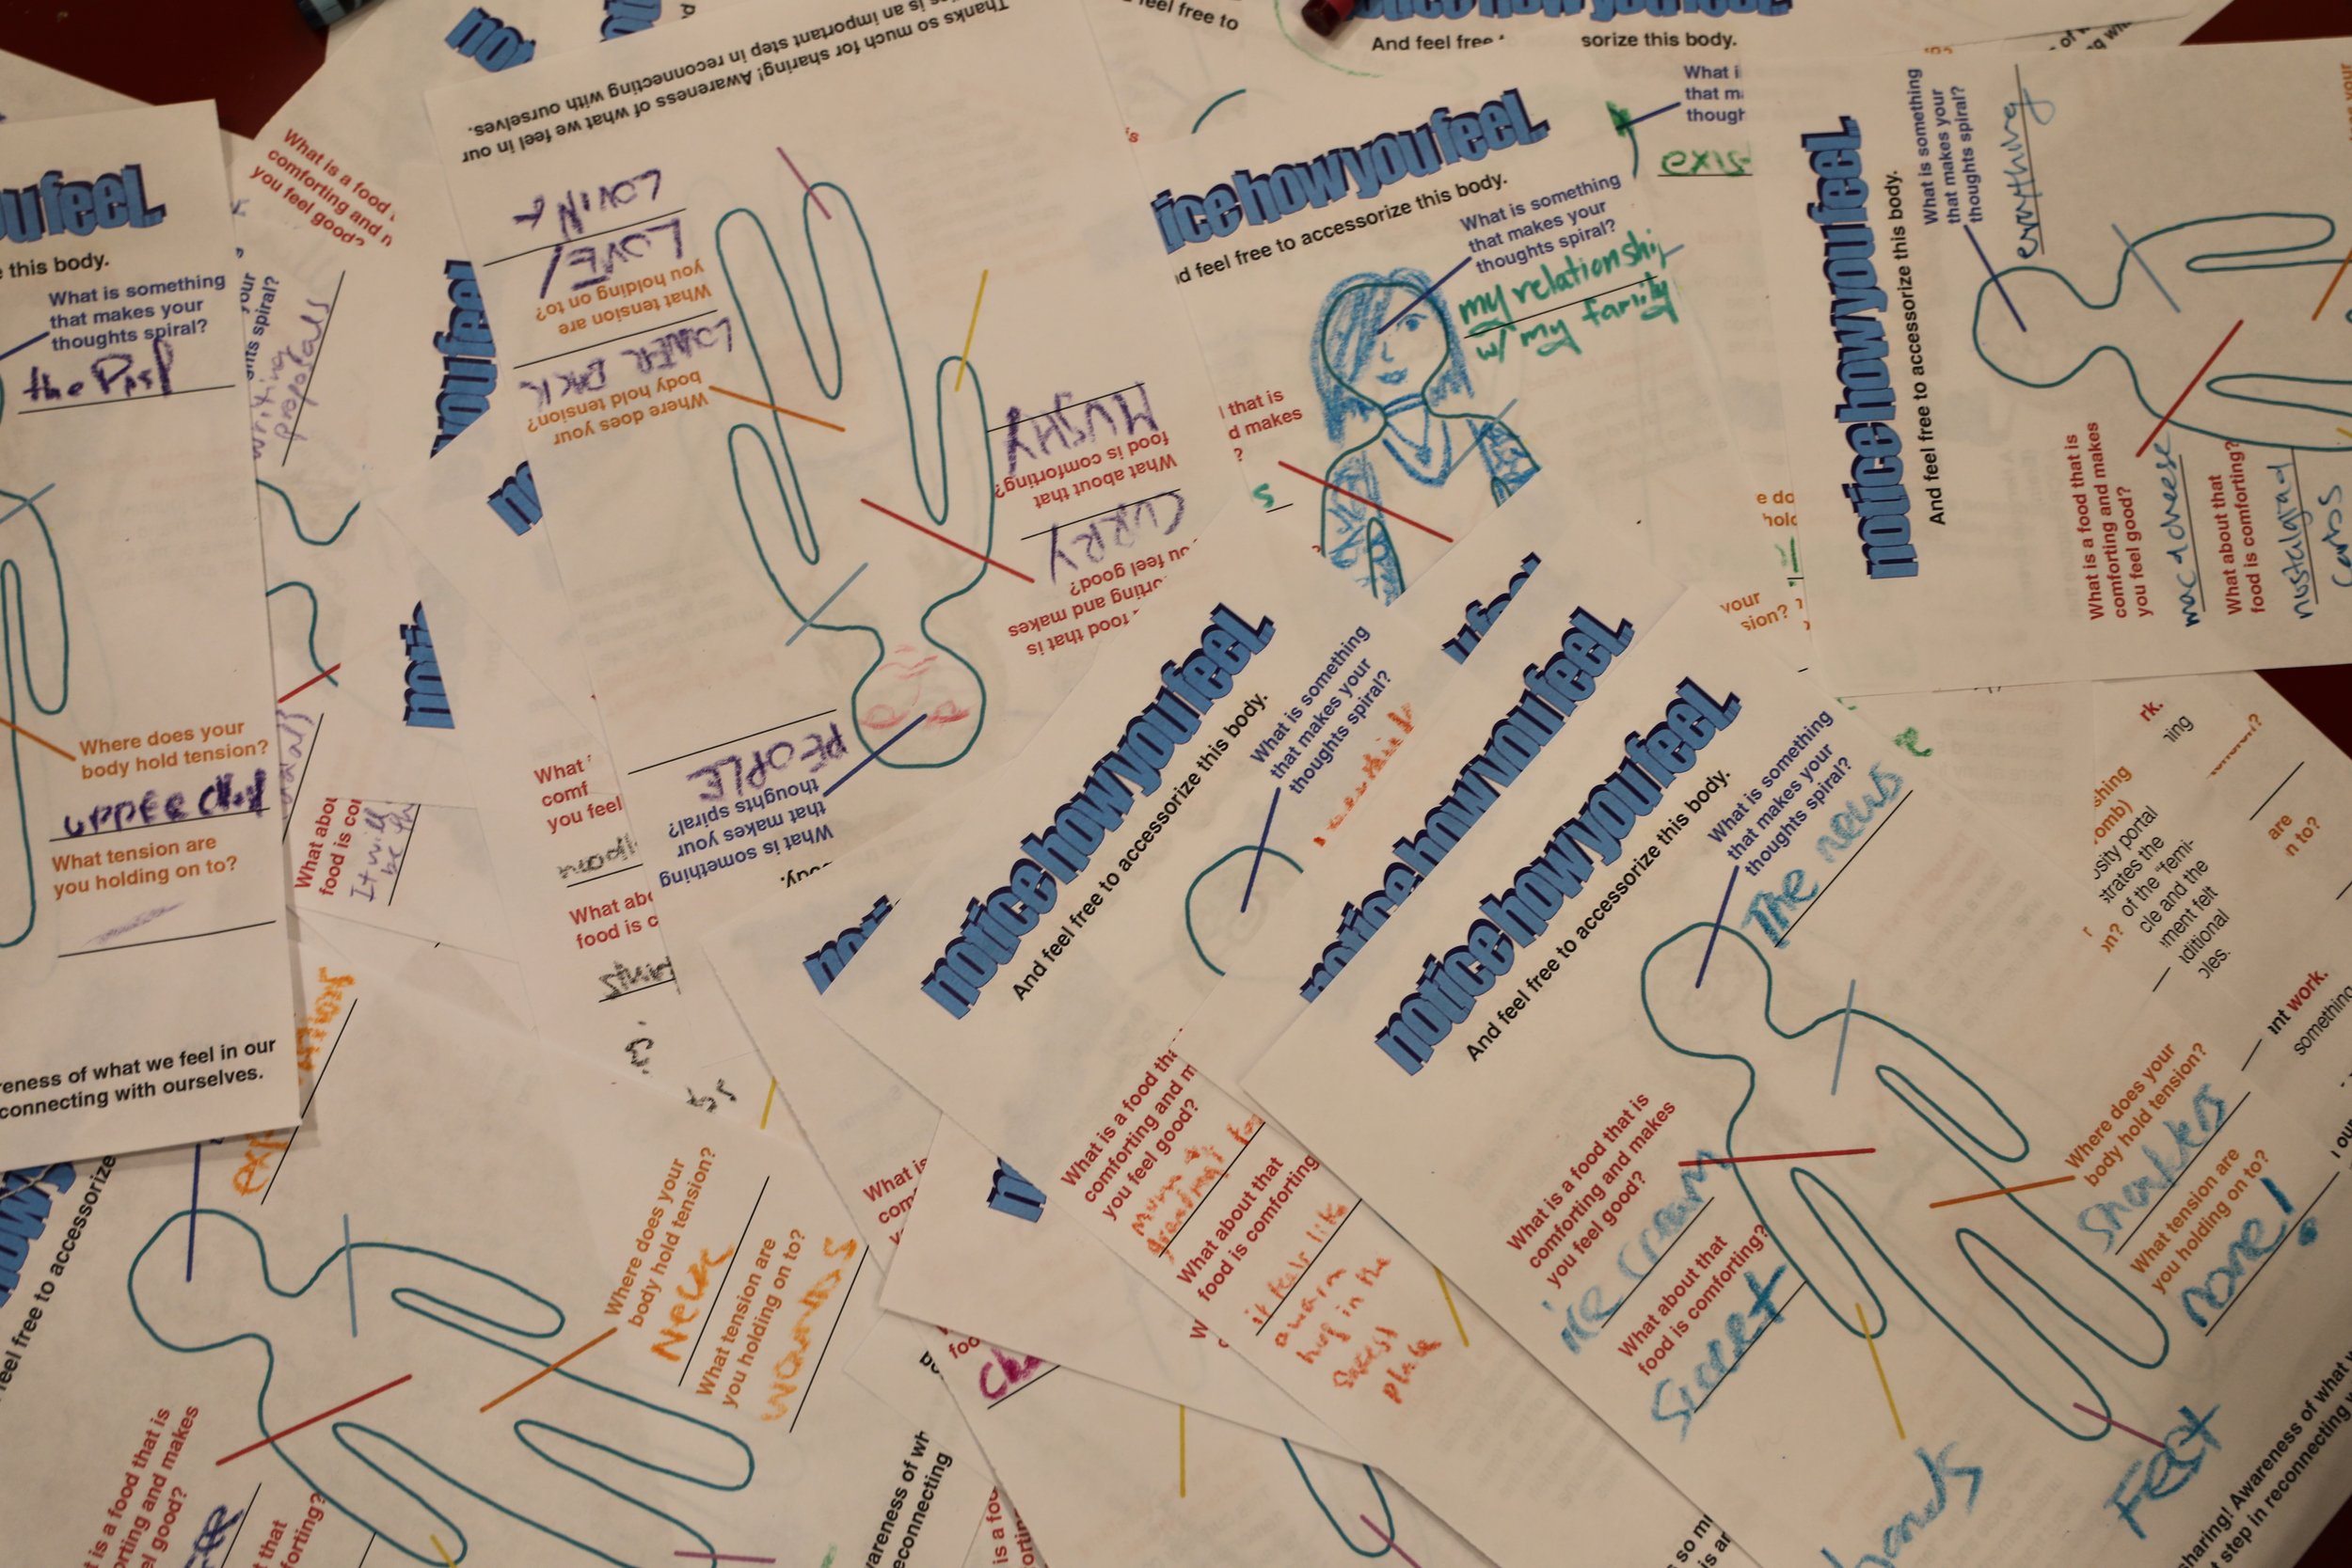
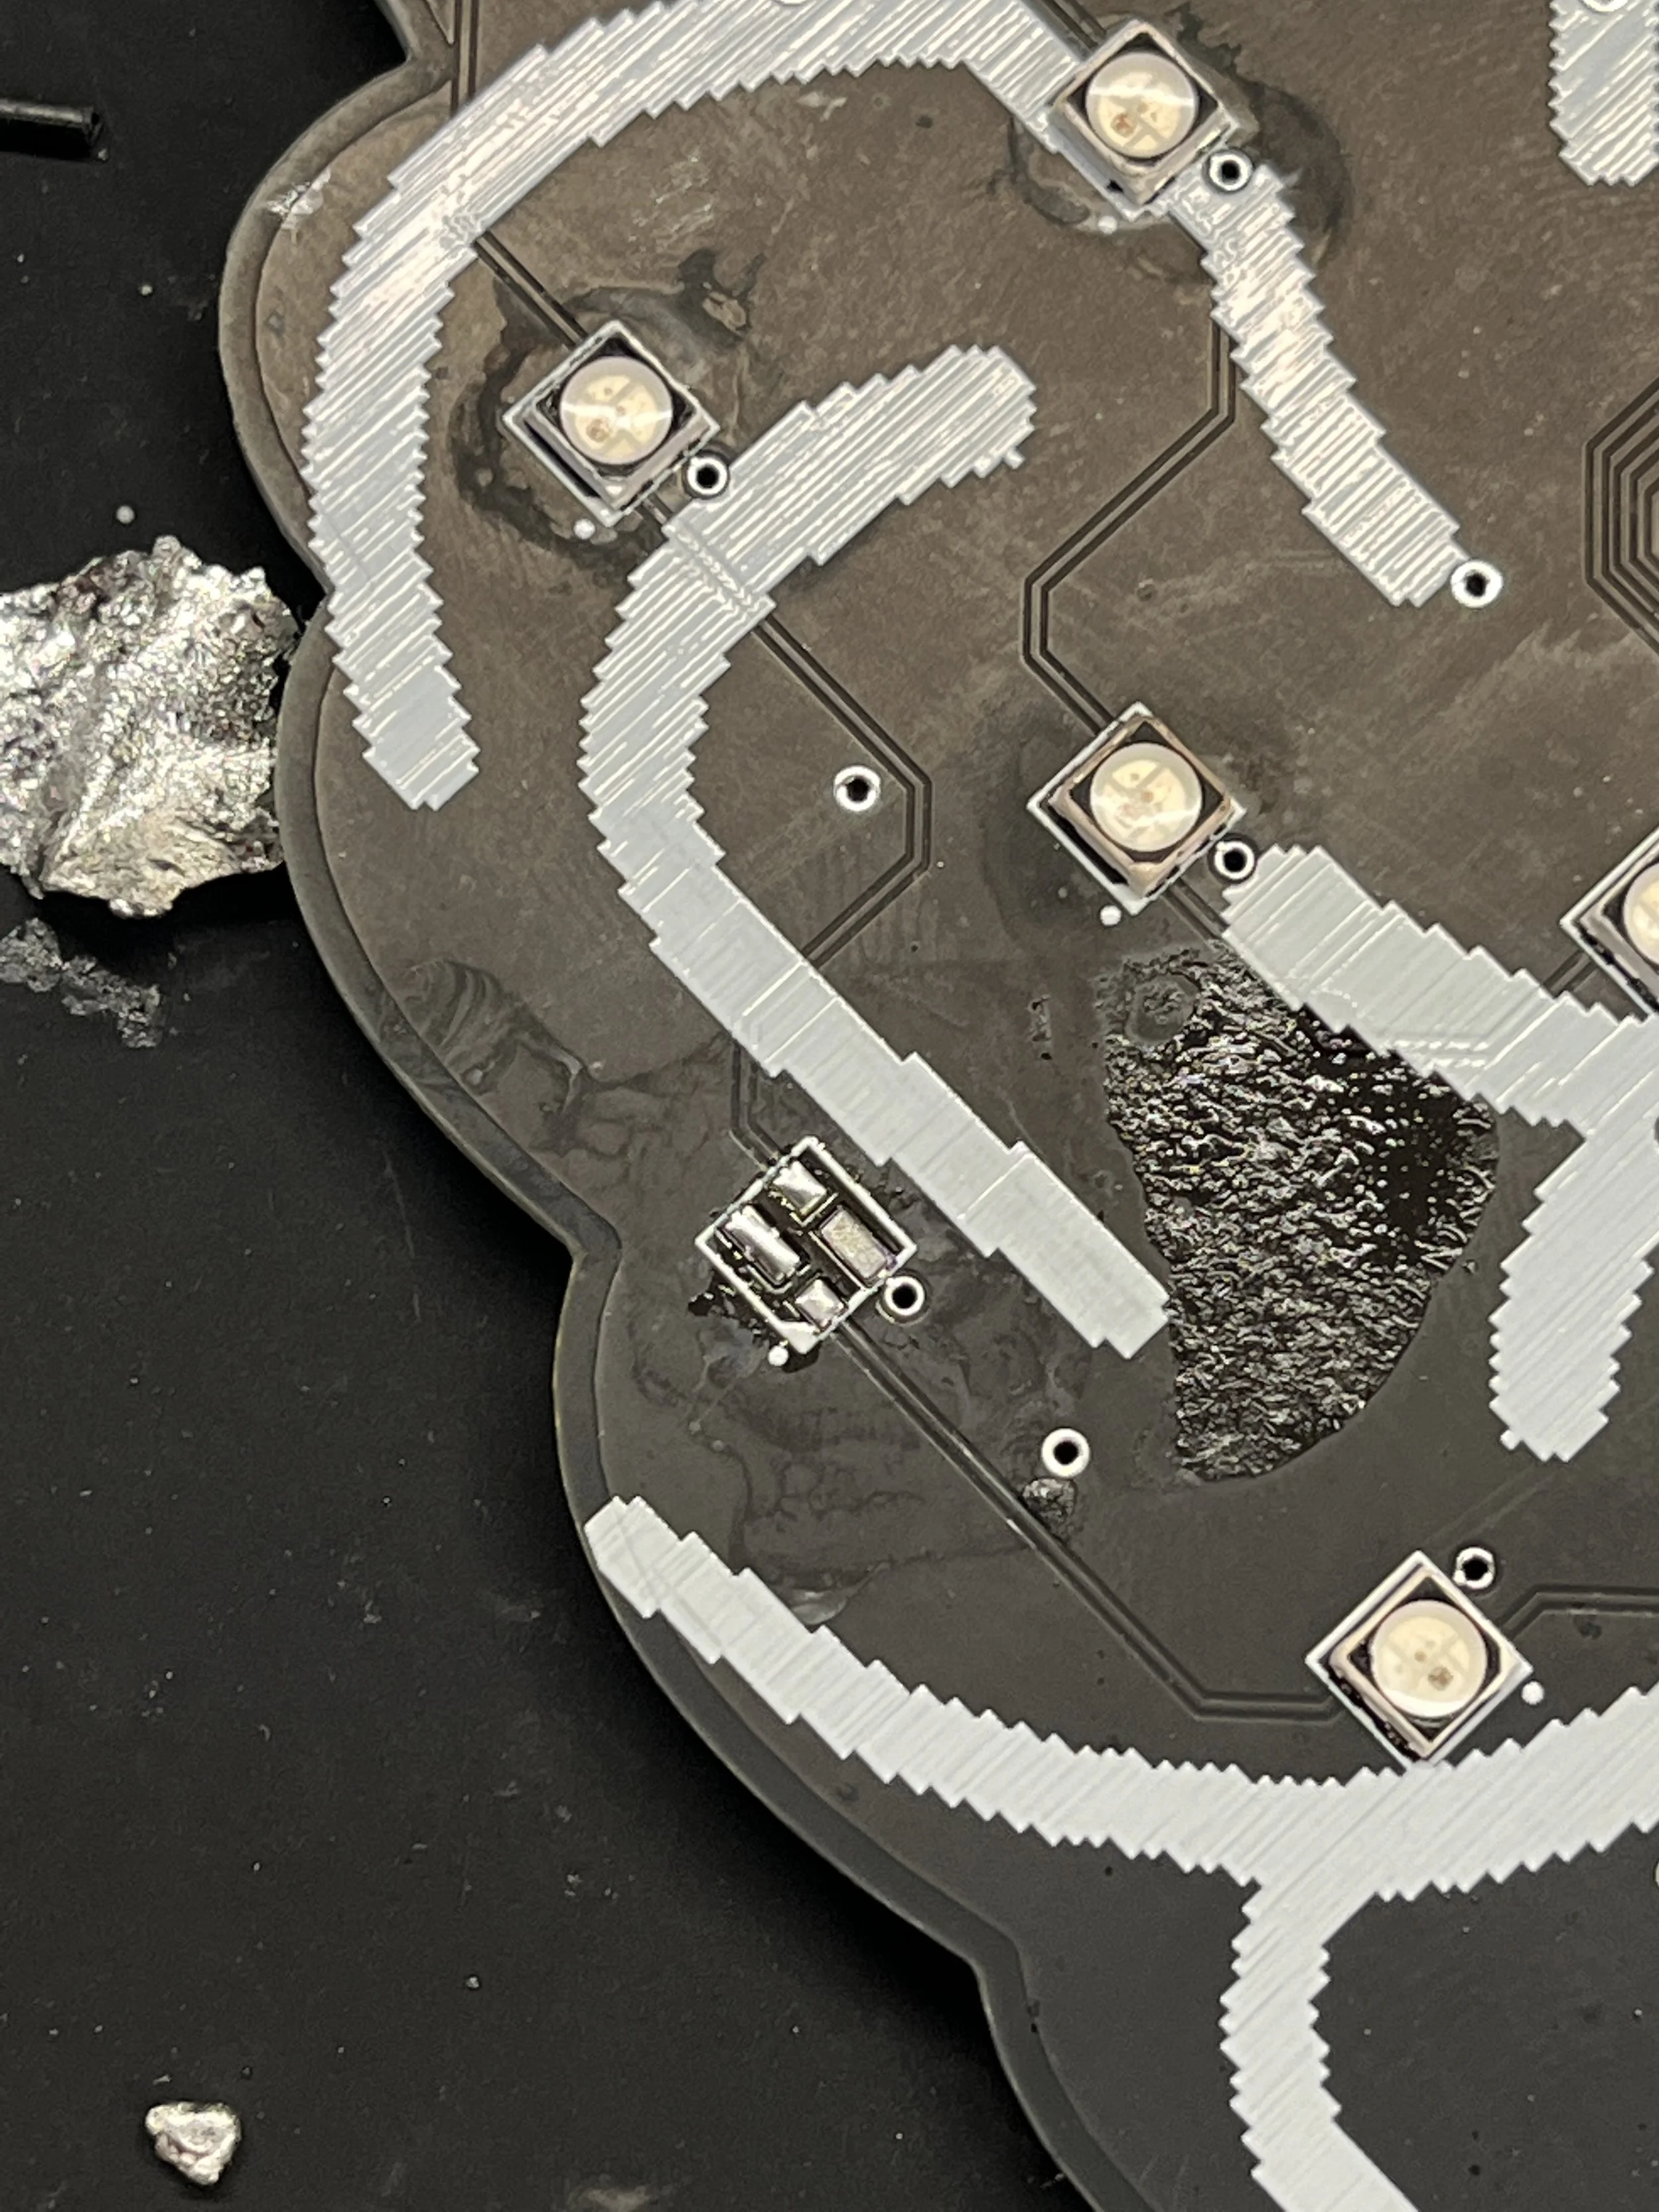
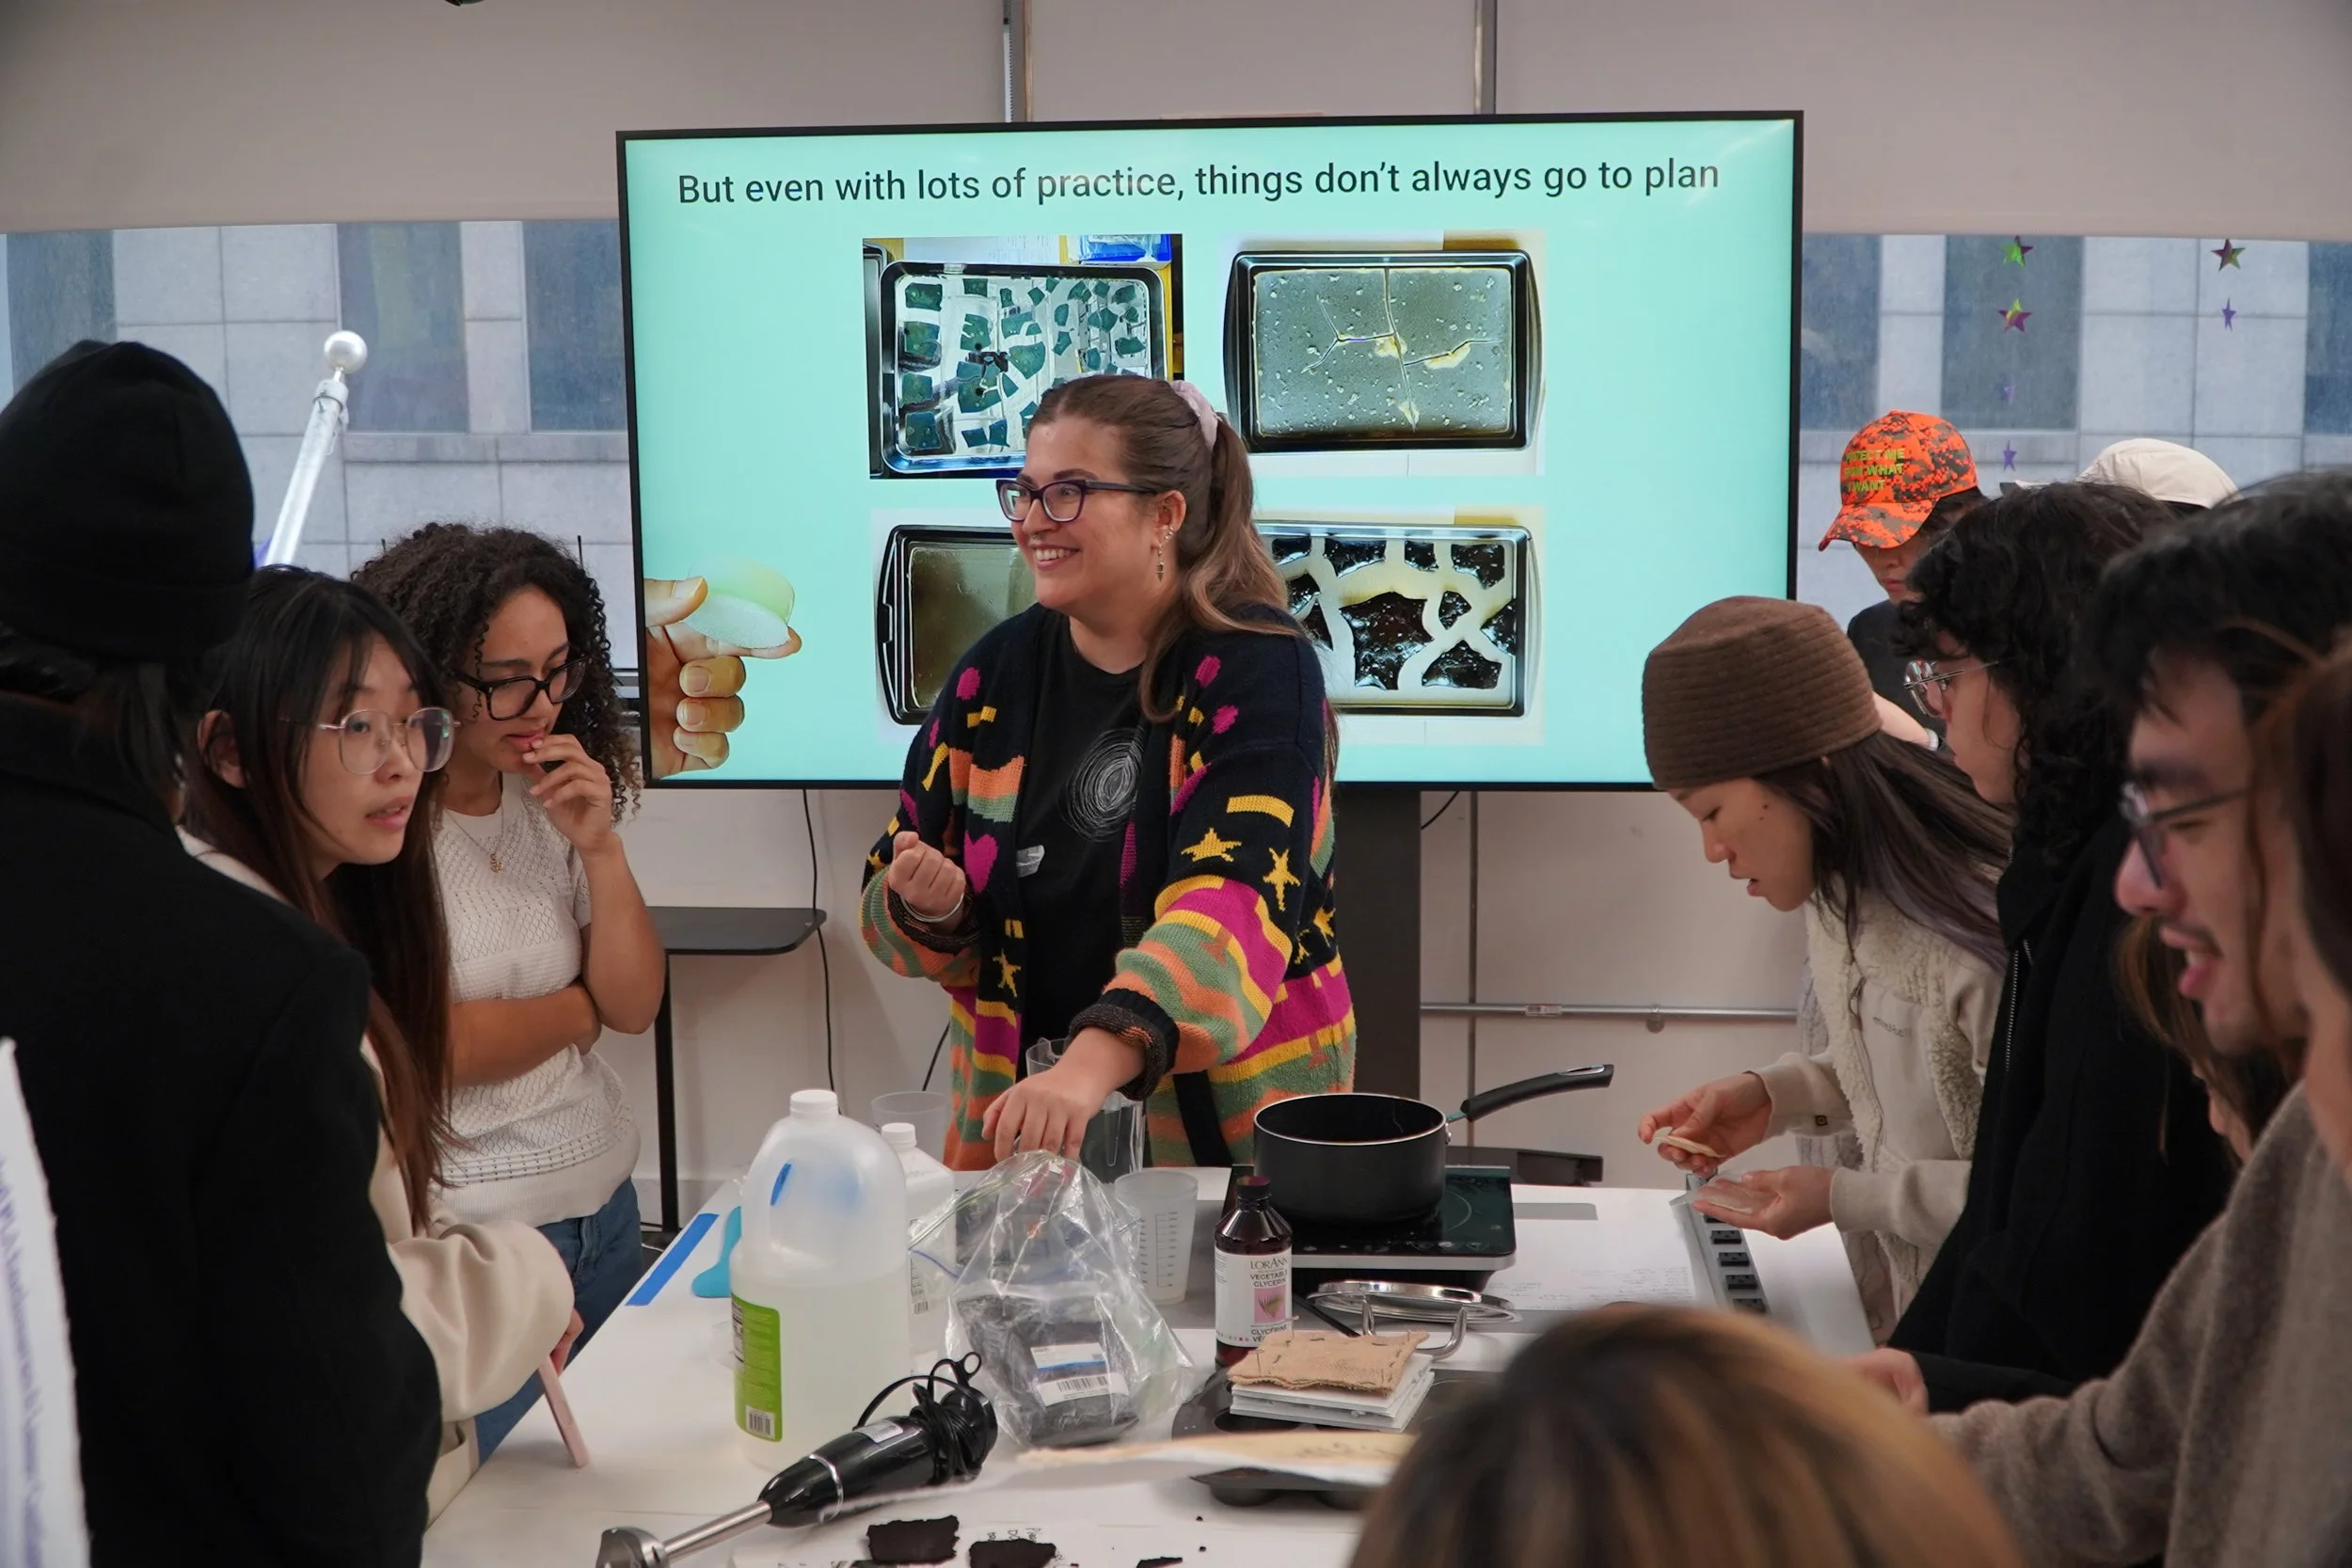
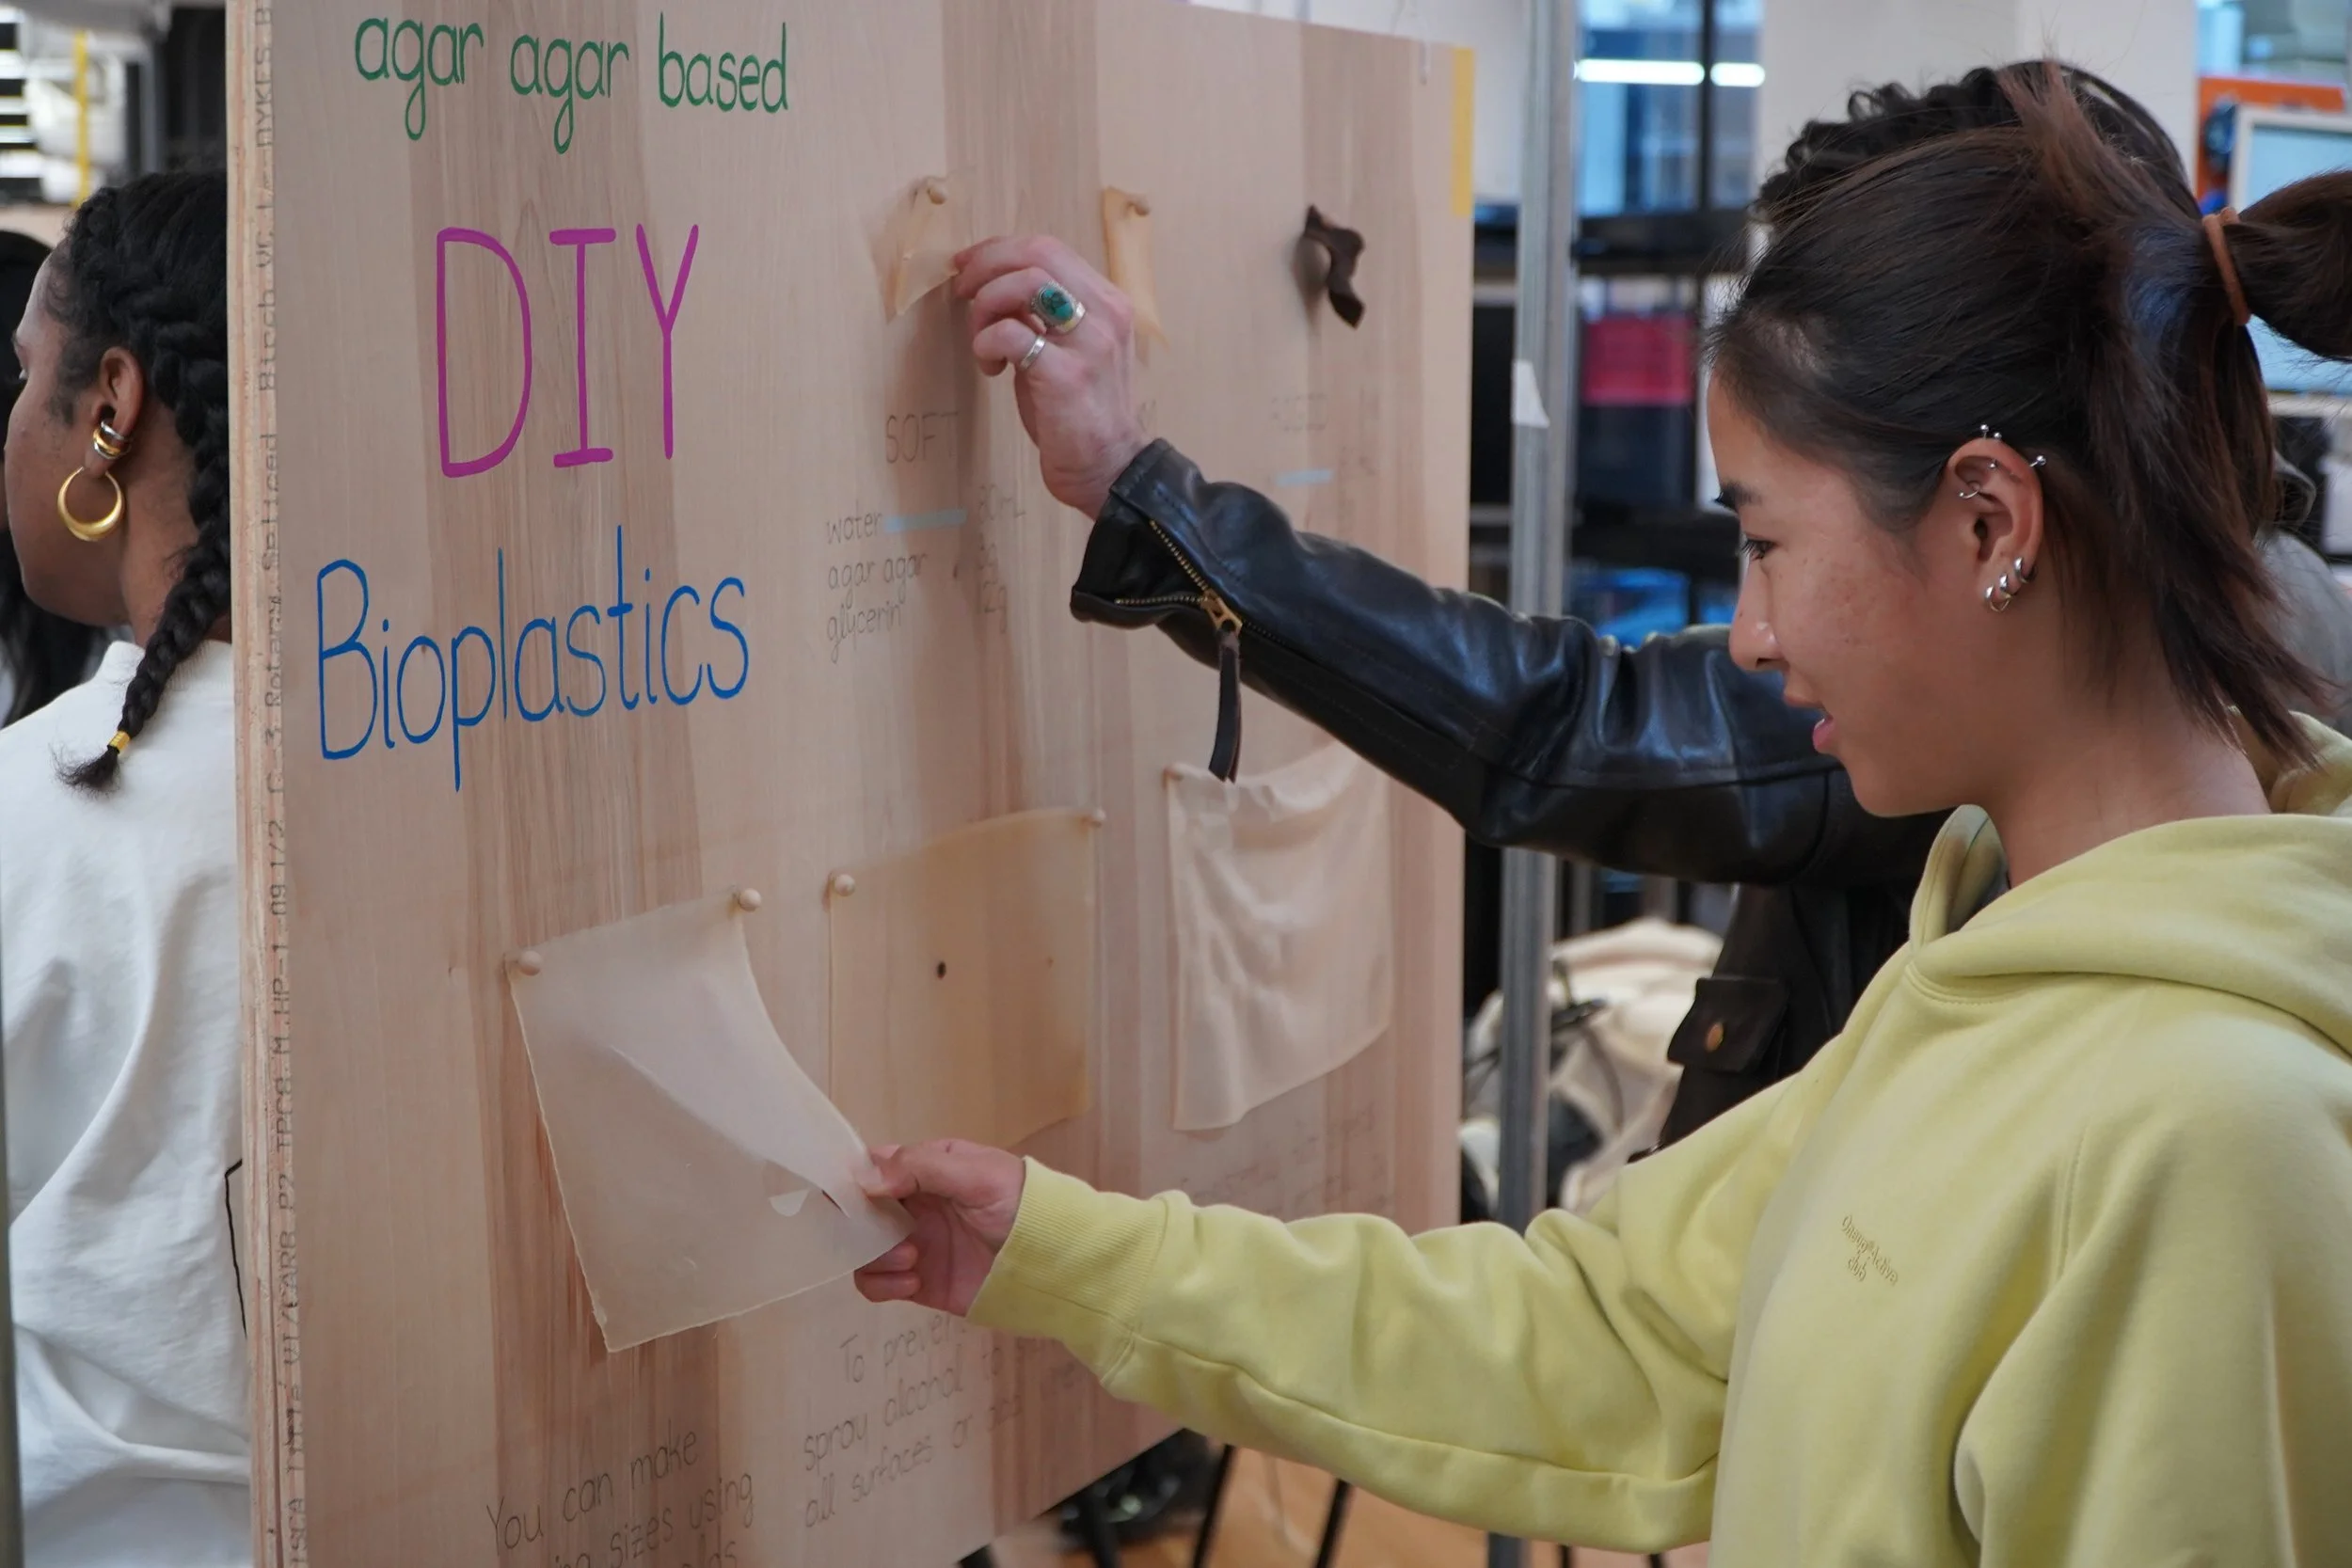
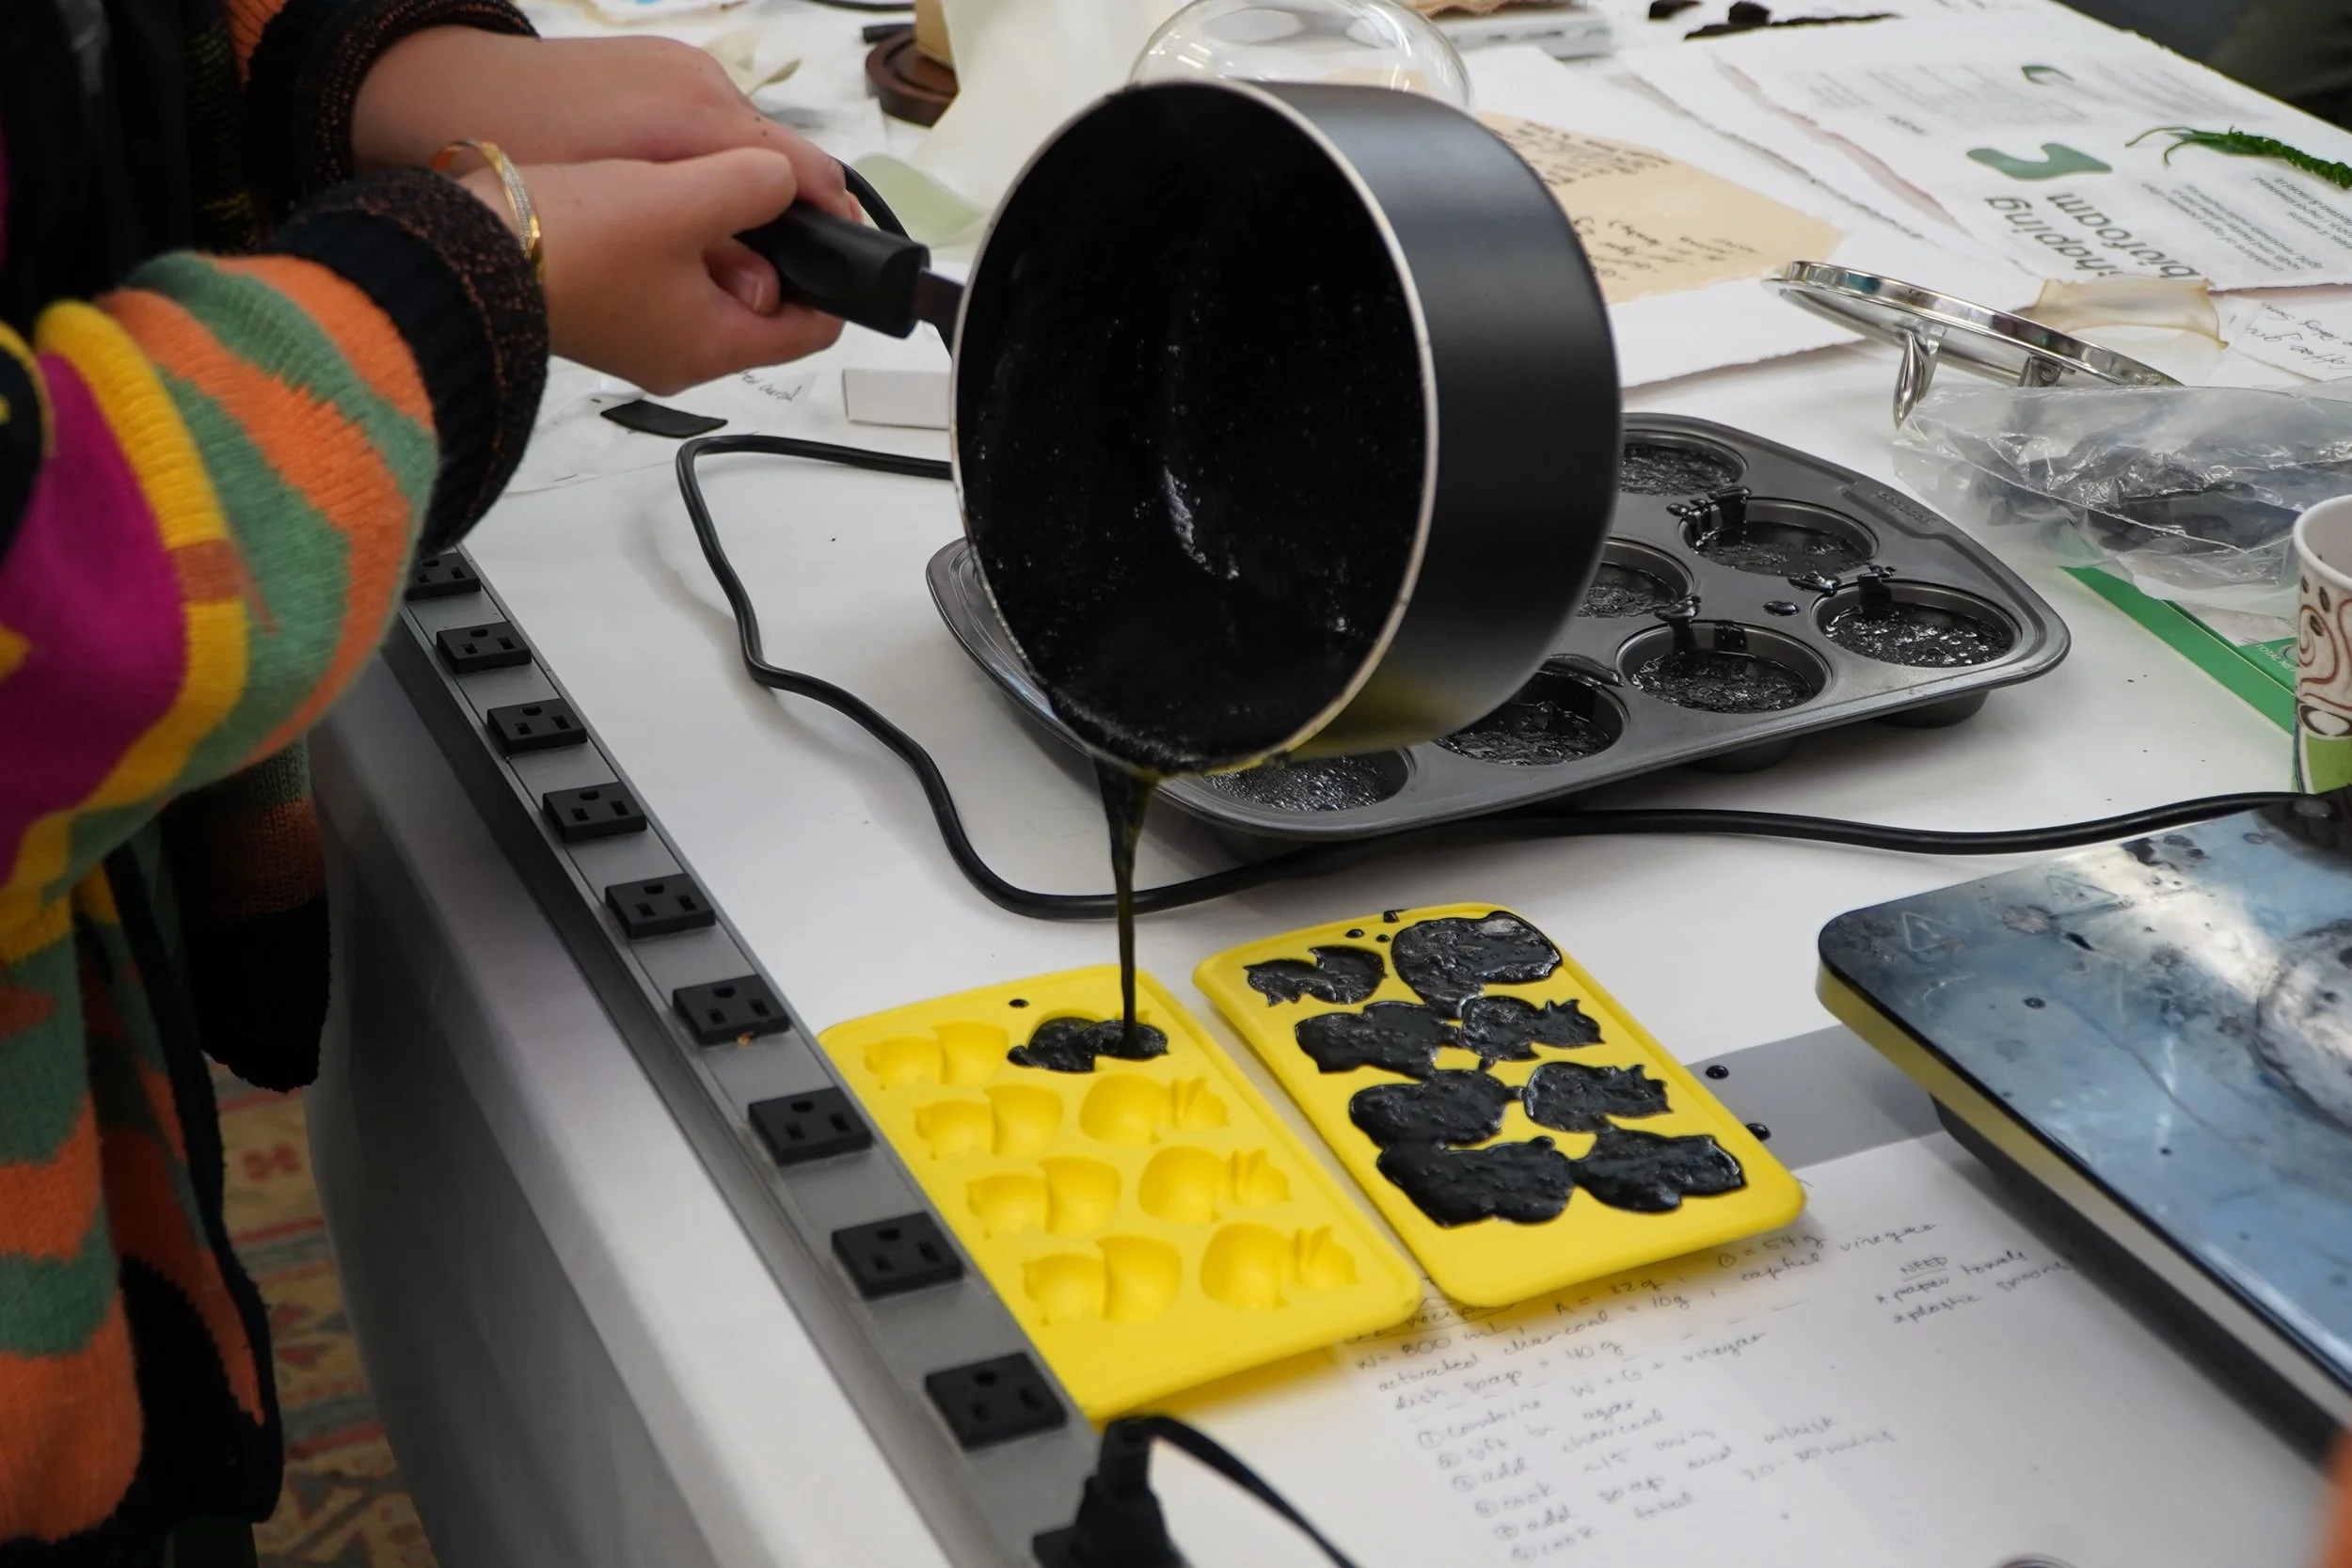
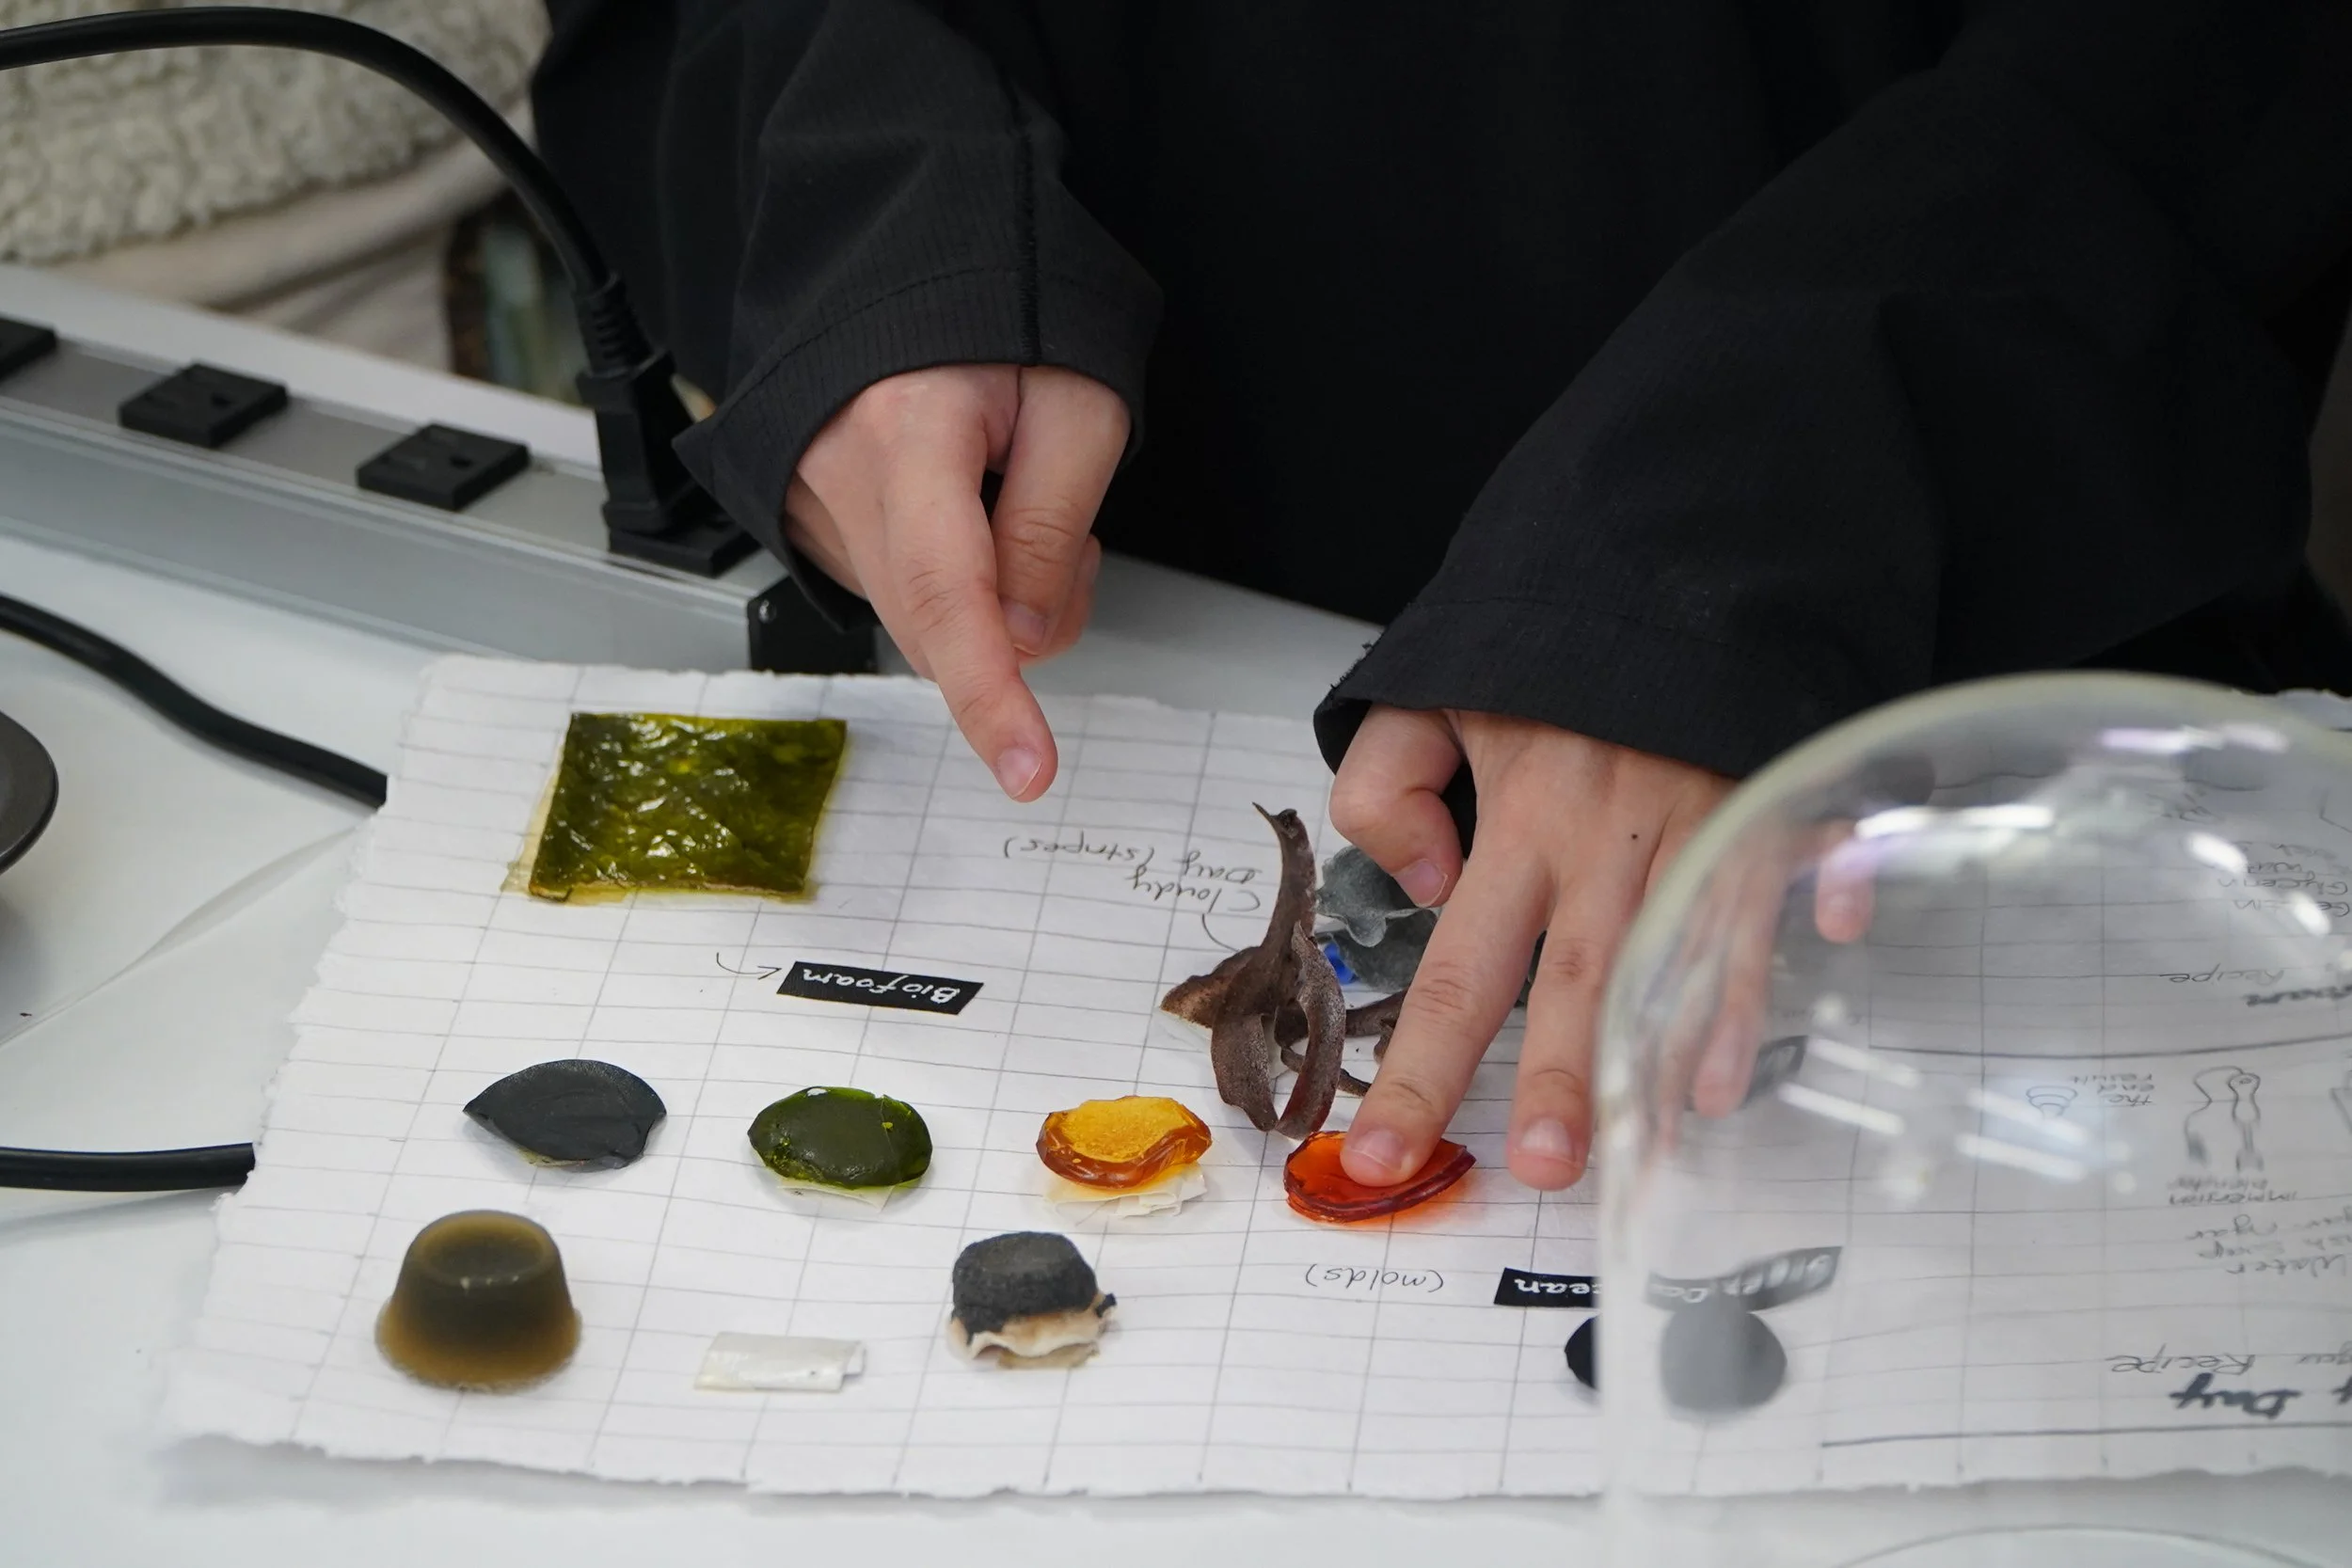
First stop is no surprise, my alma mater ITP. Over the summer, Yeseul and I have been able to keep our project Material Kitchen alive due to a grant from Tisch Creative Research. Material Kitchen is a resource for sharing sustainable materials for fabrication and art making strongly rooted in community engagement. What this really looks like is me cooking agar agar based bioplastics, trying to do something with them, and then sharing the results via a presentation or workshop.
This workshop at ITP consisted of us talking about our most recent research developing a conductive biomaterial, showing off examples of our past work, and then a live cooking demo of an activated charcoal biofoam. Below are some great moments captured by the fabulous Lily Crandall.
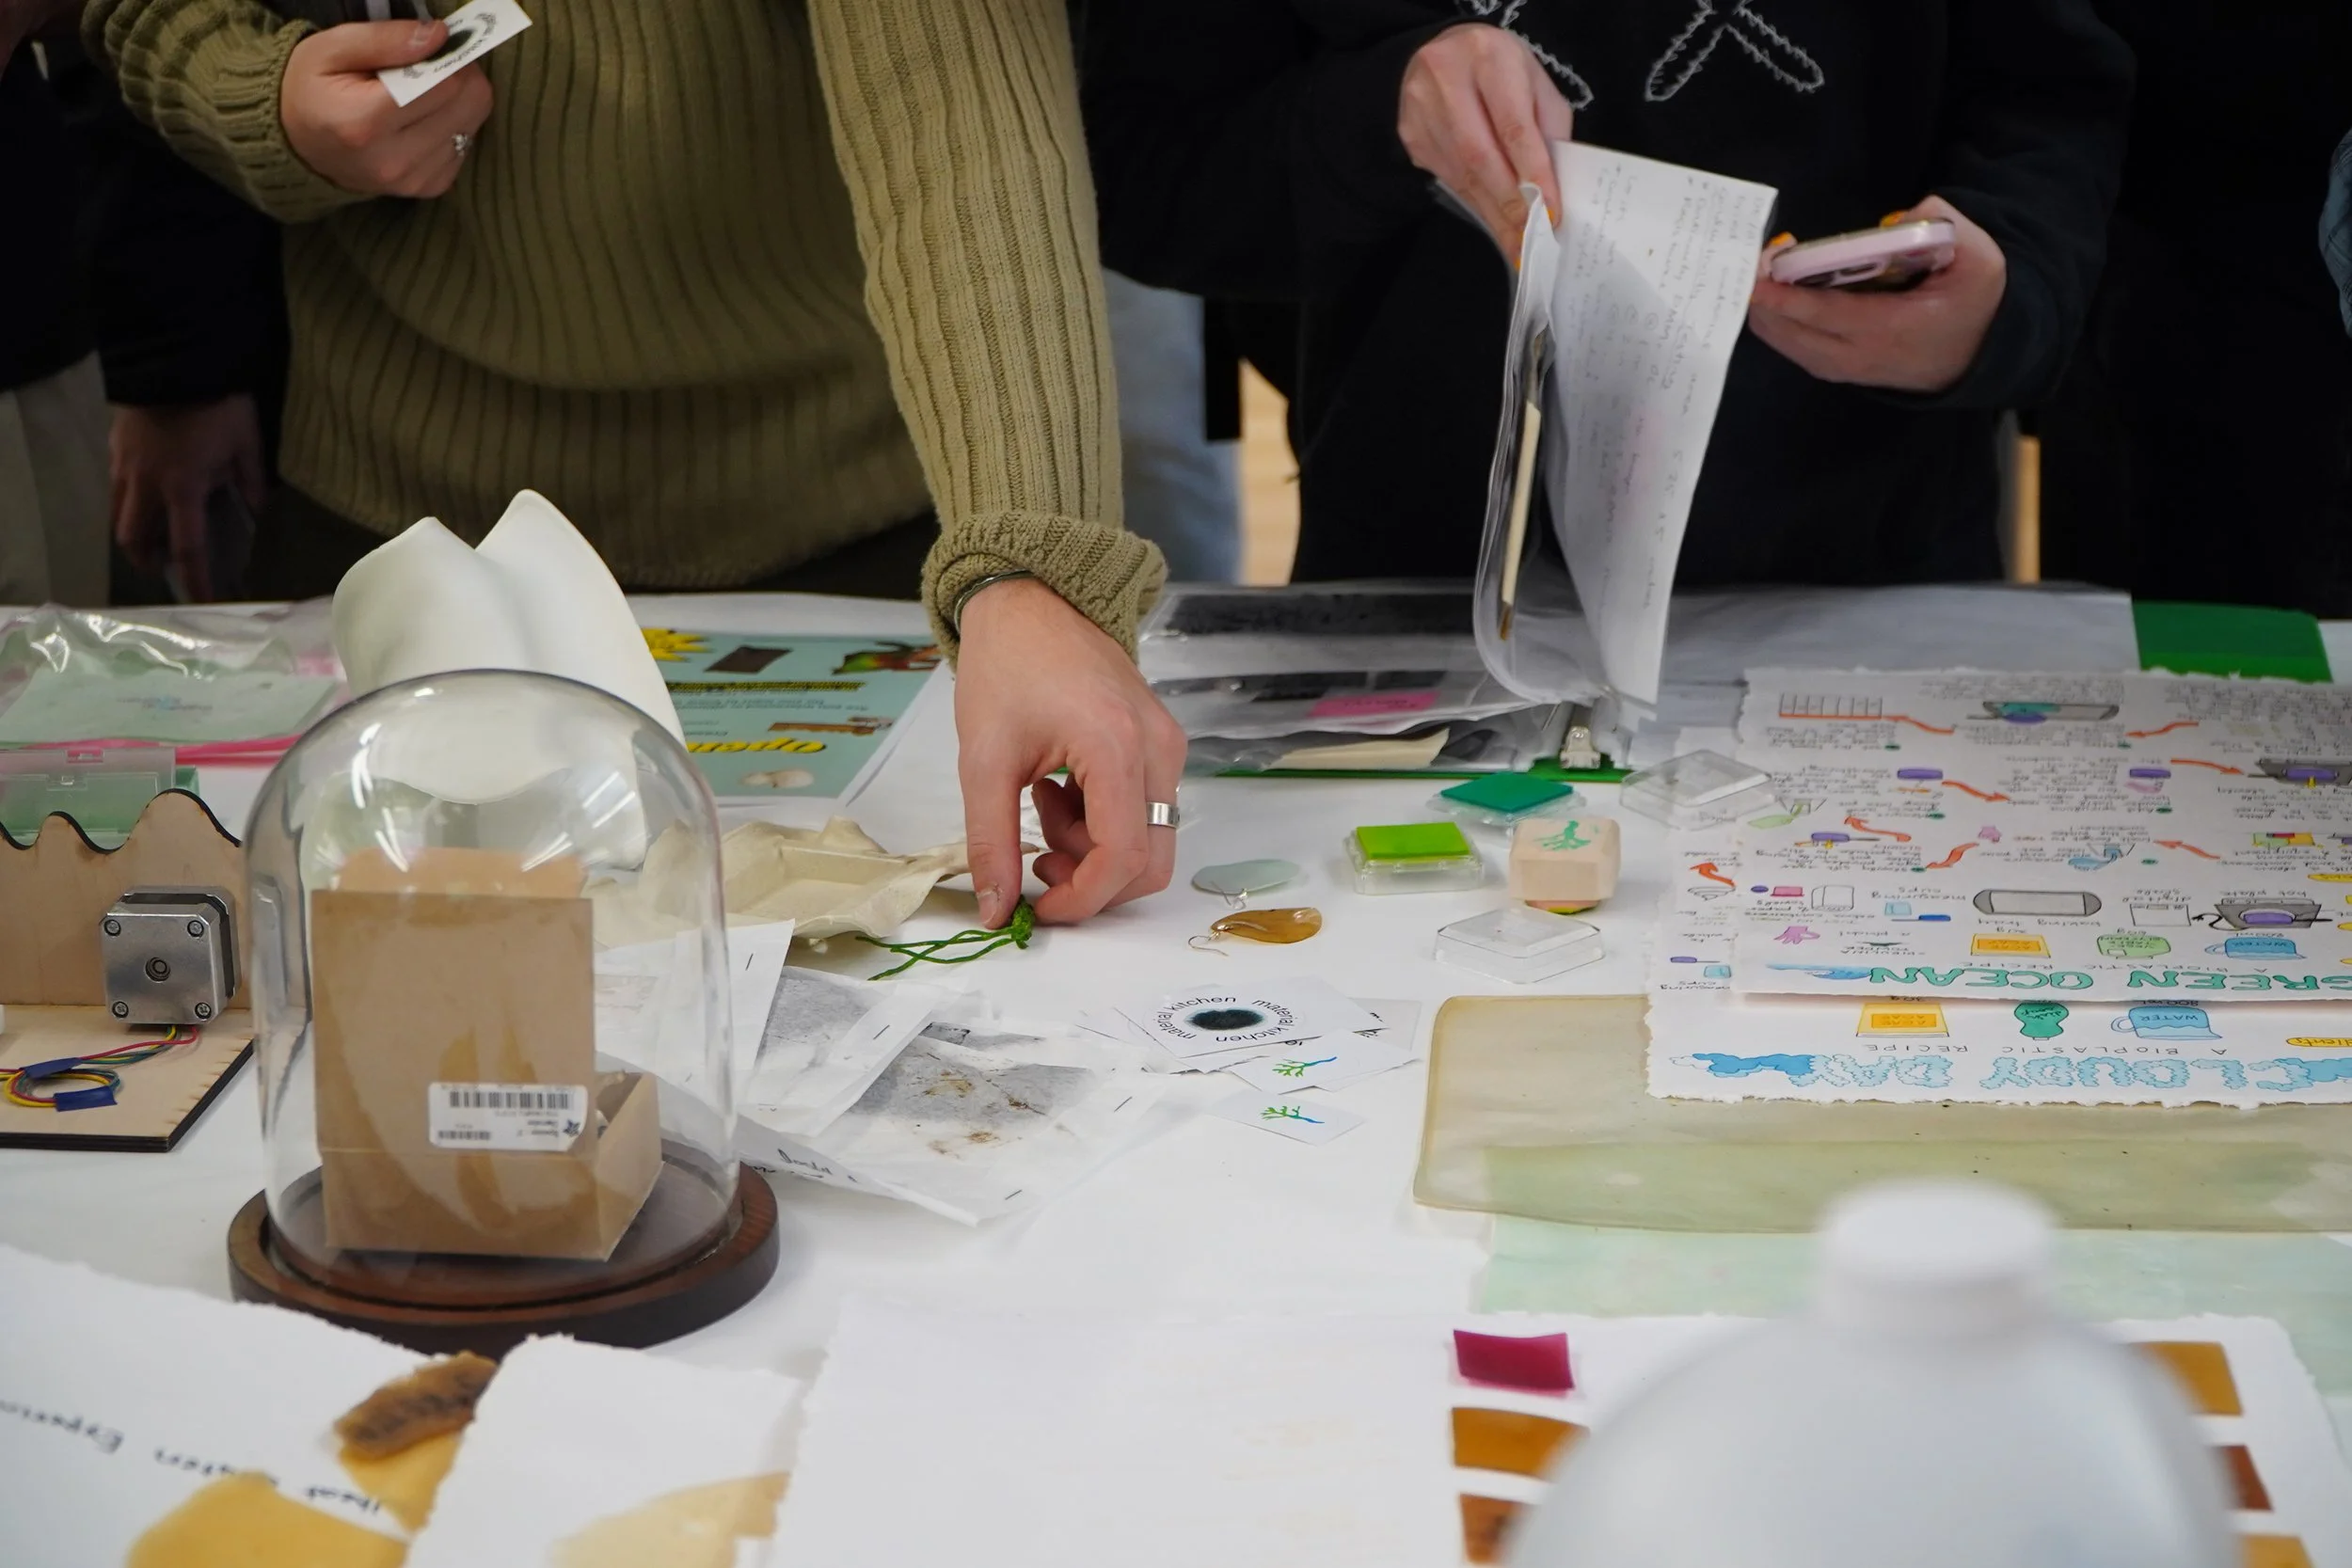
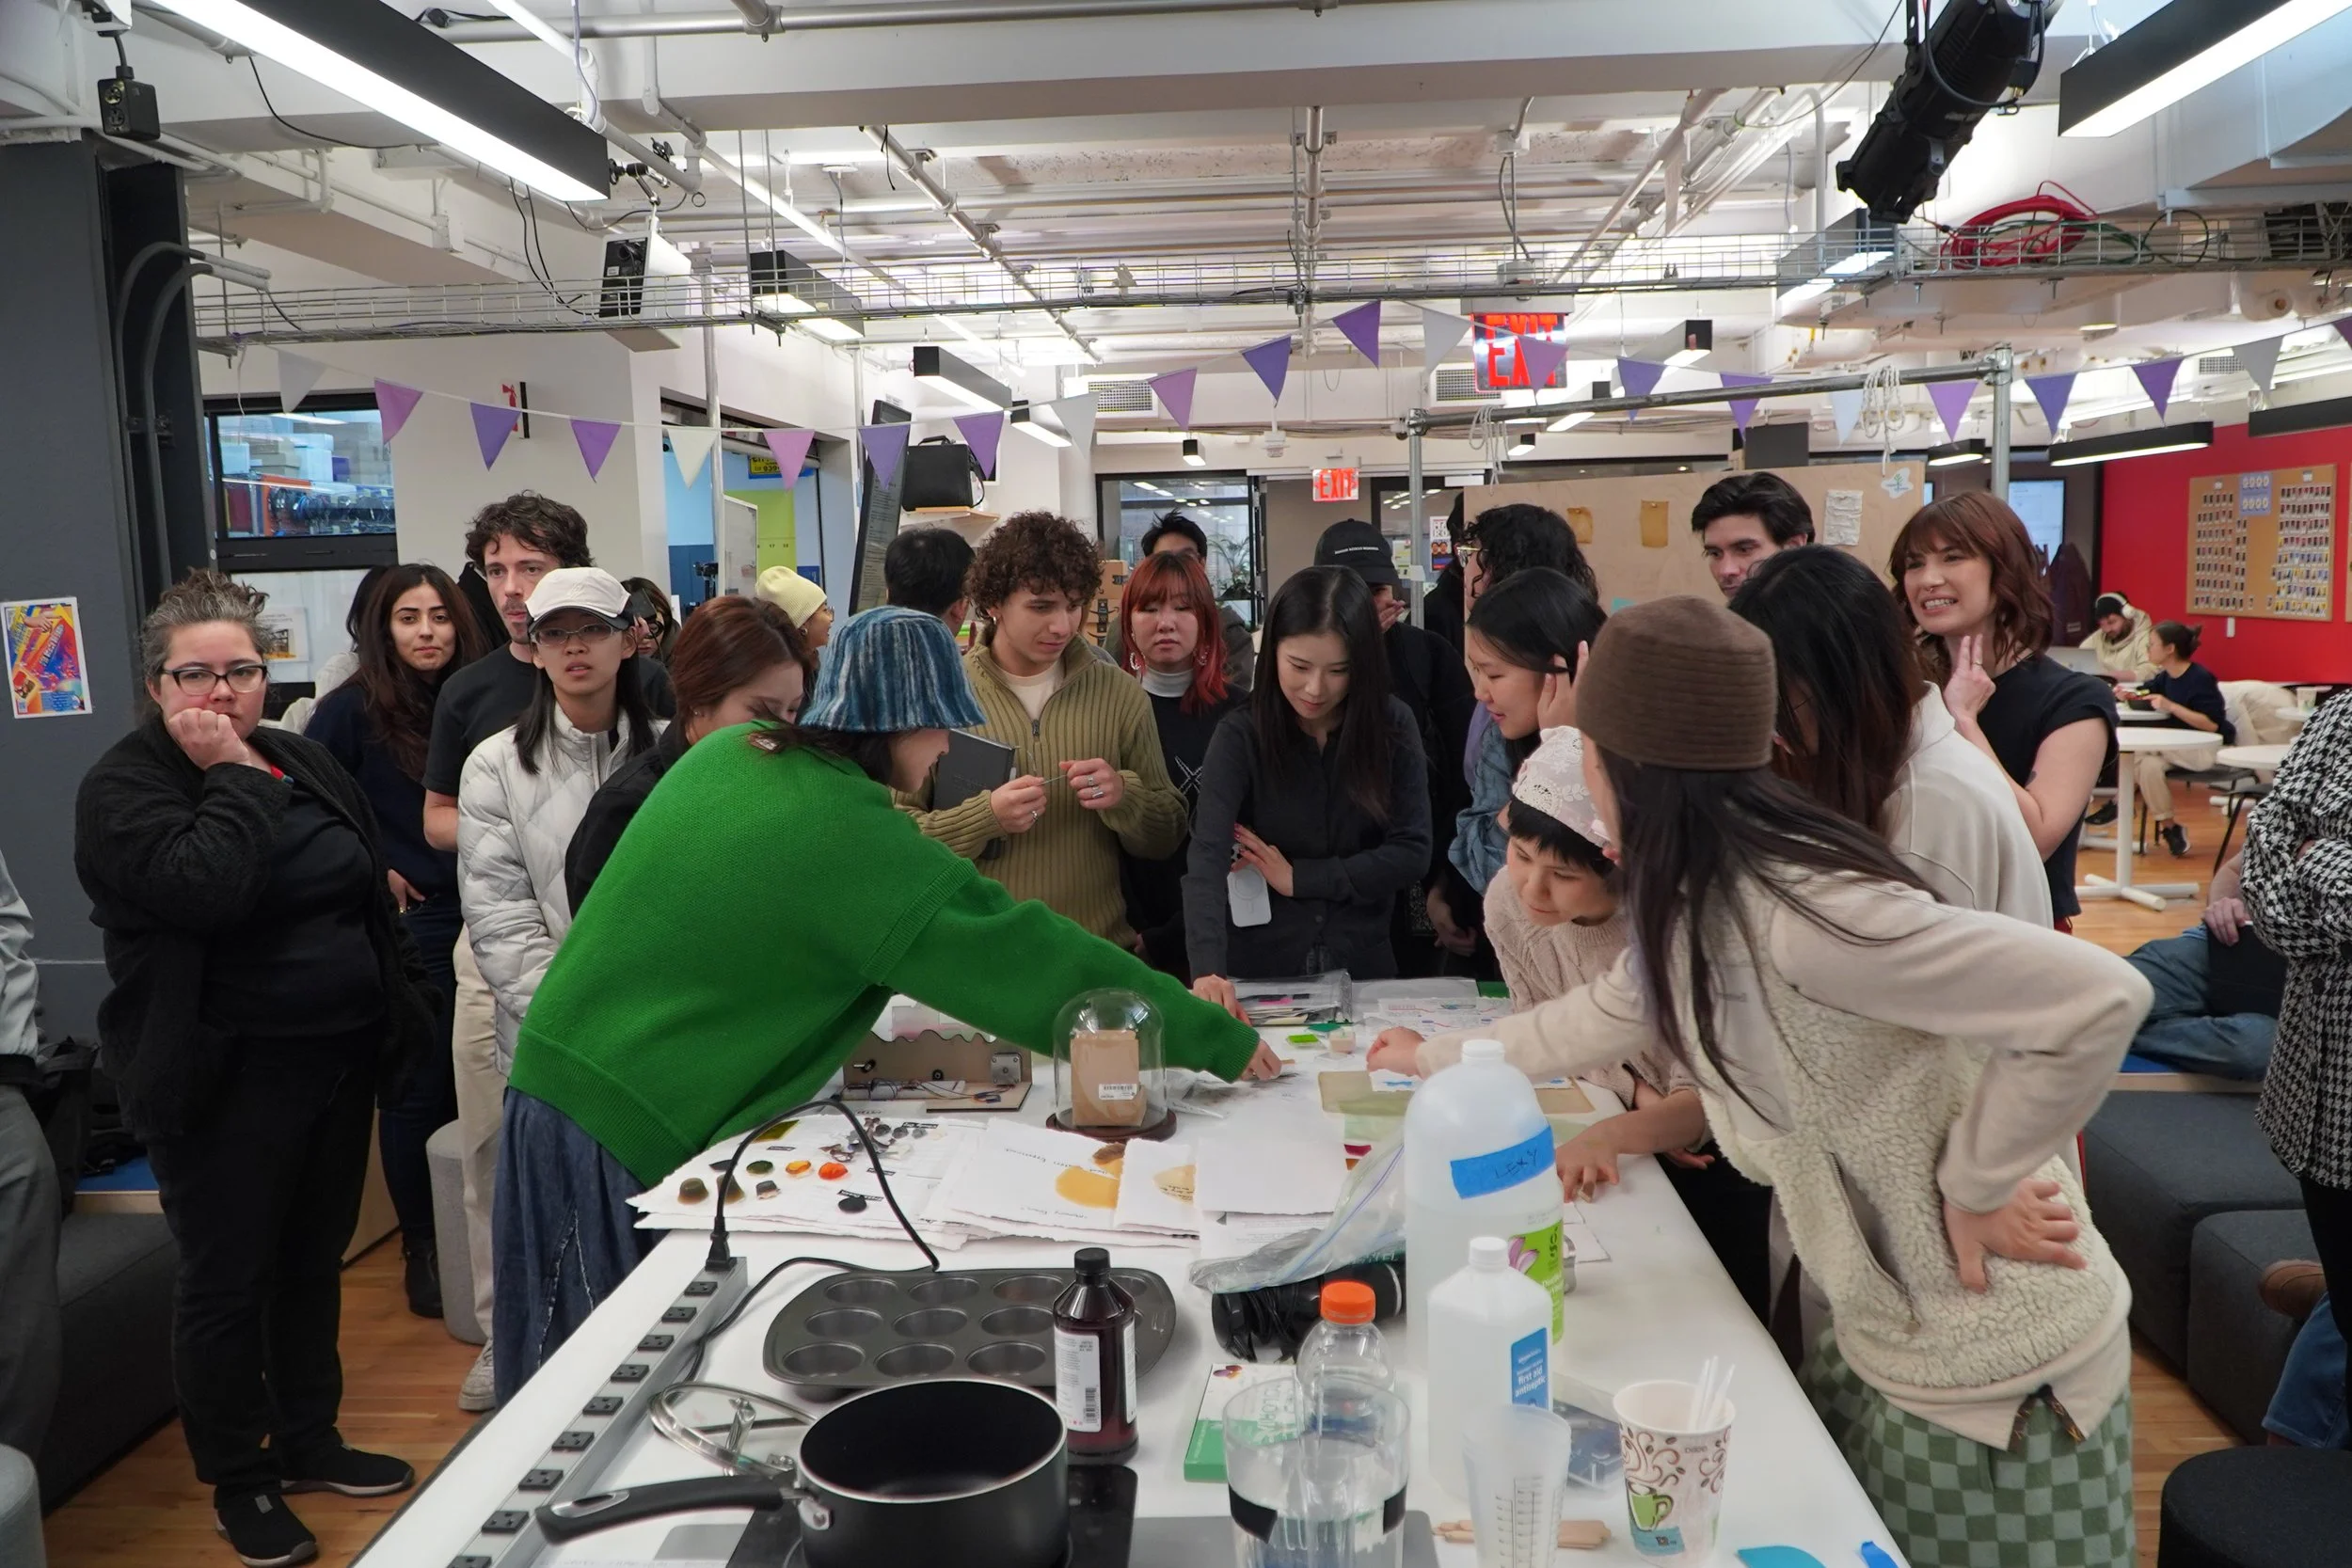
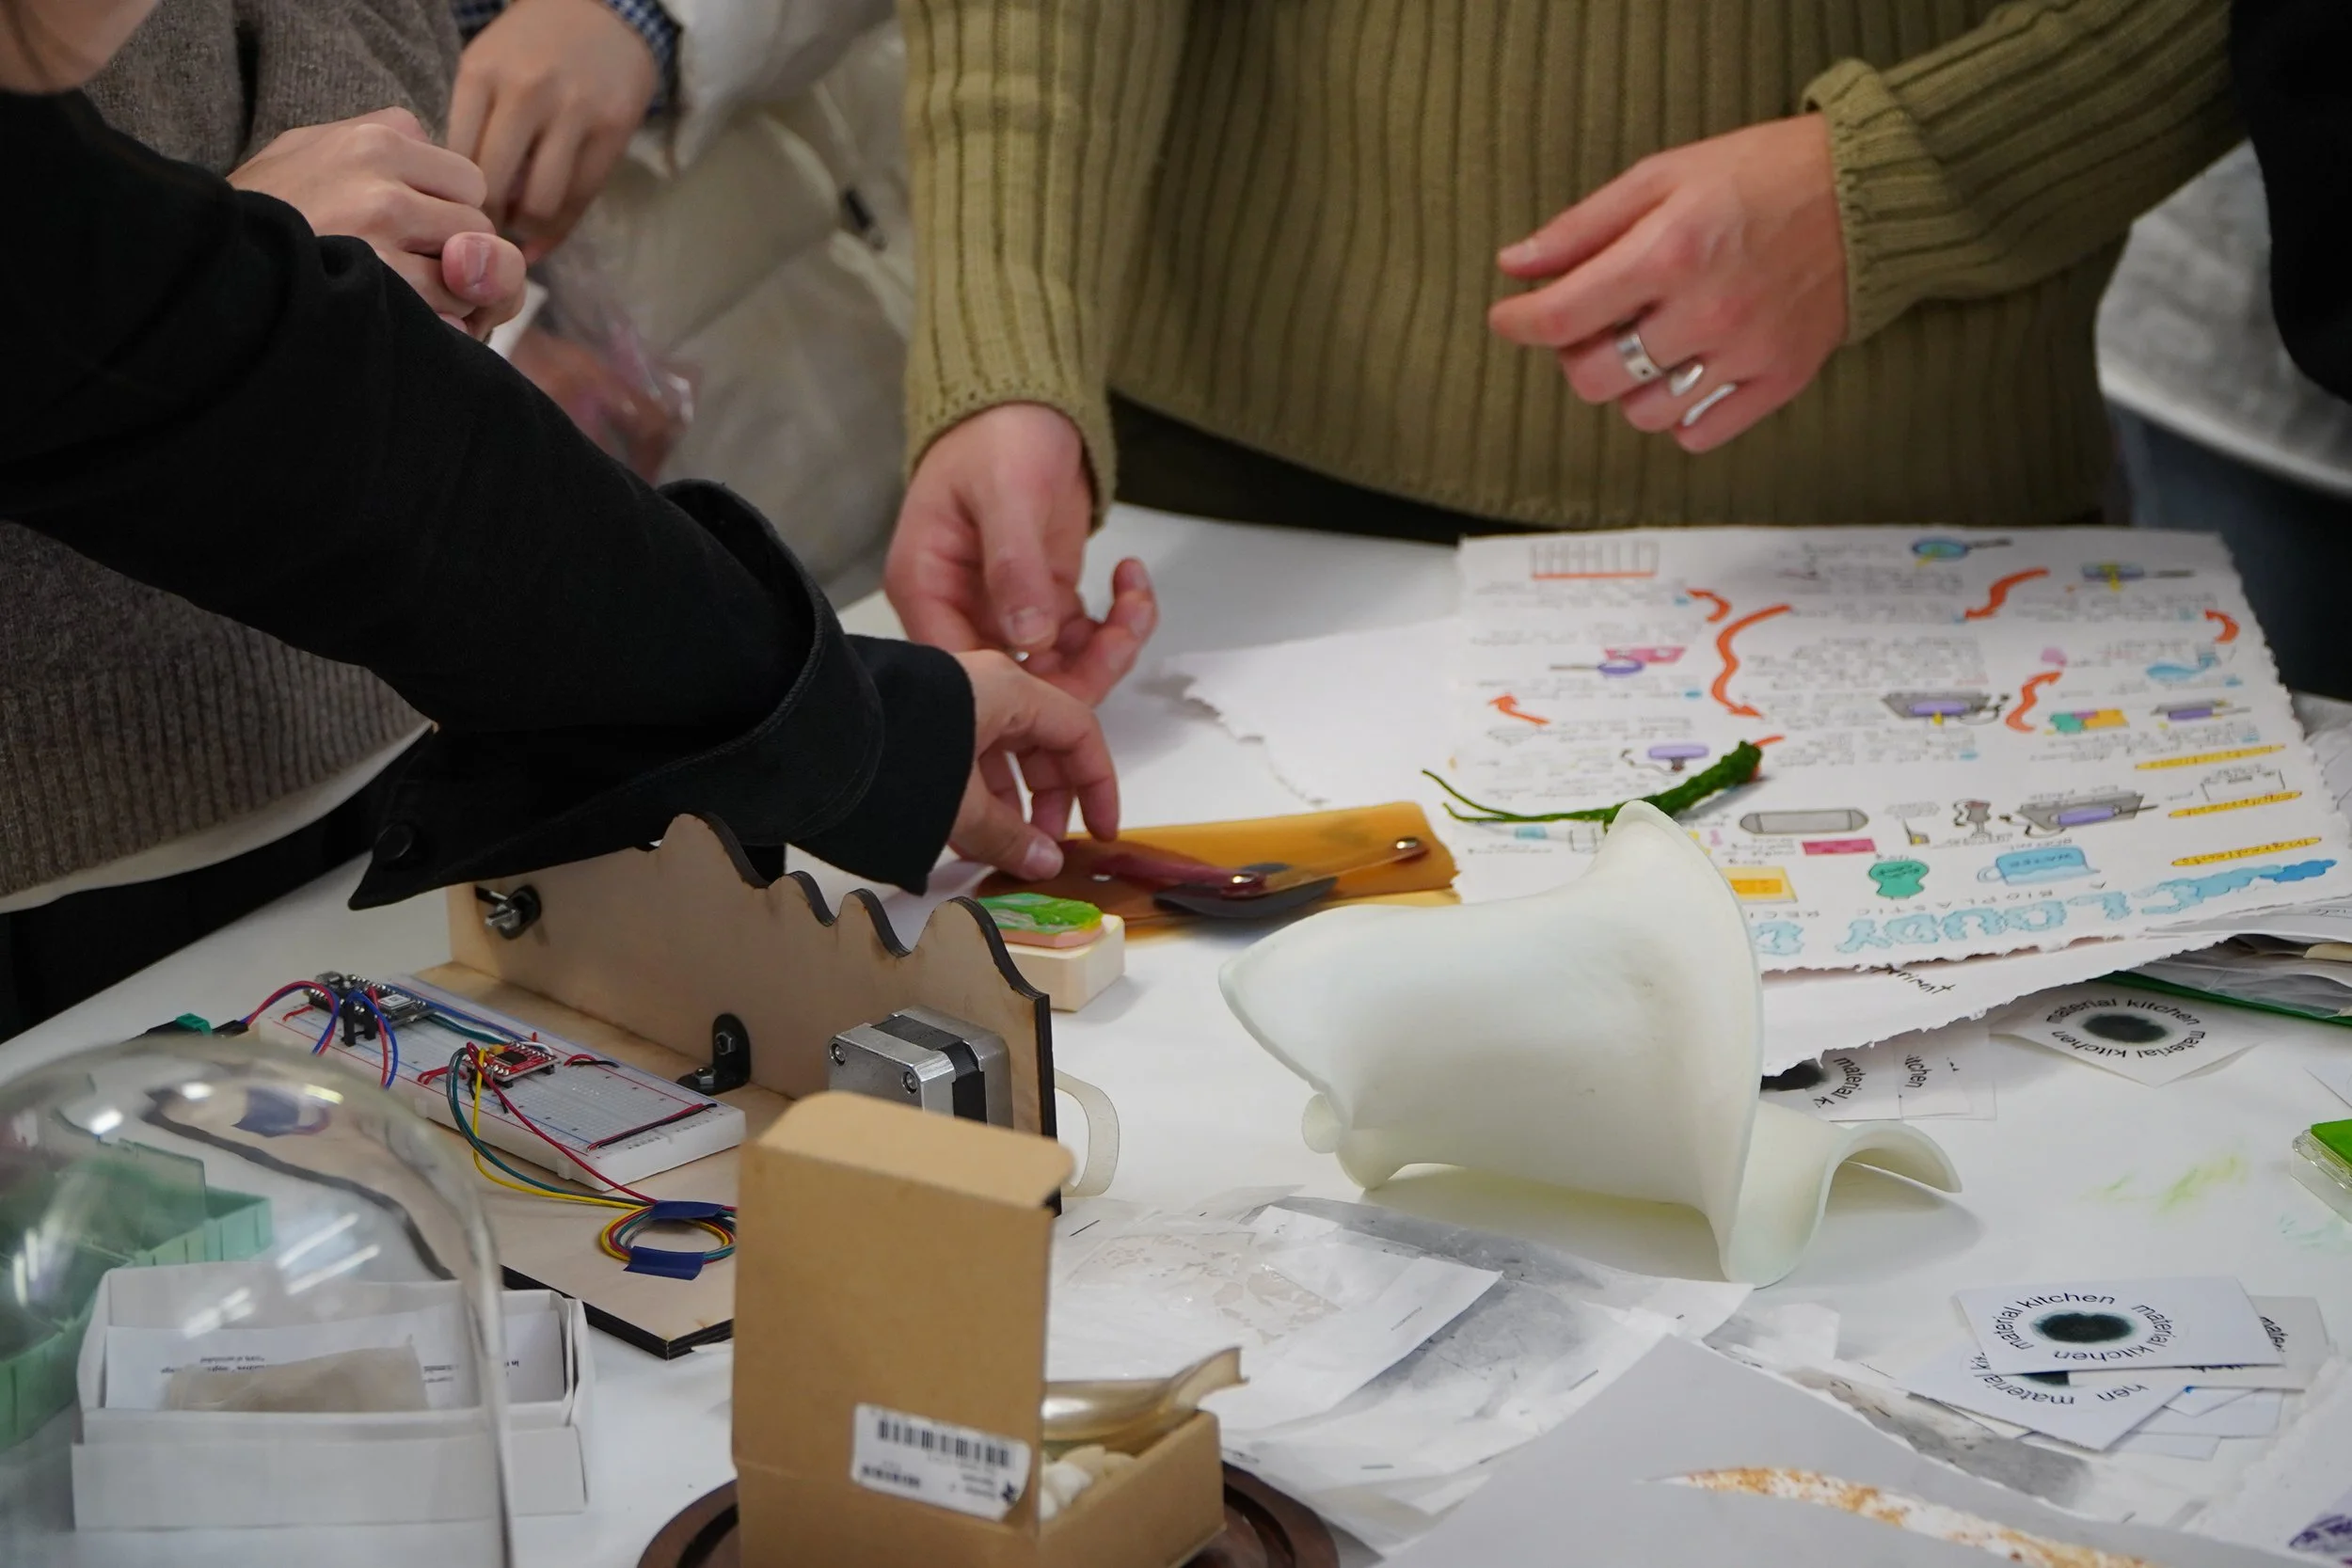
If you are at all interested in the work we talked about, check out the Material Kitchen website or the presentation slides.
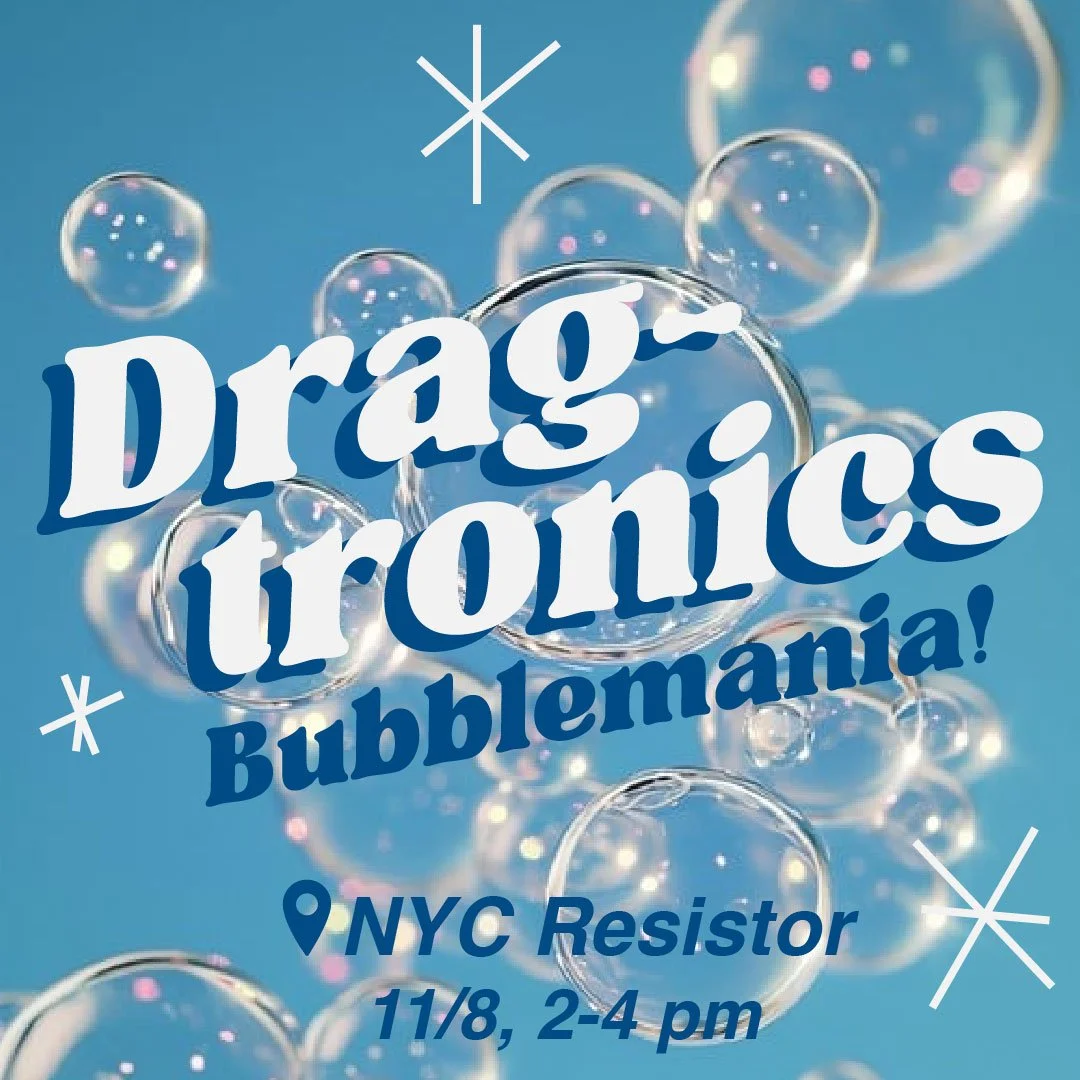
Dragtronics: Bubblemania
with Kay Wasil @ NYC Resistor, November 8, 2025
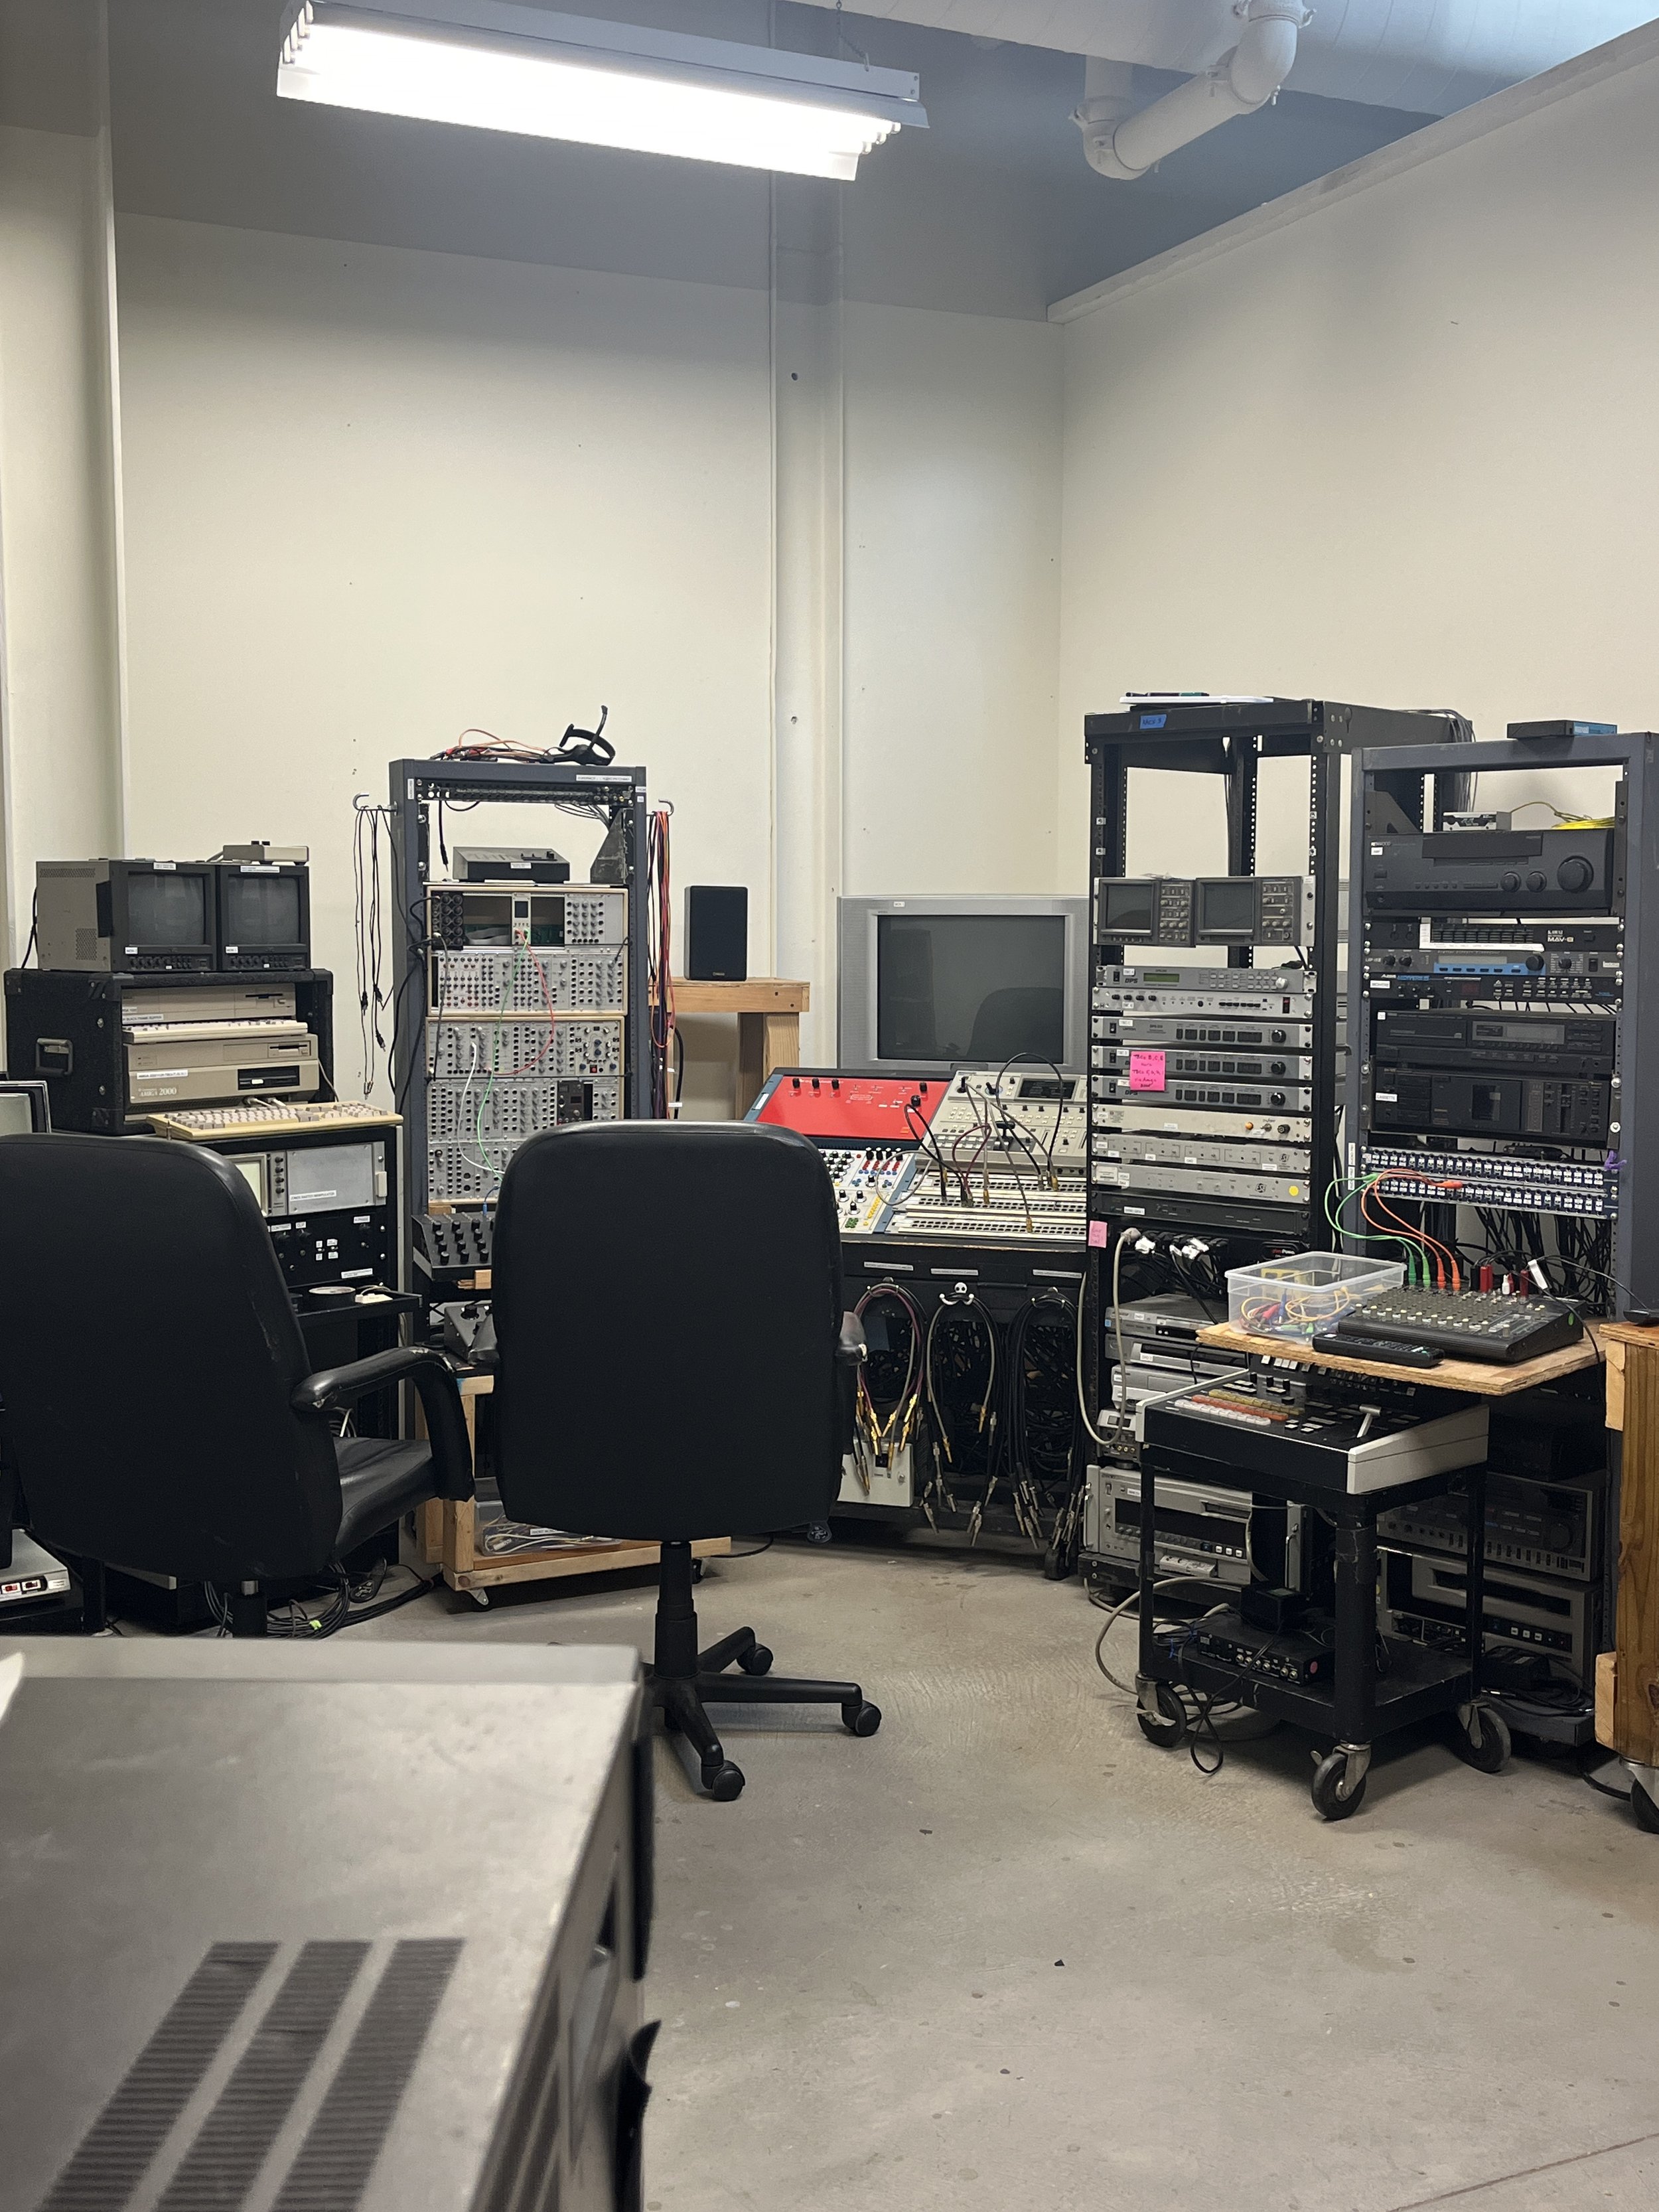
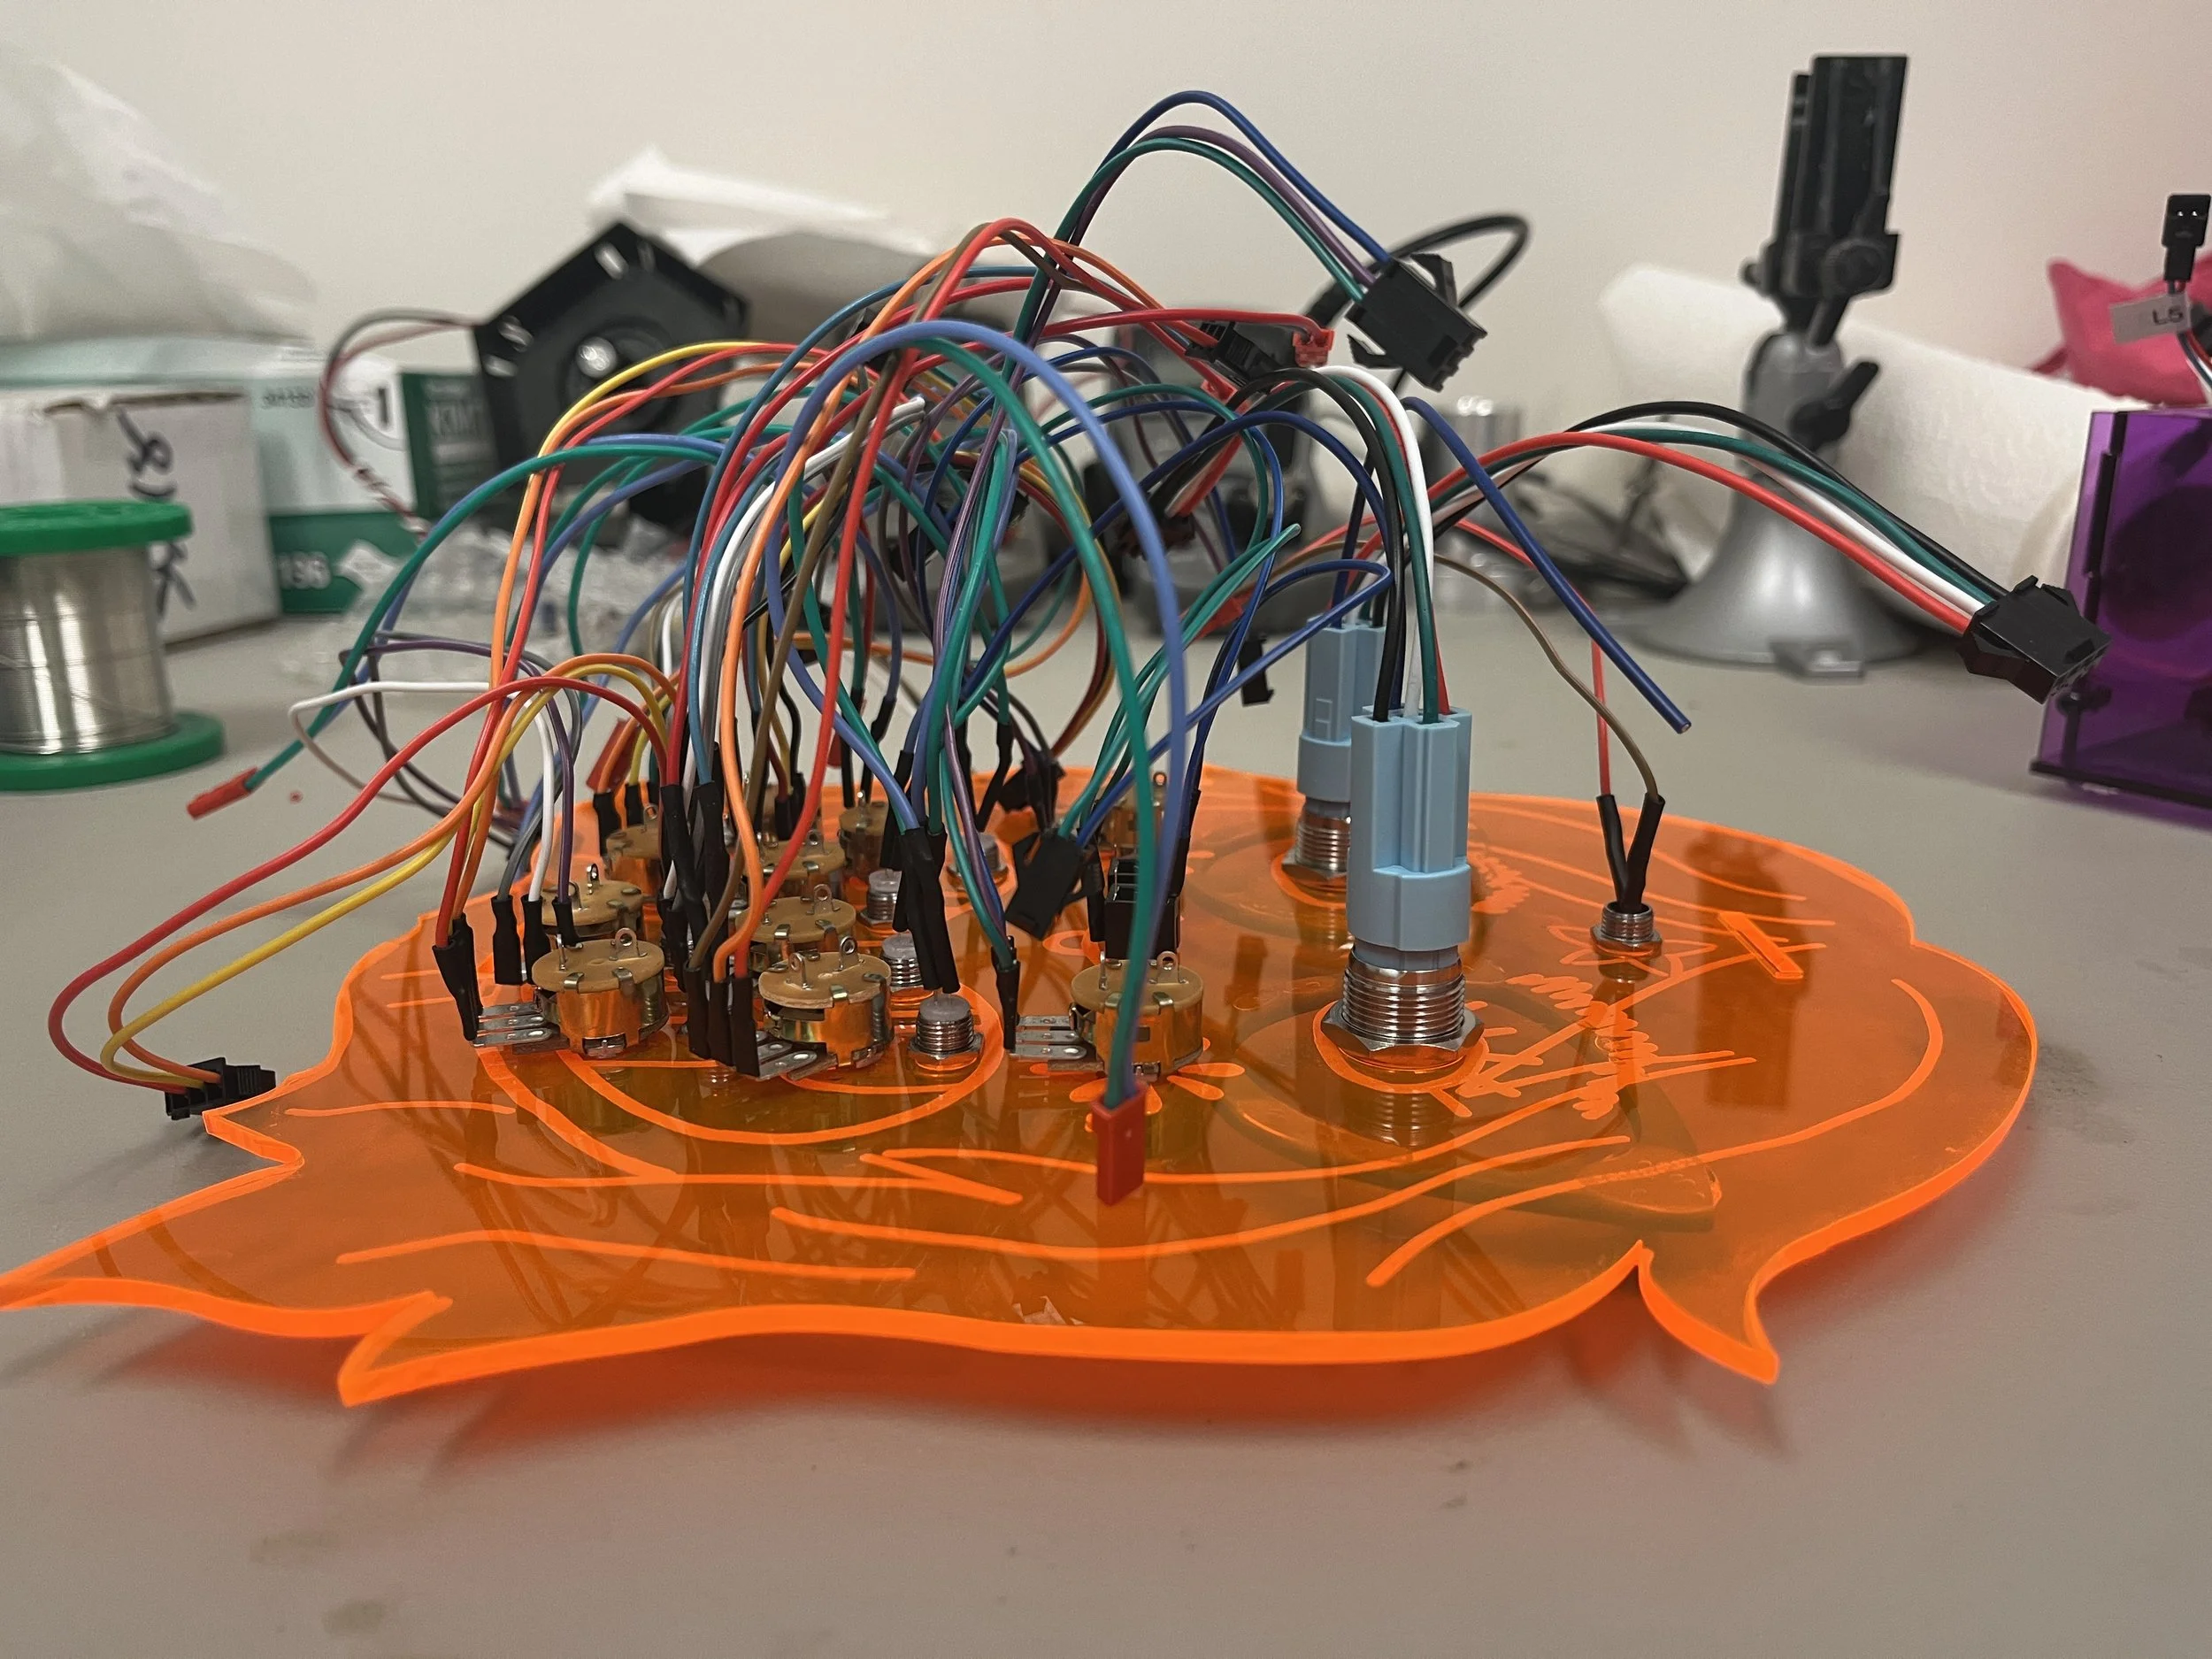
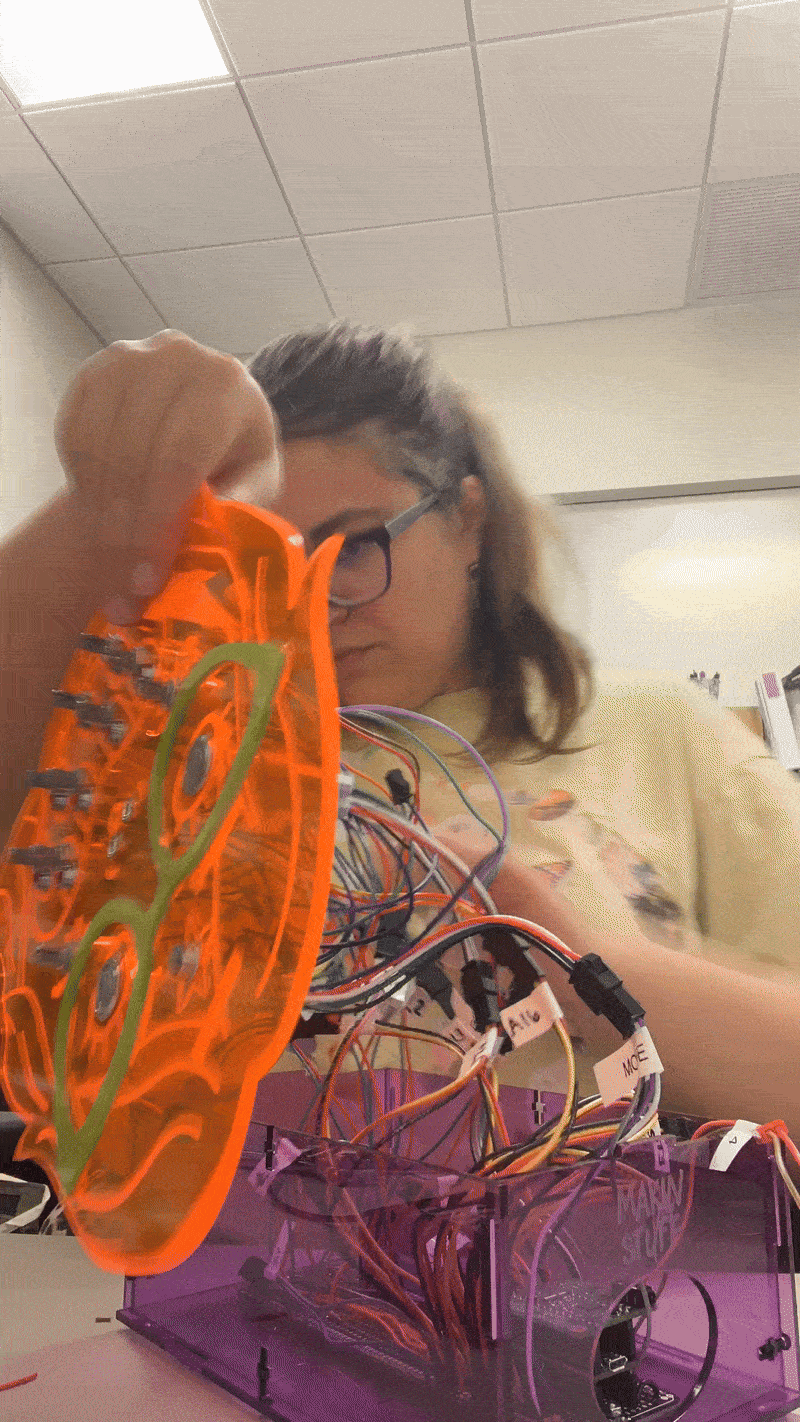
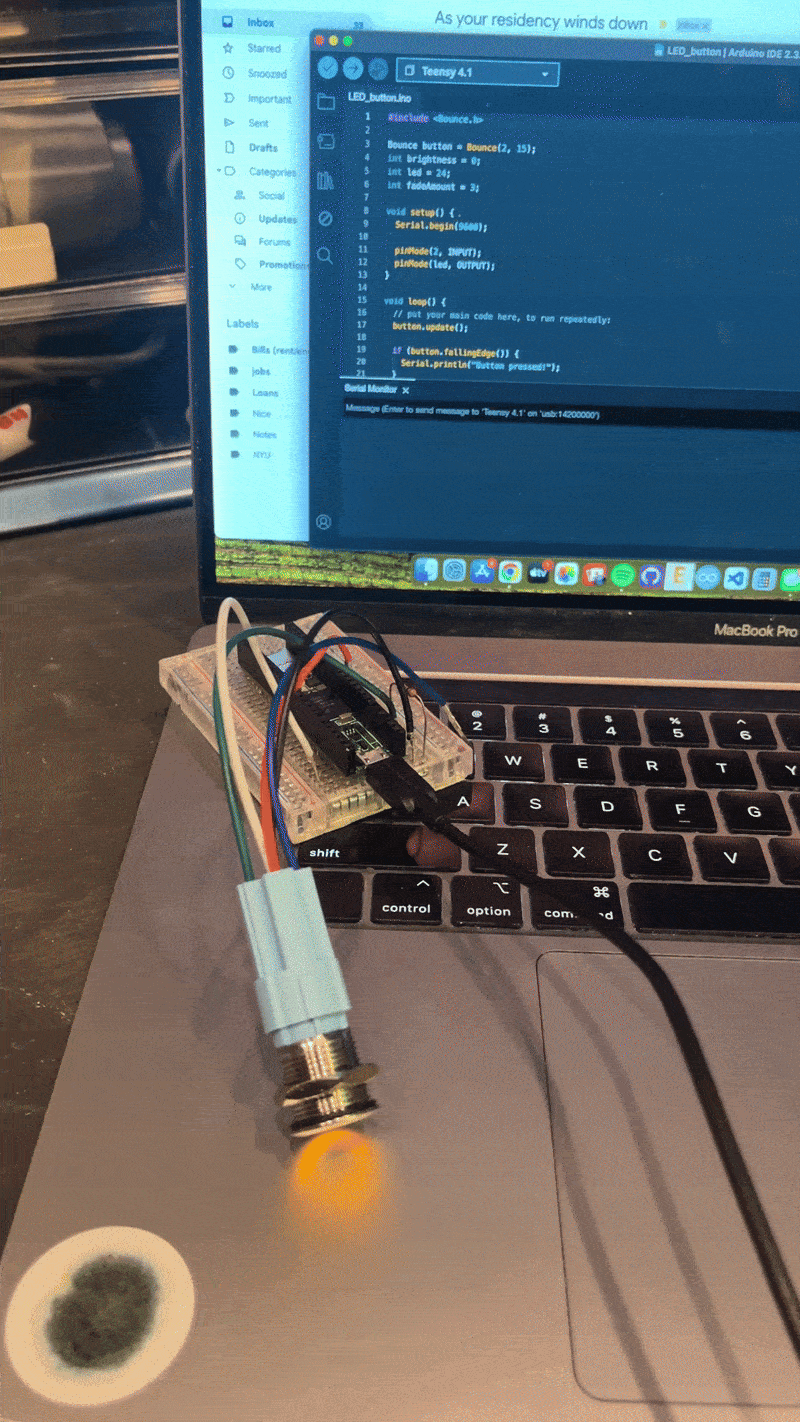
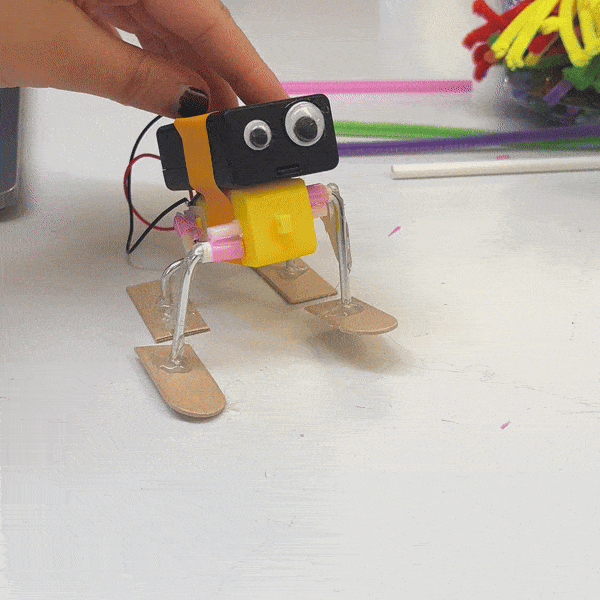
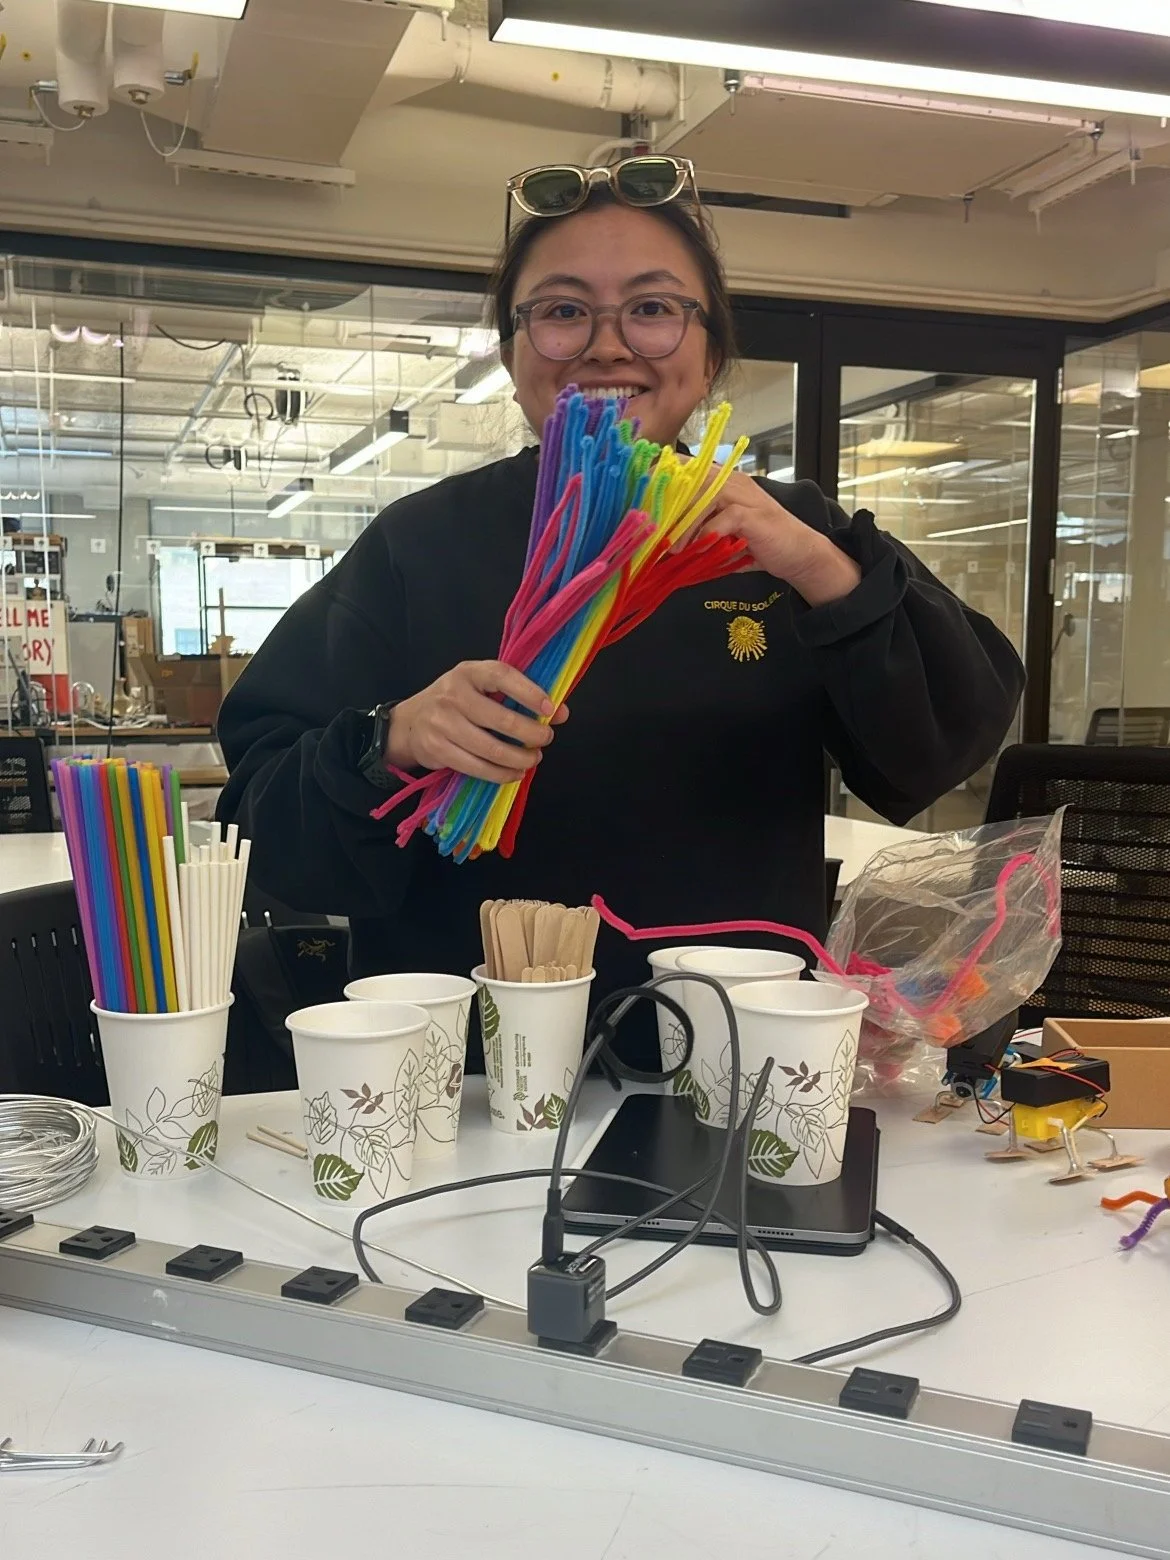
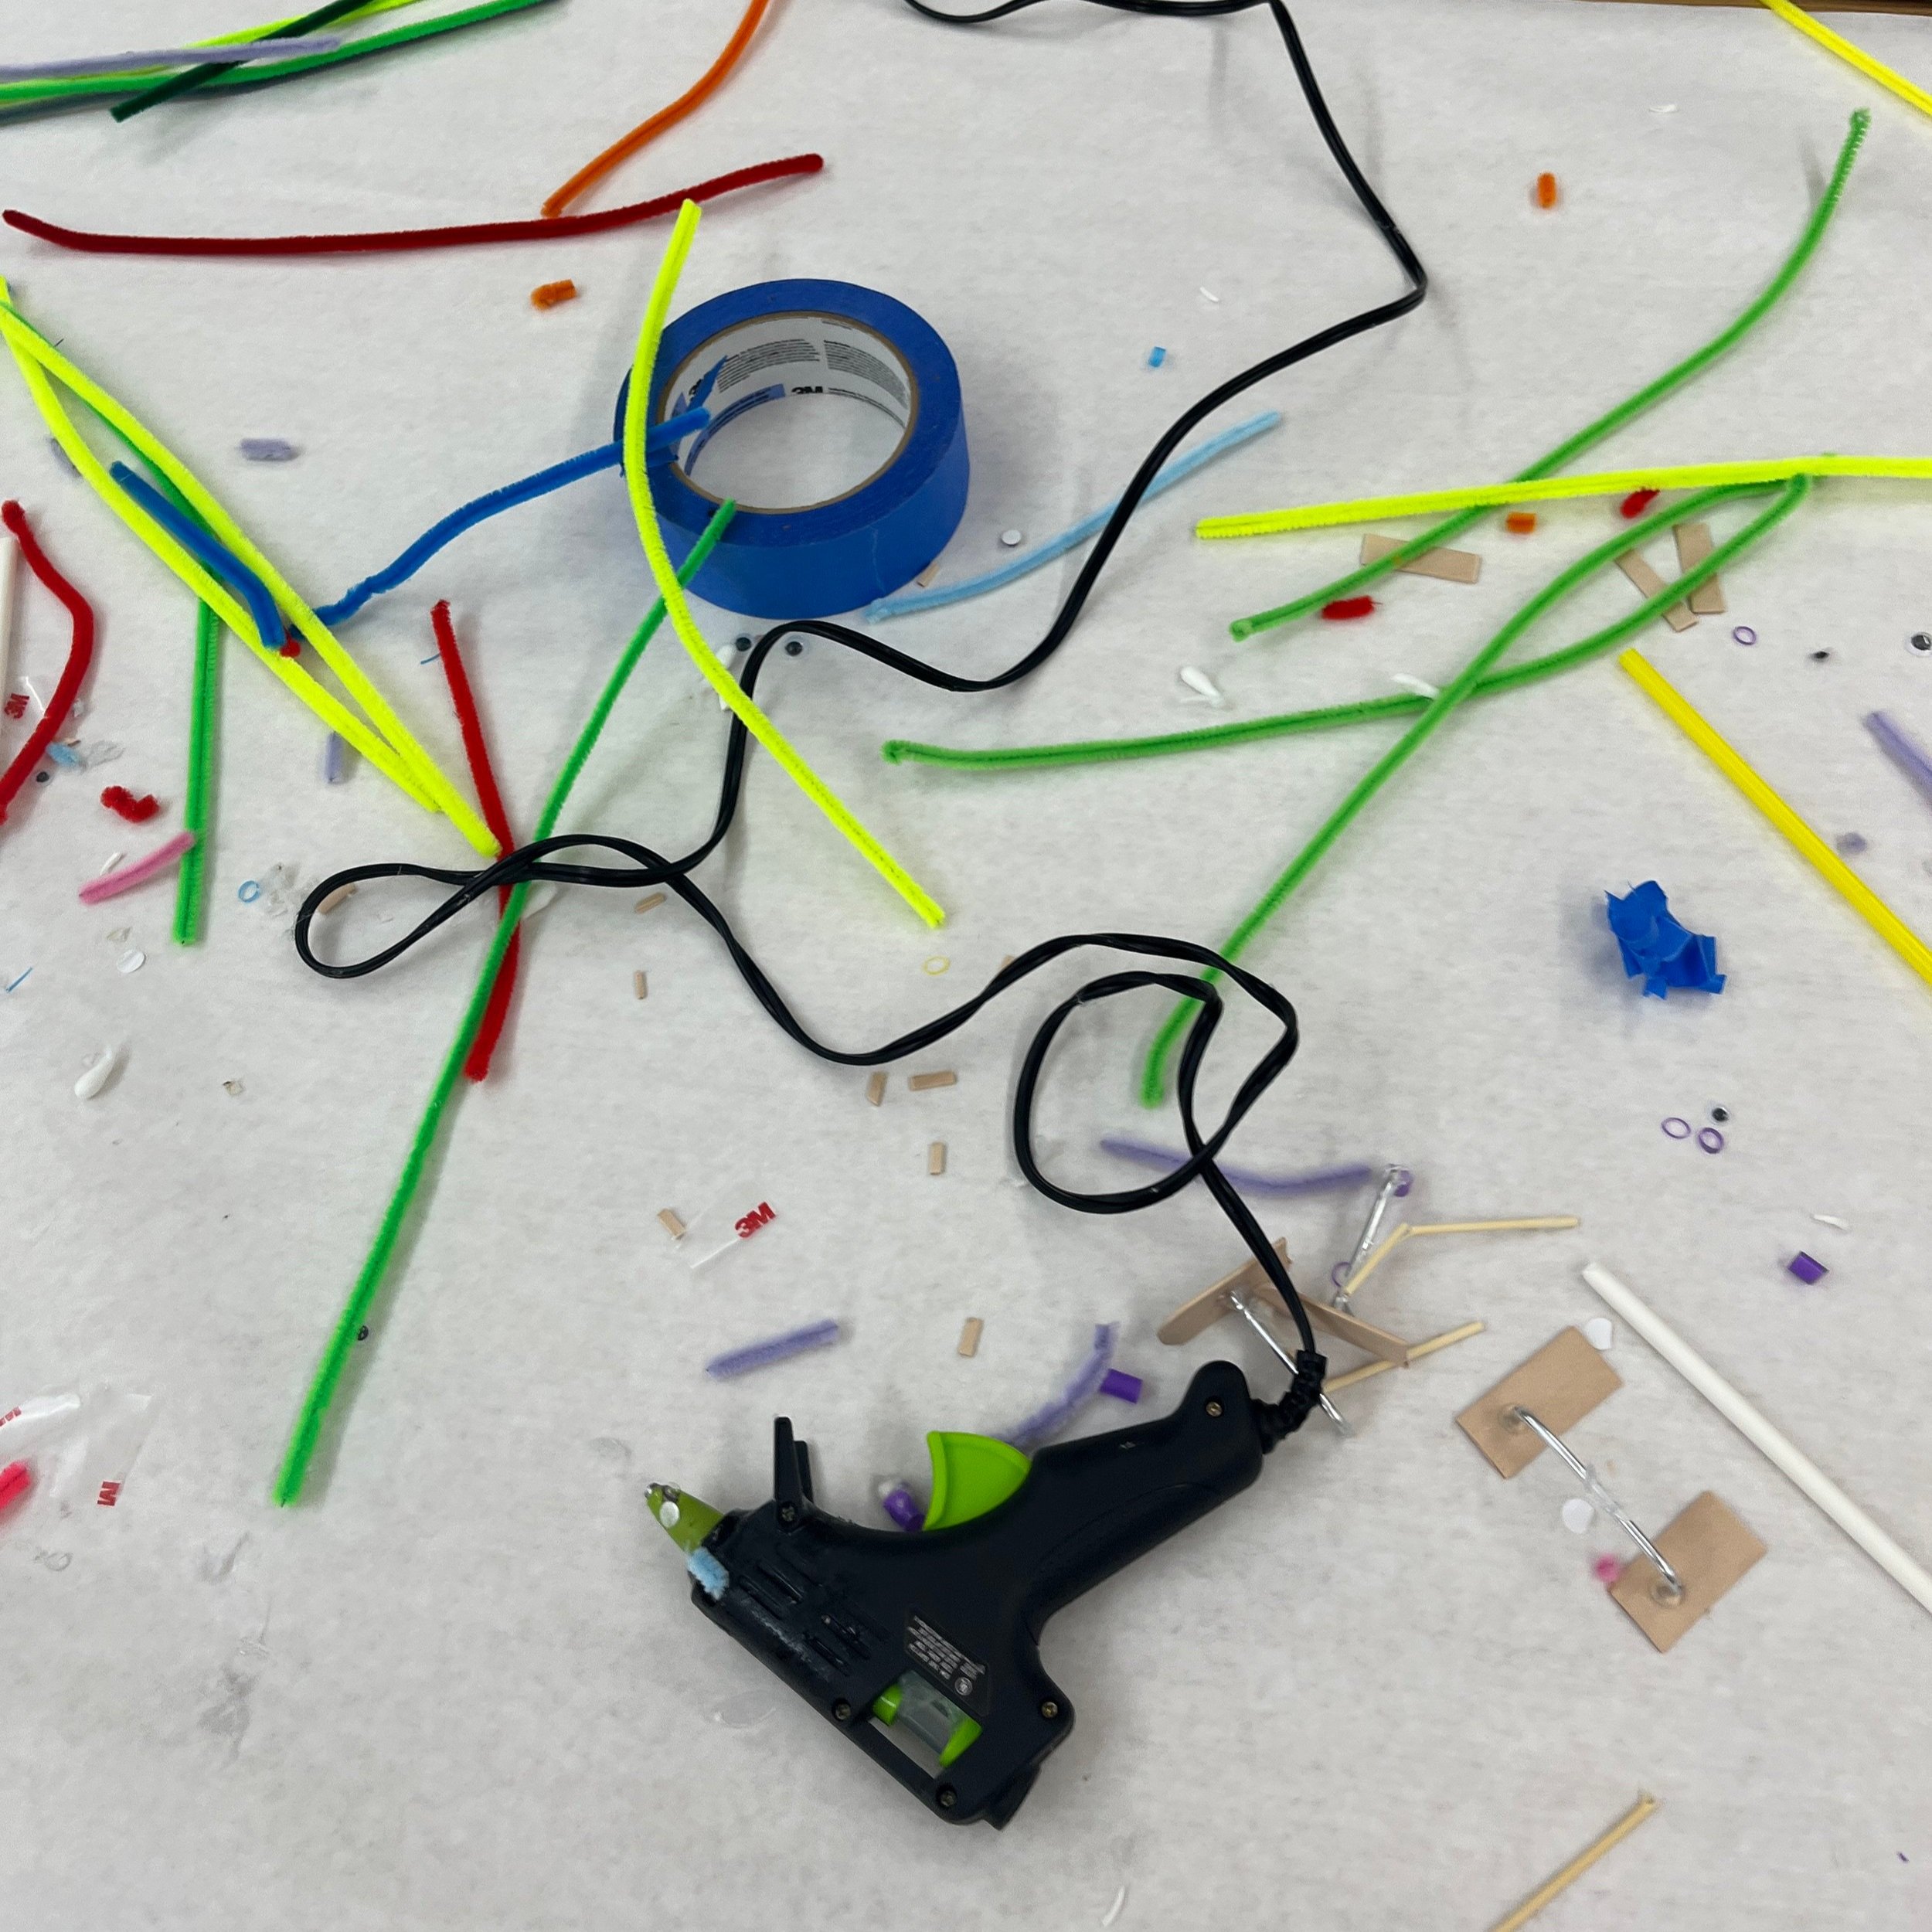
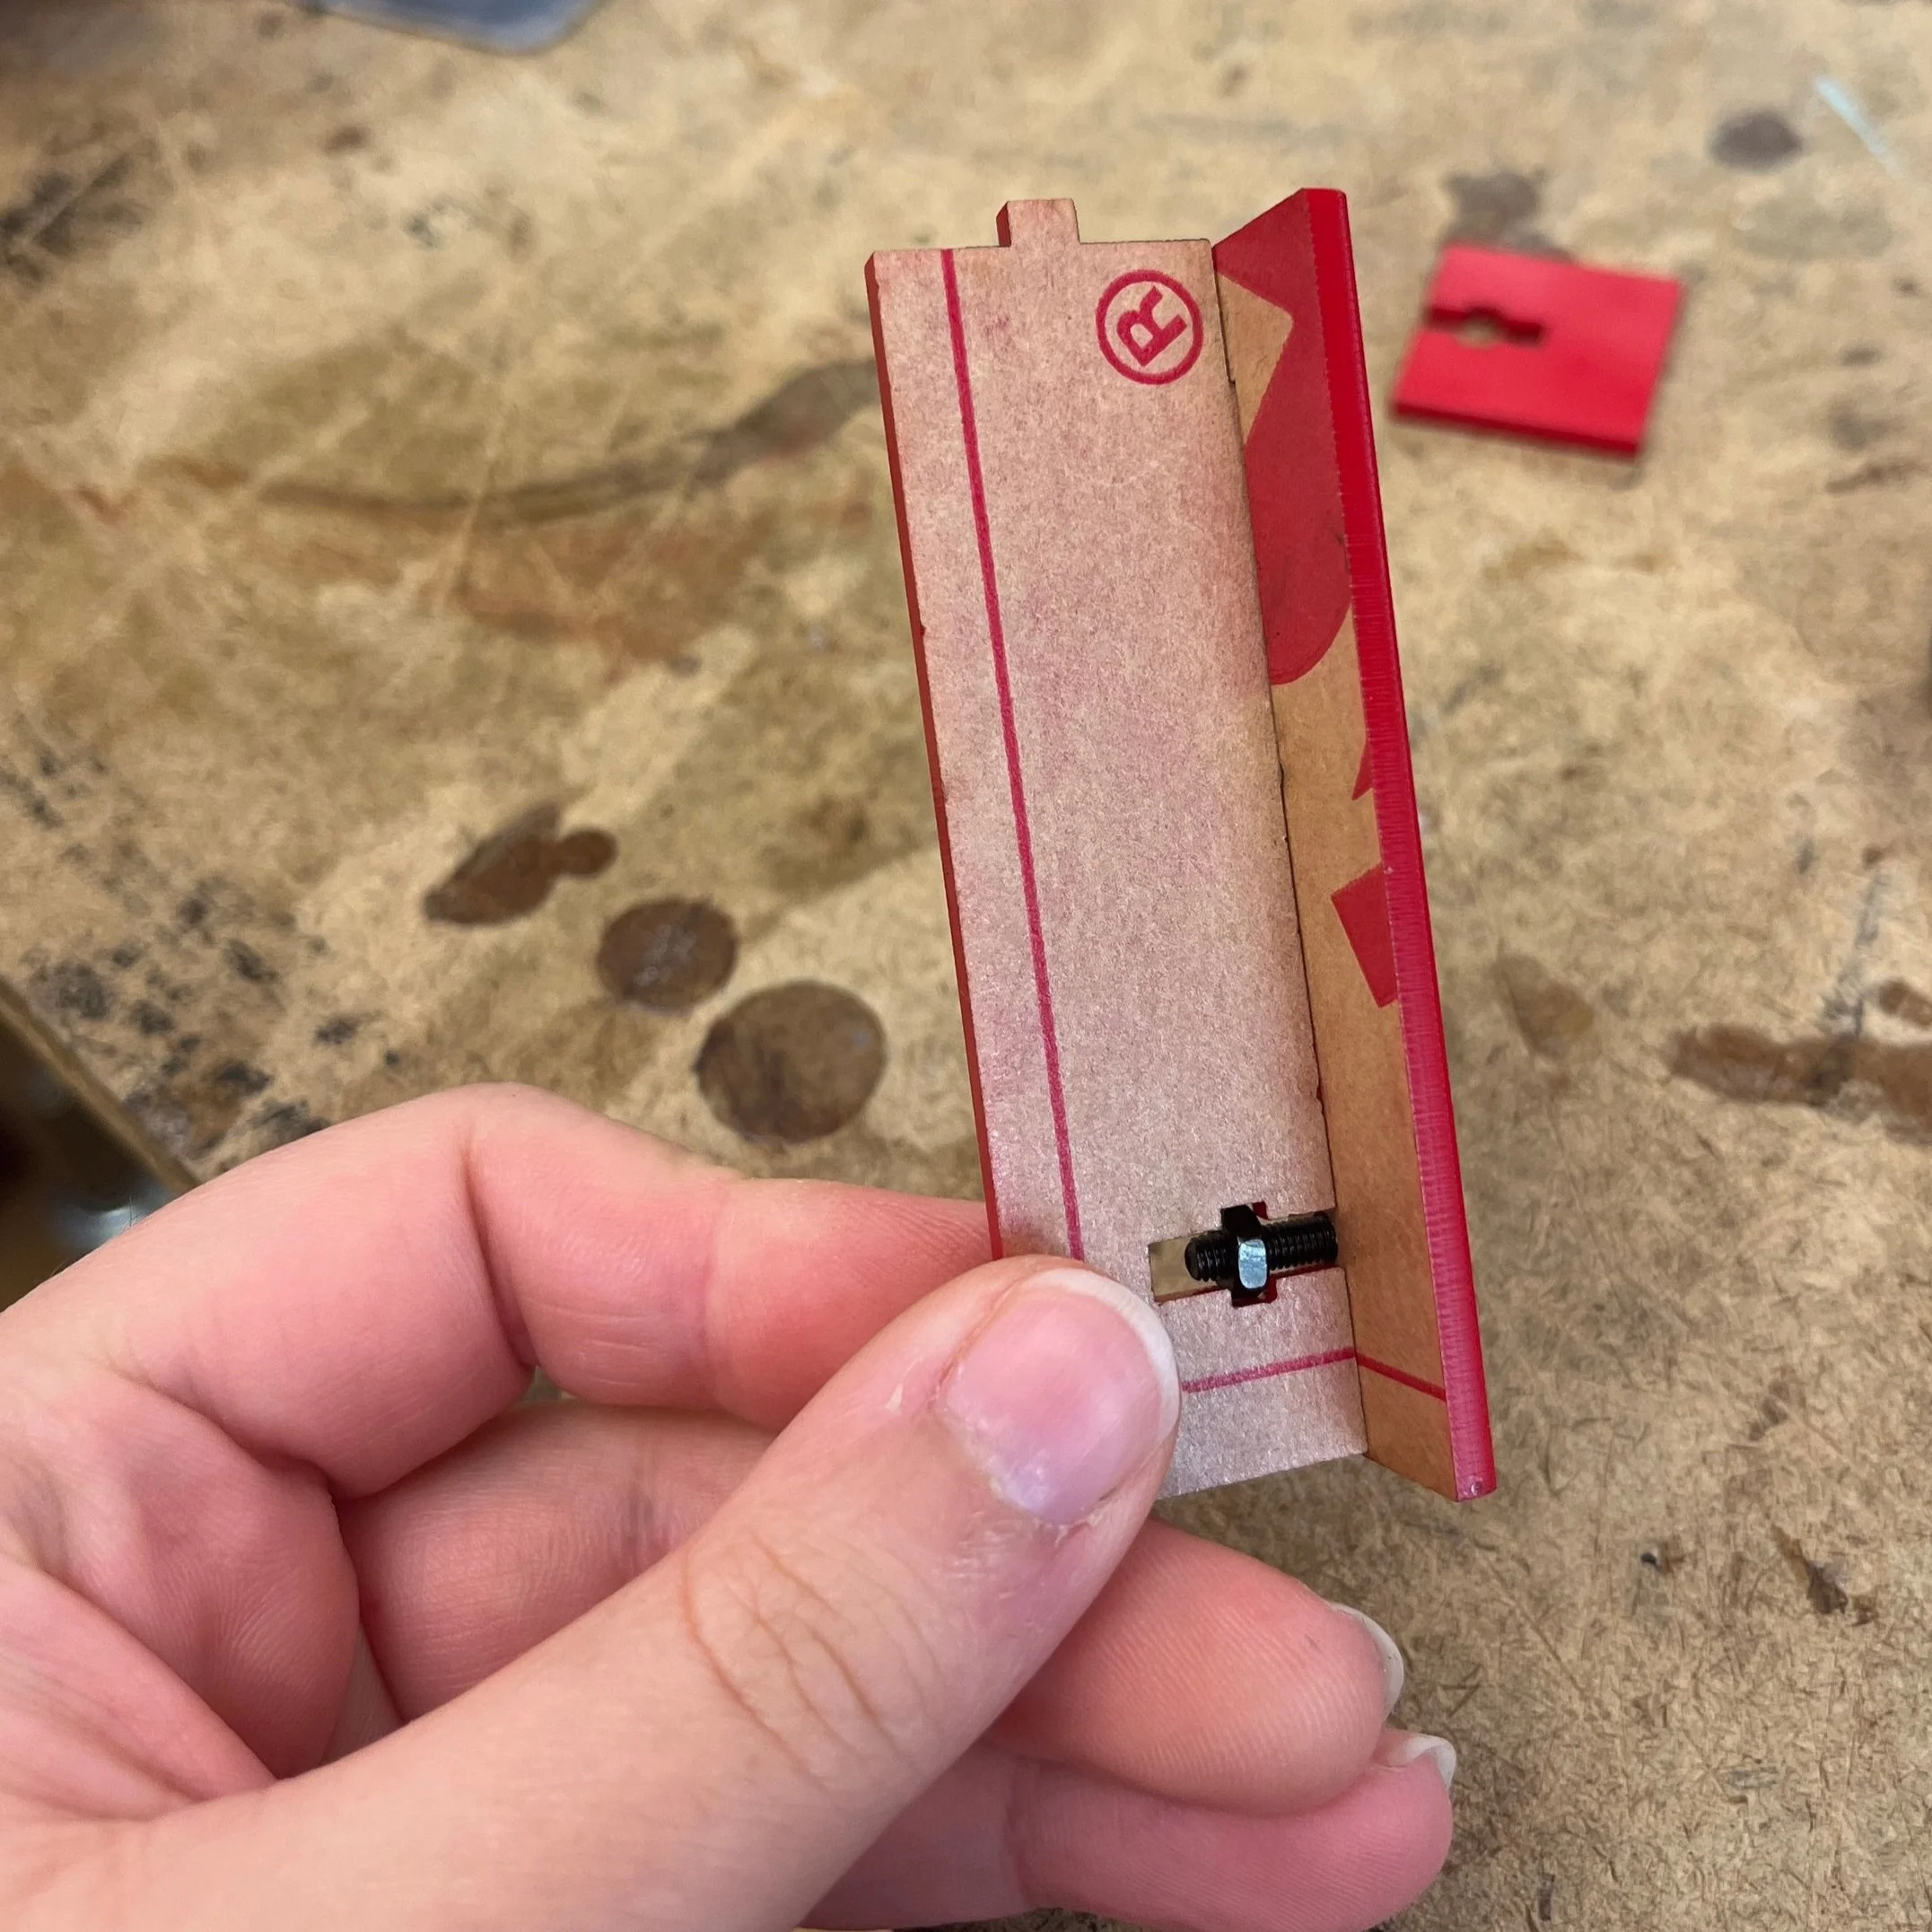
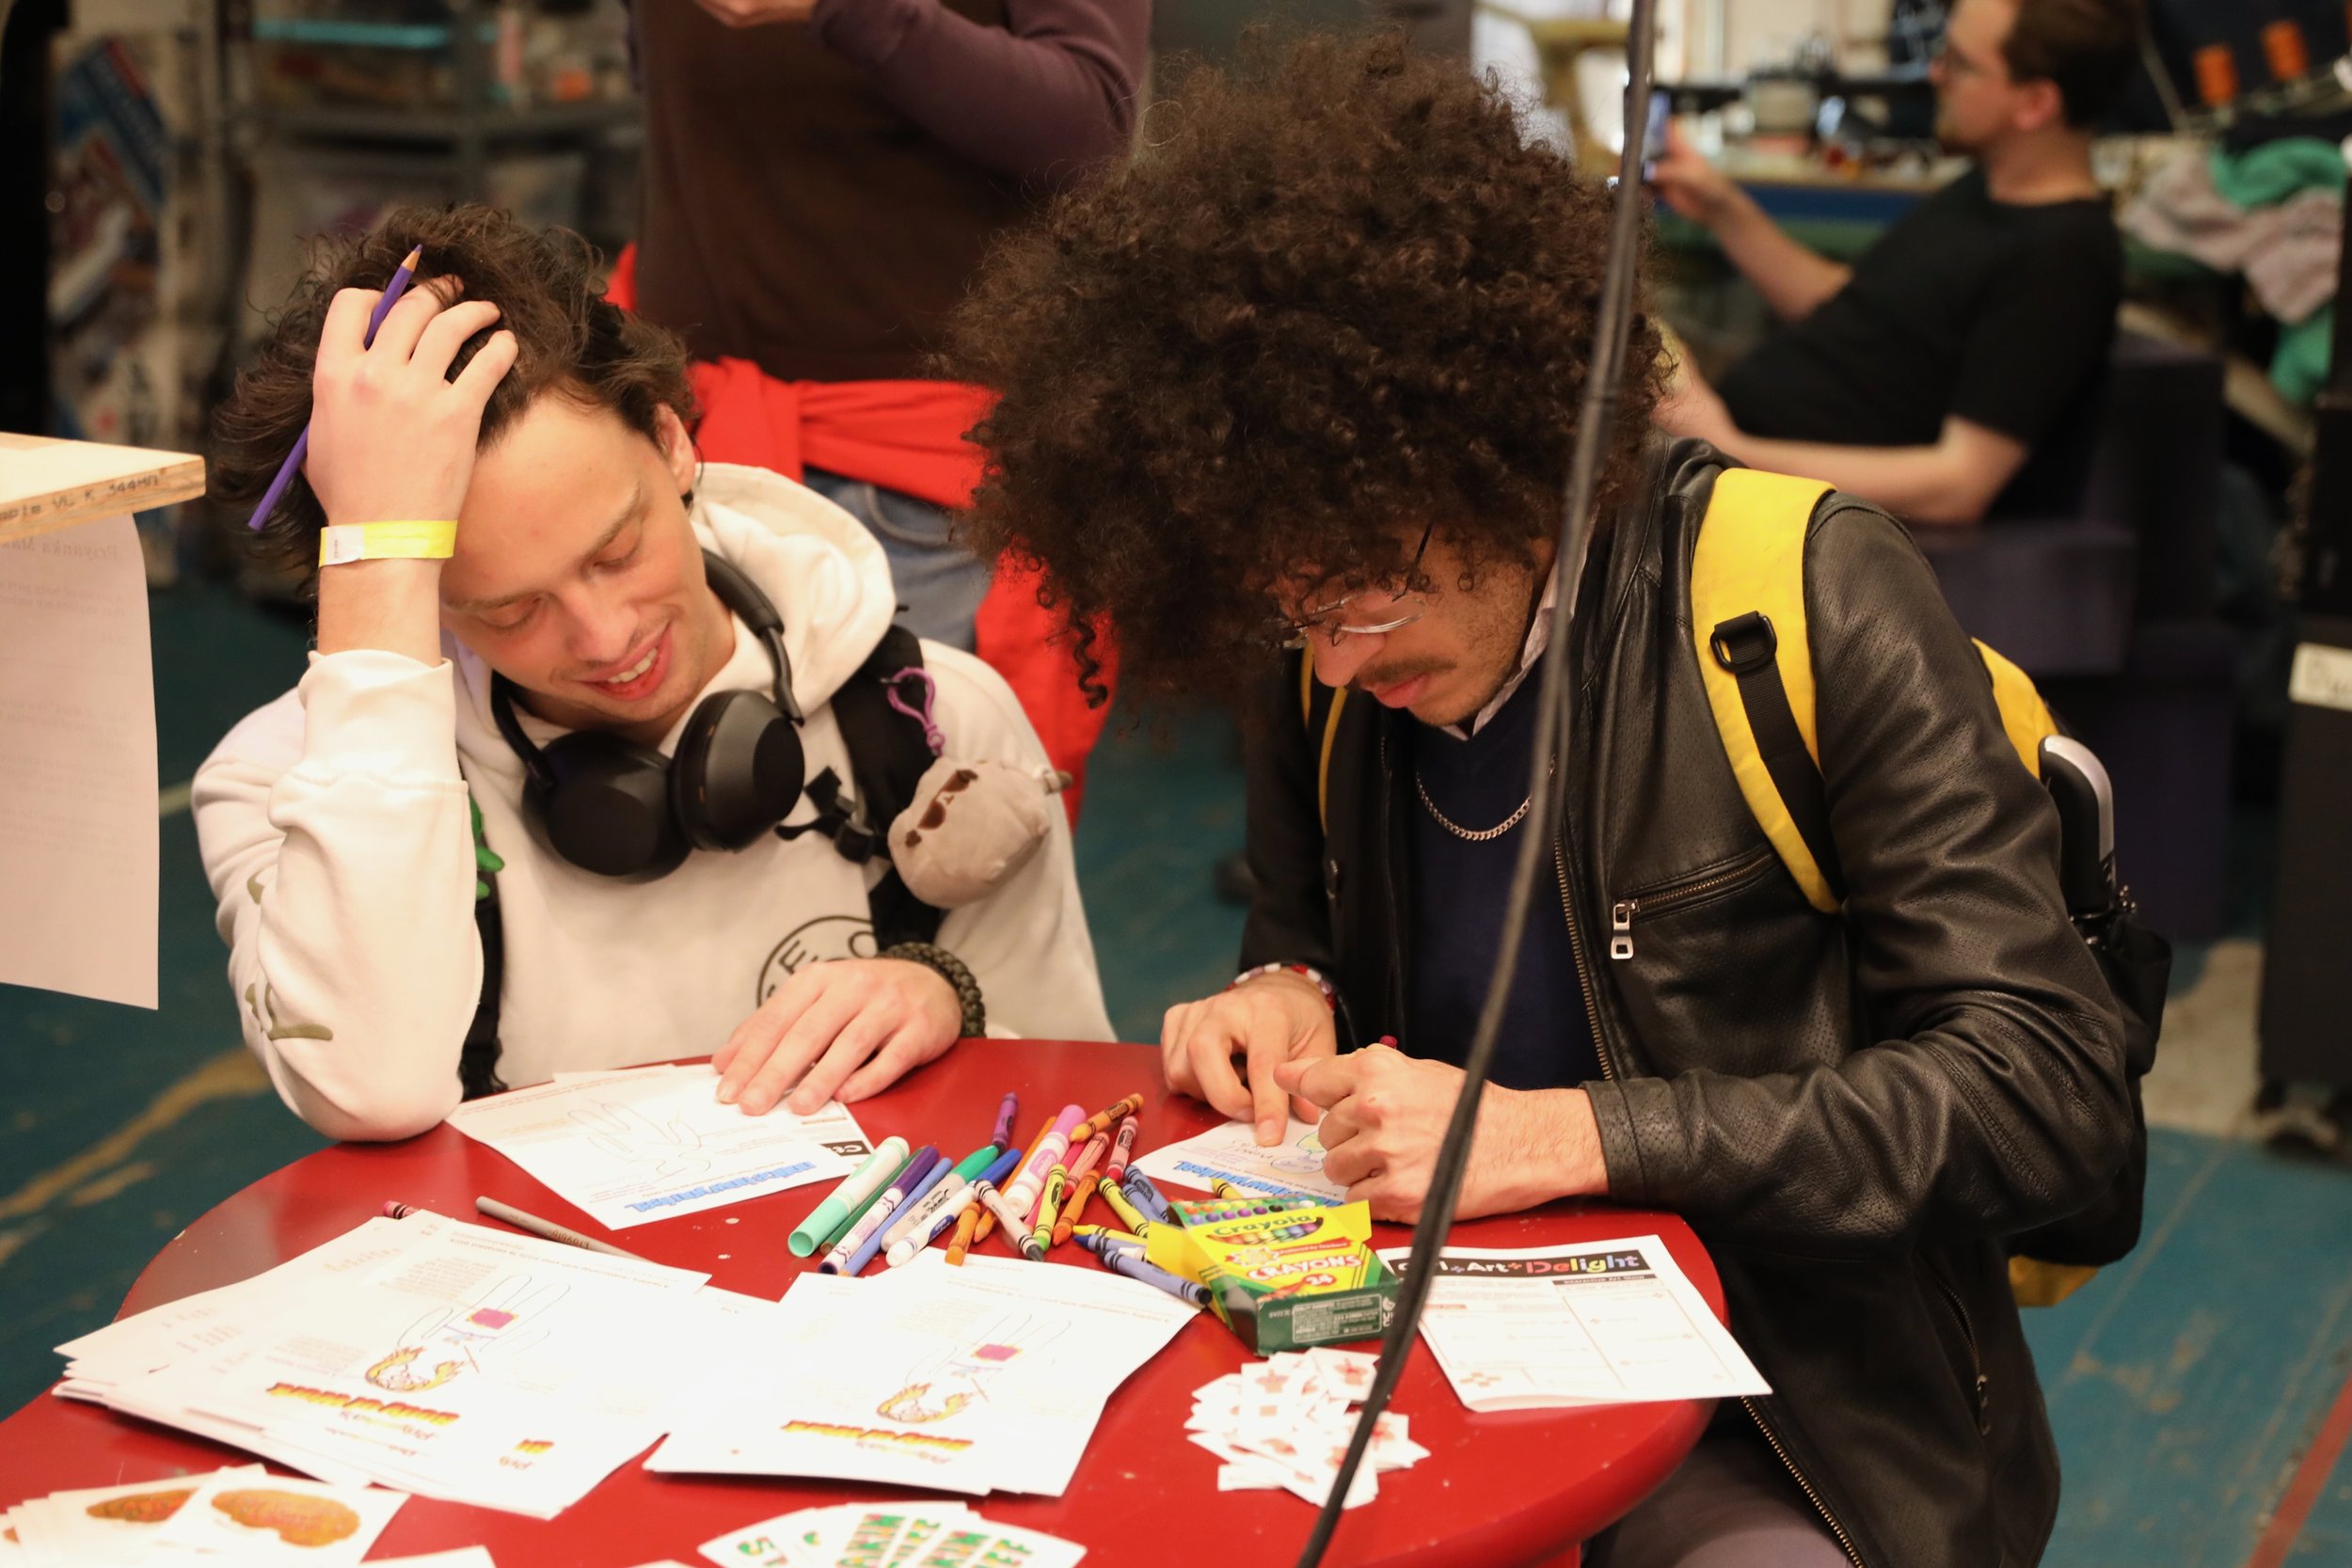
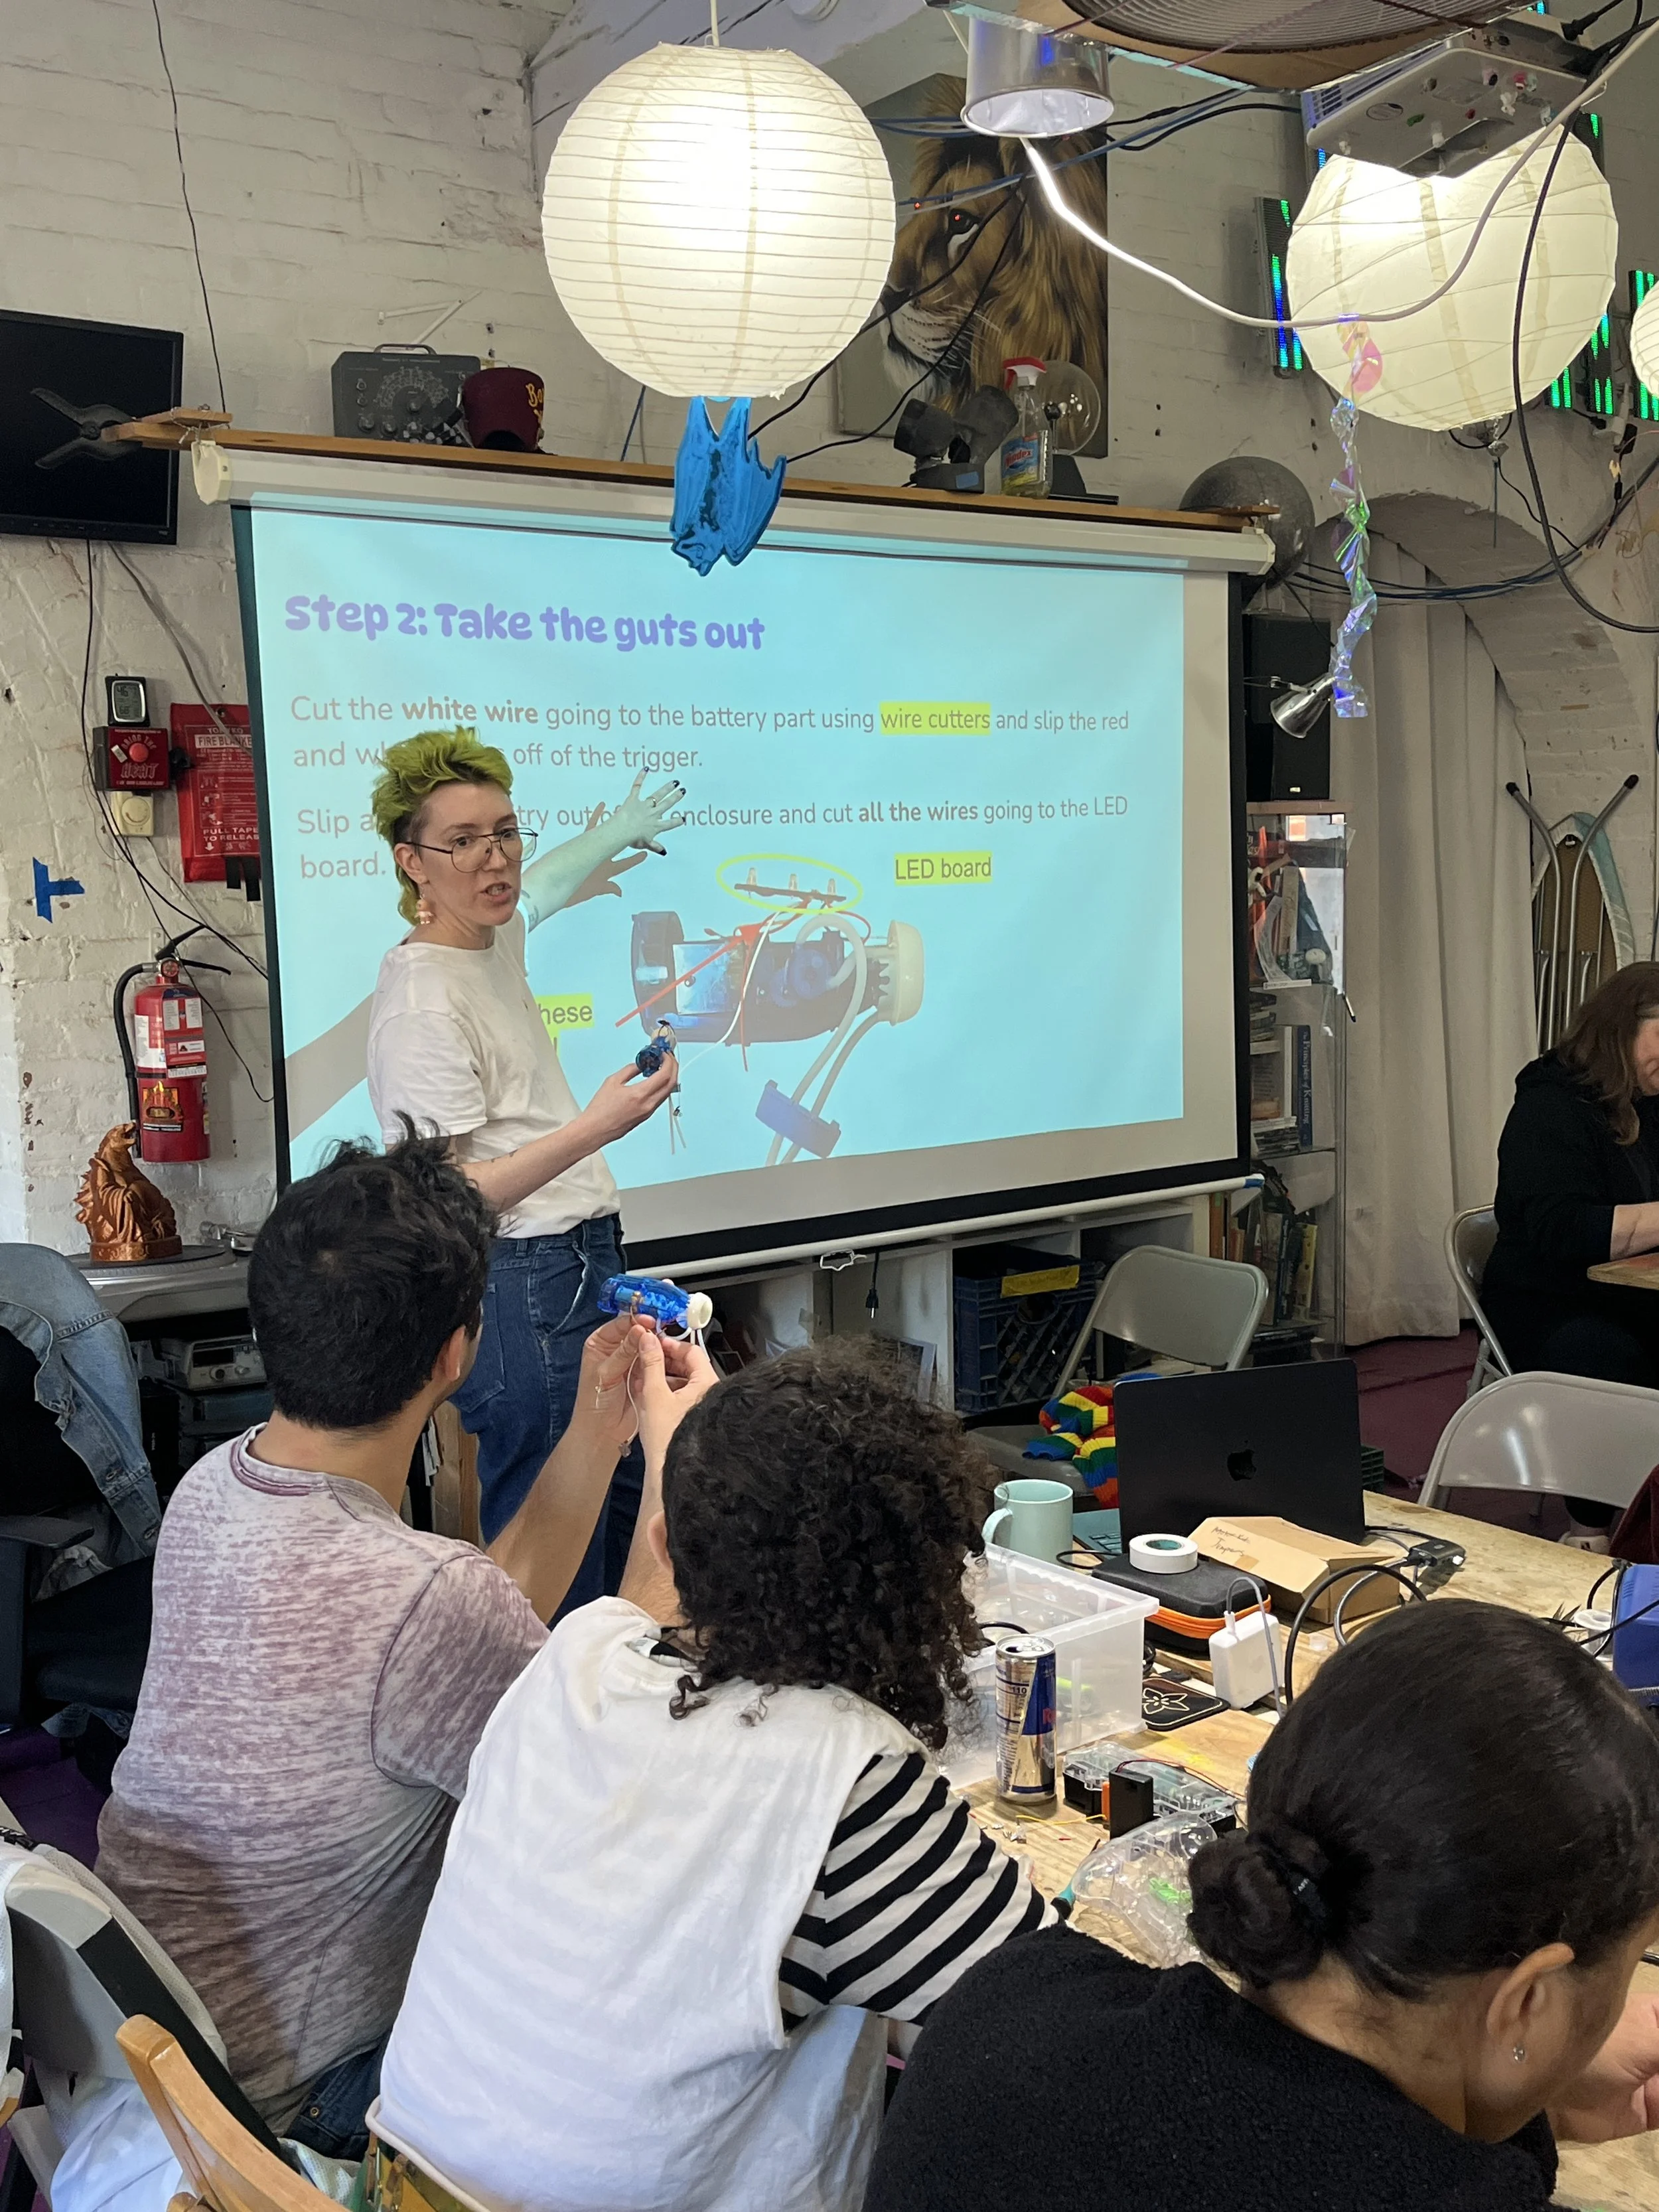
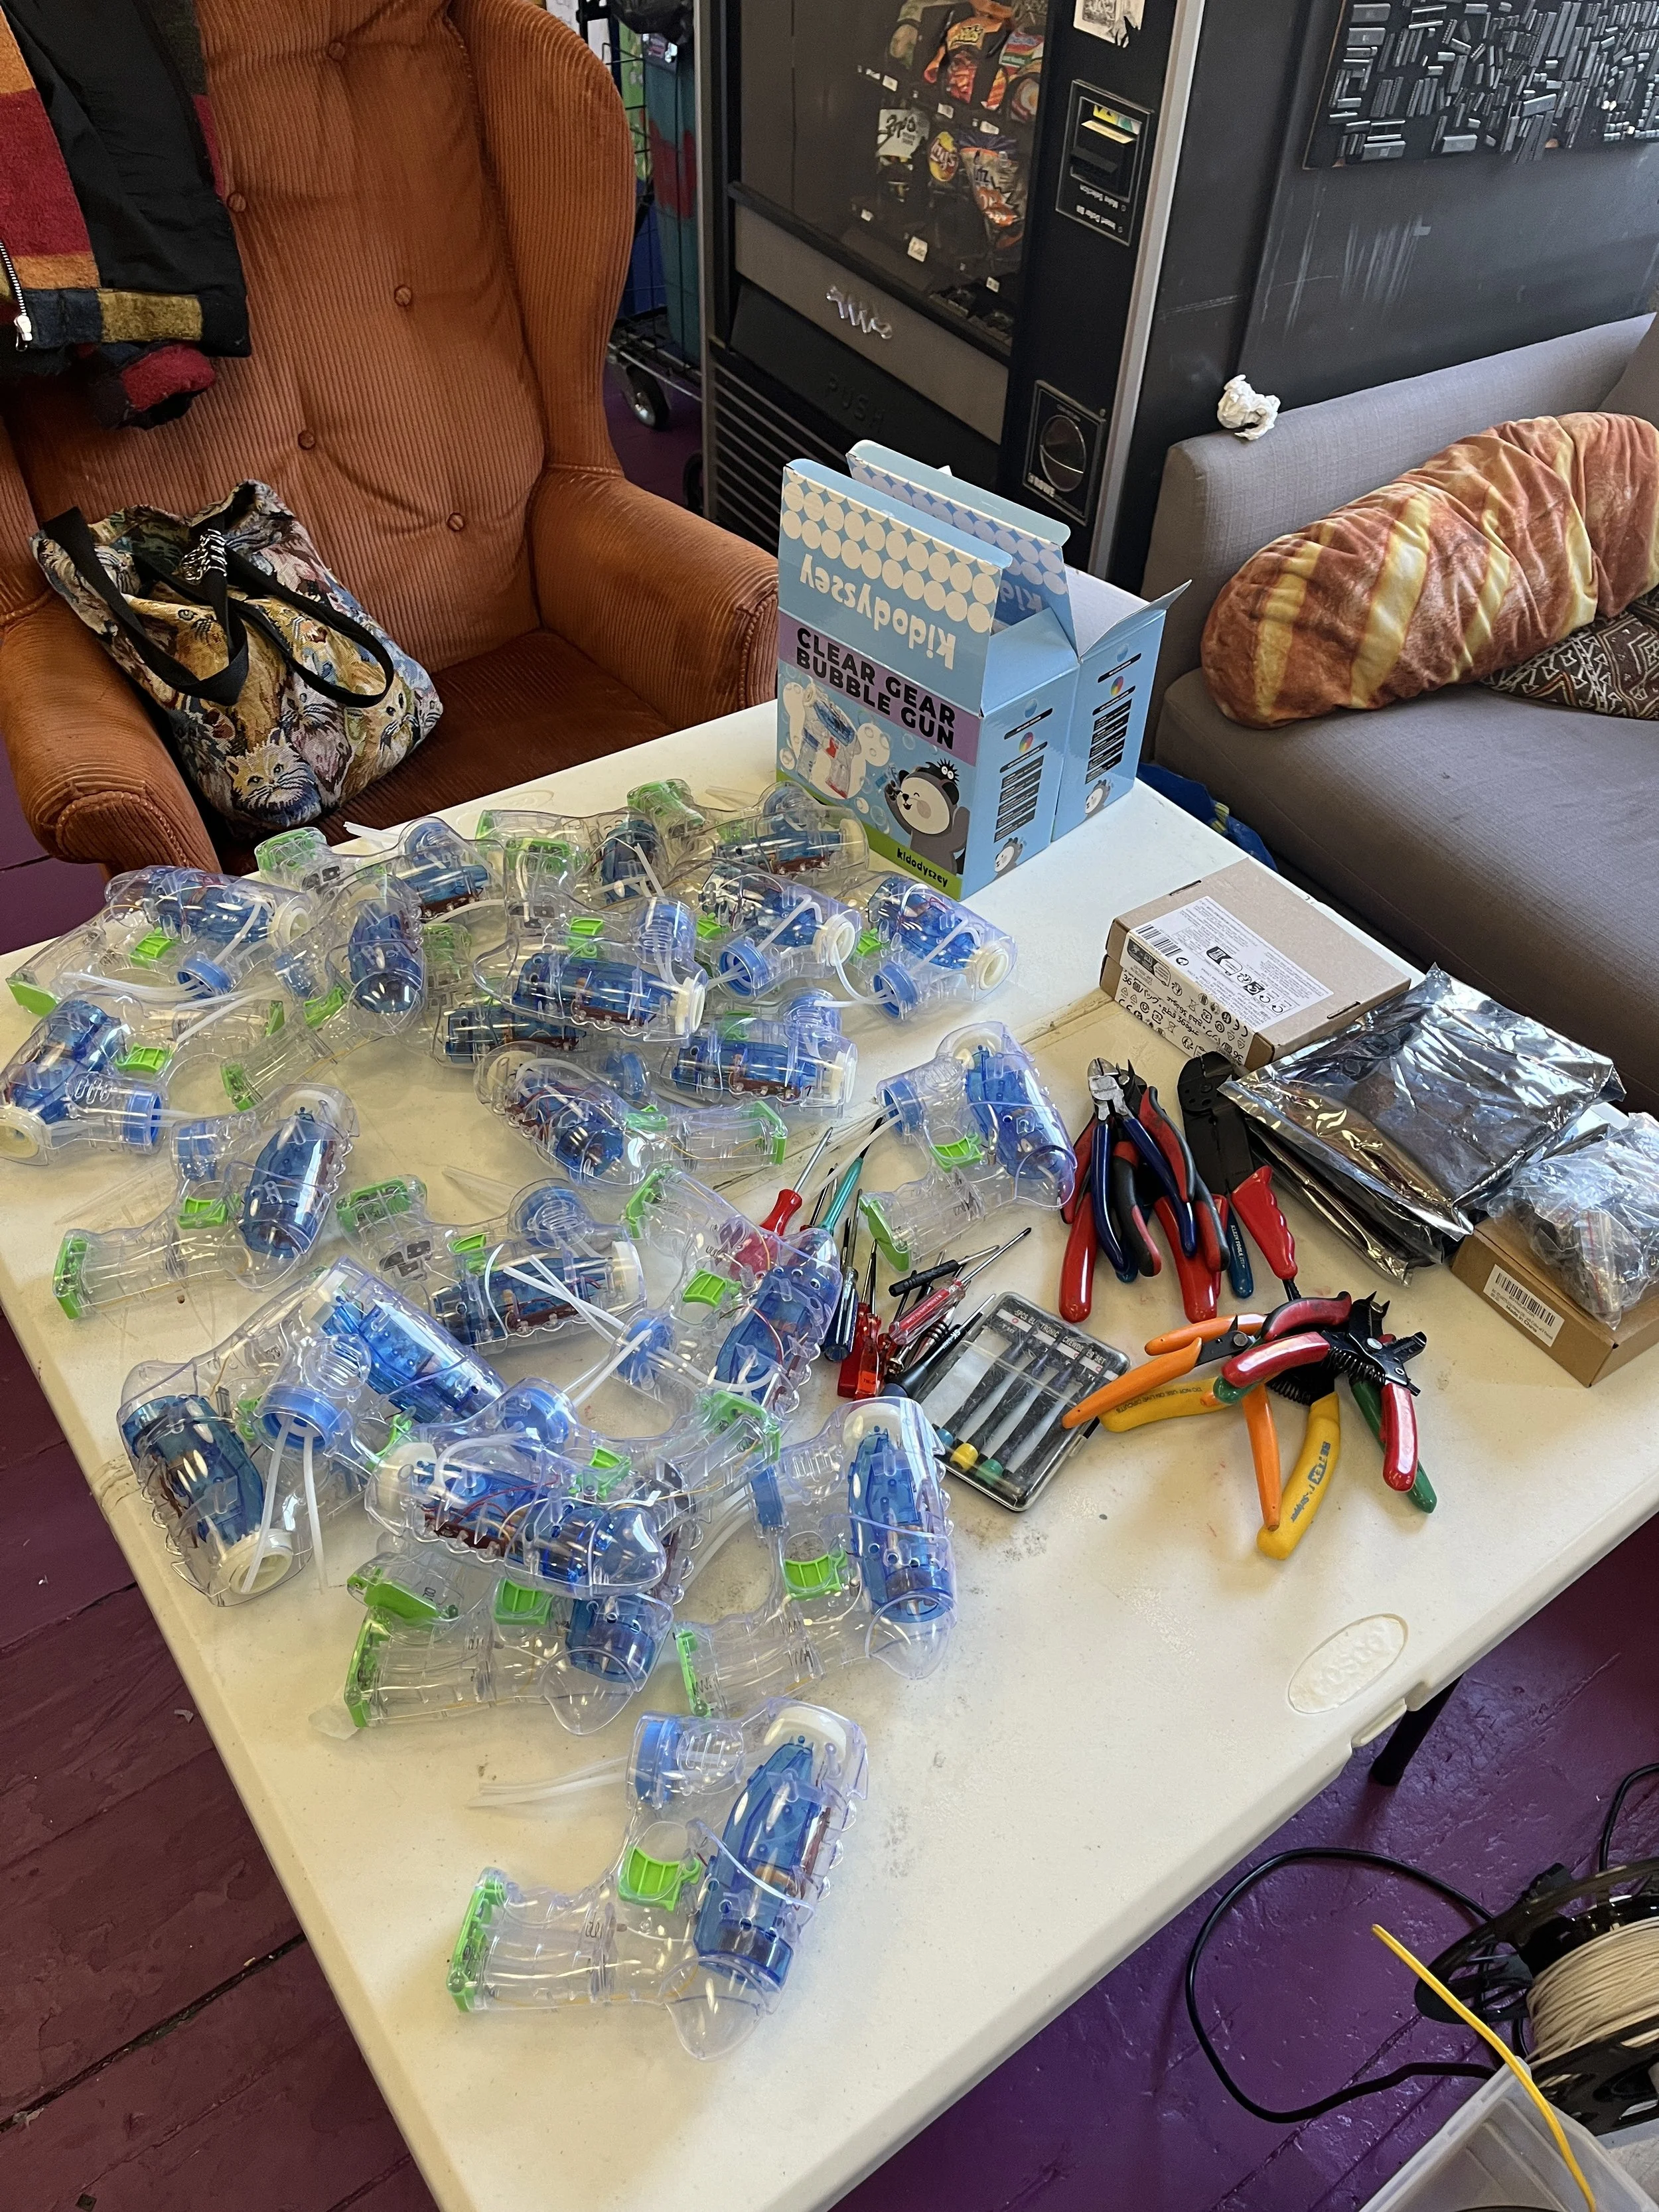
Next stop was my favorite ever hackerspace, NYC Resistor. Long-time collaborator Kay and I had been itching for the second installment of Dragtronics (electronics drag costuming and performance) for some time! Kay had found many great uses for what they had learned in Andy’s bubble gun workshop at OHS some years ago, so we thought we would go for it.
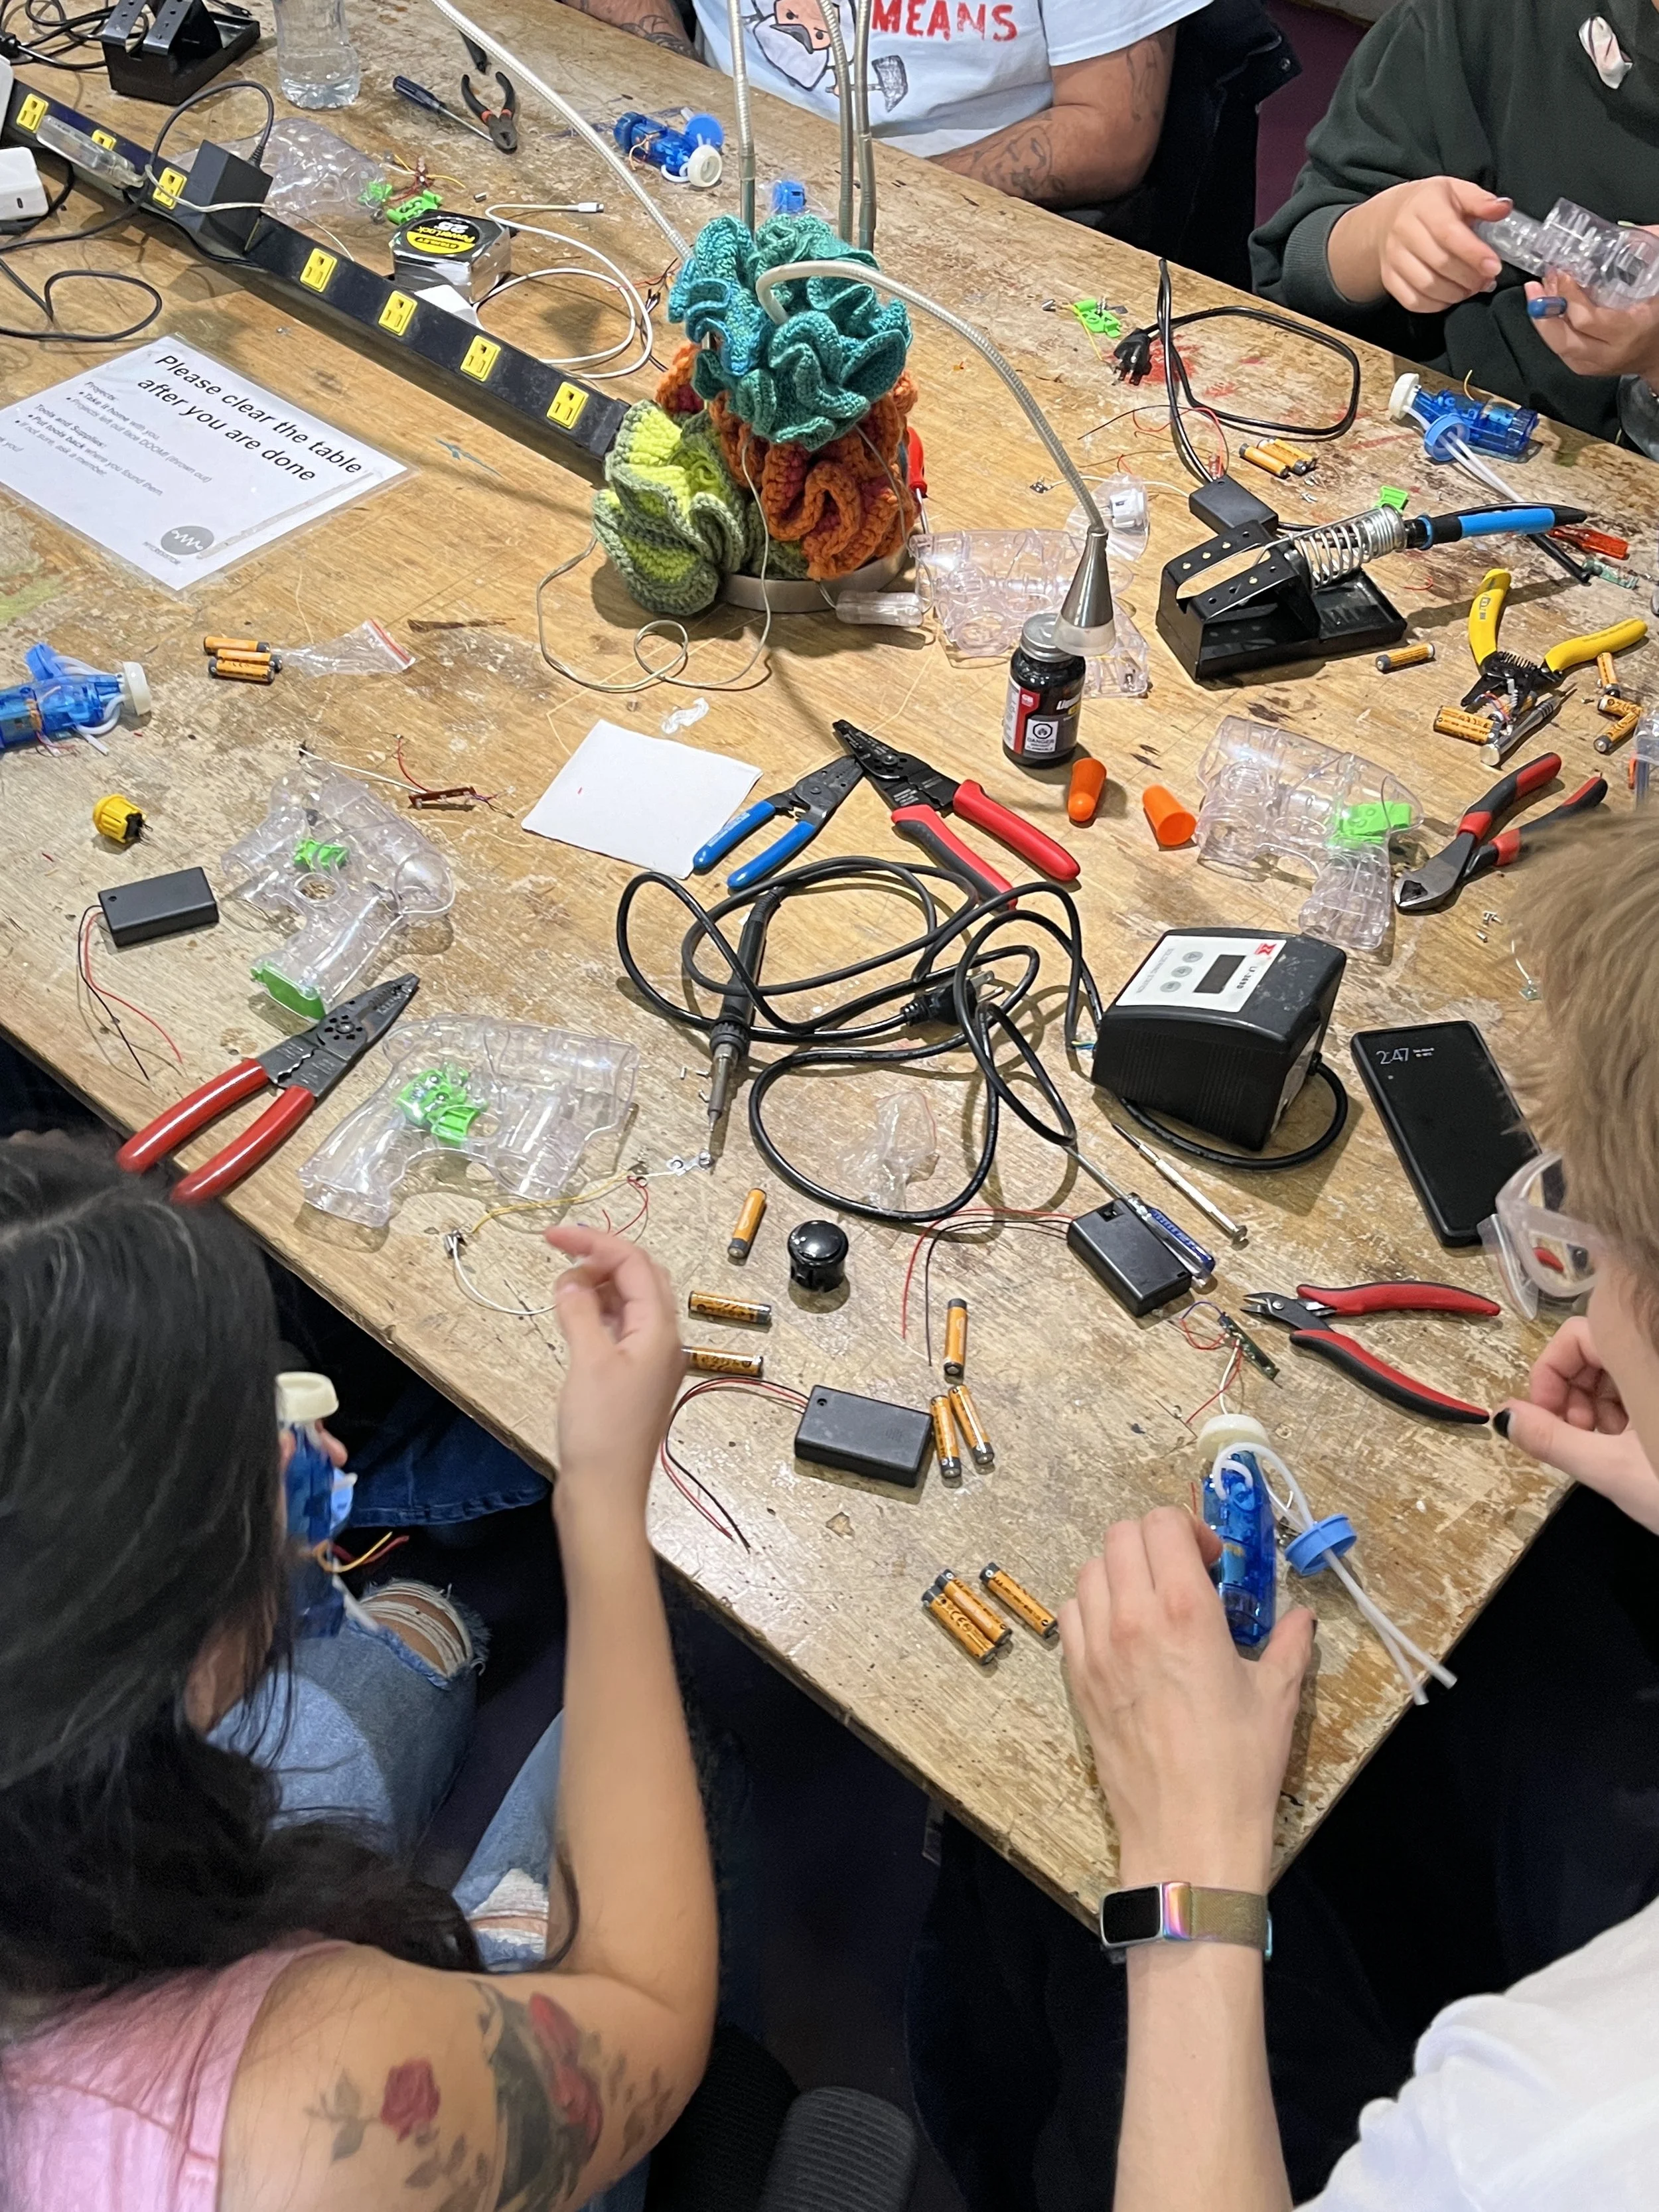
In this workshop, we invited participants from all levels of electronics skills, open to performers and enthusiasts, to get their bubble on. First we showed how to open up the bubble toys. Then introduced the circuit we were building with button control and tested it with alligator clips. We included a little intro on soldering and then let participants pick from a variety of “props” we had sourced to embed the electronics within. This was a ton of fun!
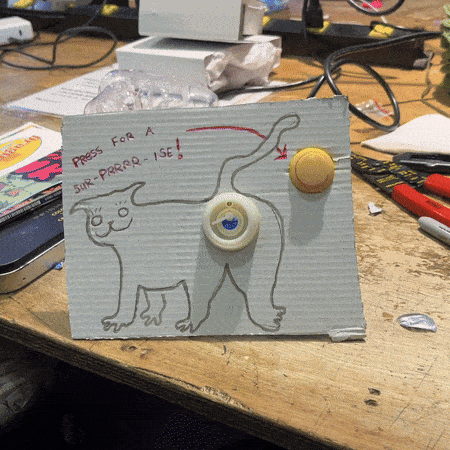
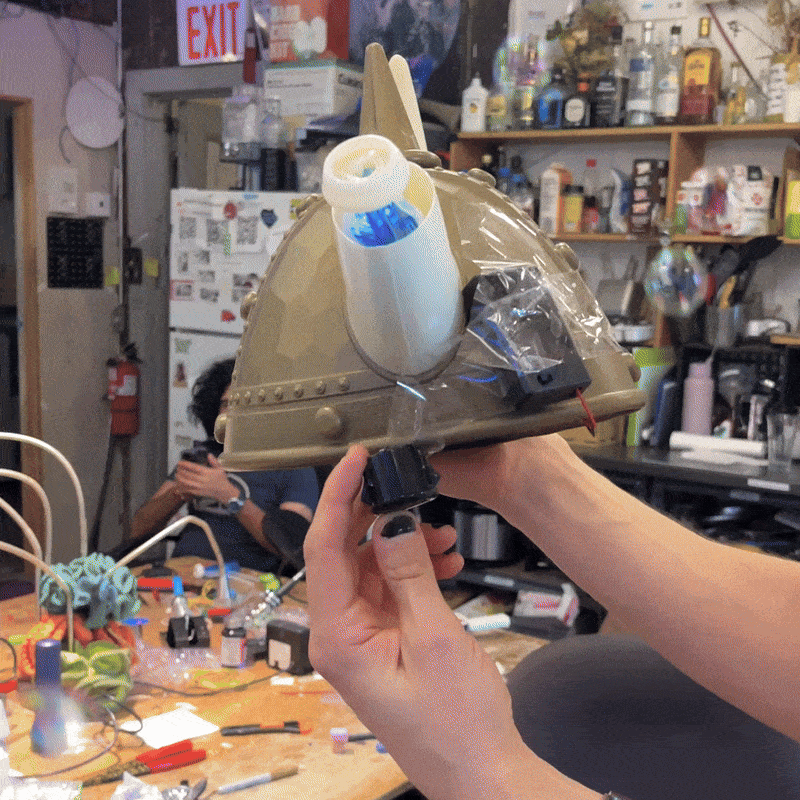
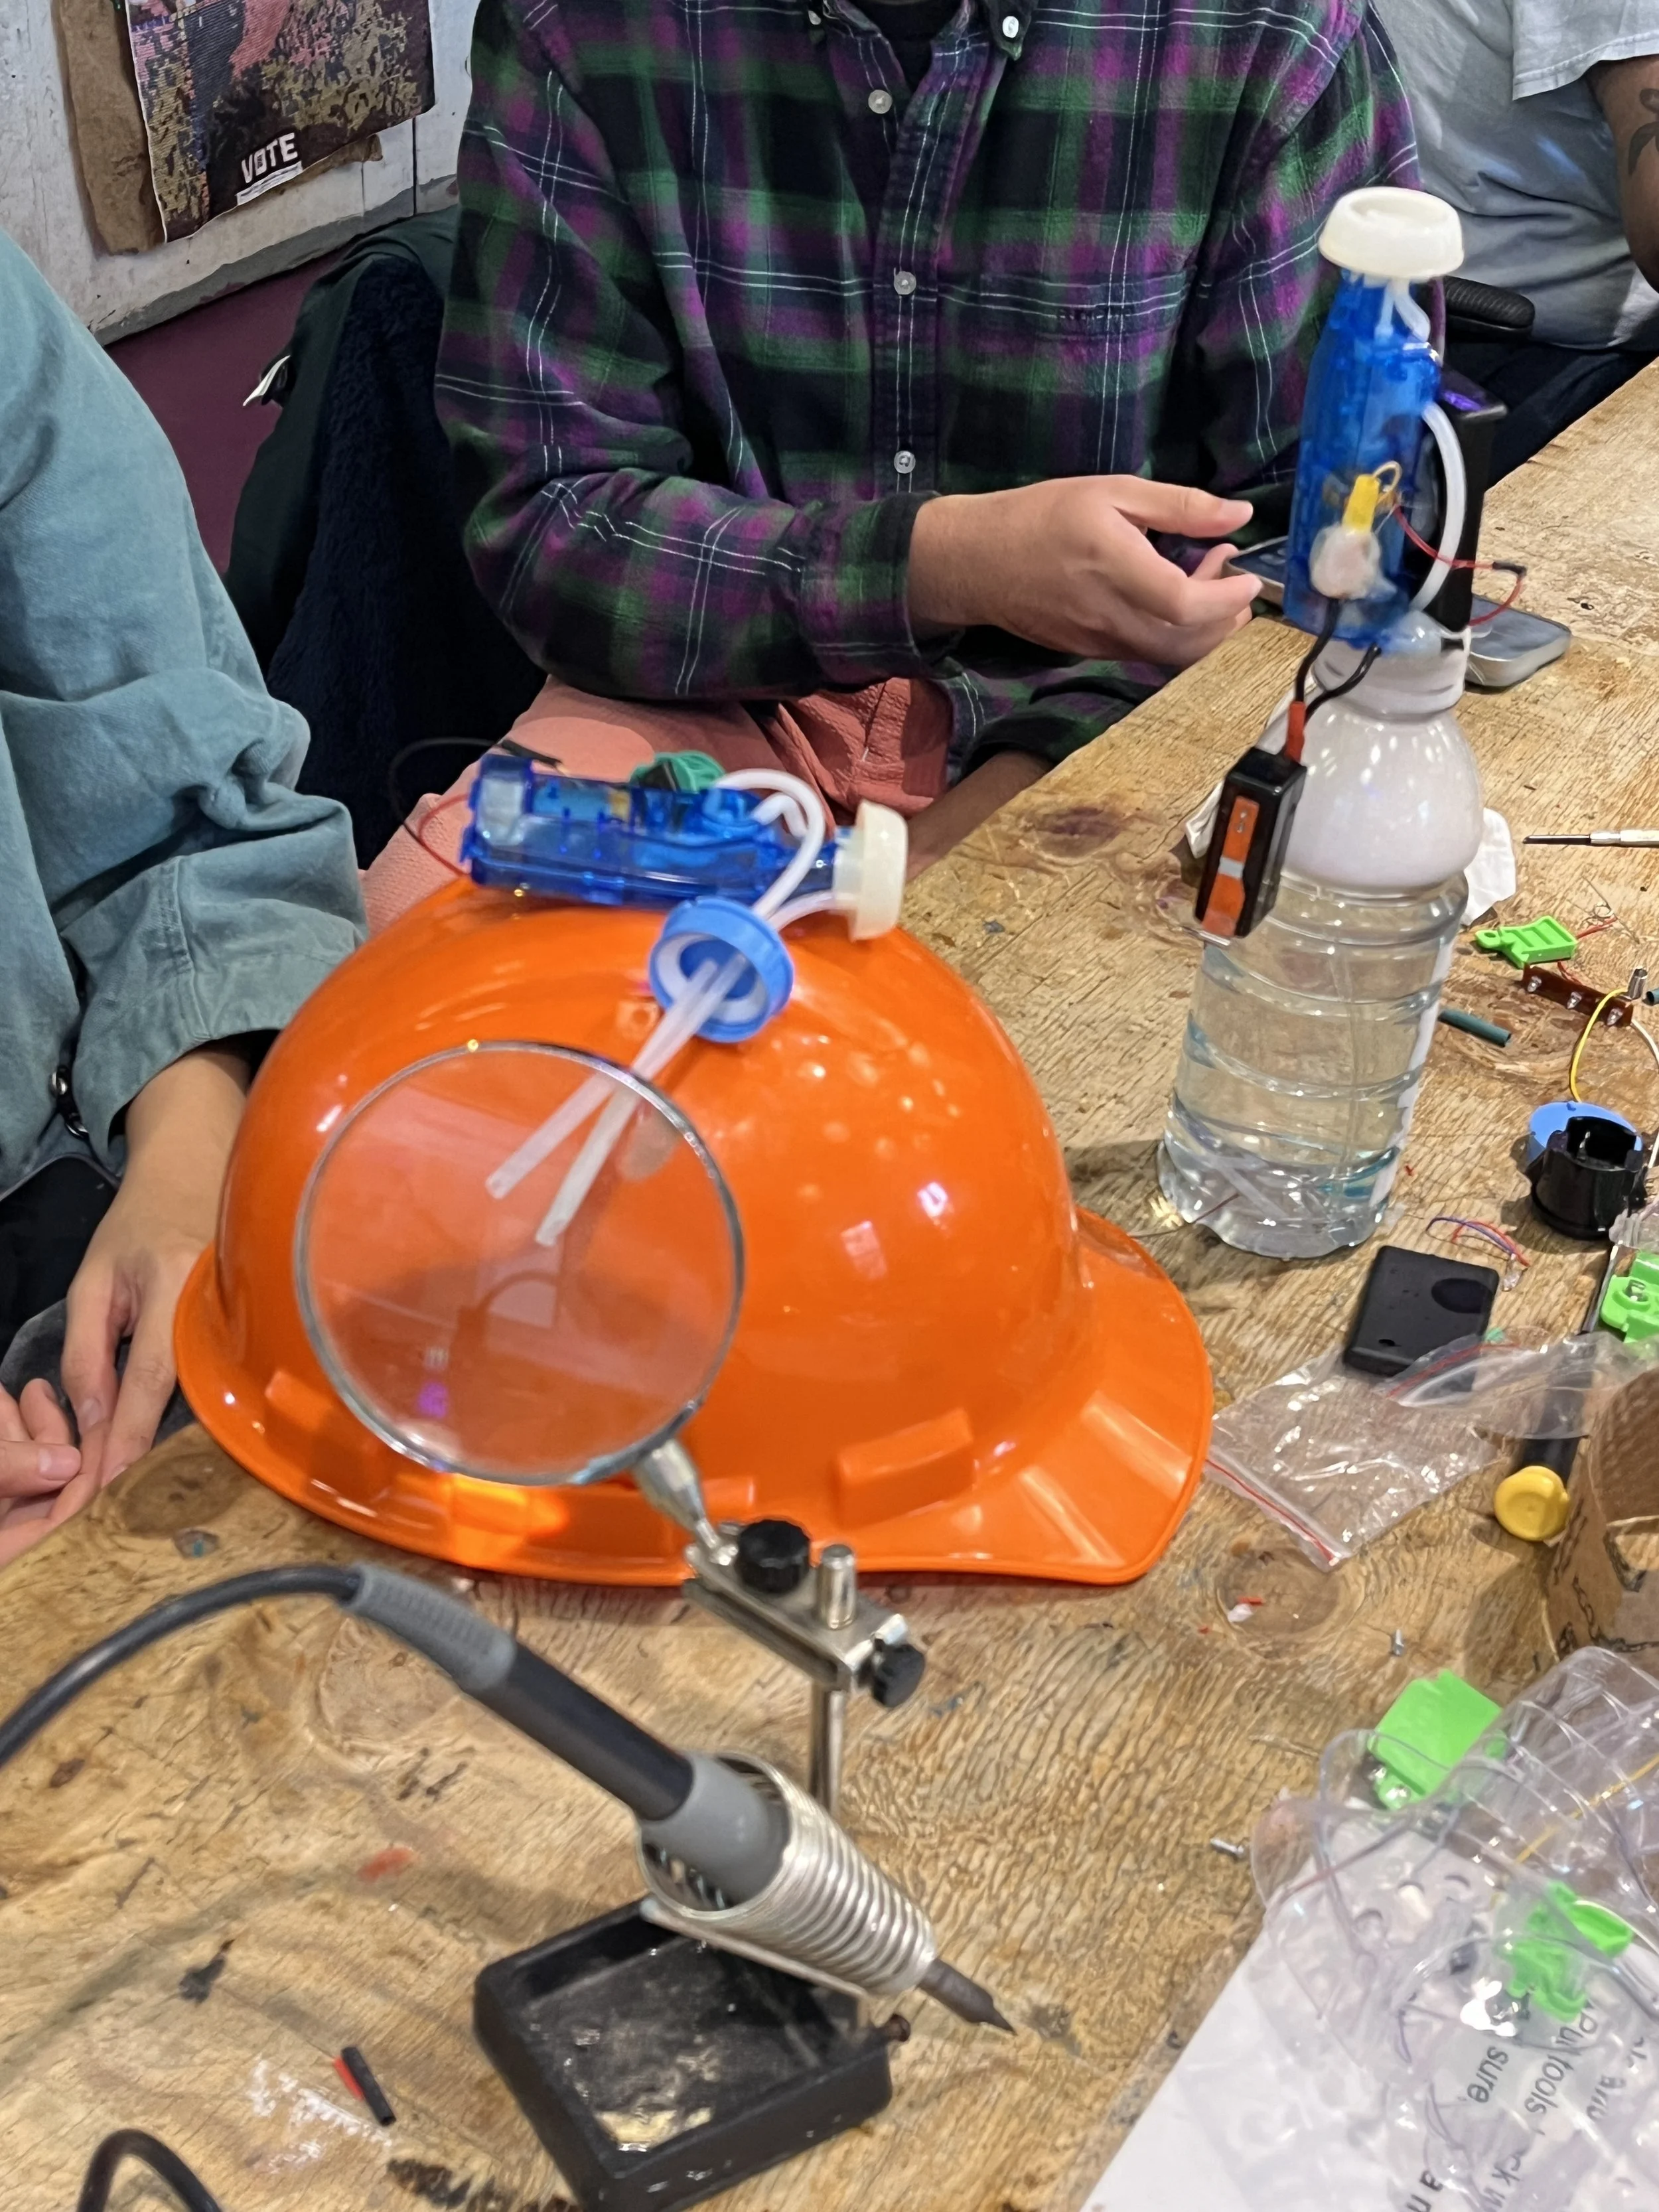
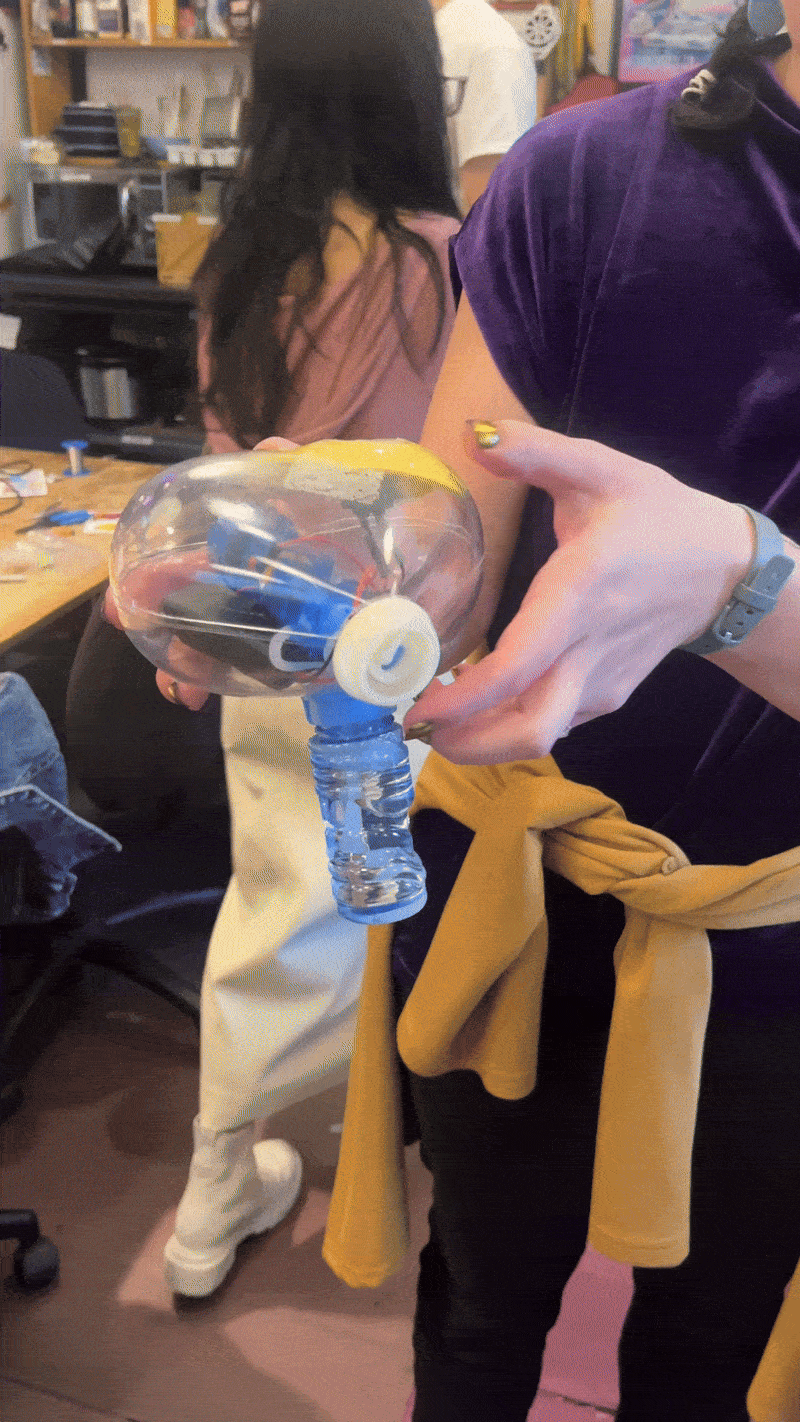
Our slides are here if you are curious to make your own bubble-powered prop!
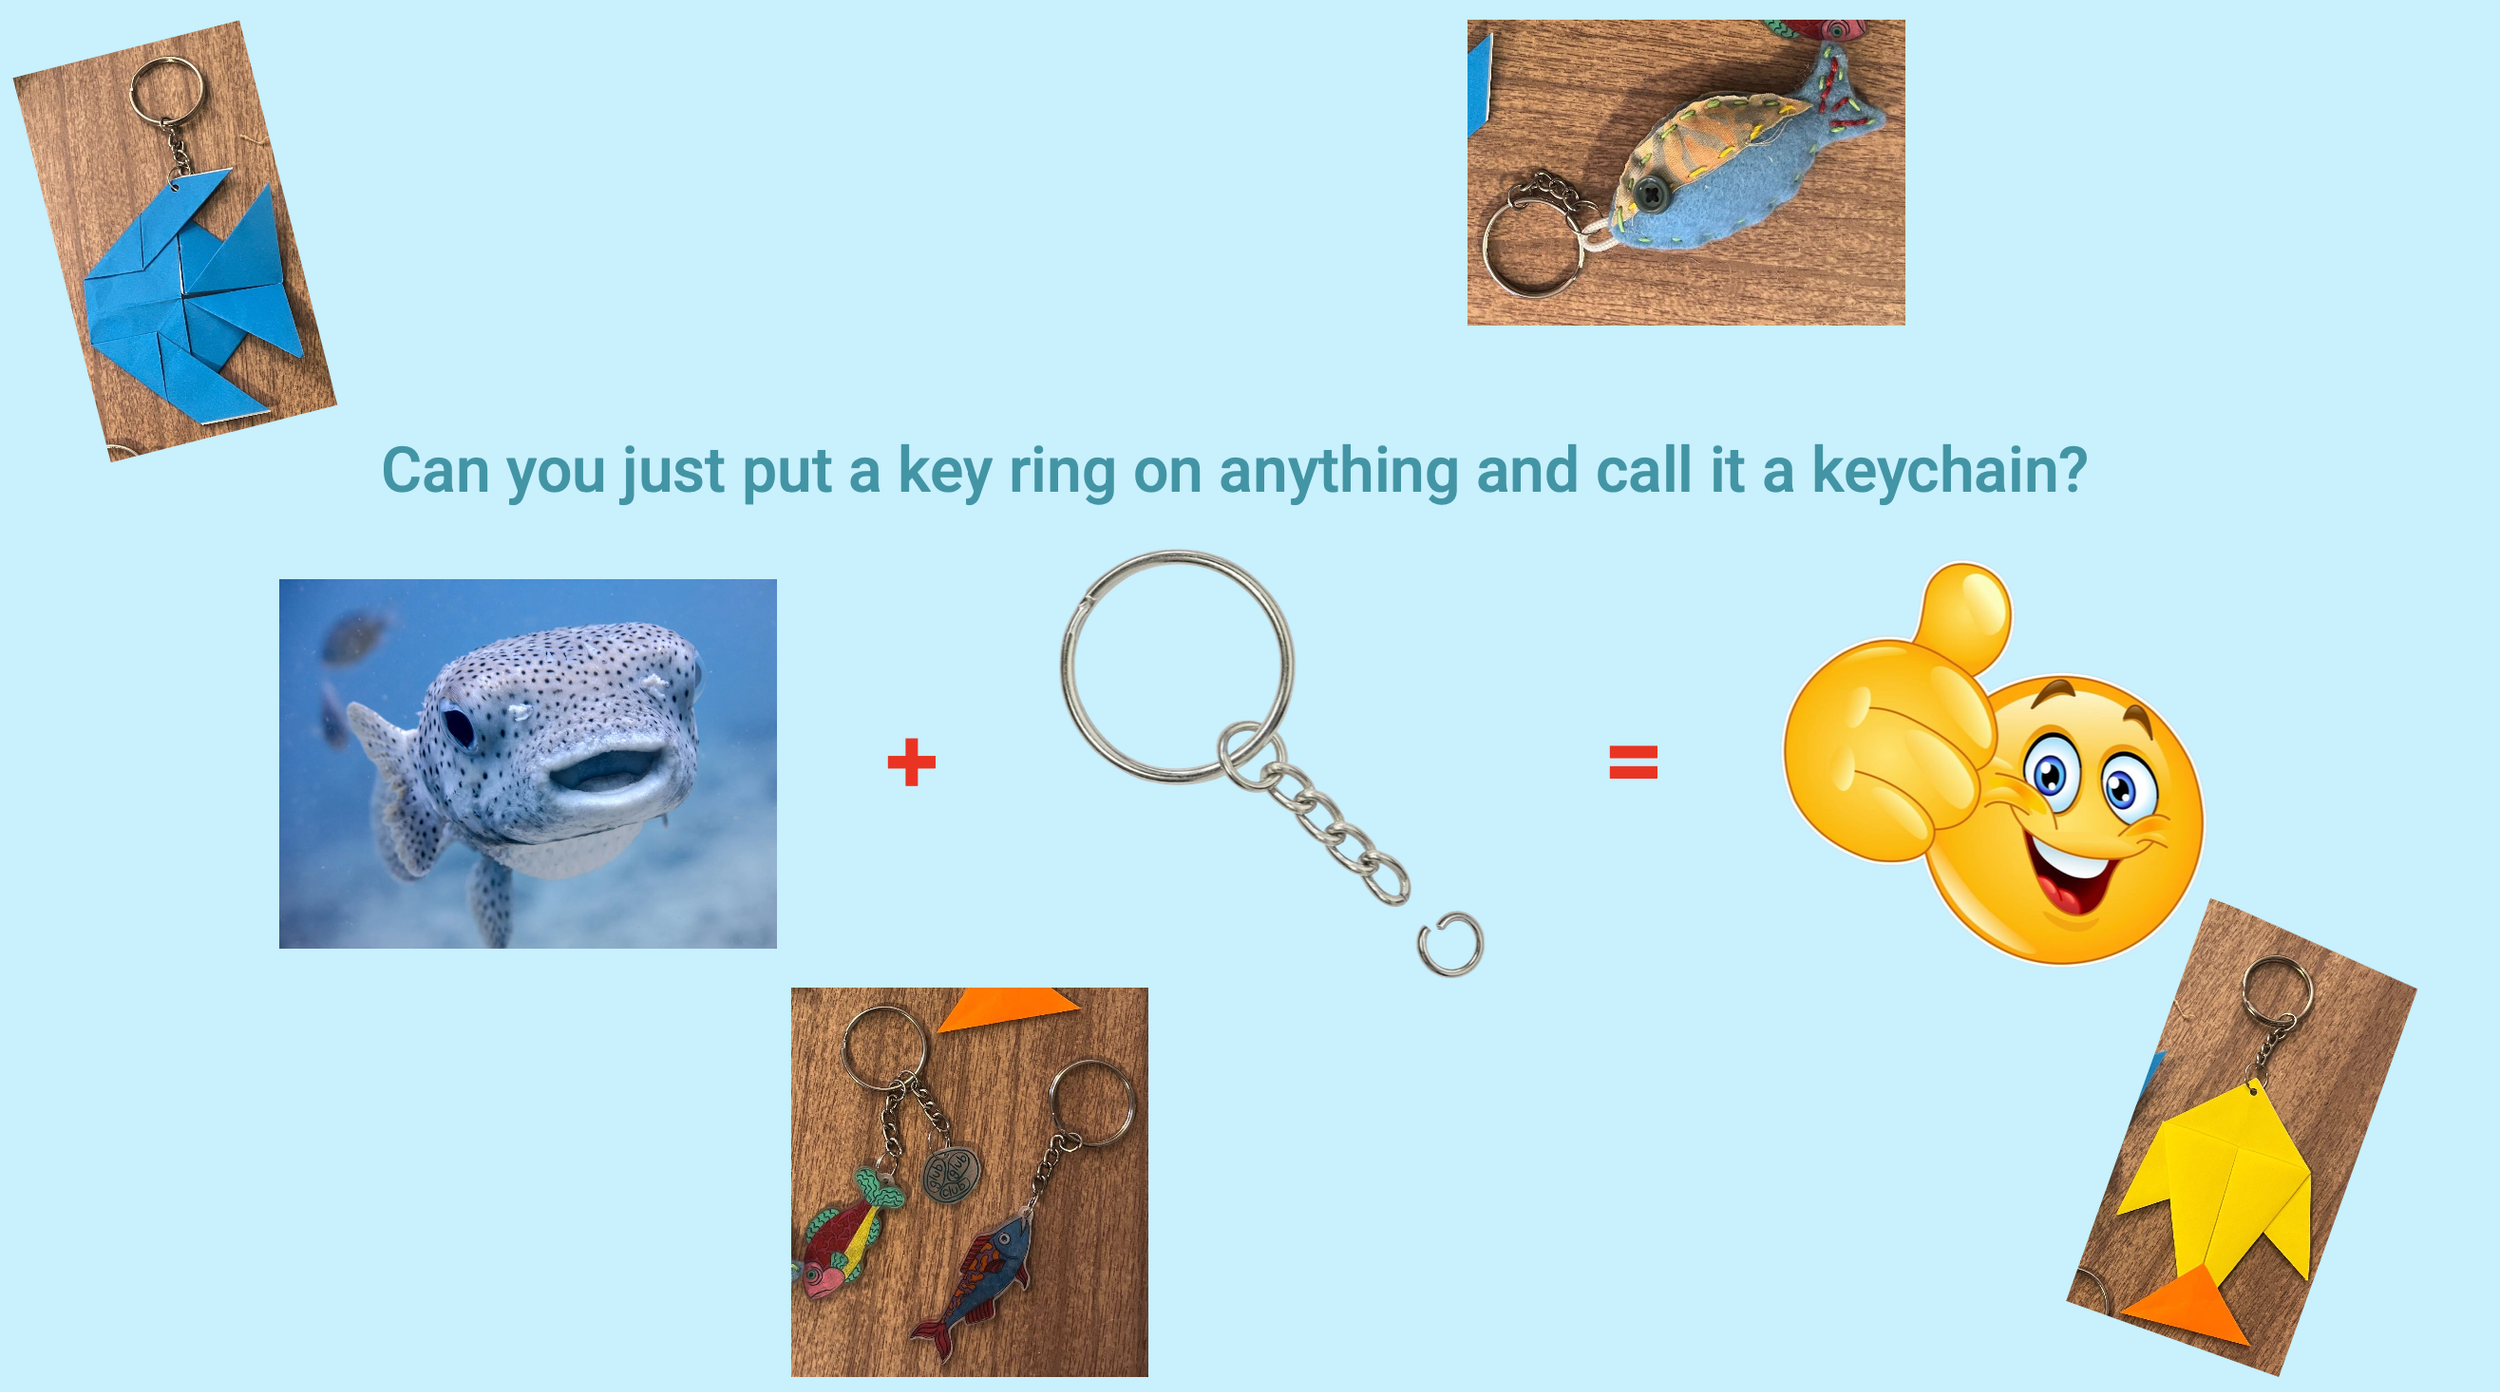
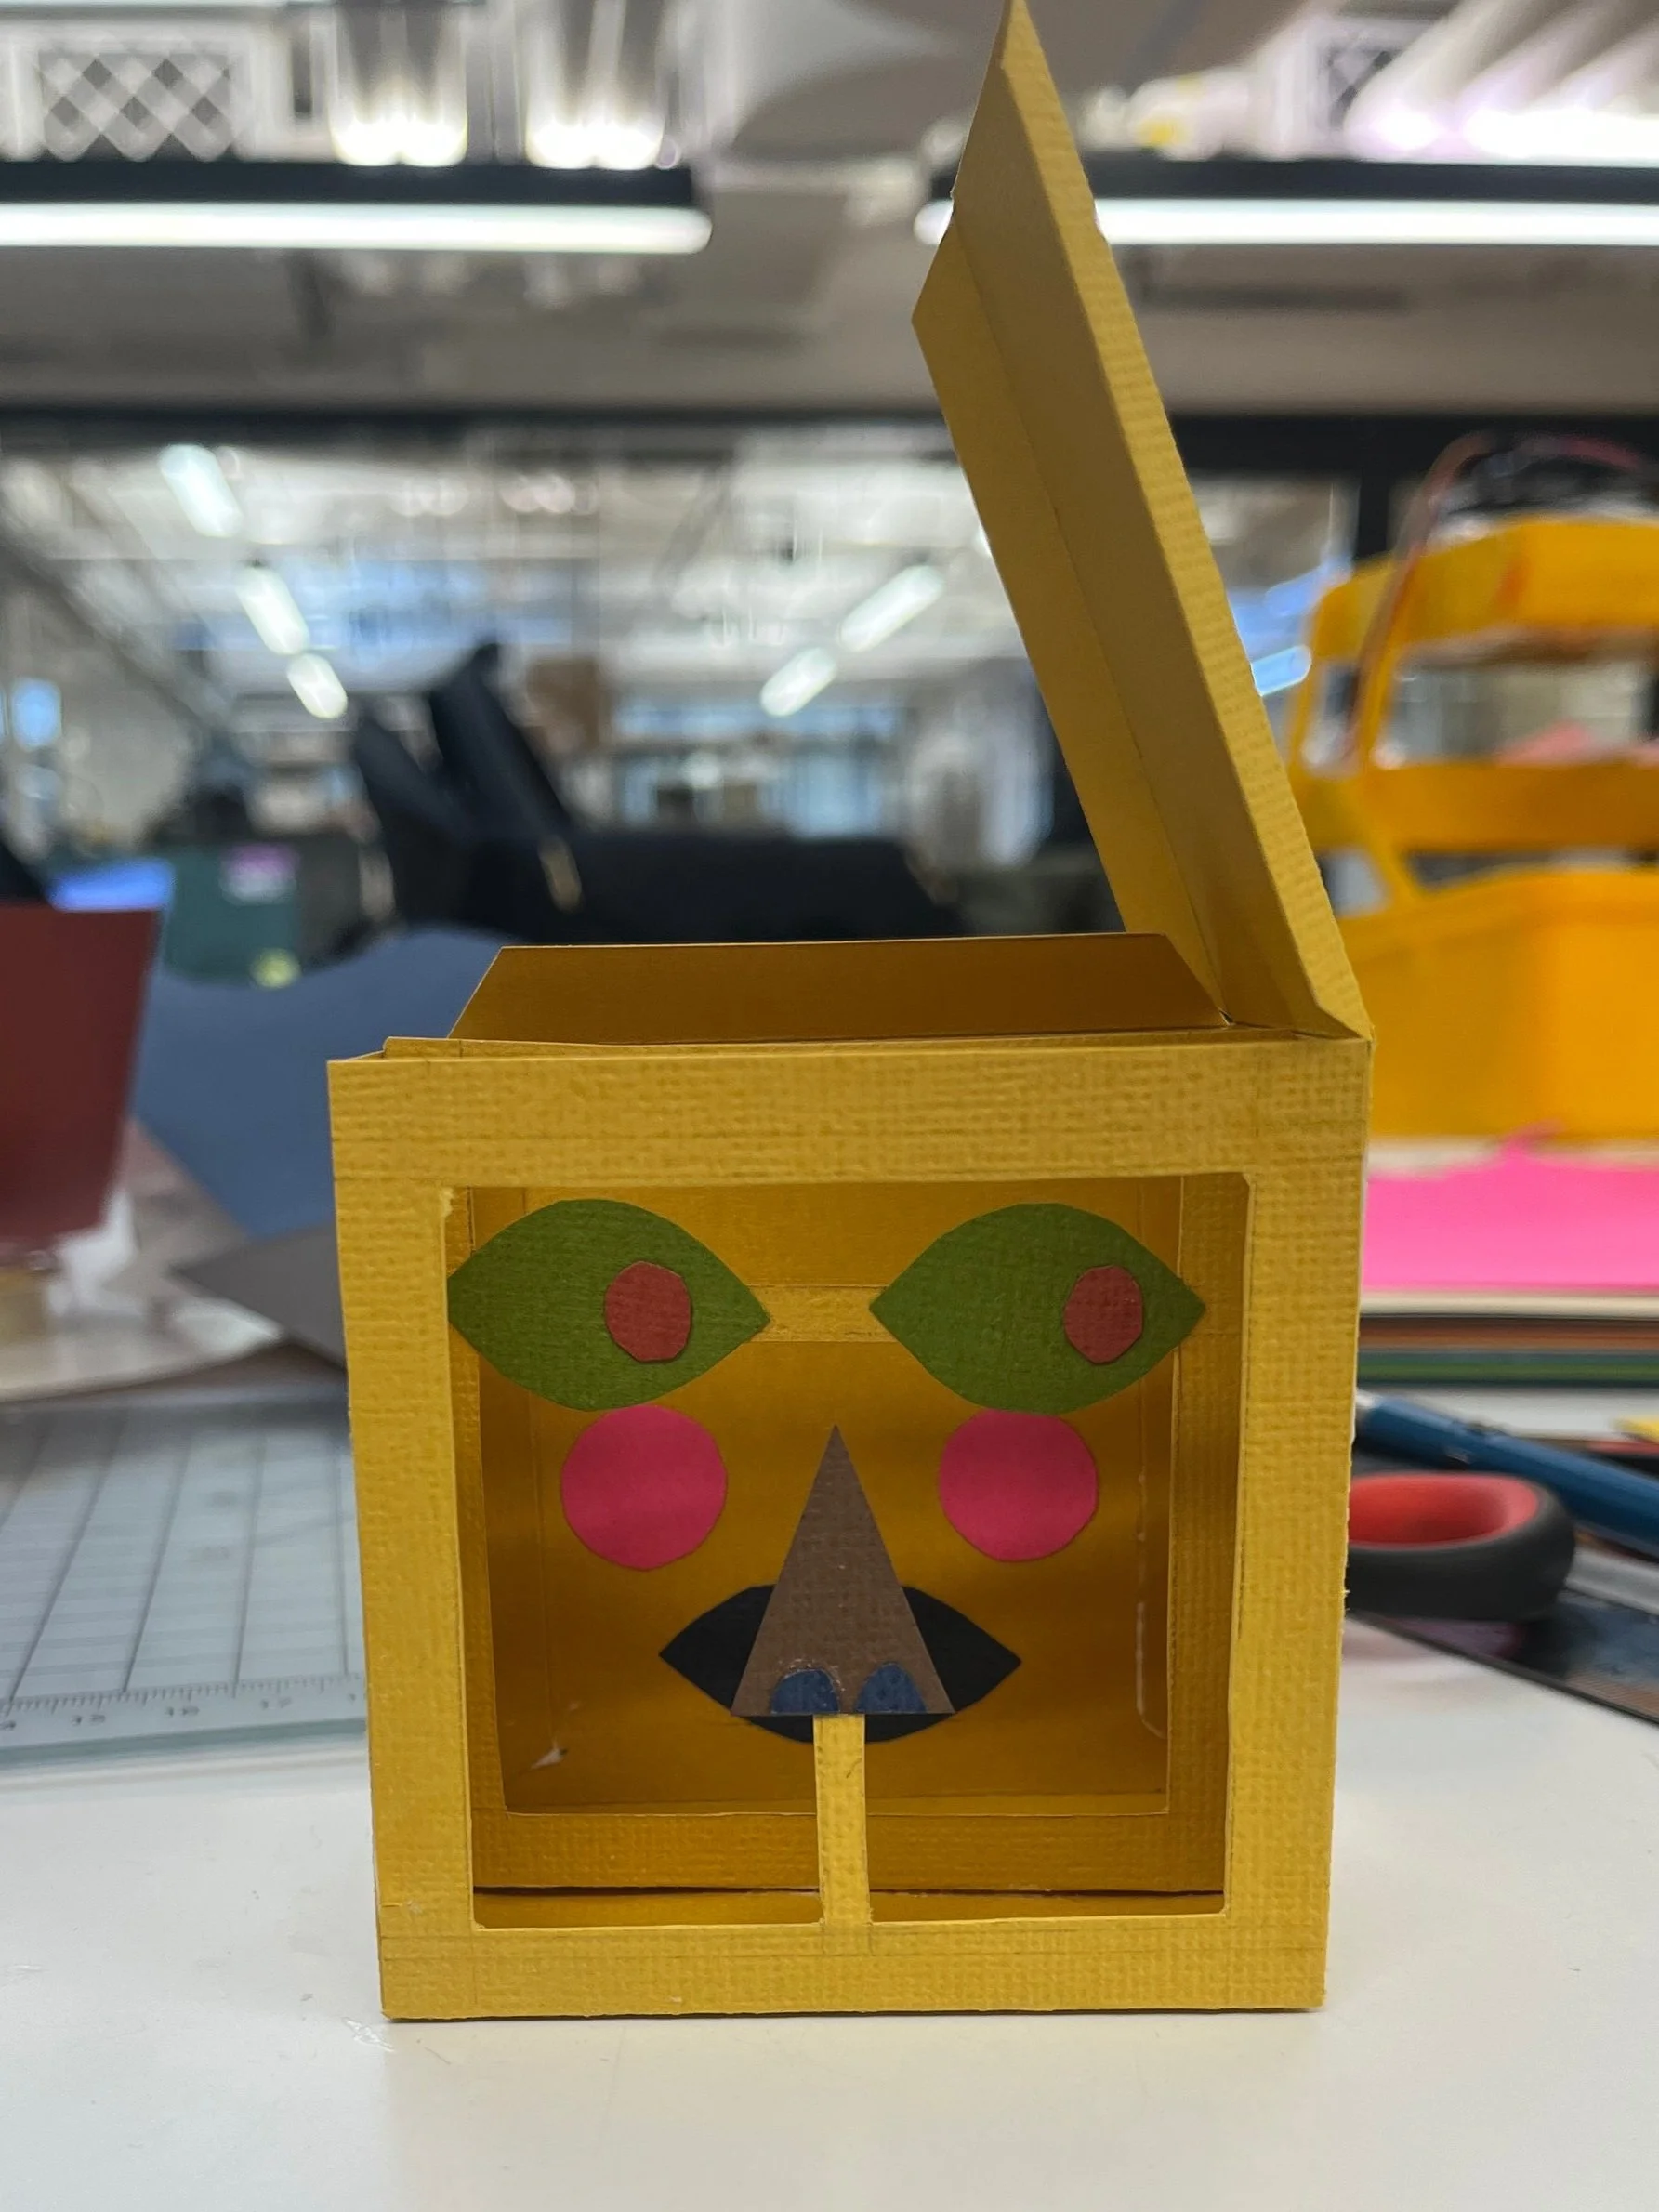
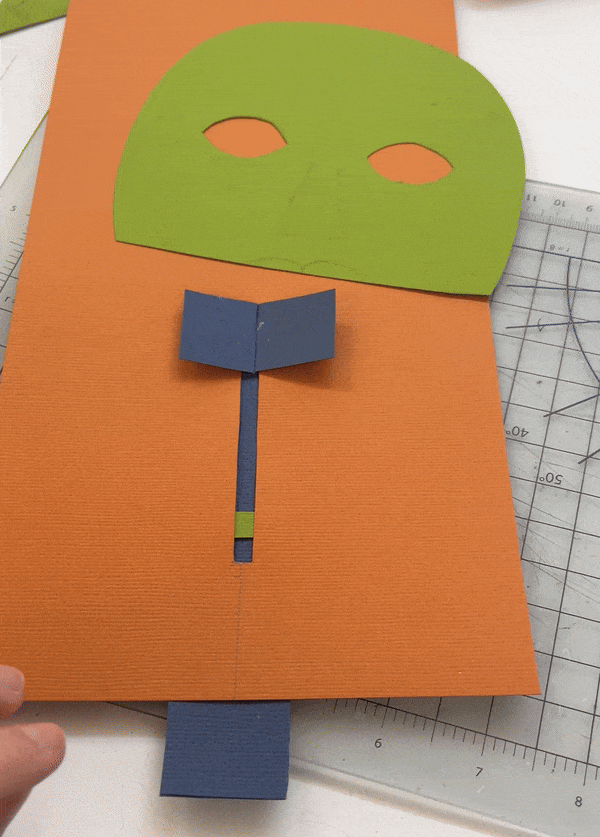
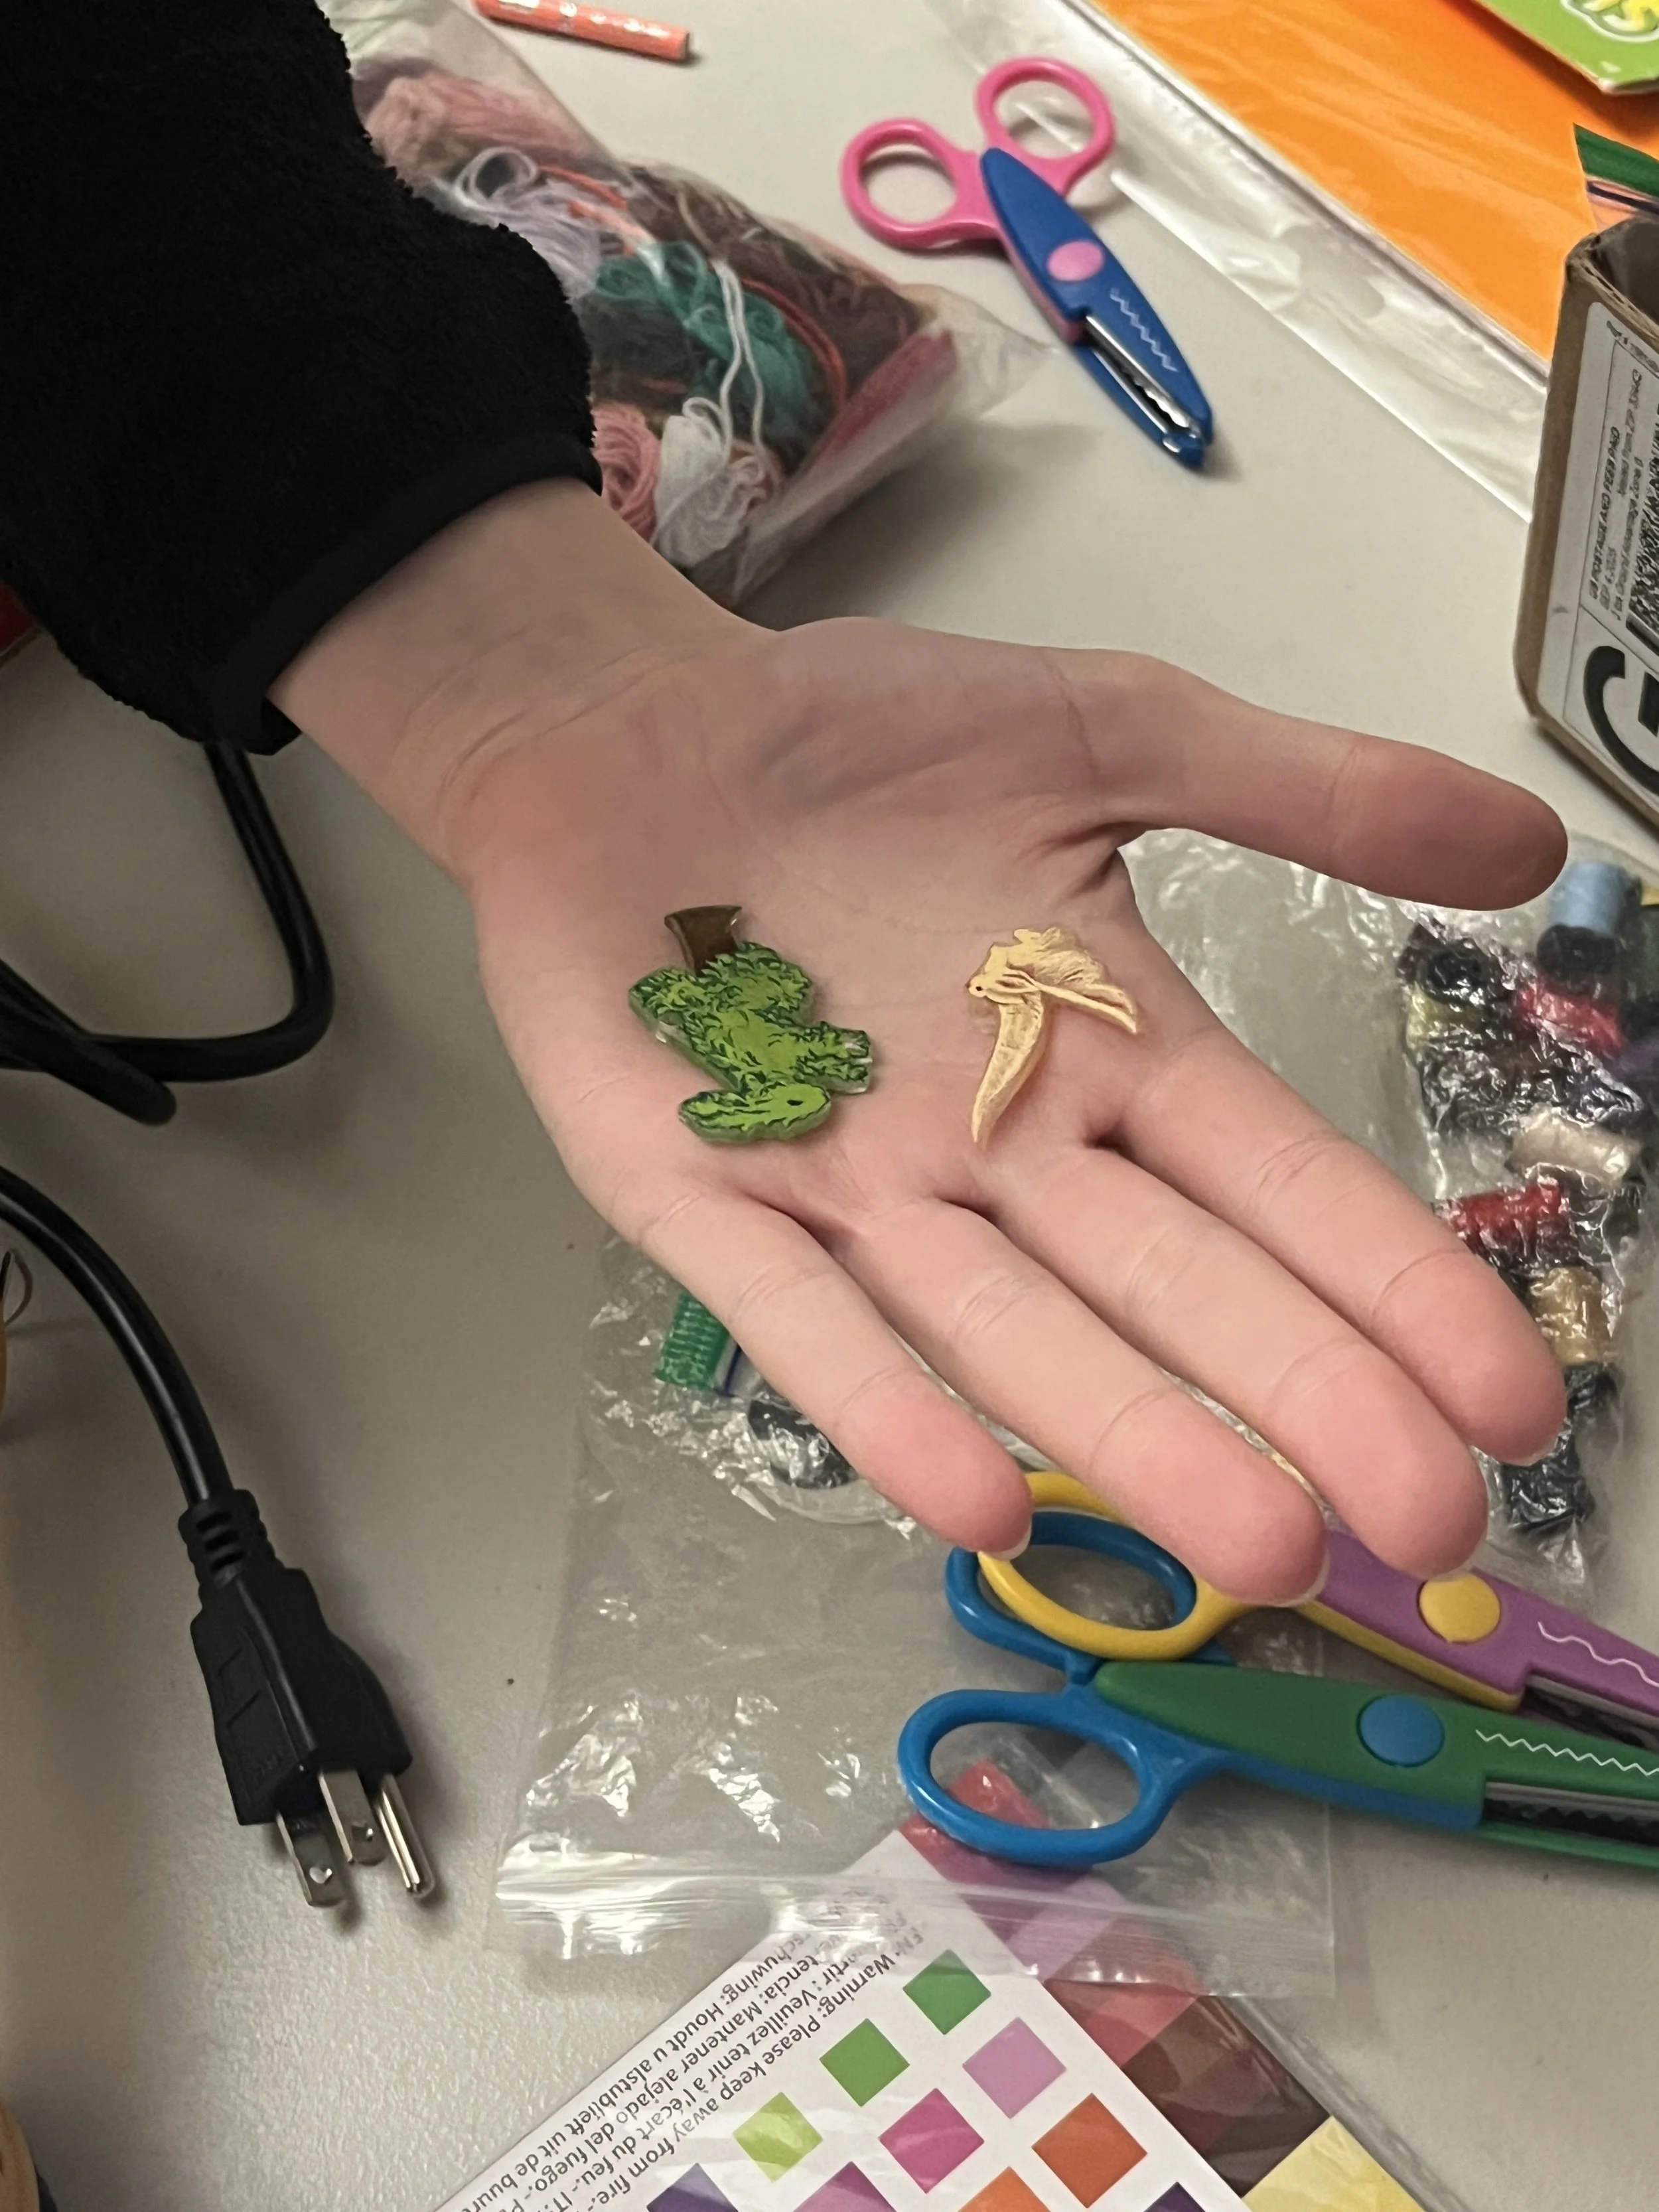
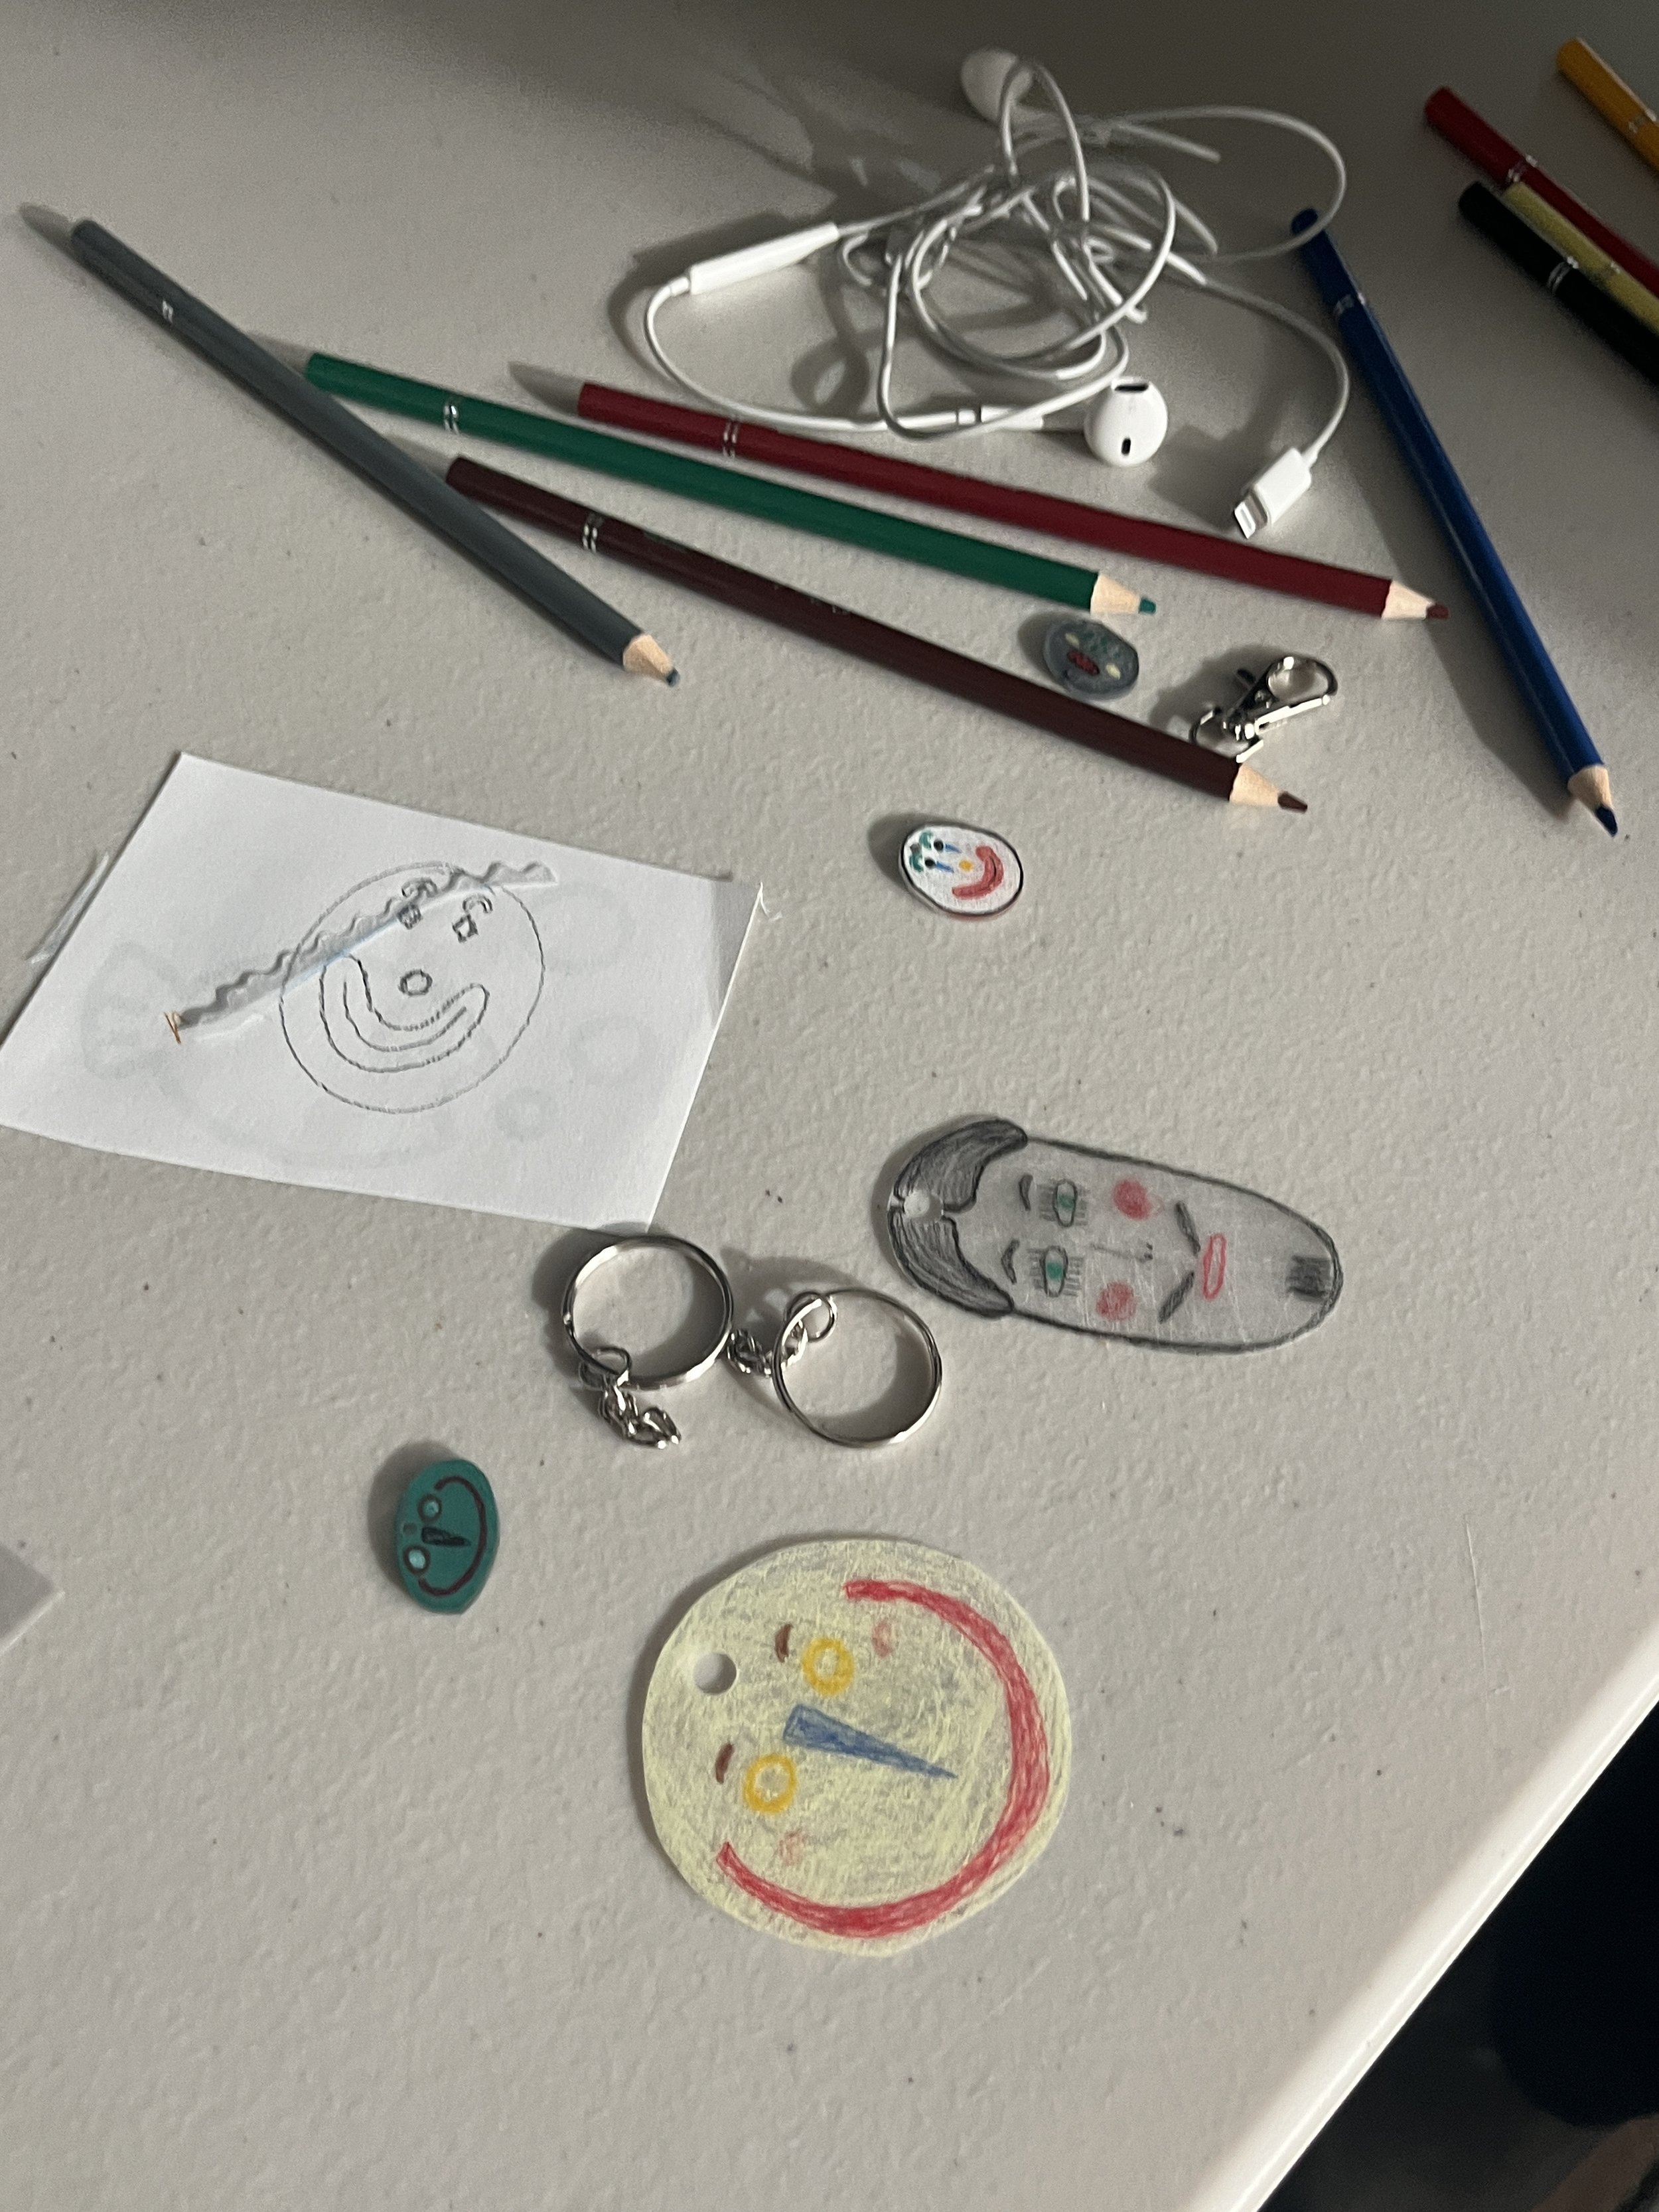
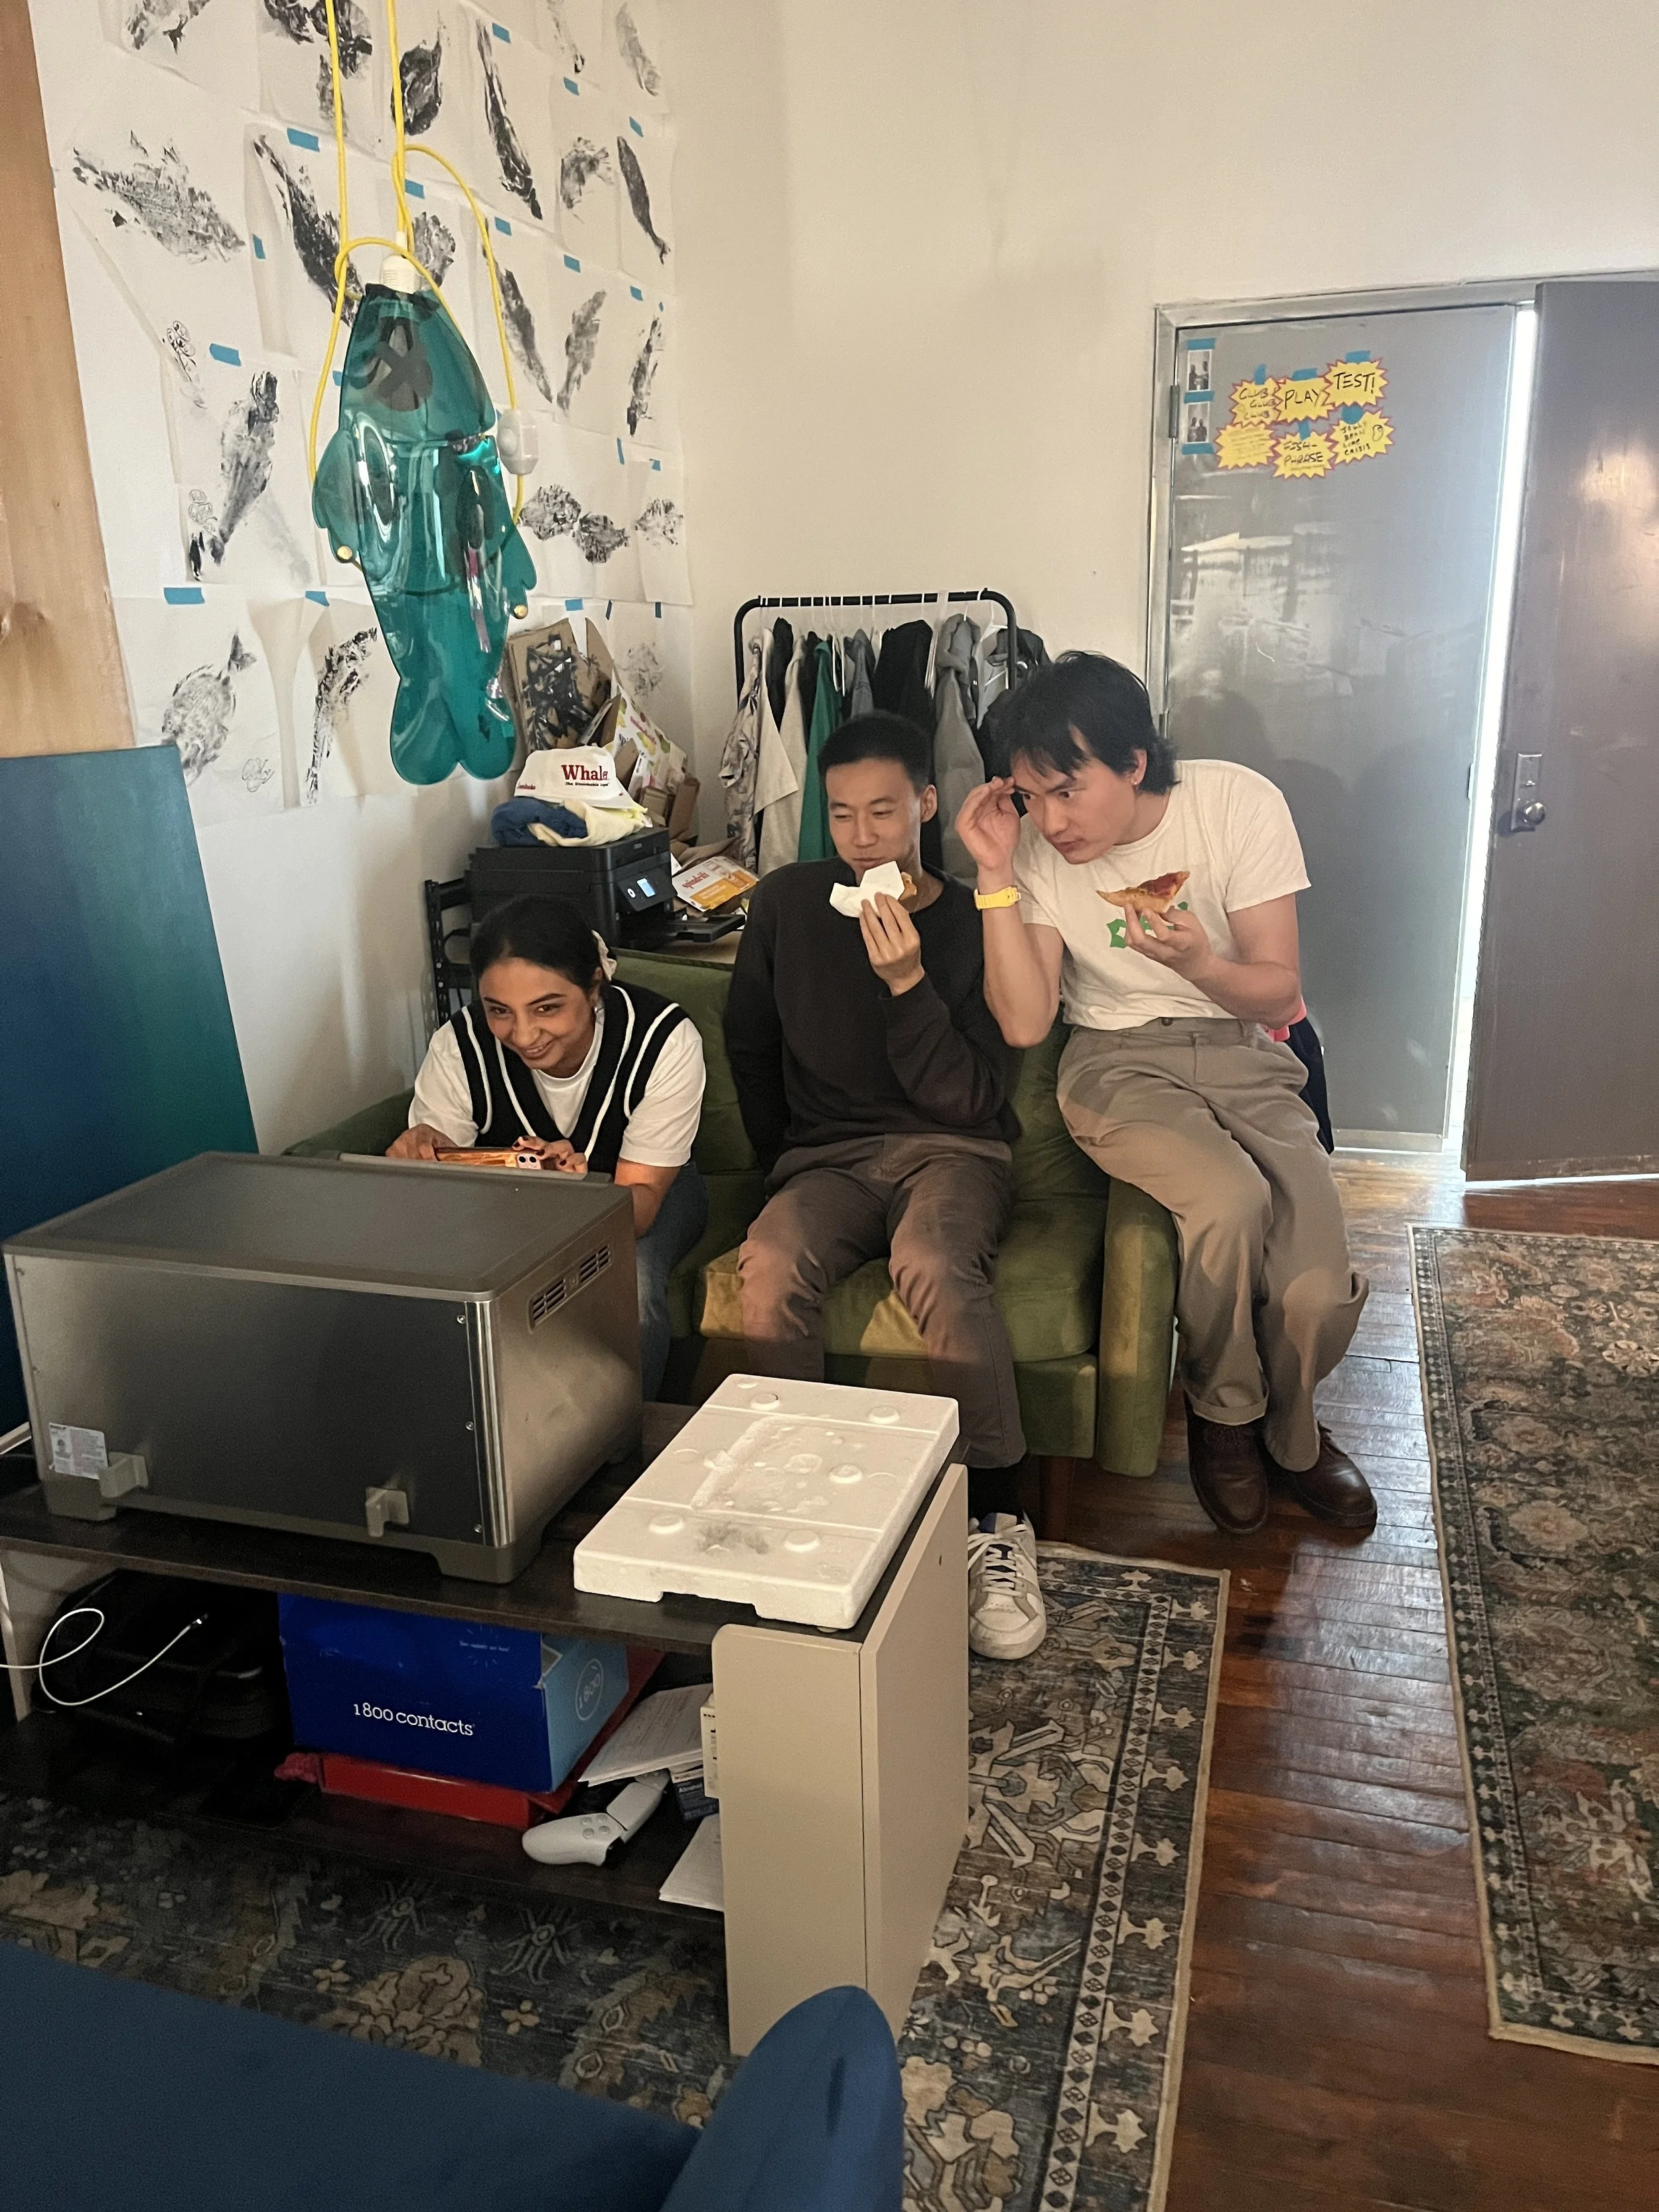
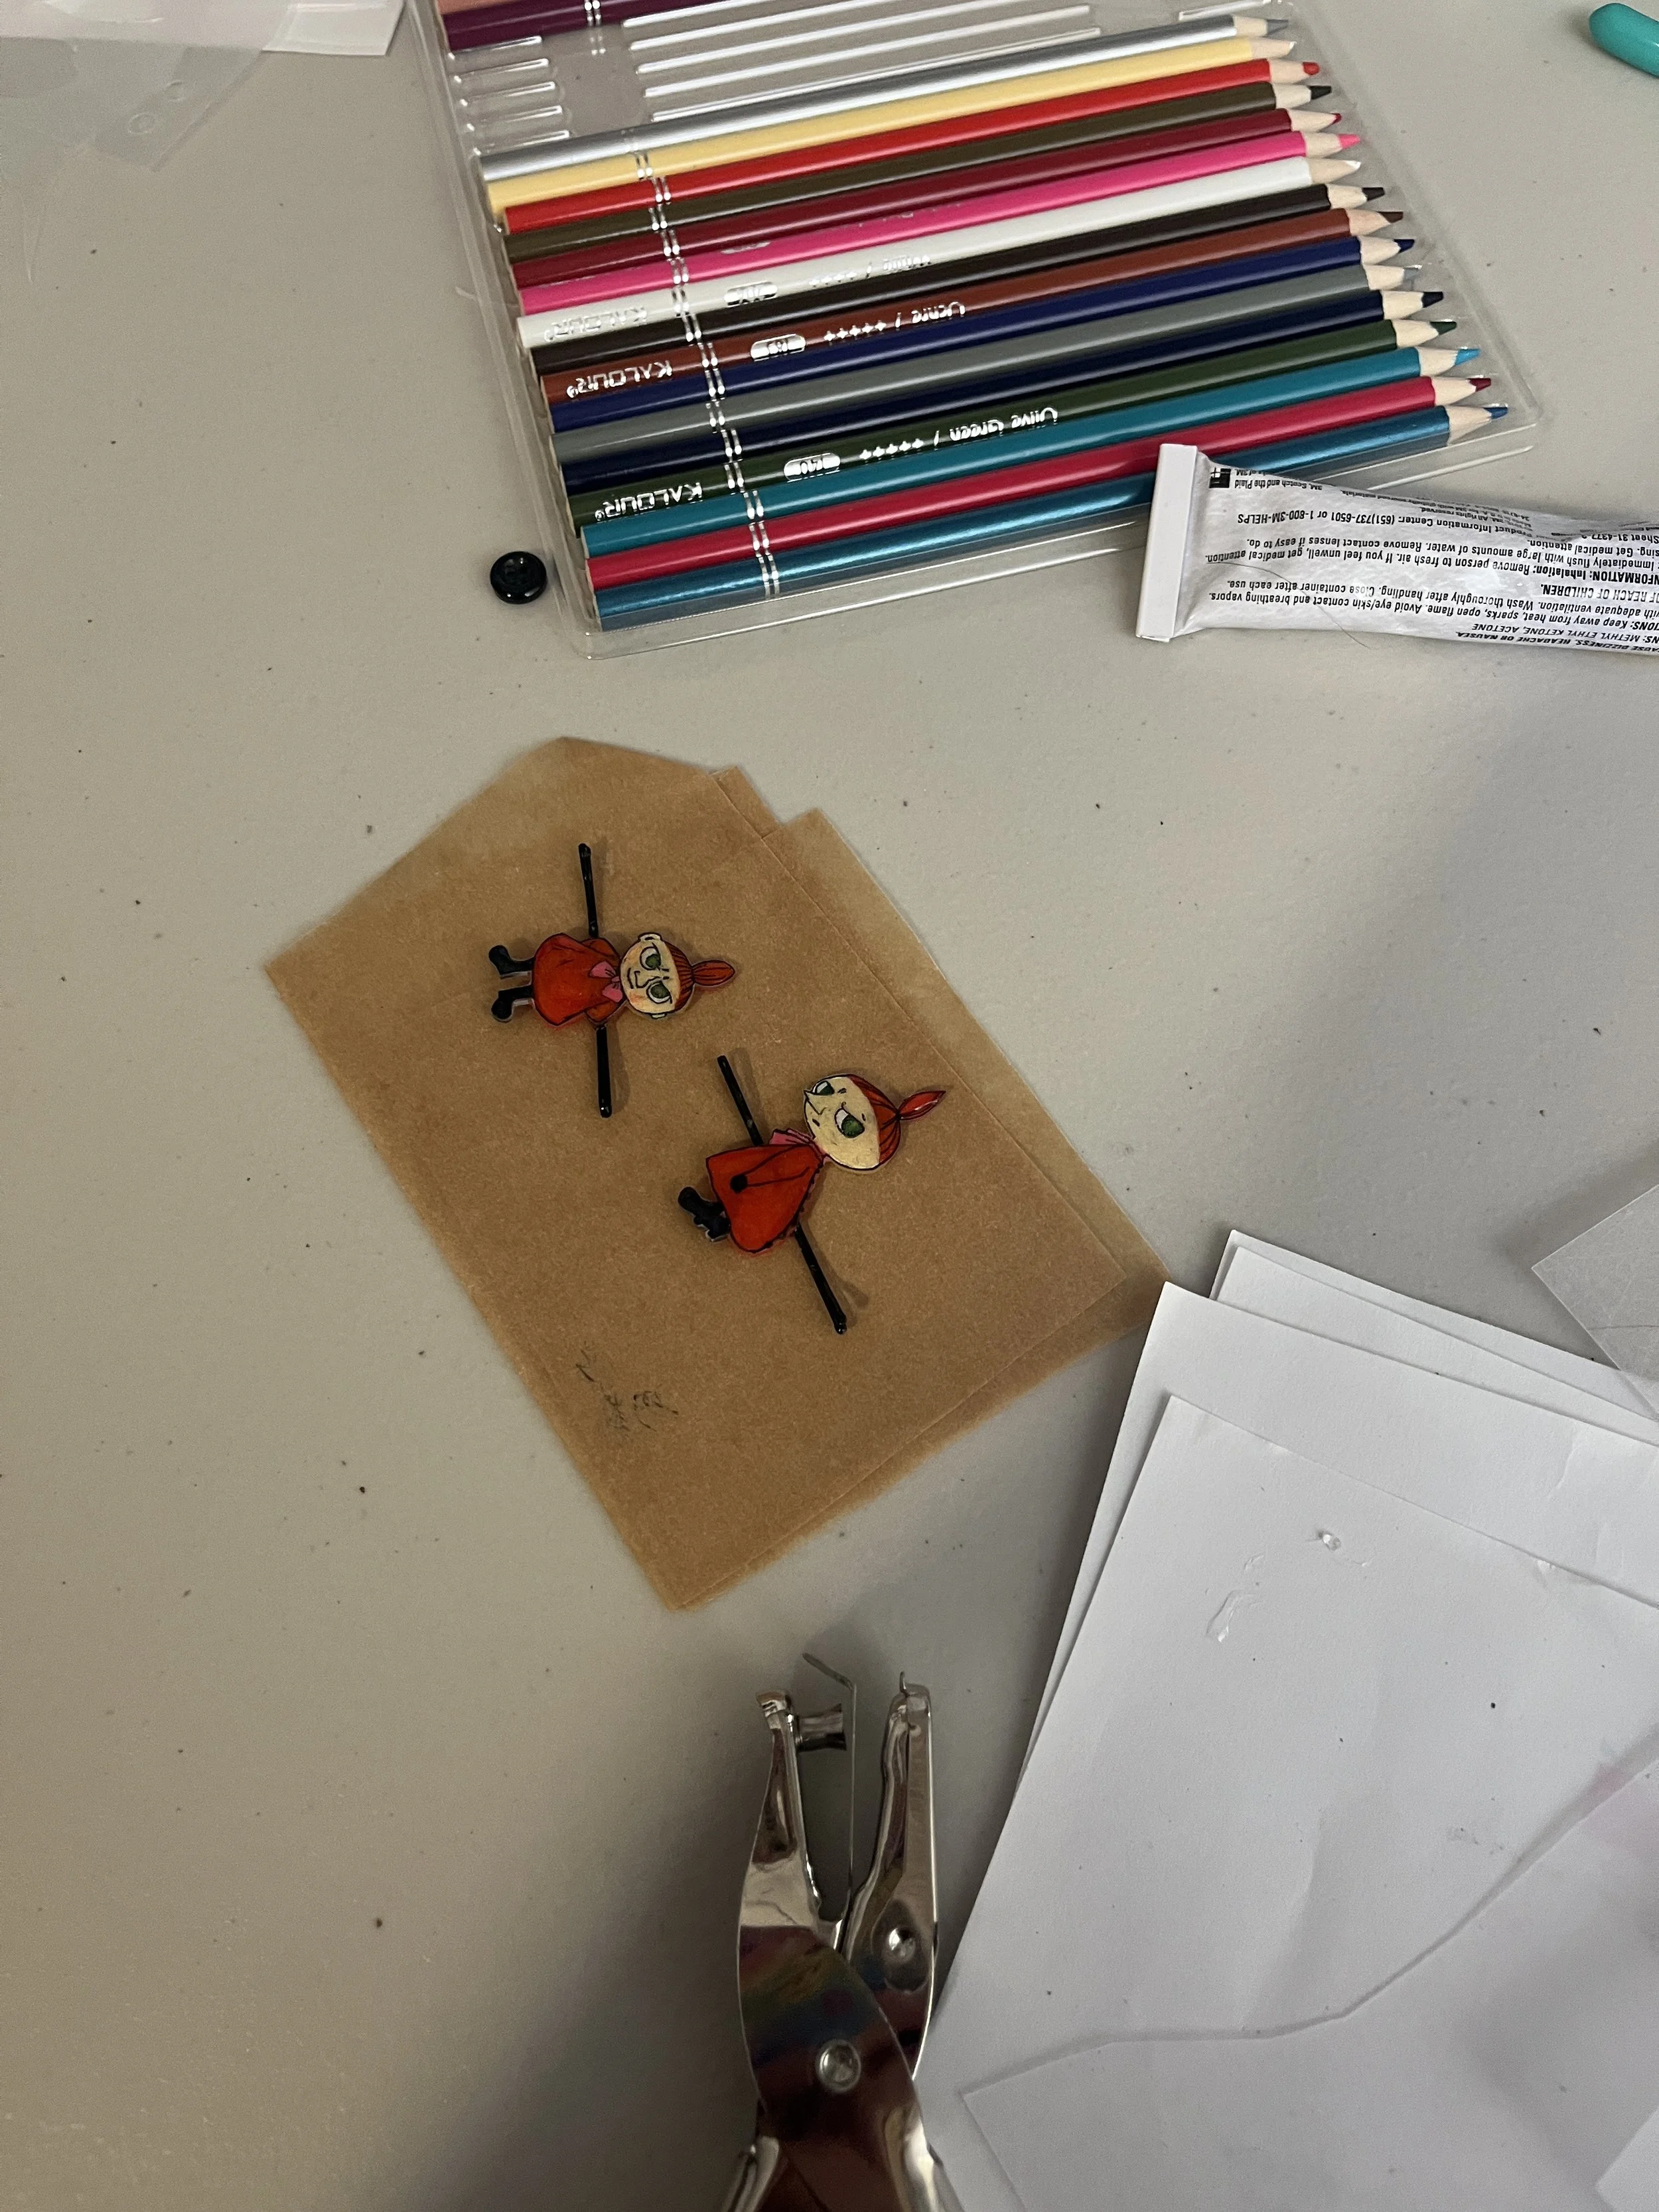
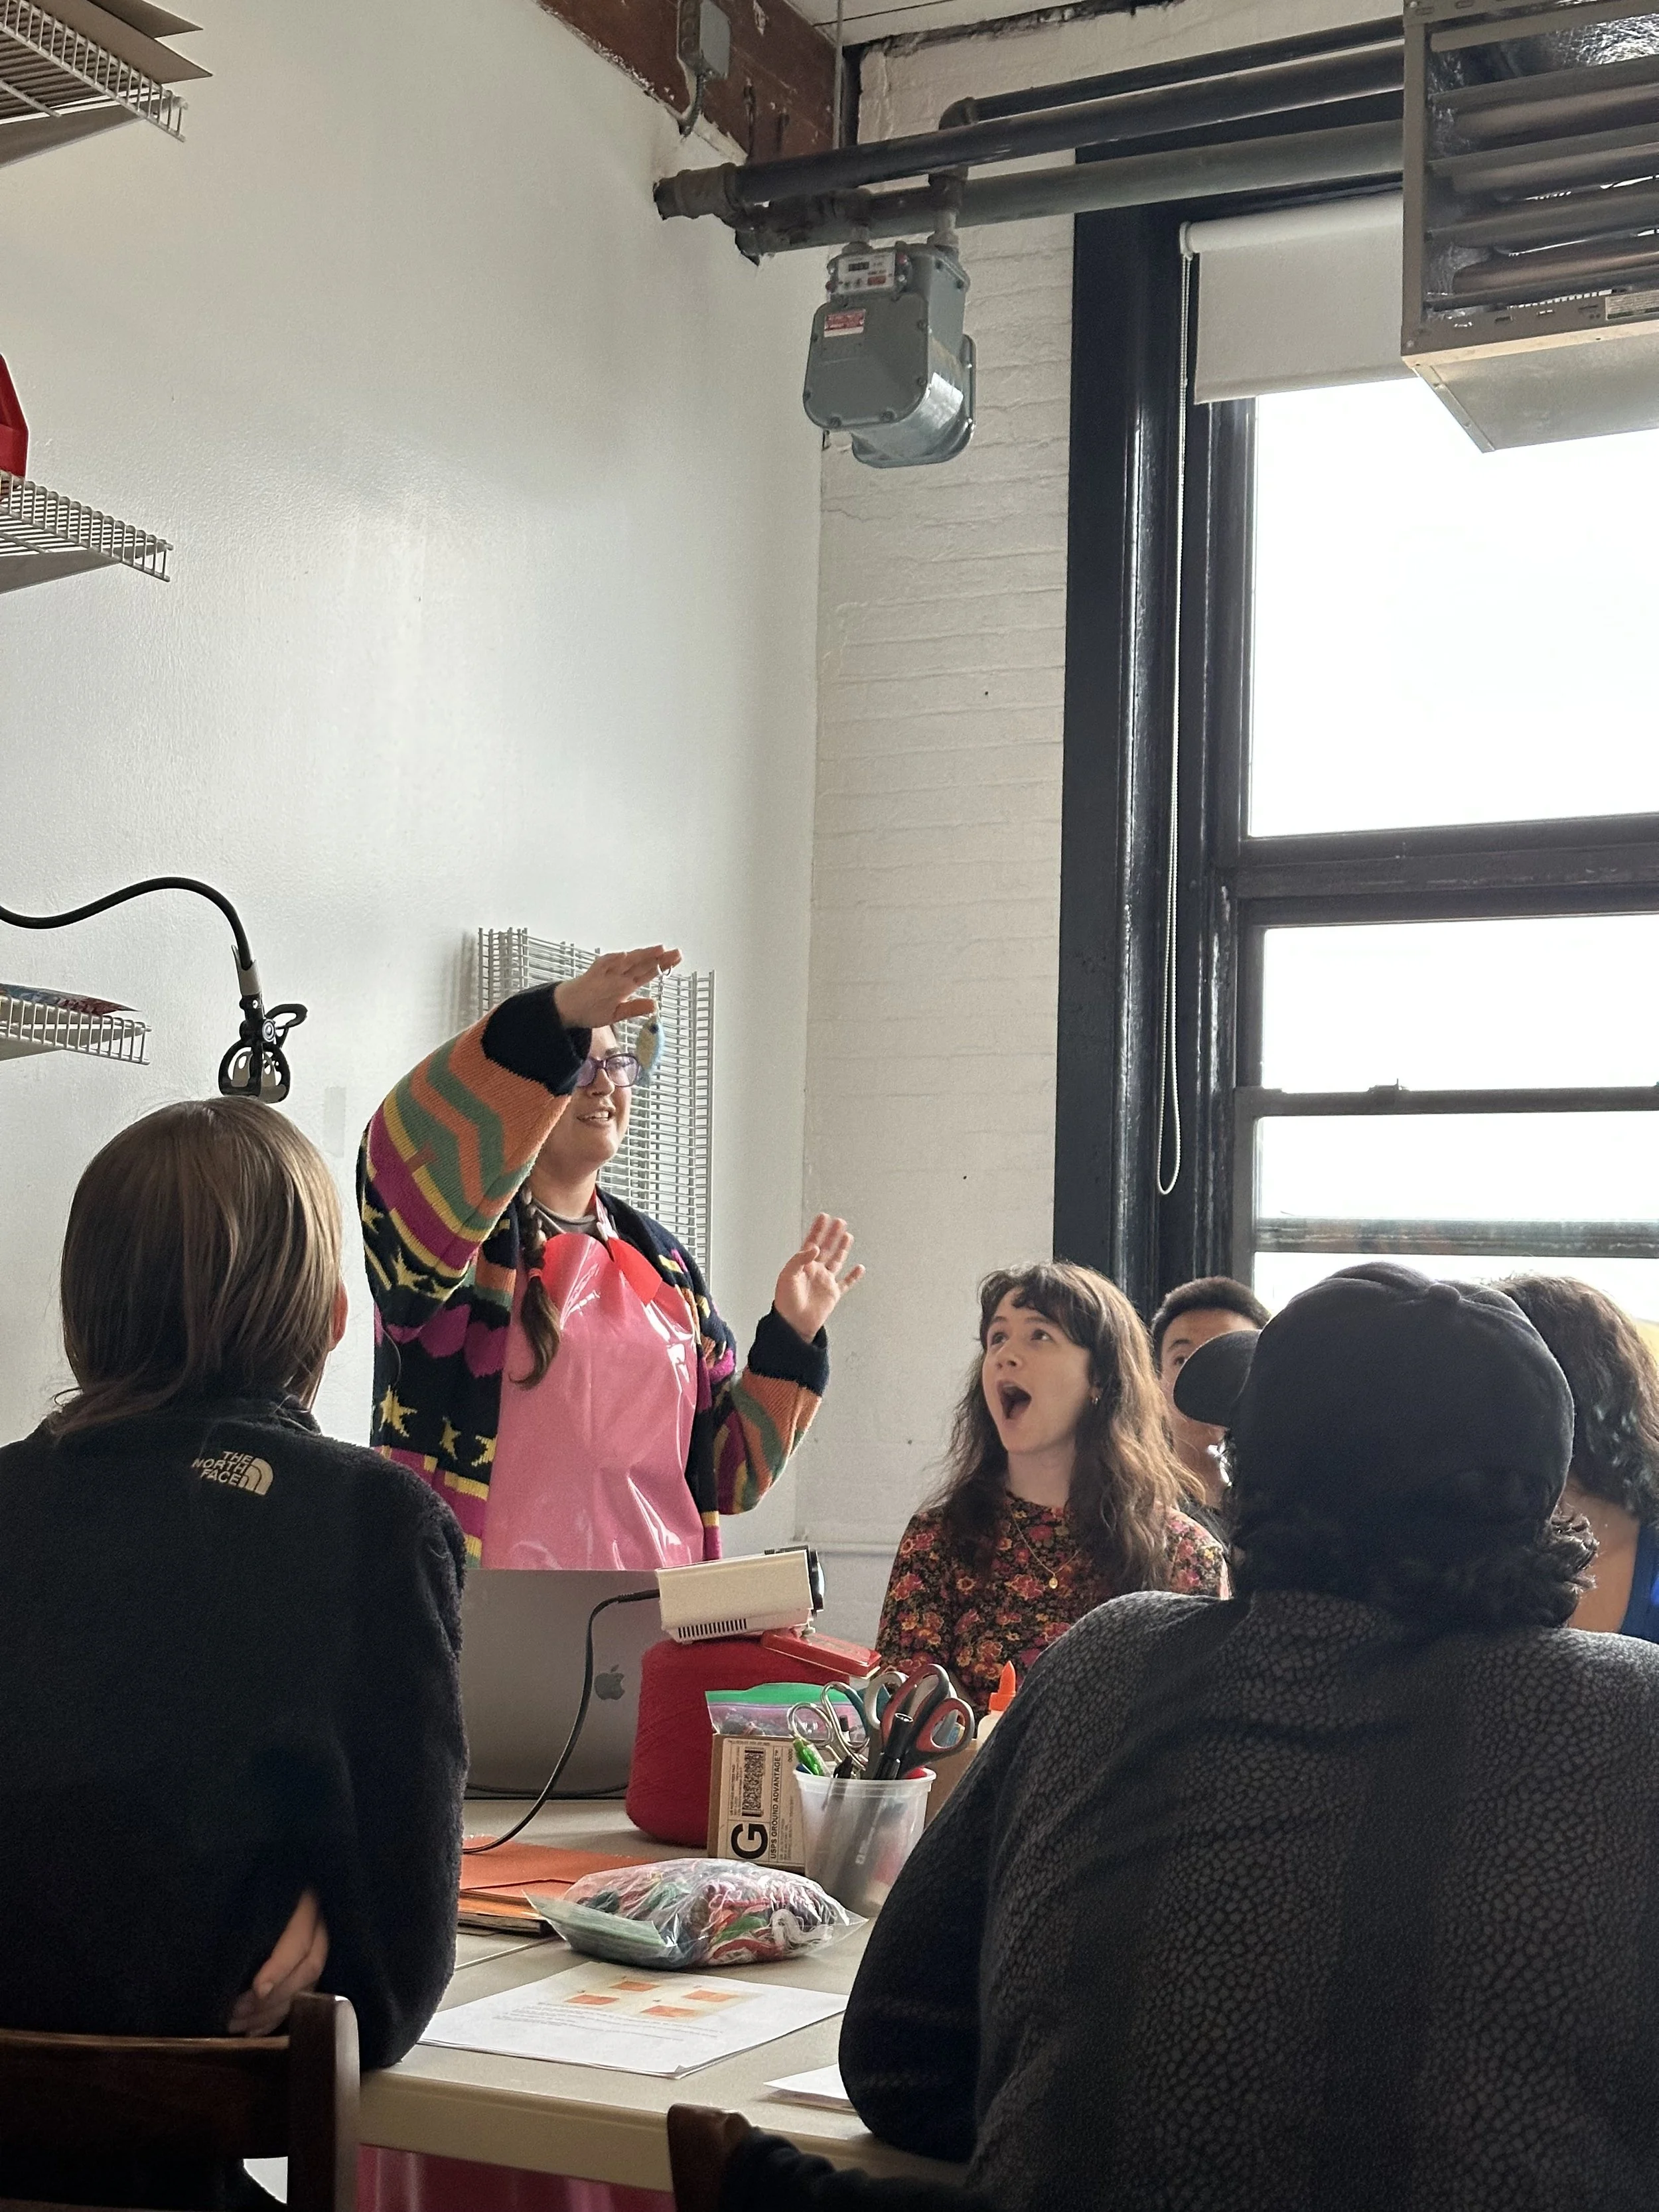
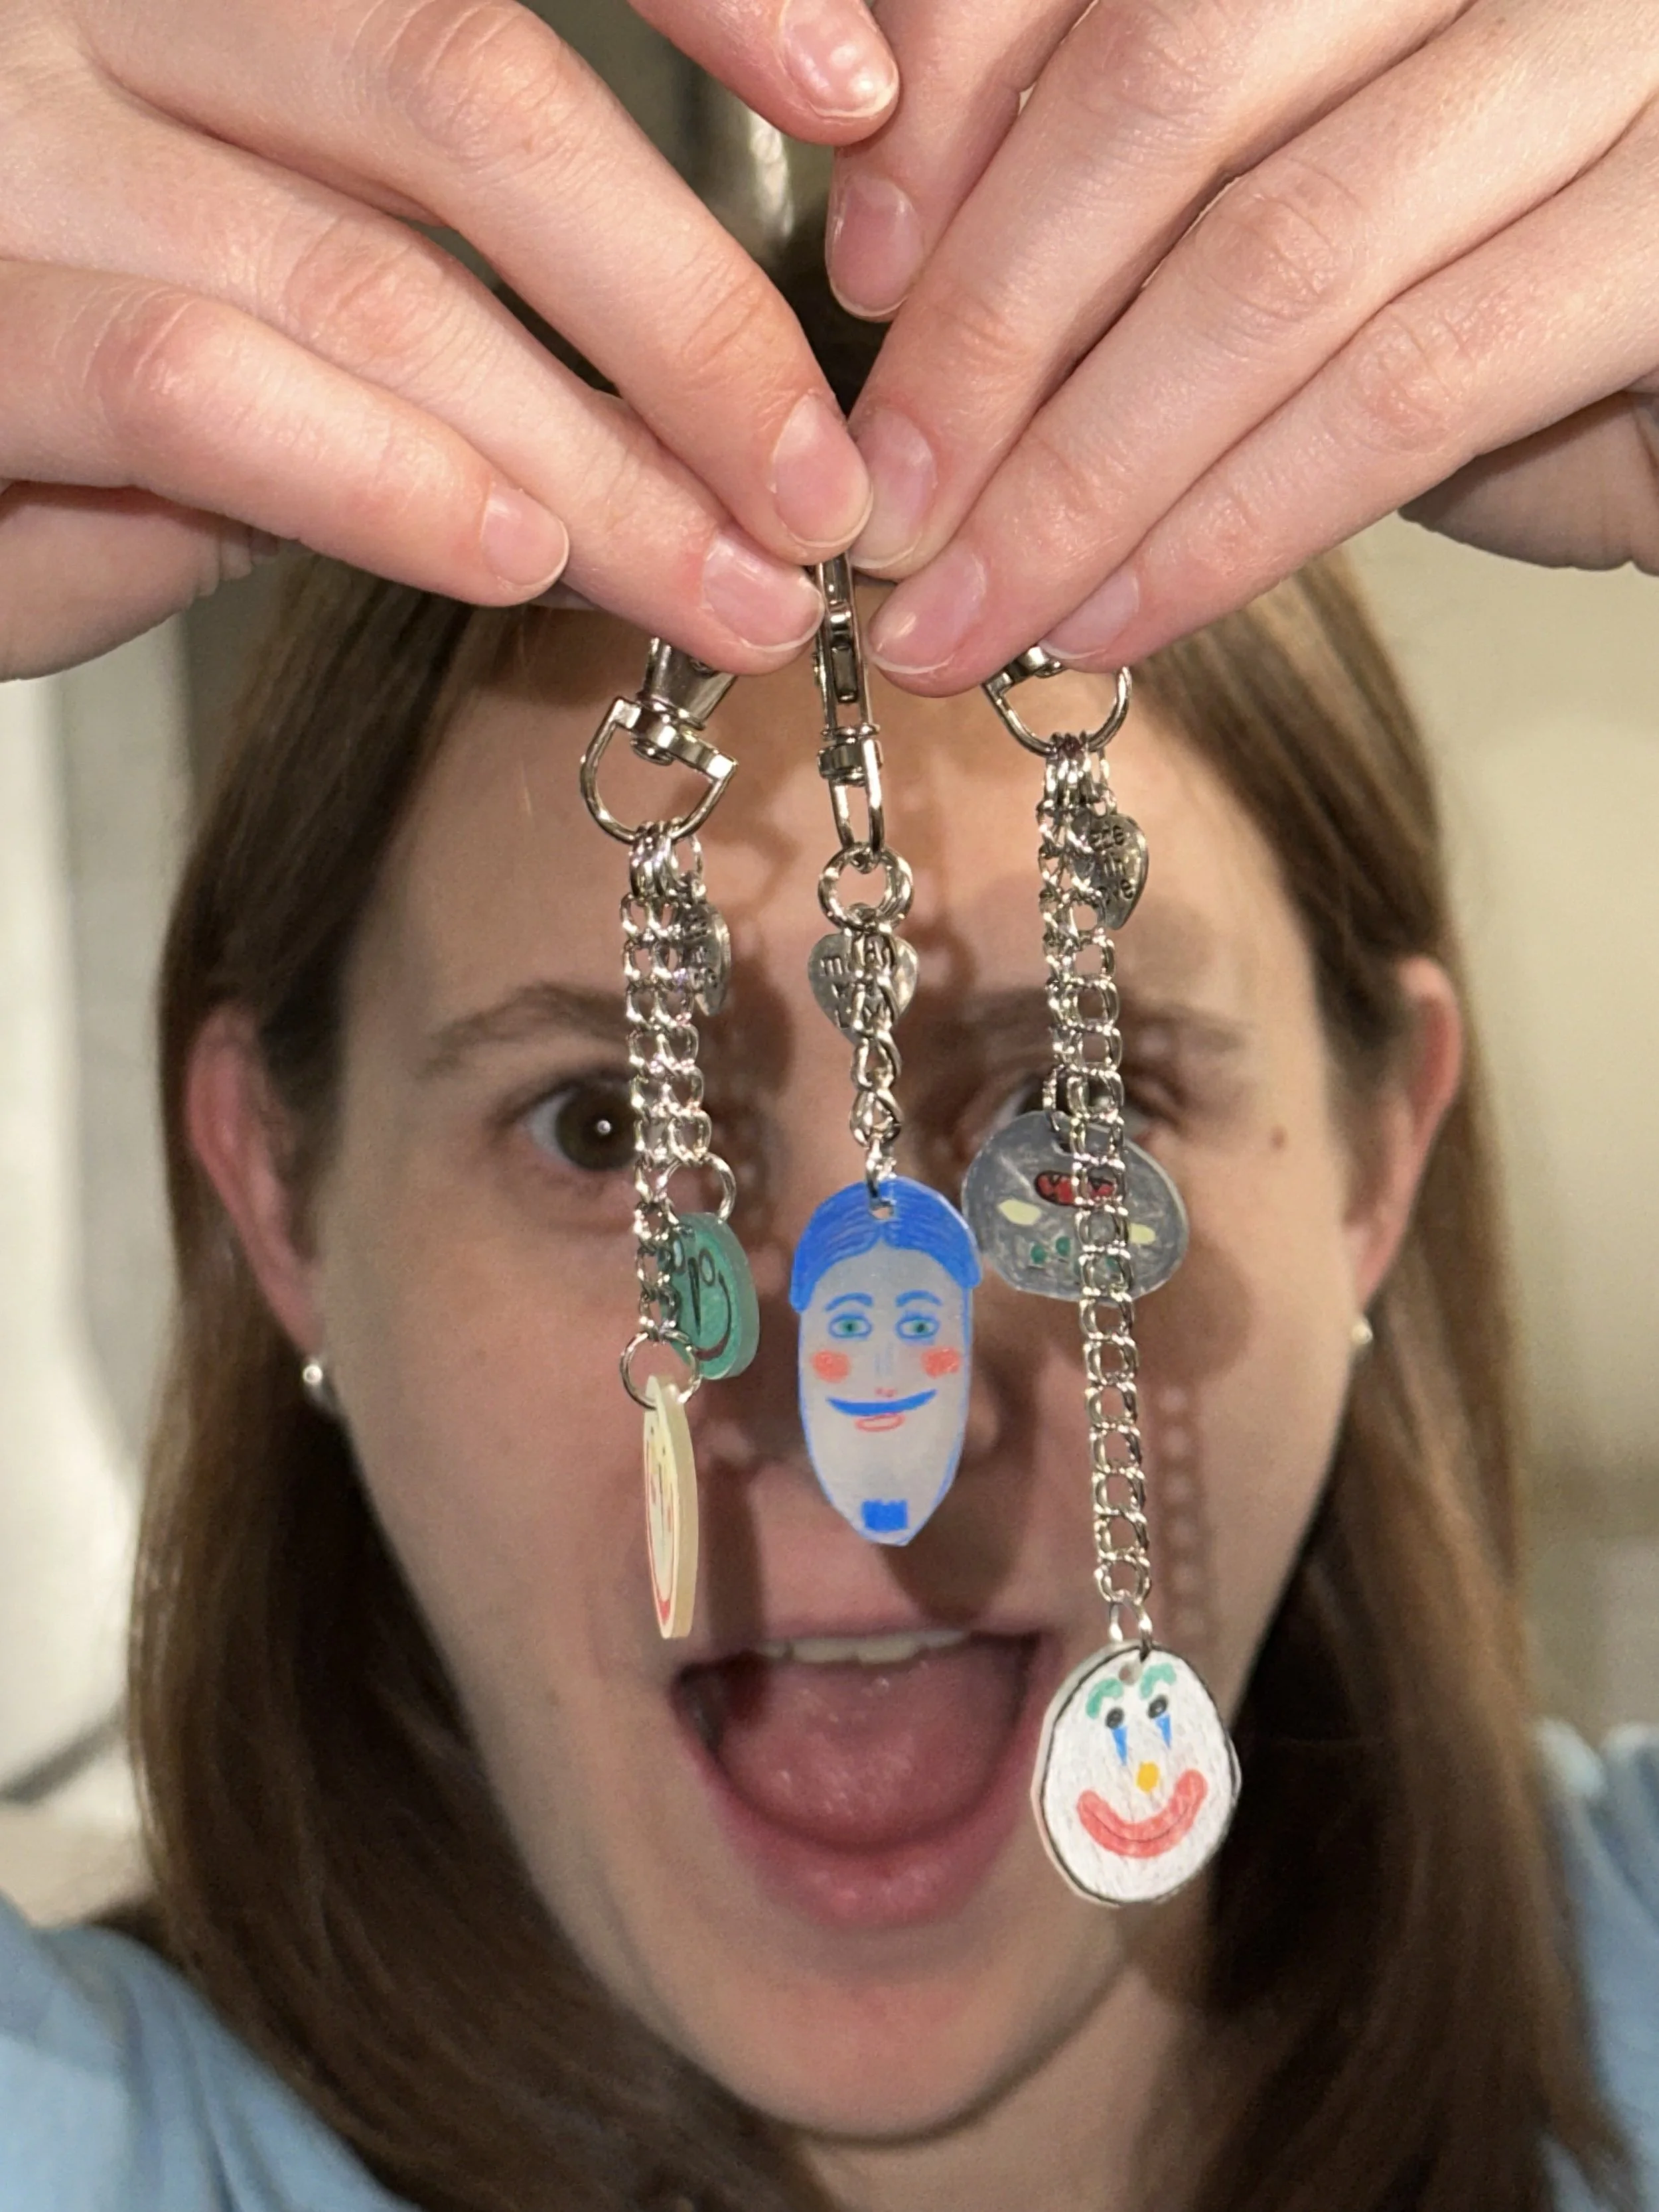
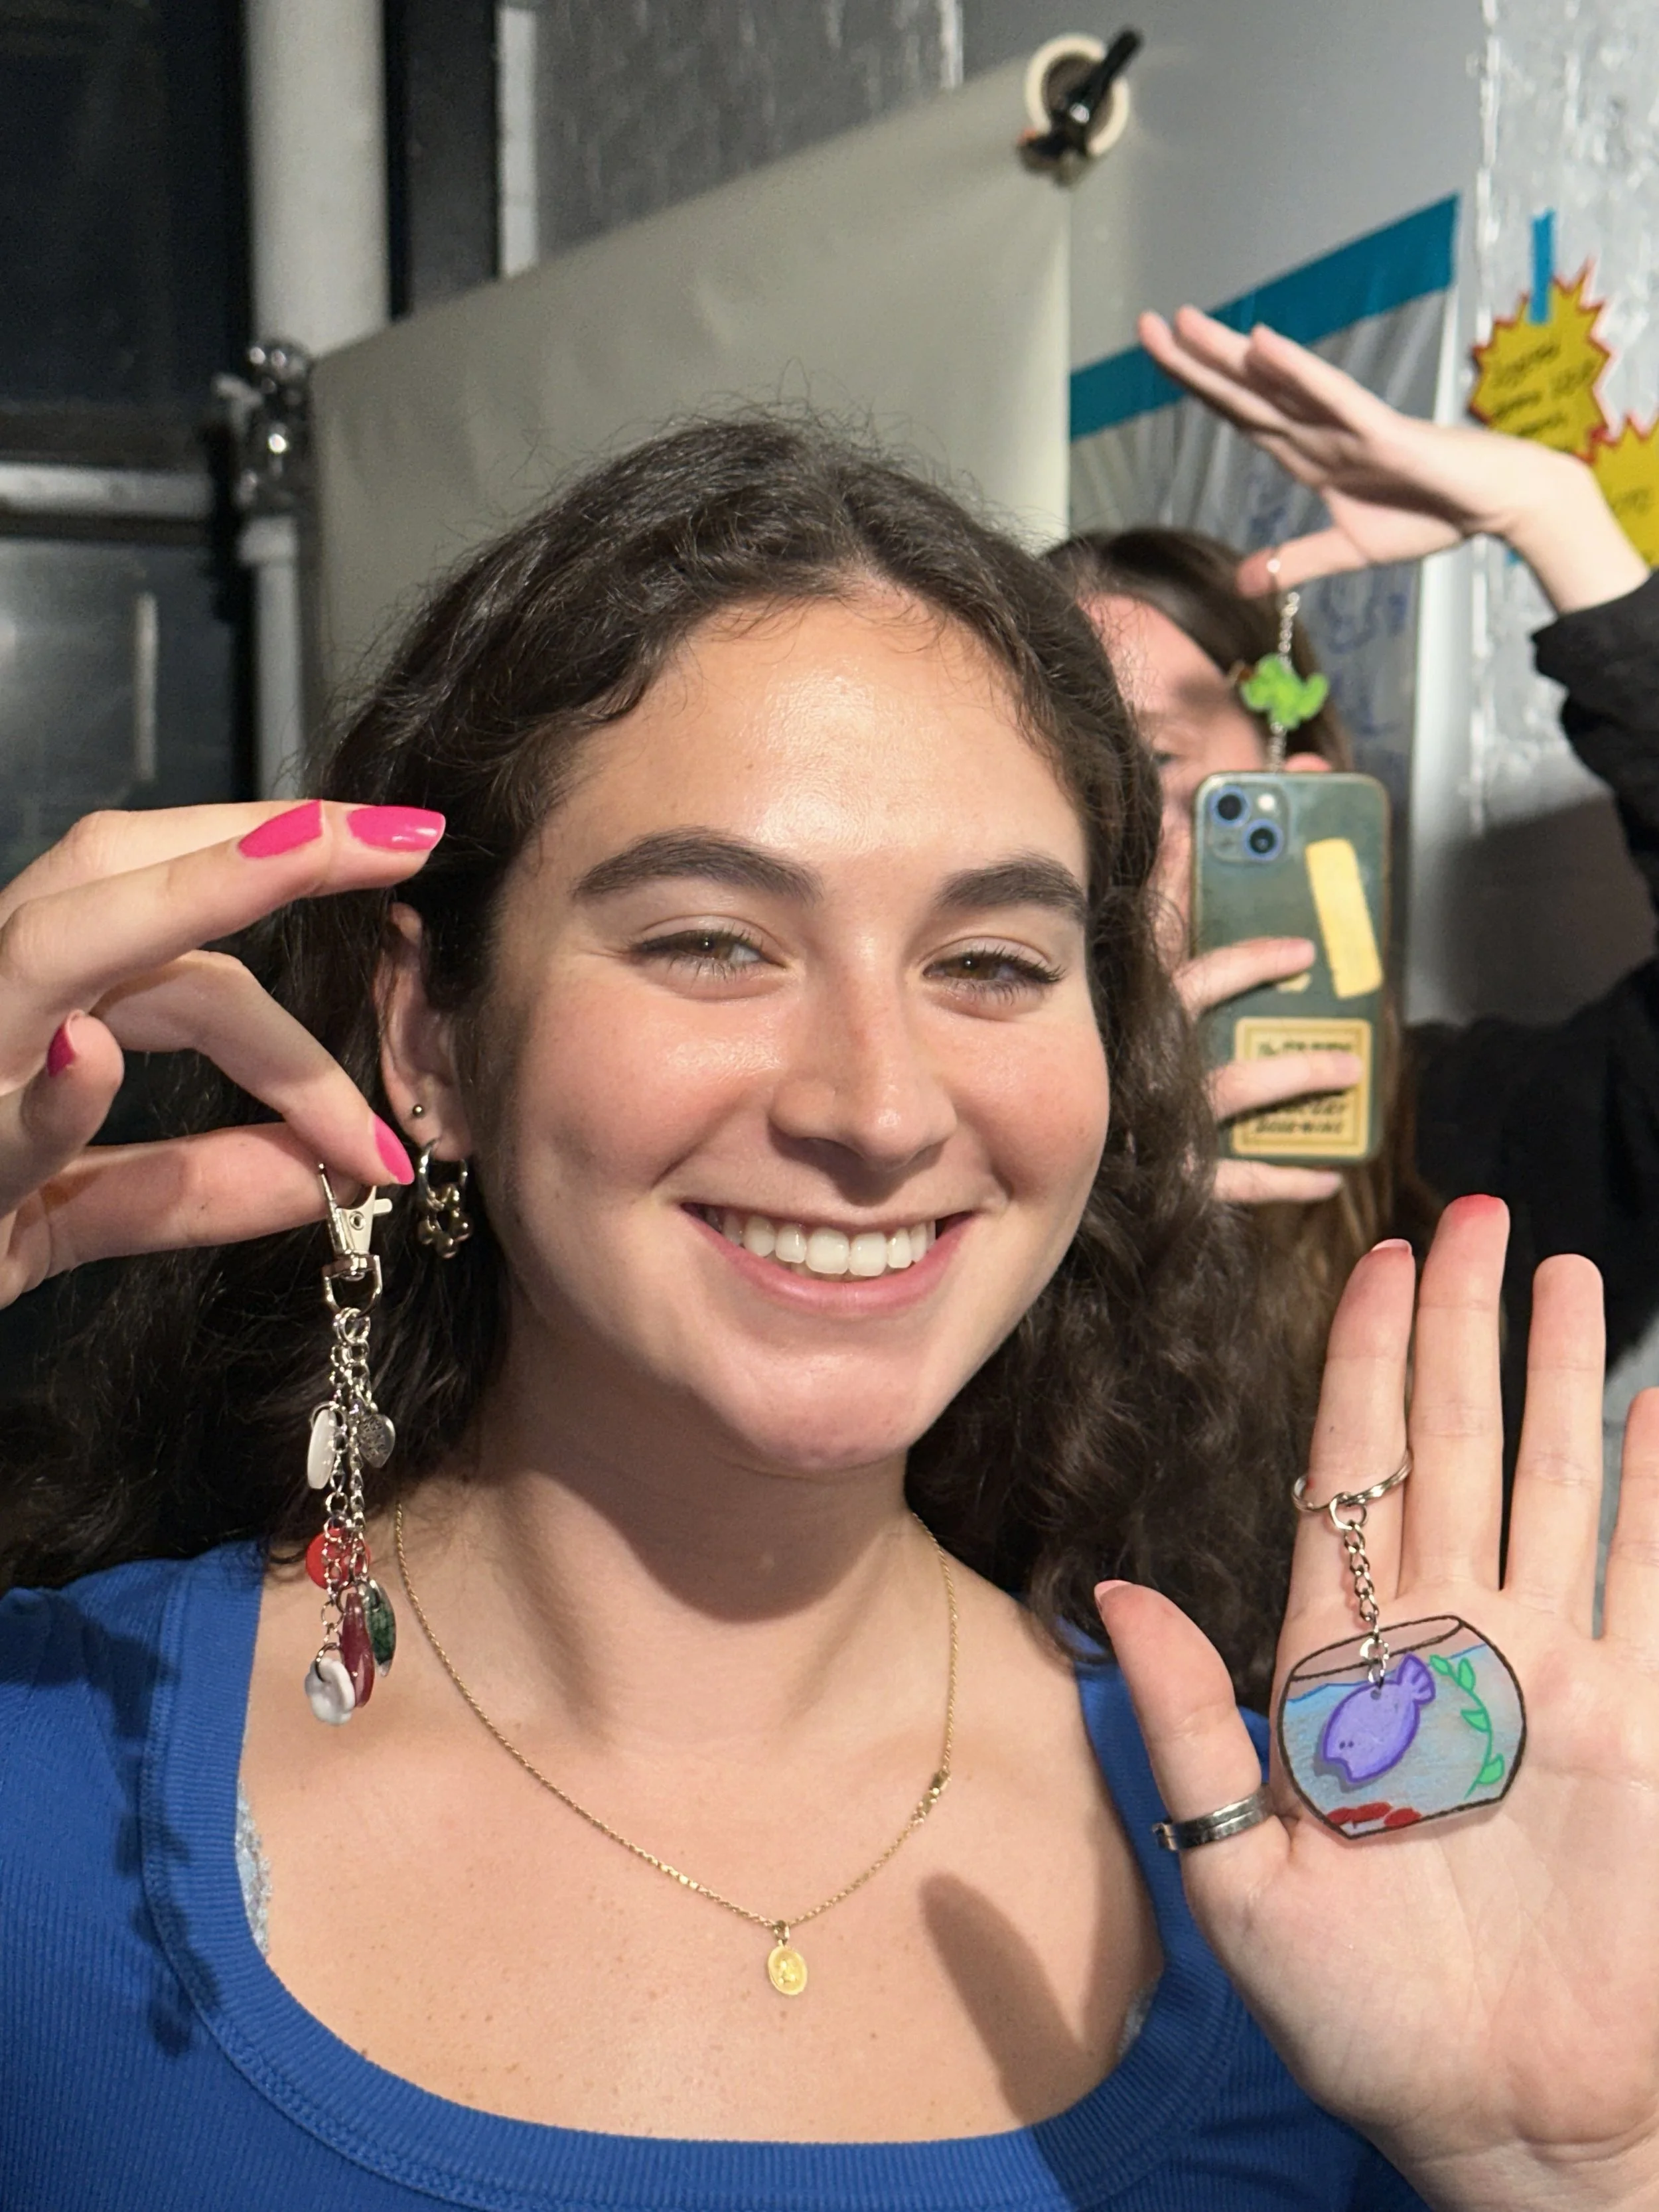
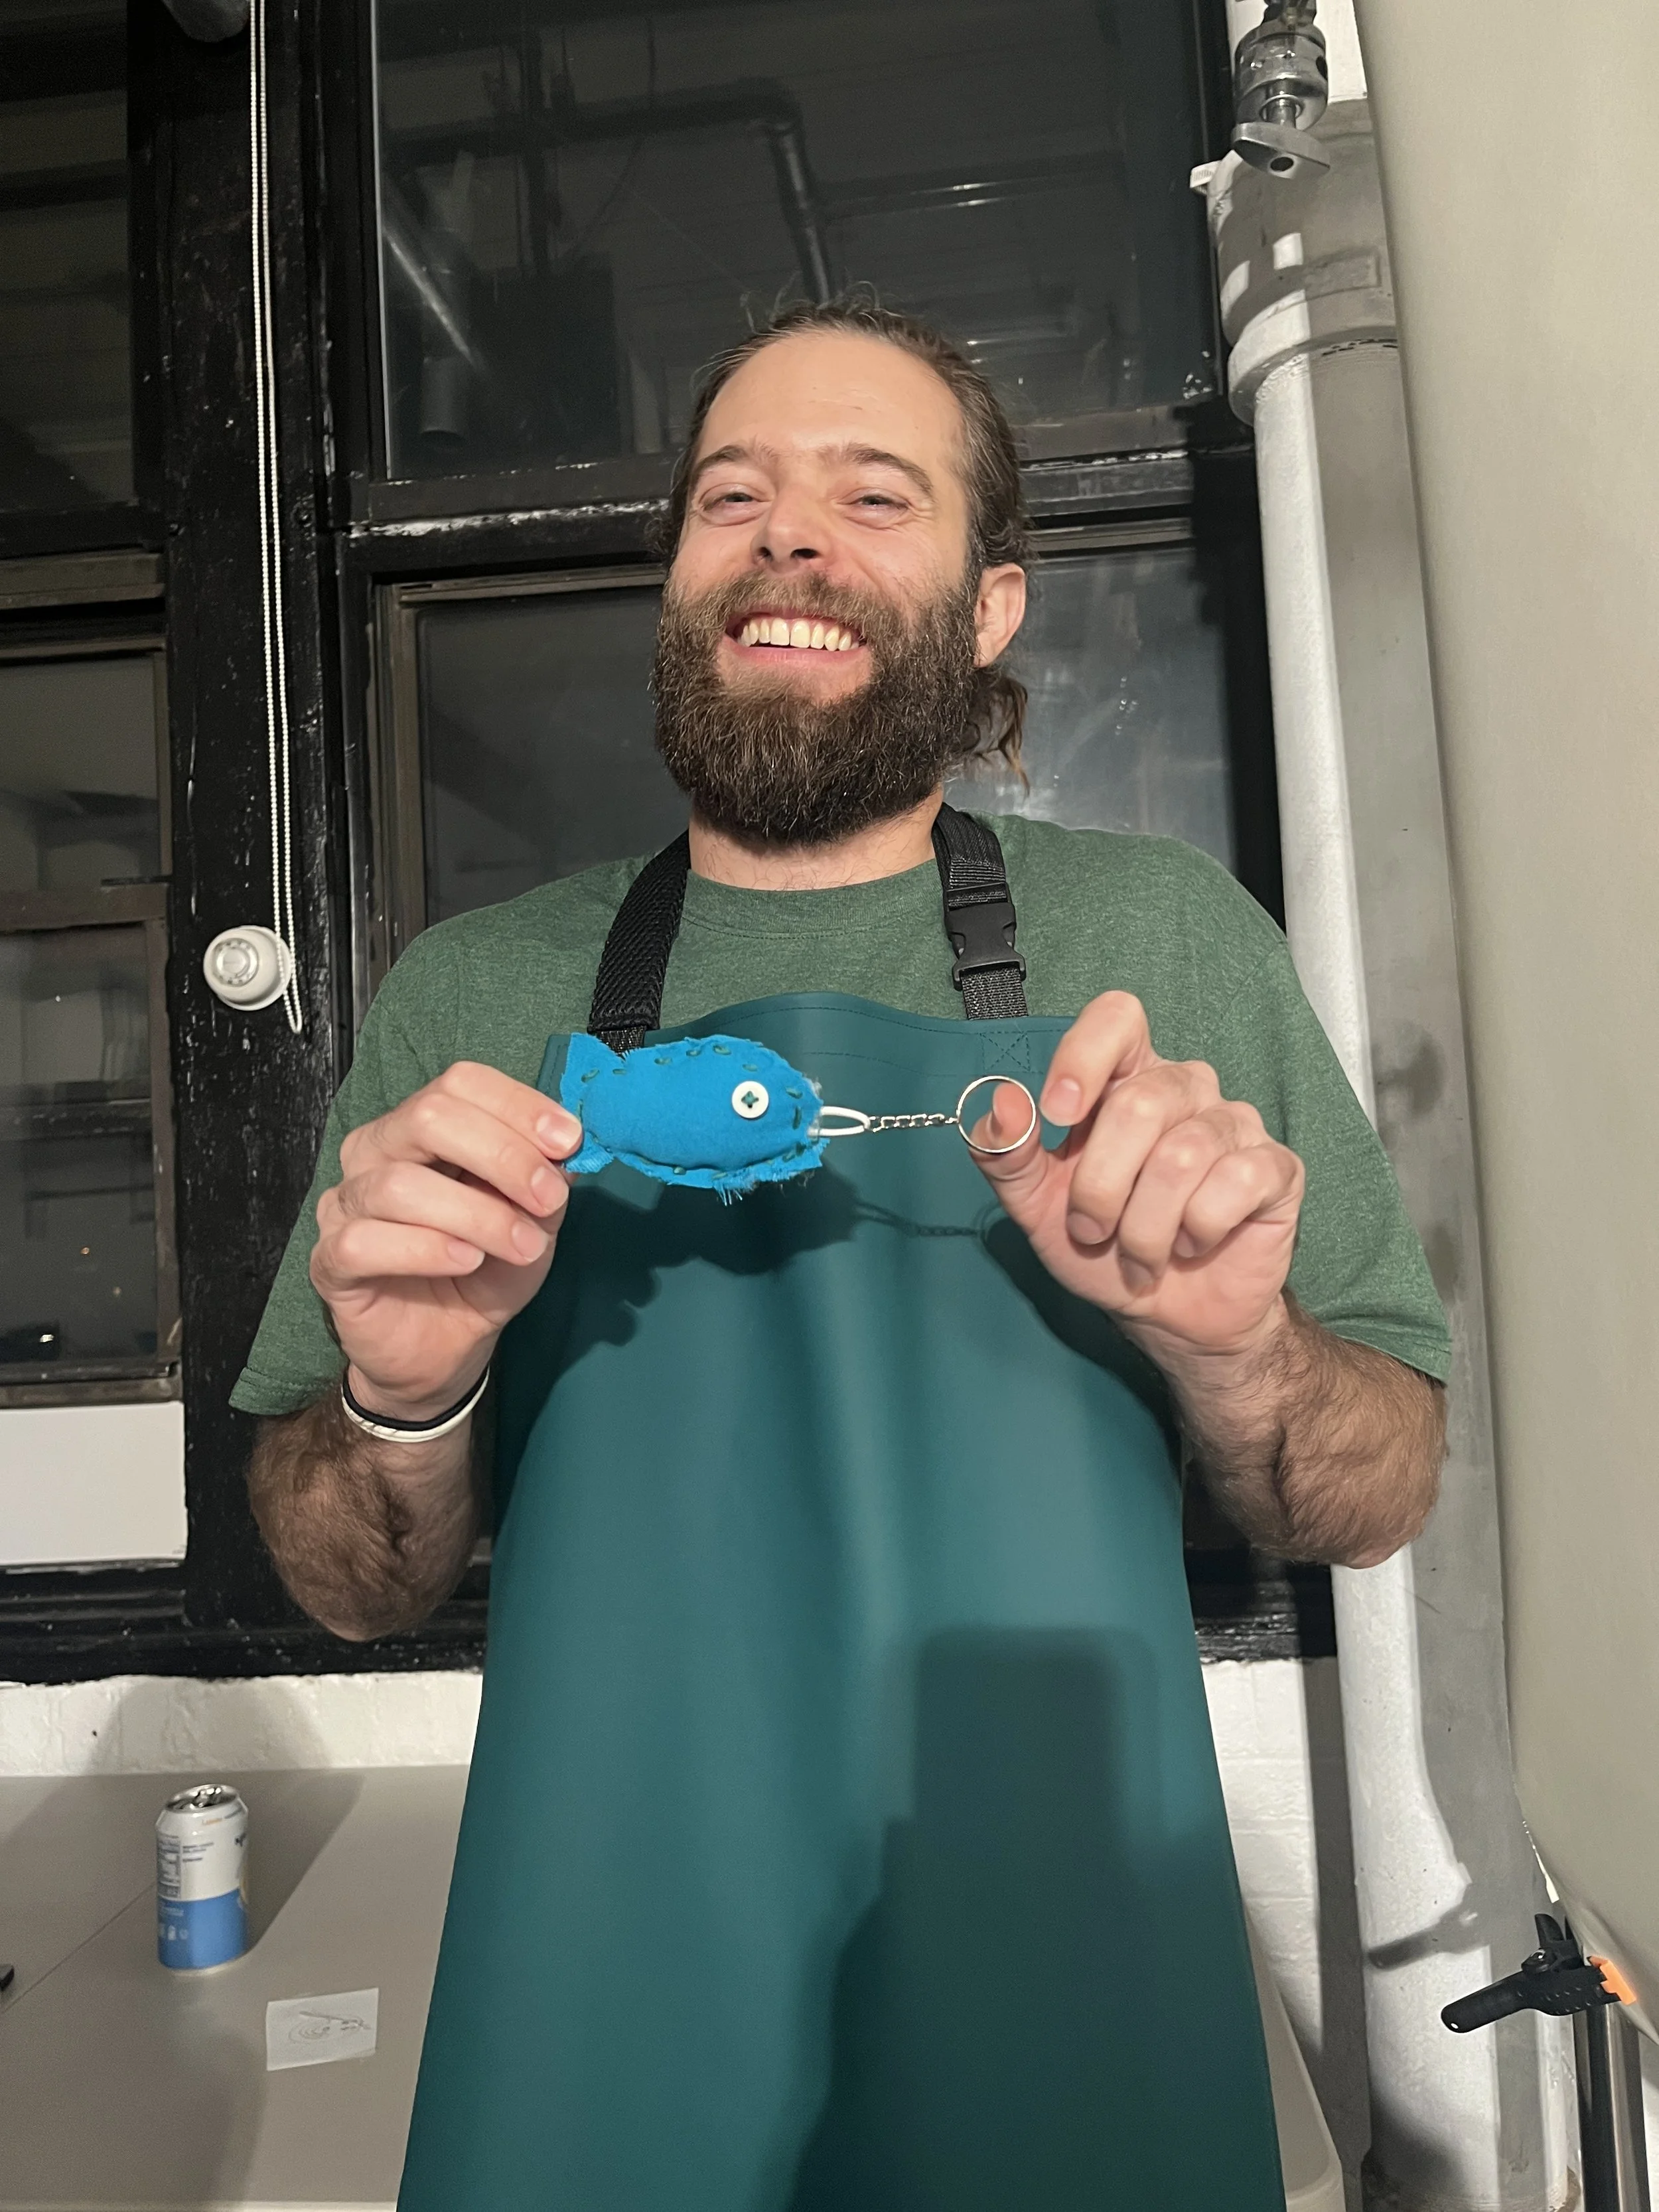
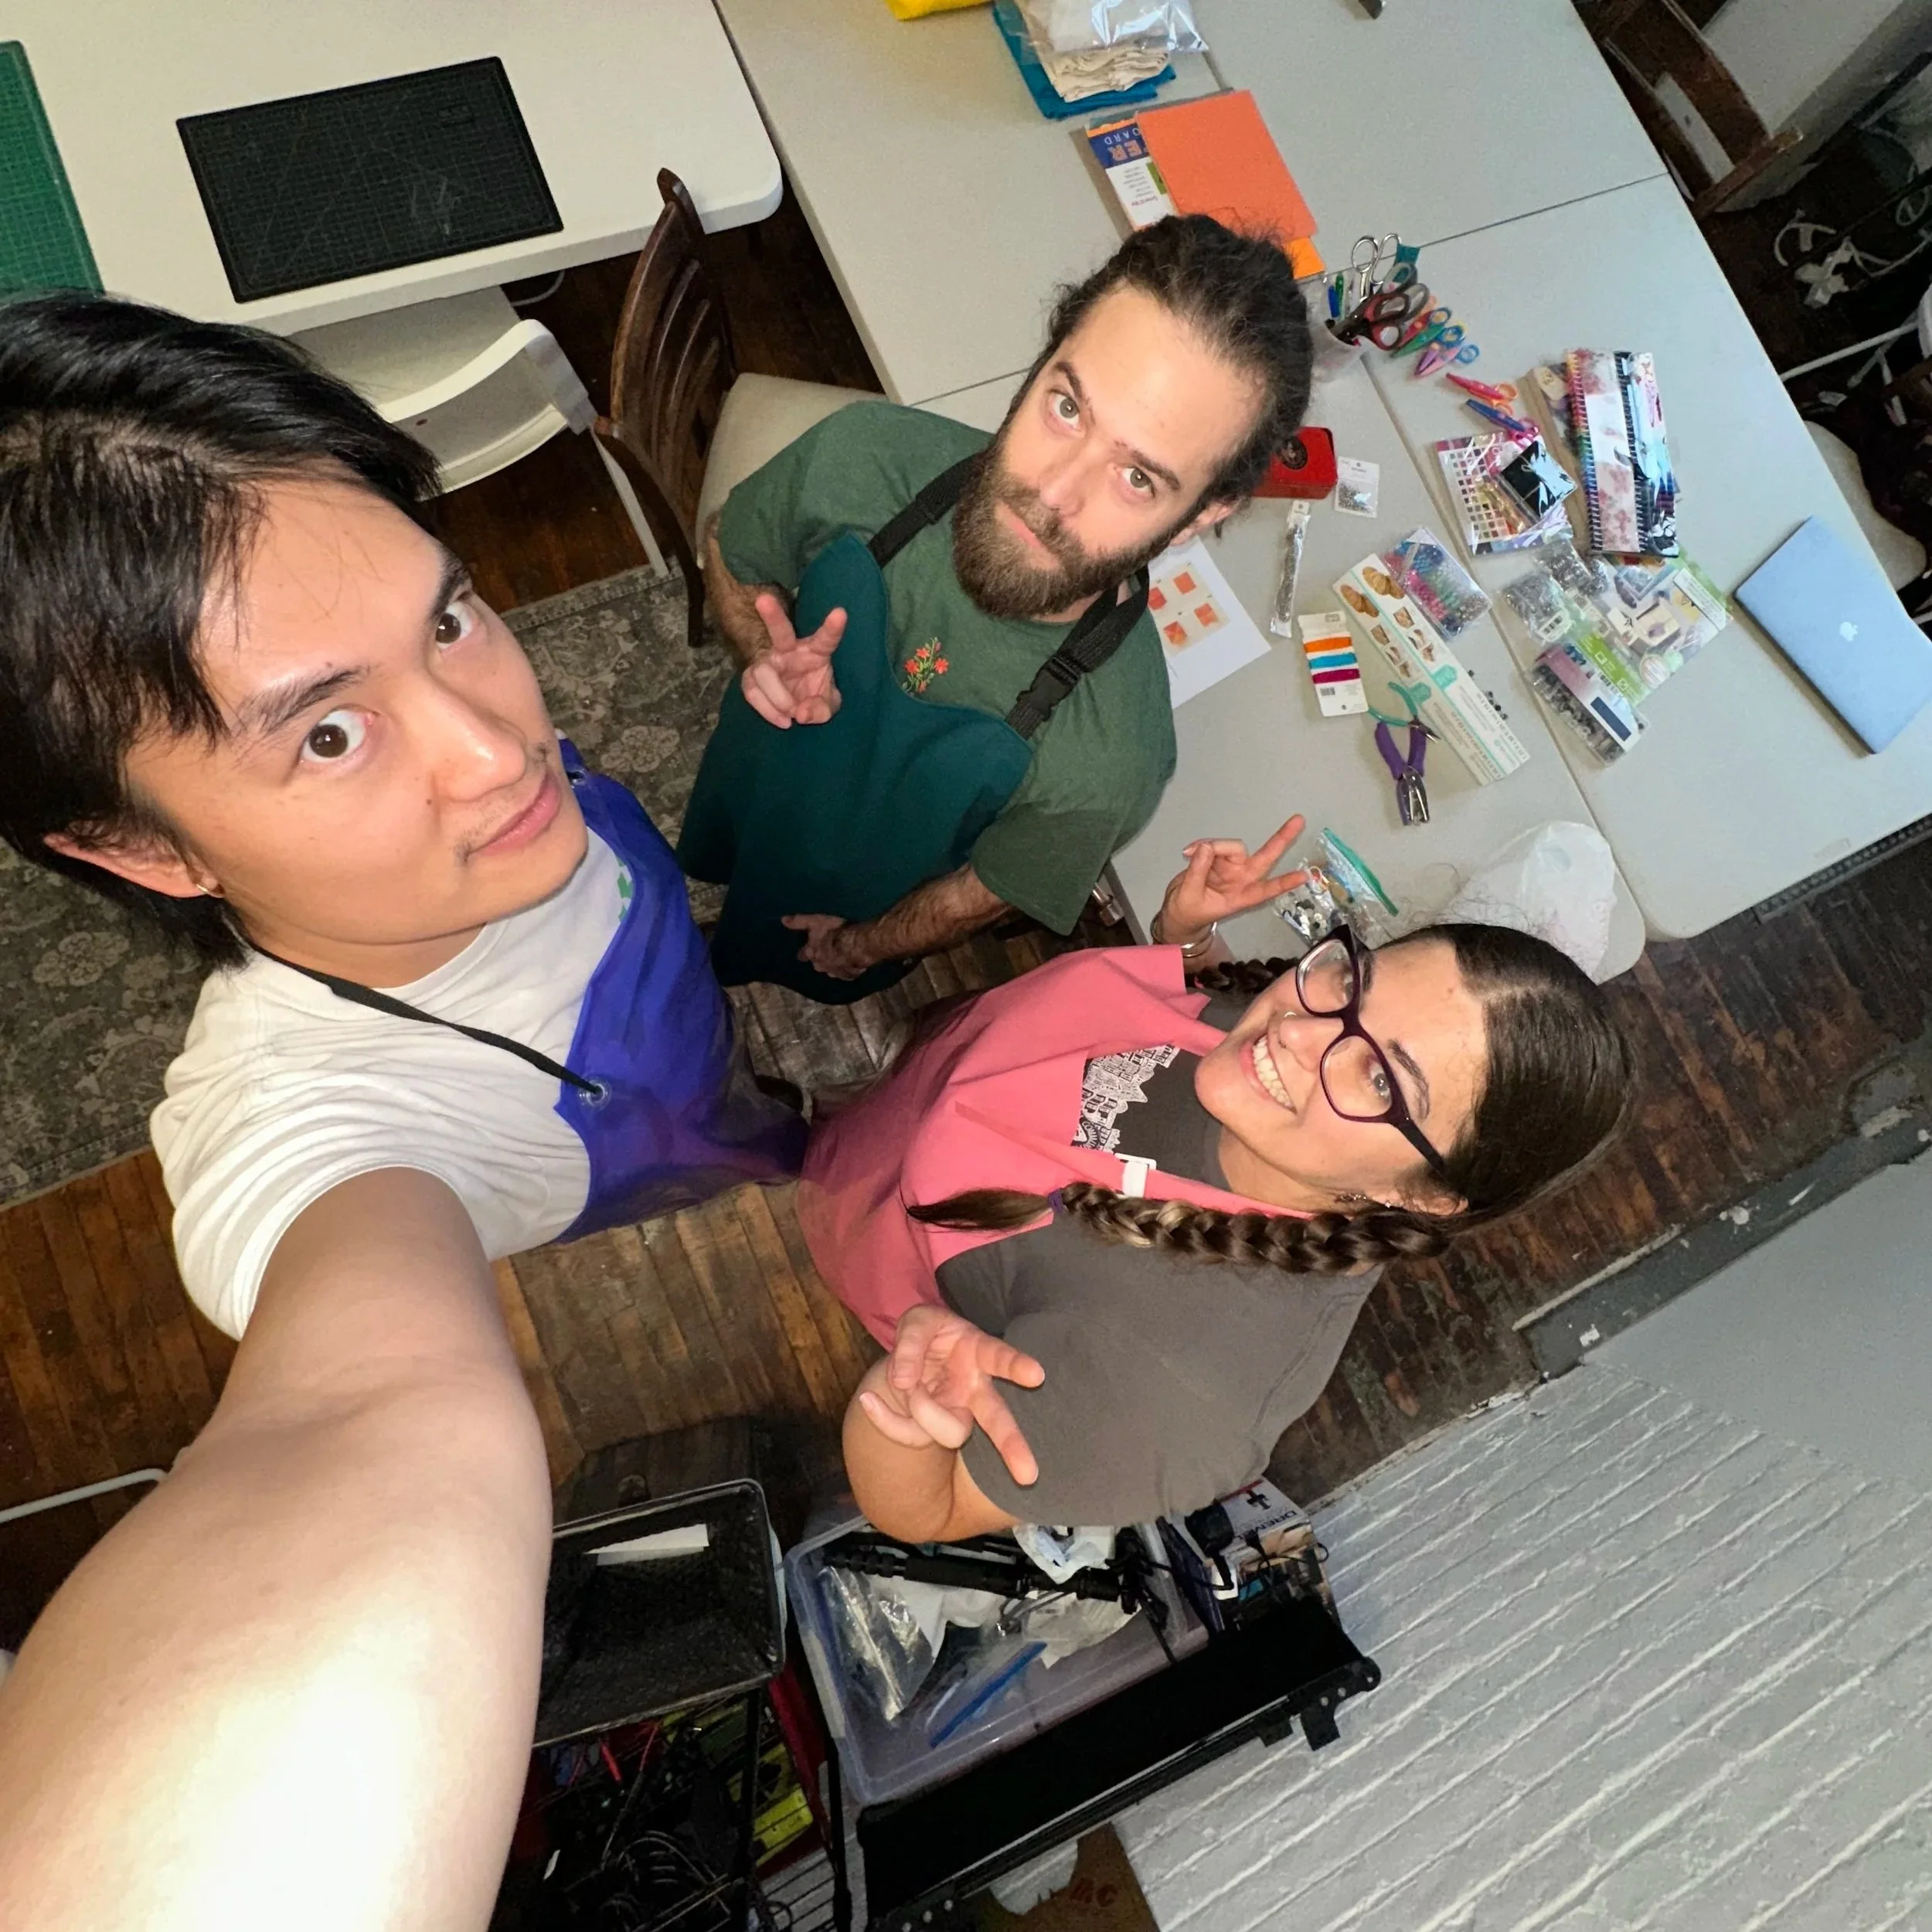
Keychain Makin’
@ Glub Glub Labs, November 9, 2025
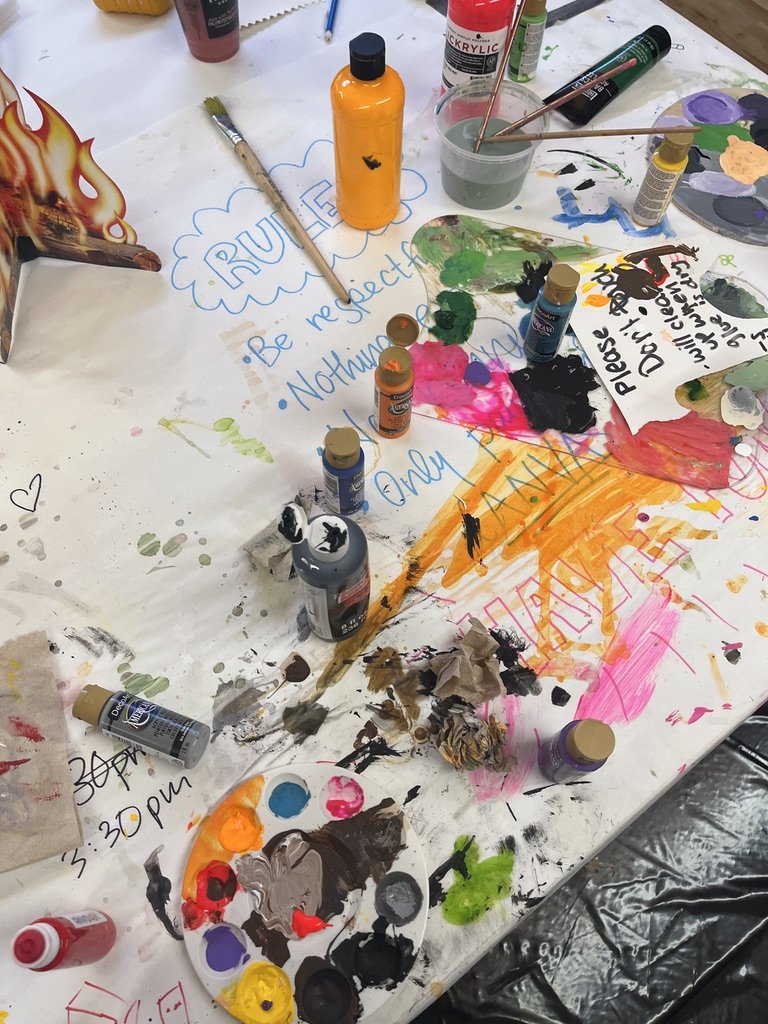
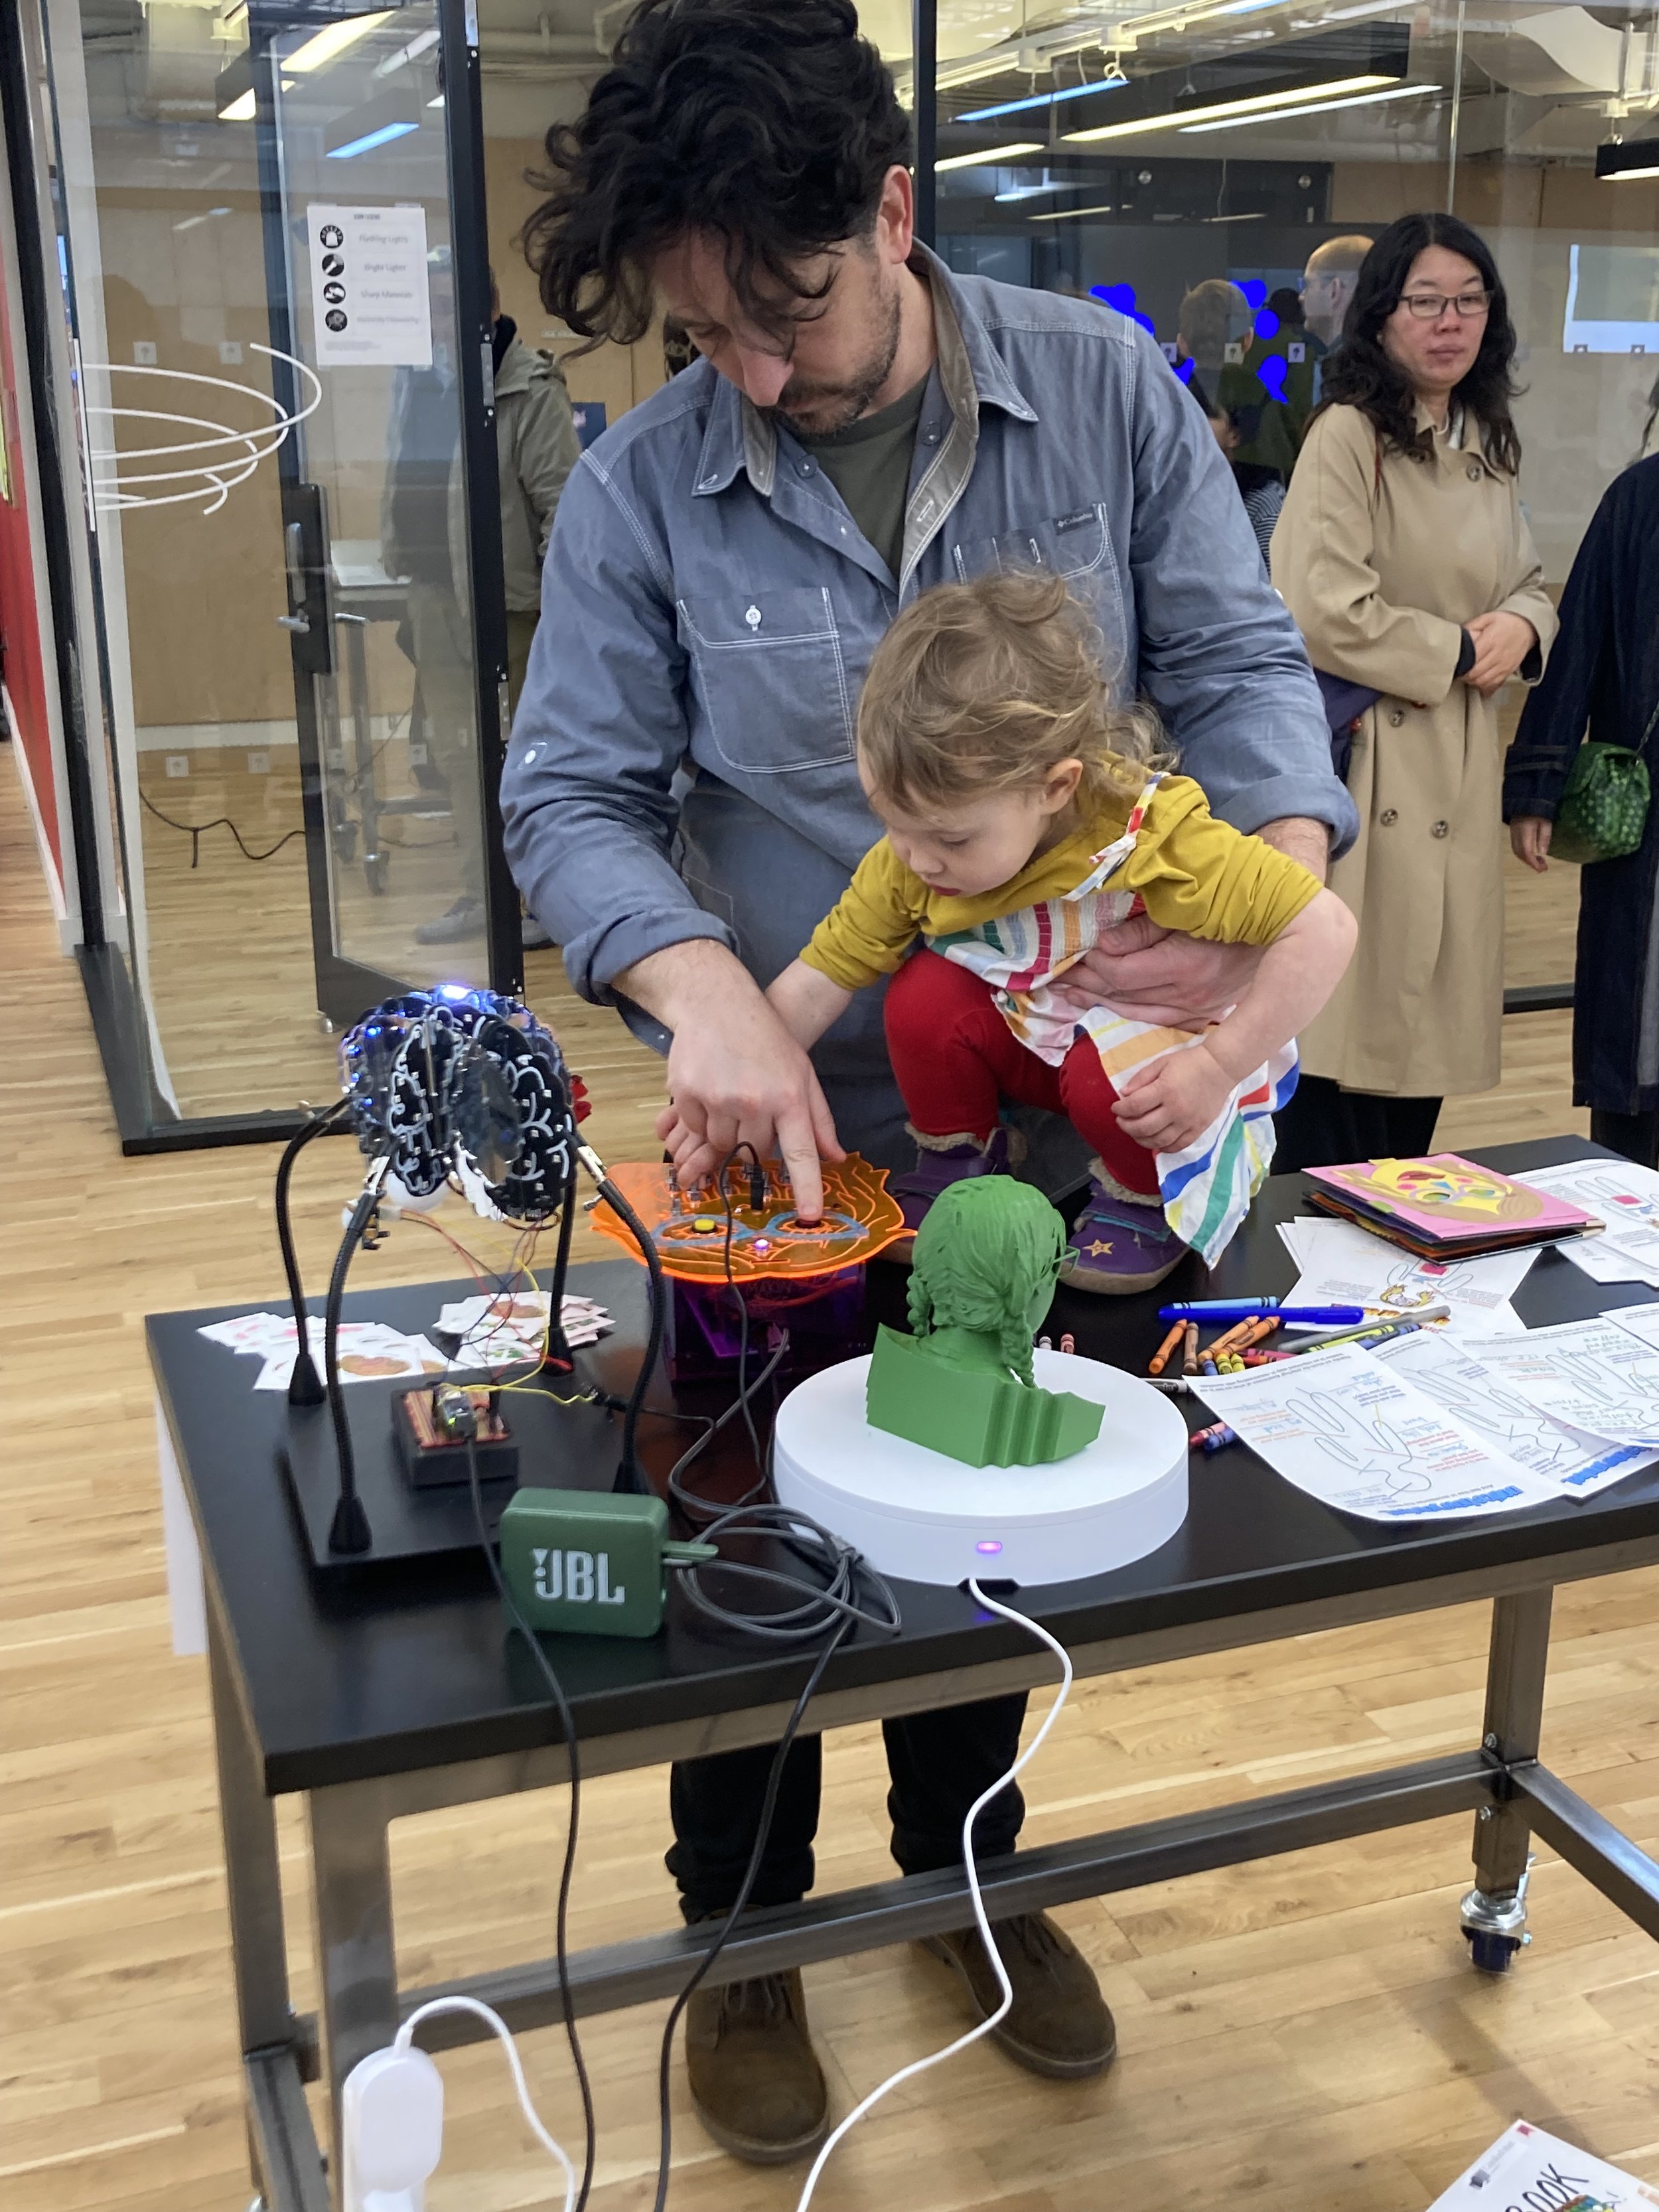
This was a much more relaxed and crafty meetup: a rainy Brooklyn crafternoon between friends, if you will. Basically, Glub mongers Tres and Josh asked me to prepare a keychain workshop for our fishy friends. I came with some samples, some fish-themed mood boards, and a whole bunch of keychain materials and we all got to work. Mostly, people were enamored by the magic of Shrinky Dinks™️. Below are some highlights of my friends de-stressing from their corporate lives and stretching their creative muscles.

Thank you so much for having me NYC. It really is true what they say: I <3 NY!