
Back in March I was accepted into Club Rambutan’s digital residency. As a resident, I became a part of a cohort of other amazing artists and needed to make an art piece to be featured in their next publication. For this volume, the theme was feeeeaaarrrr! It honestly took the whole four months of the residency to get clear on what I wanted to make, but that’s another story. Here I just want to tell you how I made my latest piece, “Slop Machine”.
More about screens than you ever wanted to know
All I knew going into this project was that I wanted to use a screen (make a video sculpture) and enclose it using bioplastics. What I didn’t know at this point was that playing a video file on a screen driven by a microcontroller is no small feat! These are some things I tried out so you don’t have to.
Here I am running the OLED using a Teensy 4.1
Transparent OLED
I started out this project wanting to use a novel looking screen. I had come across some see through OLED screen projects, so I thought that would work well for this as bioplastic is also see through.
OLED screens are commonly used for microcontroller projects. OLED stands for organic light-emitting diode. The first hit for transparent OLED screen from Amazon was from a company called Waveshare that also included the driver board, so that’s what I started with.
It wasn’t very hard to get it up and running. Waveshare had pretty good documentation for getting started with Arduino, connecting the driver to the SPI bus, and some code examples. The screen was kinda cute, but ended up being too dumb and small. It wasn’t really the right size or form factor for the personal device I was trying to build. Also it seemed like it would be a headache to build up the Arduino library to draw images or video onto the screen. I didn’t have that time!
CONS:
Too small!
Library support - not enough to draw image or play video
Pixels are one color
PROS:
See through —> novel
Quick to get working
Cute
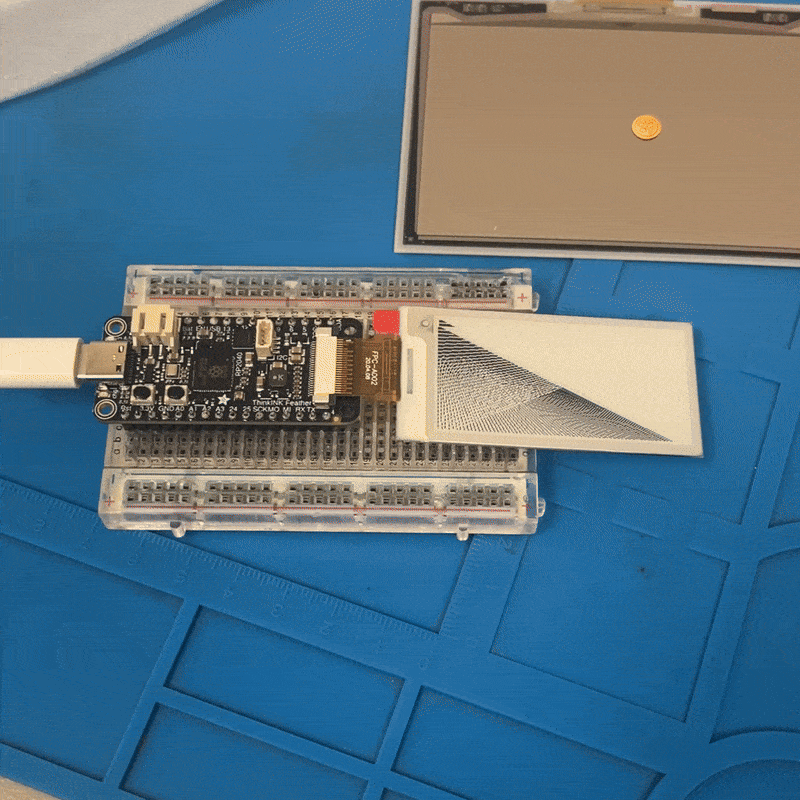
Small E-Paper & ThinkInk
At this point I had done some research and was really finding it hard to find a good sized screen (something on the order of like 3” or 4”). I scrolled through the Adafruit site until I came across the E-paper displays (EPDs). They have an interesting look to them, like they’re from the future but they’re not? Like they were thought up by someone living in the past imagining what future screens might look like.
EPDs are commonly used in E-Readers because they reflect ambient light and can be looked at outdoors without the image fading. They use a lot less power than traditional displays because they don’t need additional energy to emit their own light. Also the way the screen refreshes the image has an interesting, gradual fade effect. I found watching this video very informative.
So, I found this Feather board from Adafruit for running EPDs and was convinced that I could replicate the setup with a large and colorful E-paper display. It also seemed promising that the microcontroller was an RP2040, those are what people use to play videos, right?! Adafruit, as we know, has amazing documentation, so getting a small EPD running was no problemo.
CONS:
Screen small
Black and white
Software support to draw images?
Refresh rate
PROS:
Refresh effect is cool
No glare
Feel
Big E-Paper
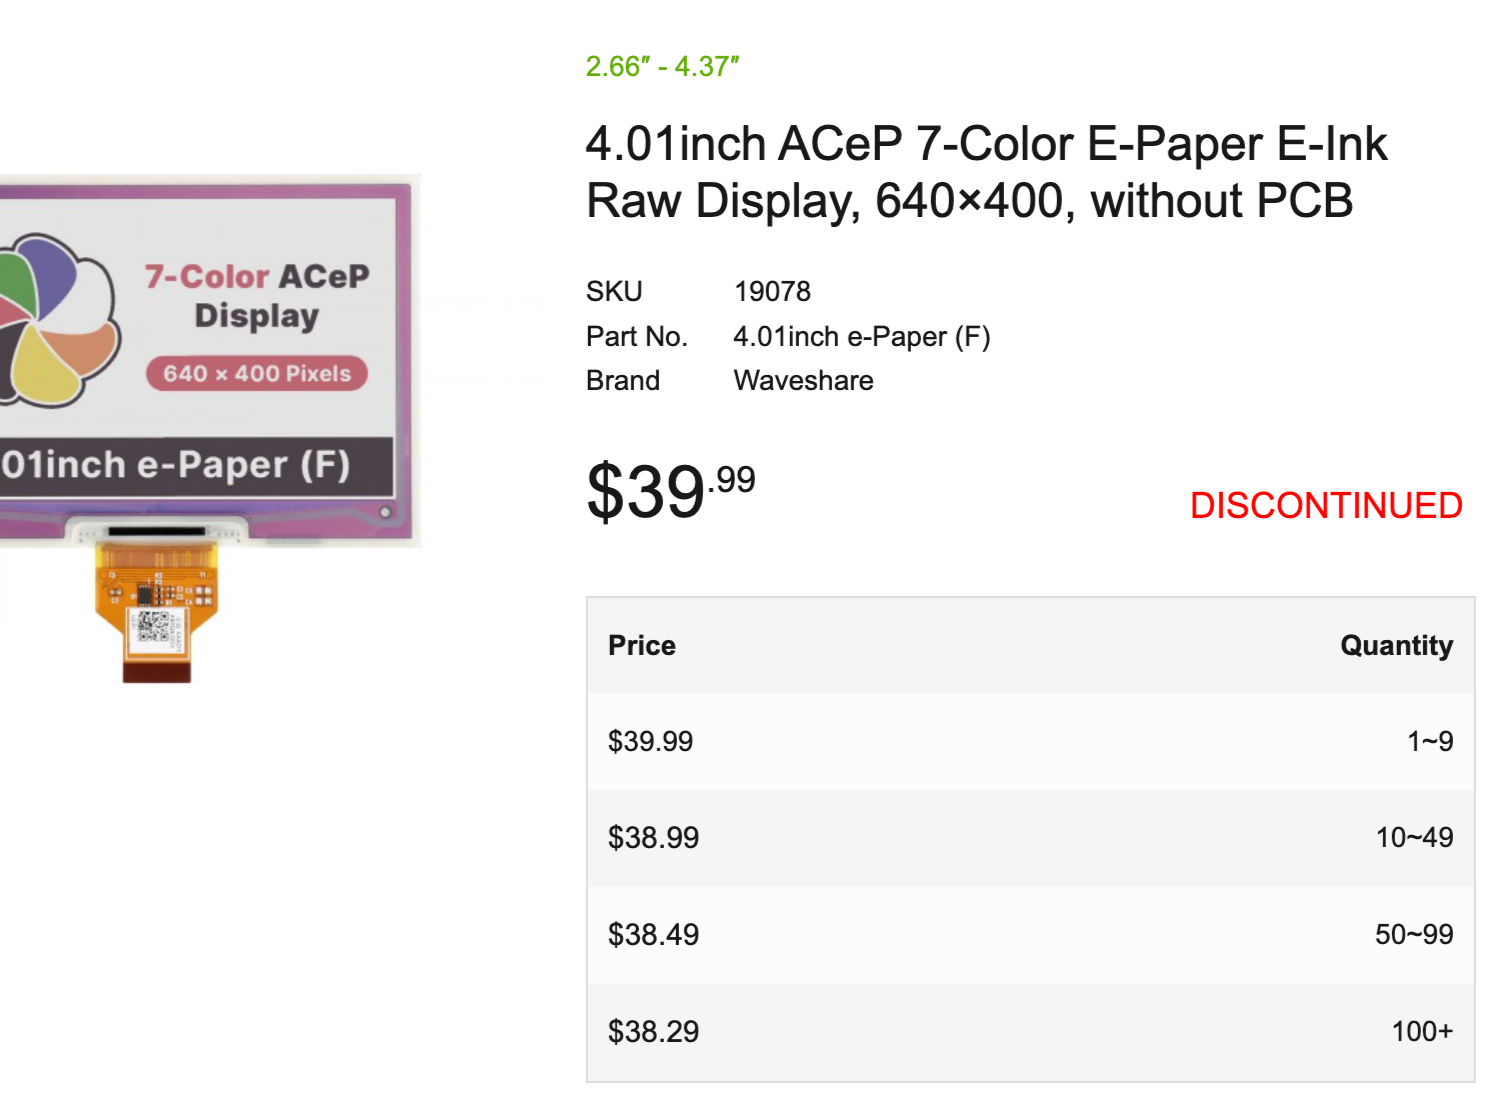
Okay, this is where things start going downhill. I wanted to get a big EPD with color working just like what’s on this Adafruit product page. Upon some research I decided that must be a 7 color ACeP (advanced color E-paper technology) display and Adafruit’s EPD Arduino library already had an example for 7 color ACeP’s. The first red flag should’ve gone up when I couldn’t find one of these displays to buy on Adafruit’s site. I ended up getting the last large 7 color display from a seller on Amazon. This should’ve been red flag #2.
Once I got my color screen, it didn’t work with the Arduino library. I asked on the Adafruit forum and the response was that the library doesn’t actually support these 7 color displays anymore and that I should look to the display manufacturer’s documentation. This was also a Waveshare display and found that this product had been discontinued!! So it became apparent that this wouldn’t work either…
What I hadn’t understood up until this point was how slllllllloooooooooowwwwww the refresh rate actually was, especially for so many colors. The physics is really complex and some reviews said it could take minutes to clear the screen. This was not going to work for a video sculpture.
CONS:
Bad
PROS:
????
Finally, TFT Screen
Okay, once again scouring the Adafruit site, I found this: Qualia ESP32-S3 for TTL RGB-666 Displays. This was destined to work because I also found this great tutorial for setting up a video player and the supported screens were of a good size. I bought myself the Qualia board and this square screen and got to building.
TFT stands for thin film transistor technology where each pixel is controlled by a transistor. I found it really easy to get started with these and got examples working quickly. The screen was really good quality and the system was responsive.
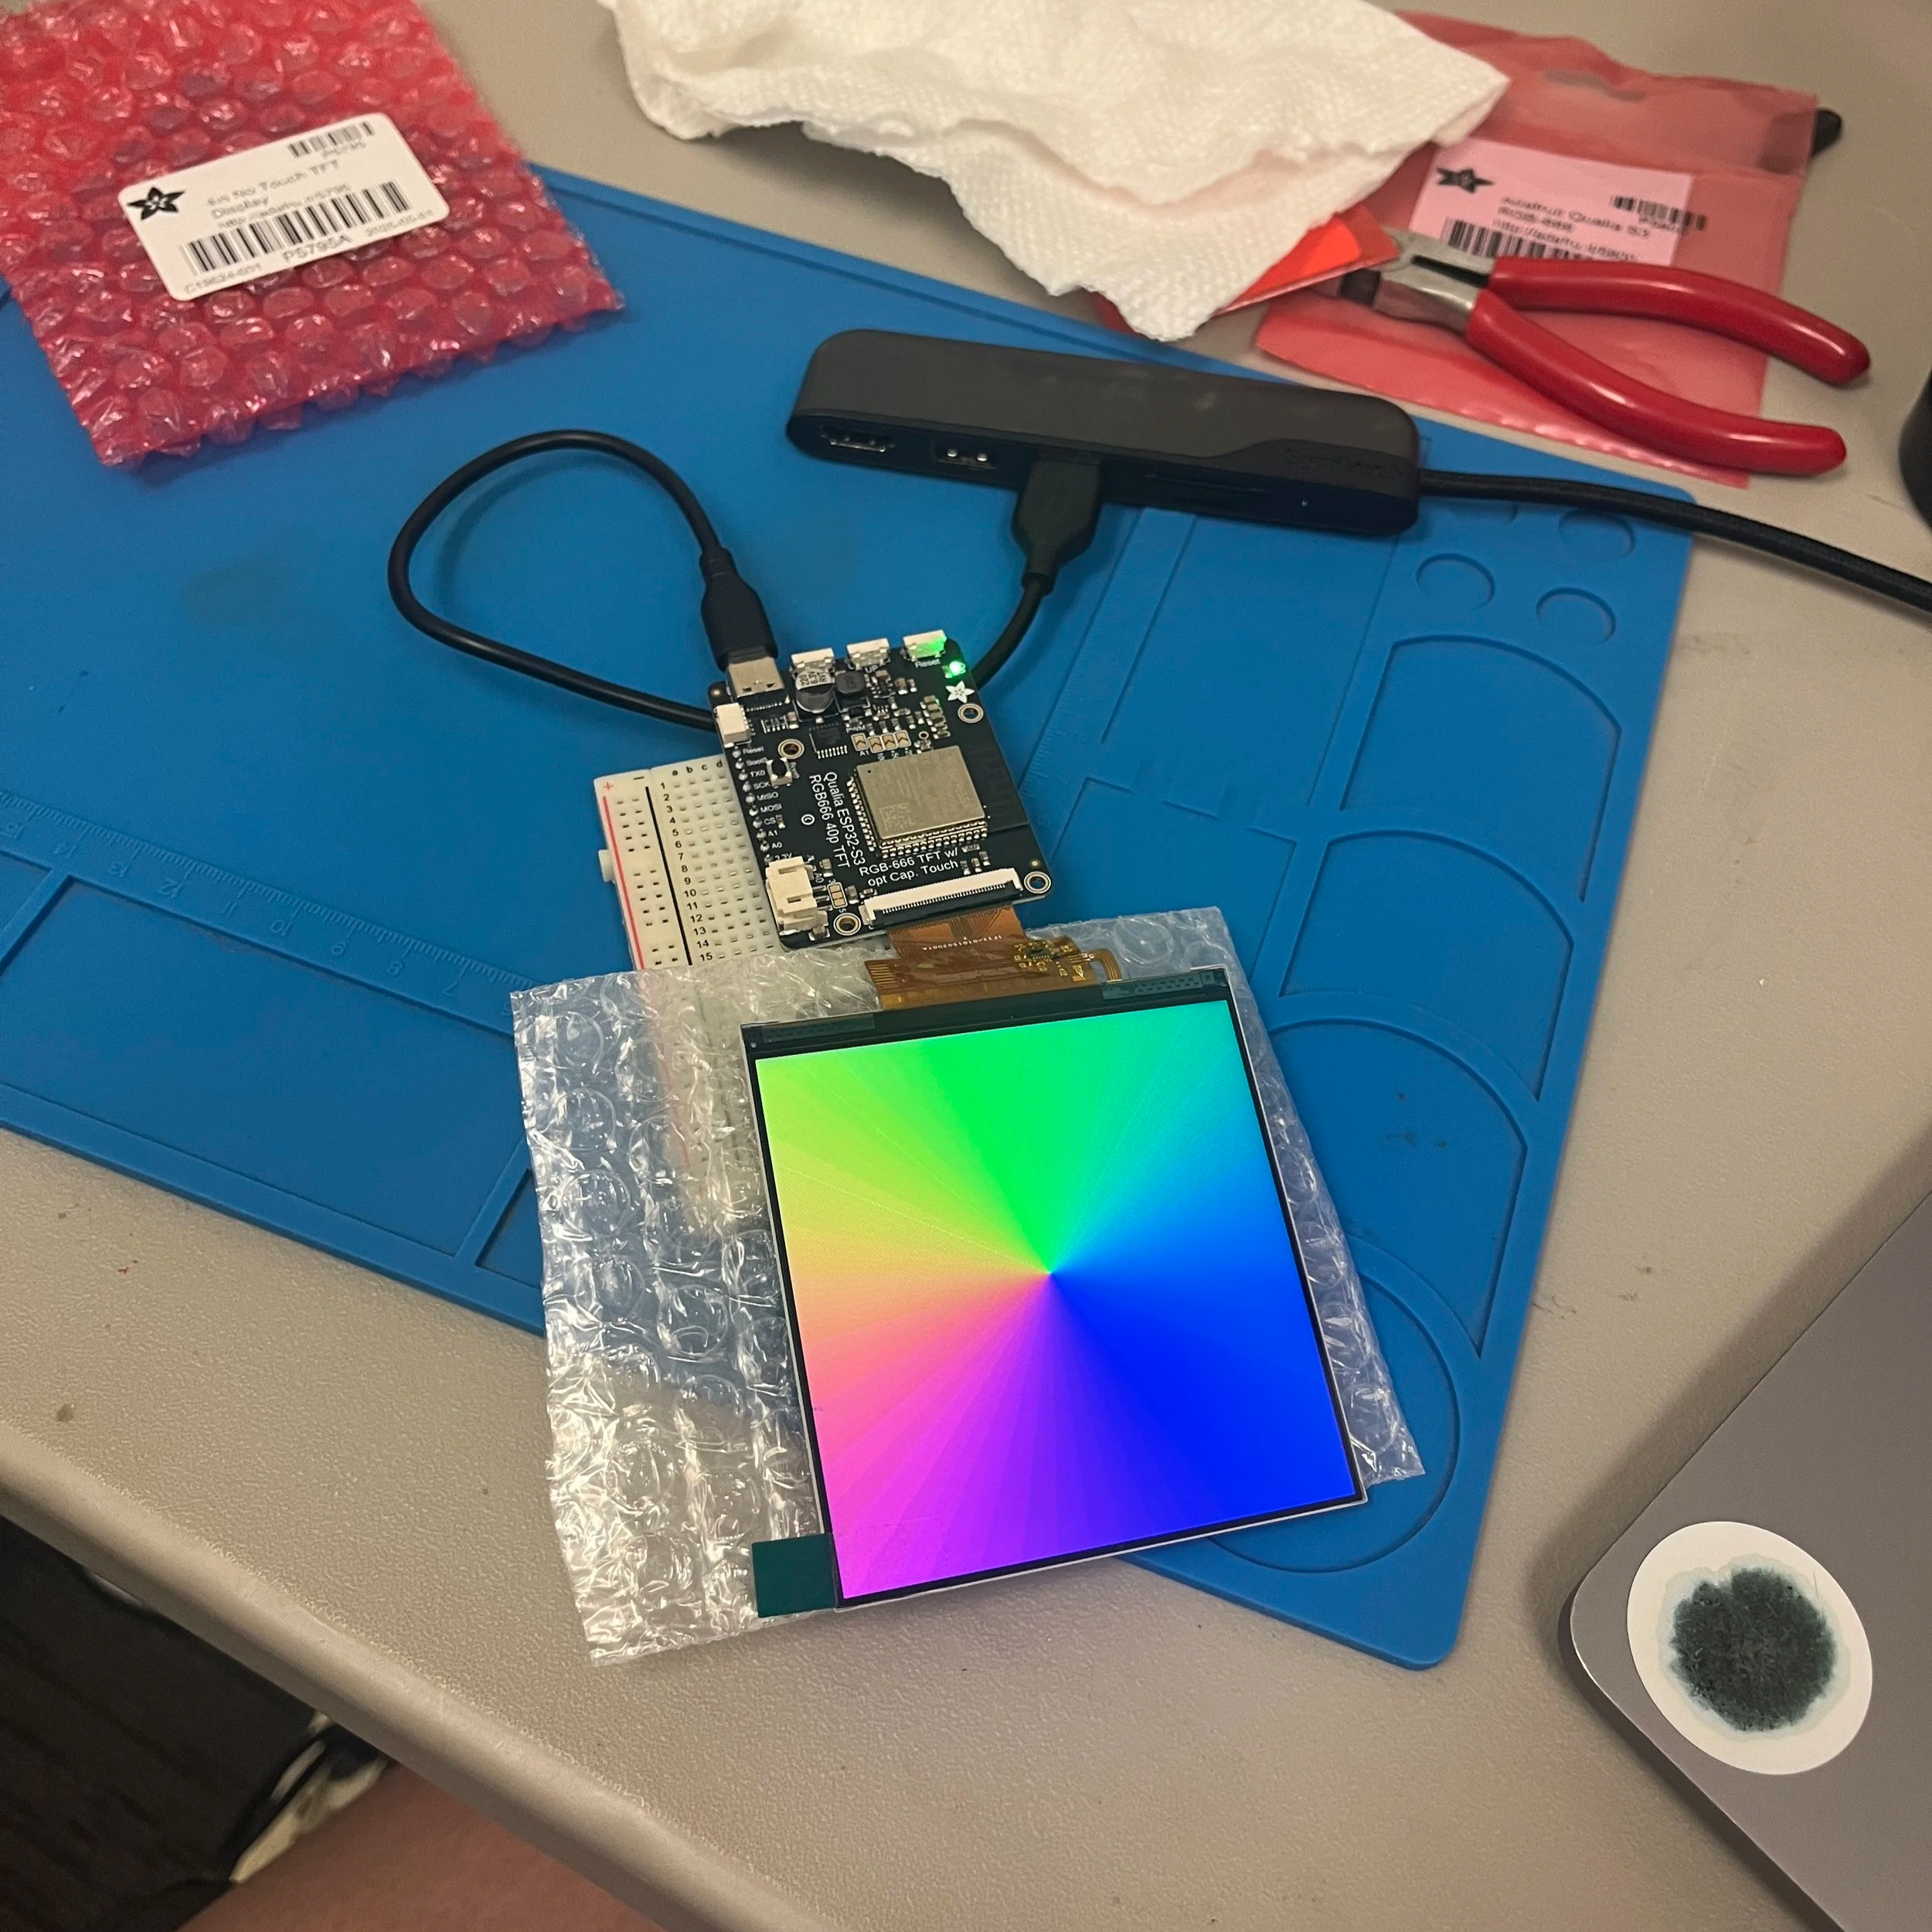
Rainbow example
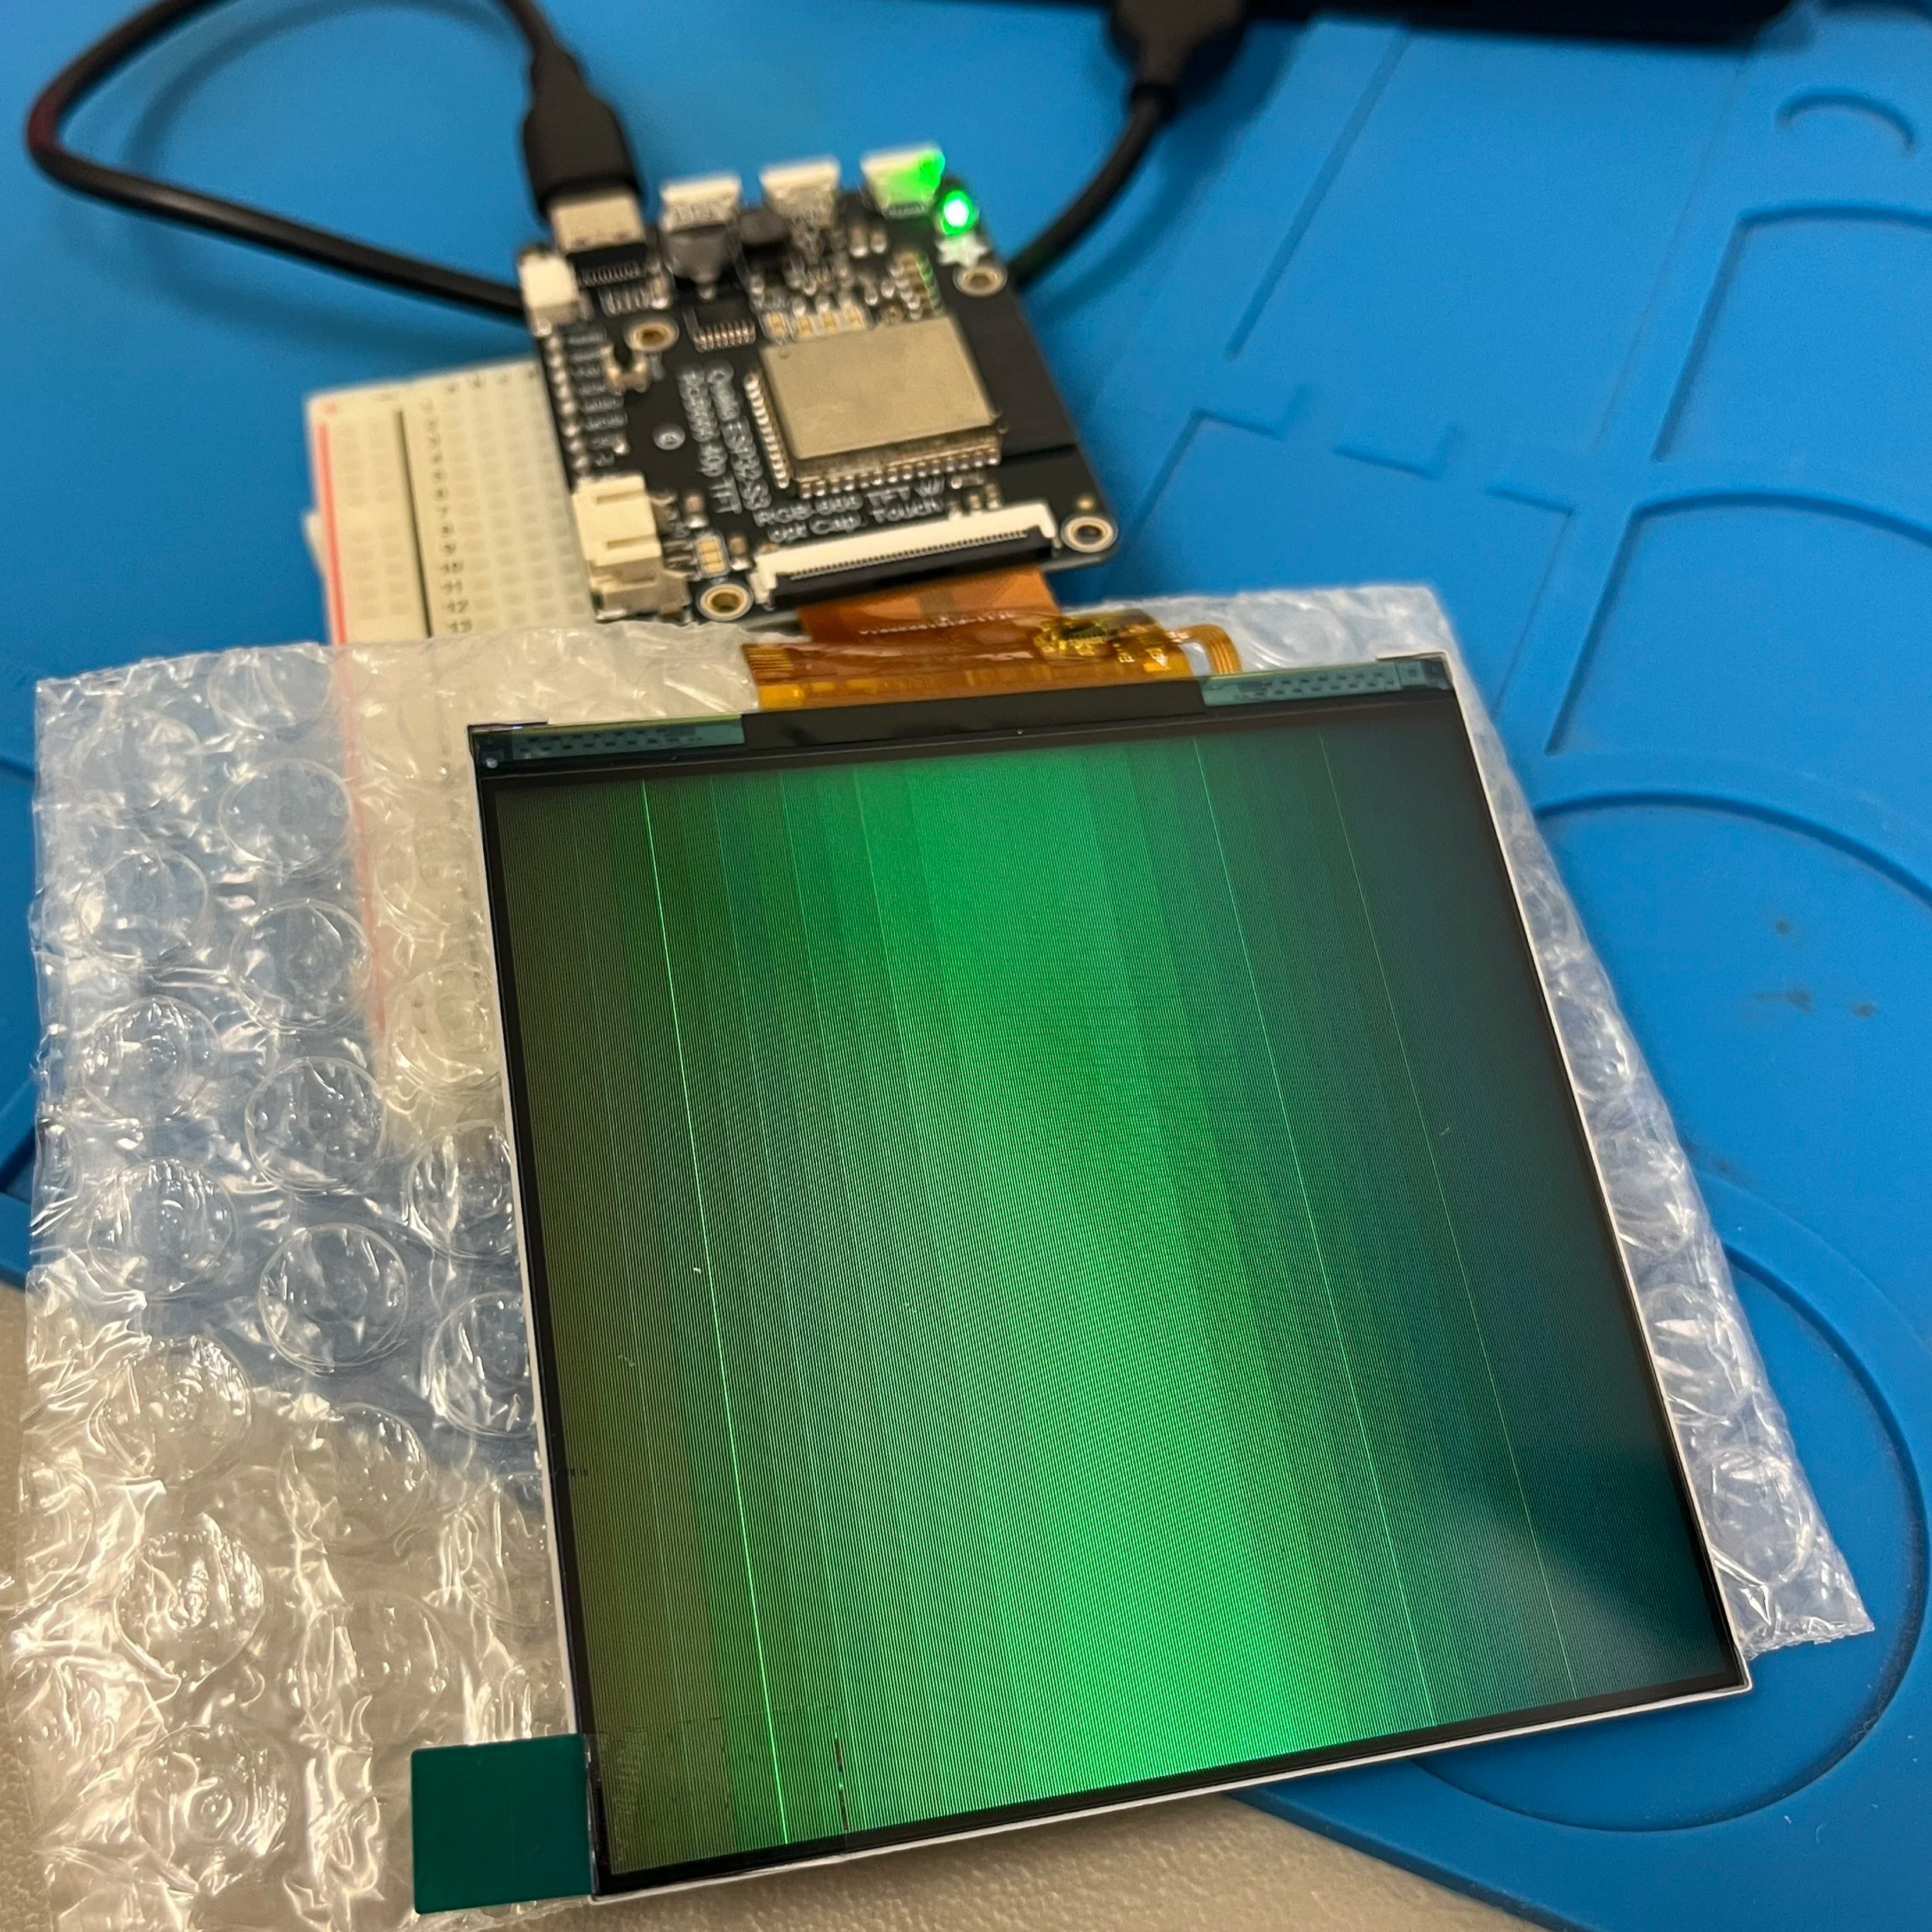
Some beautiful screen weirdness
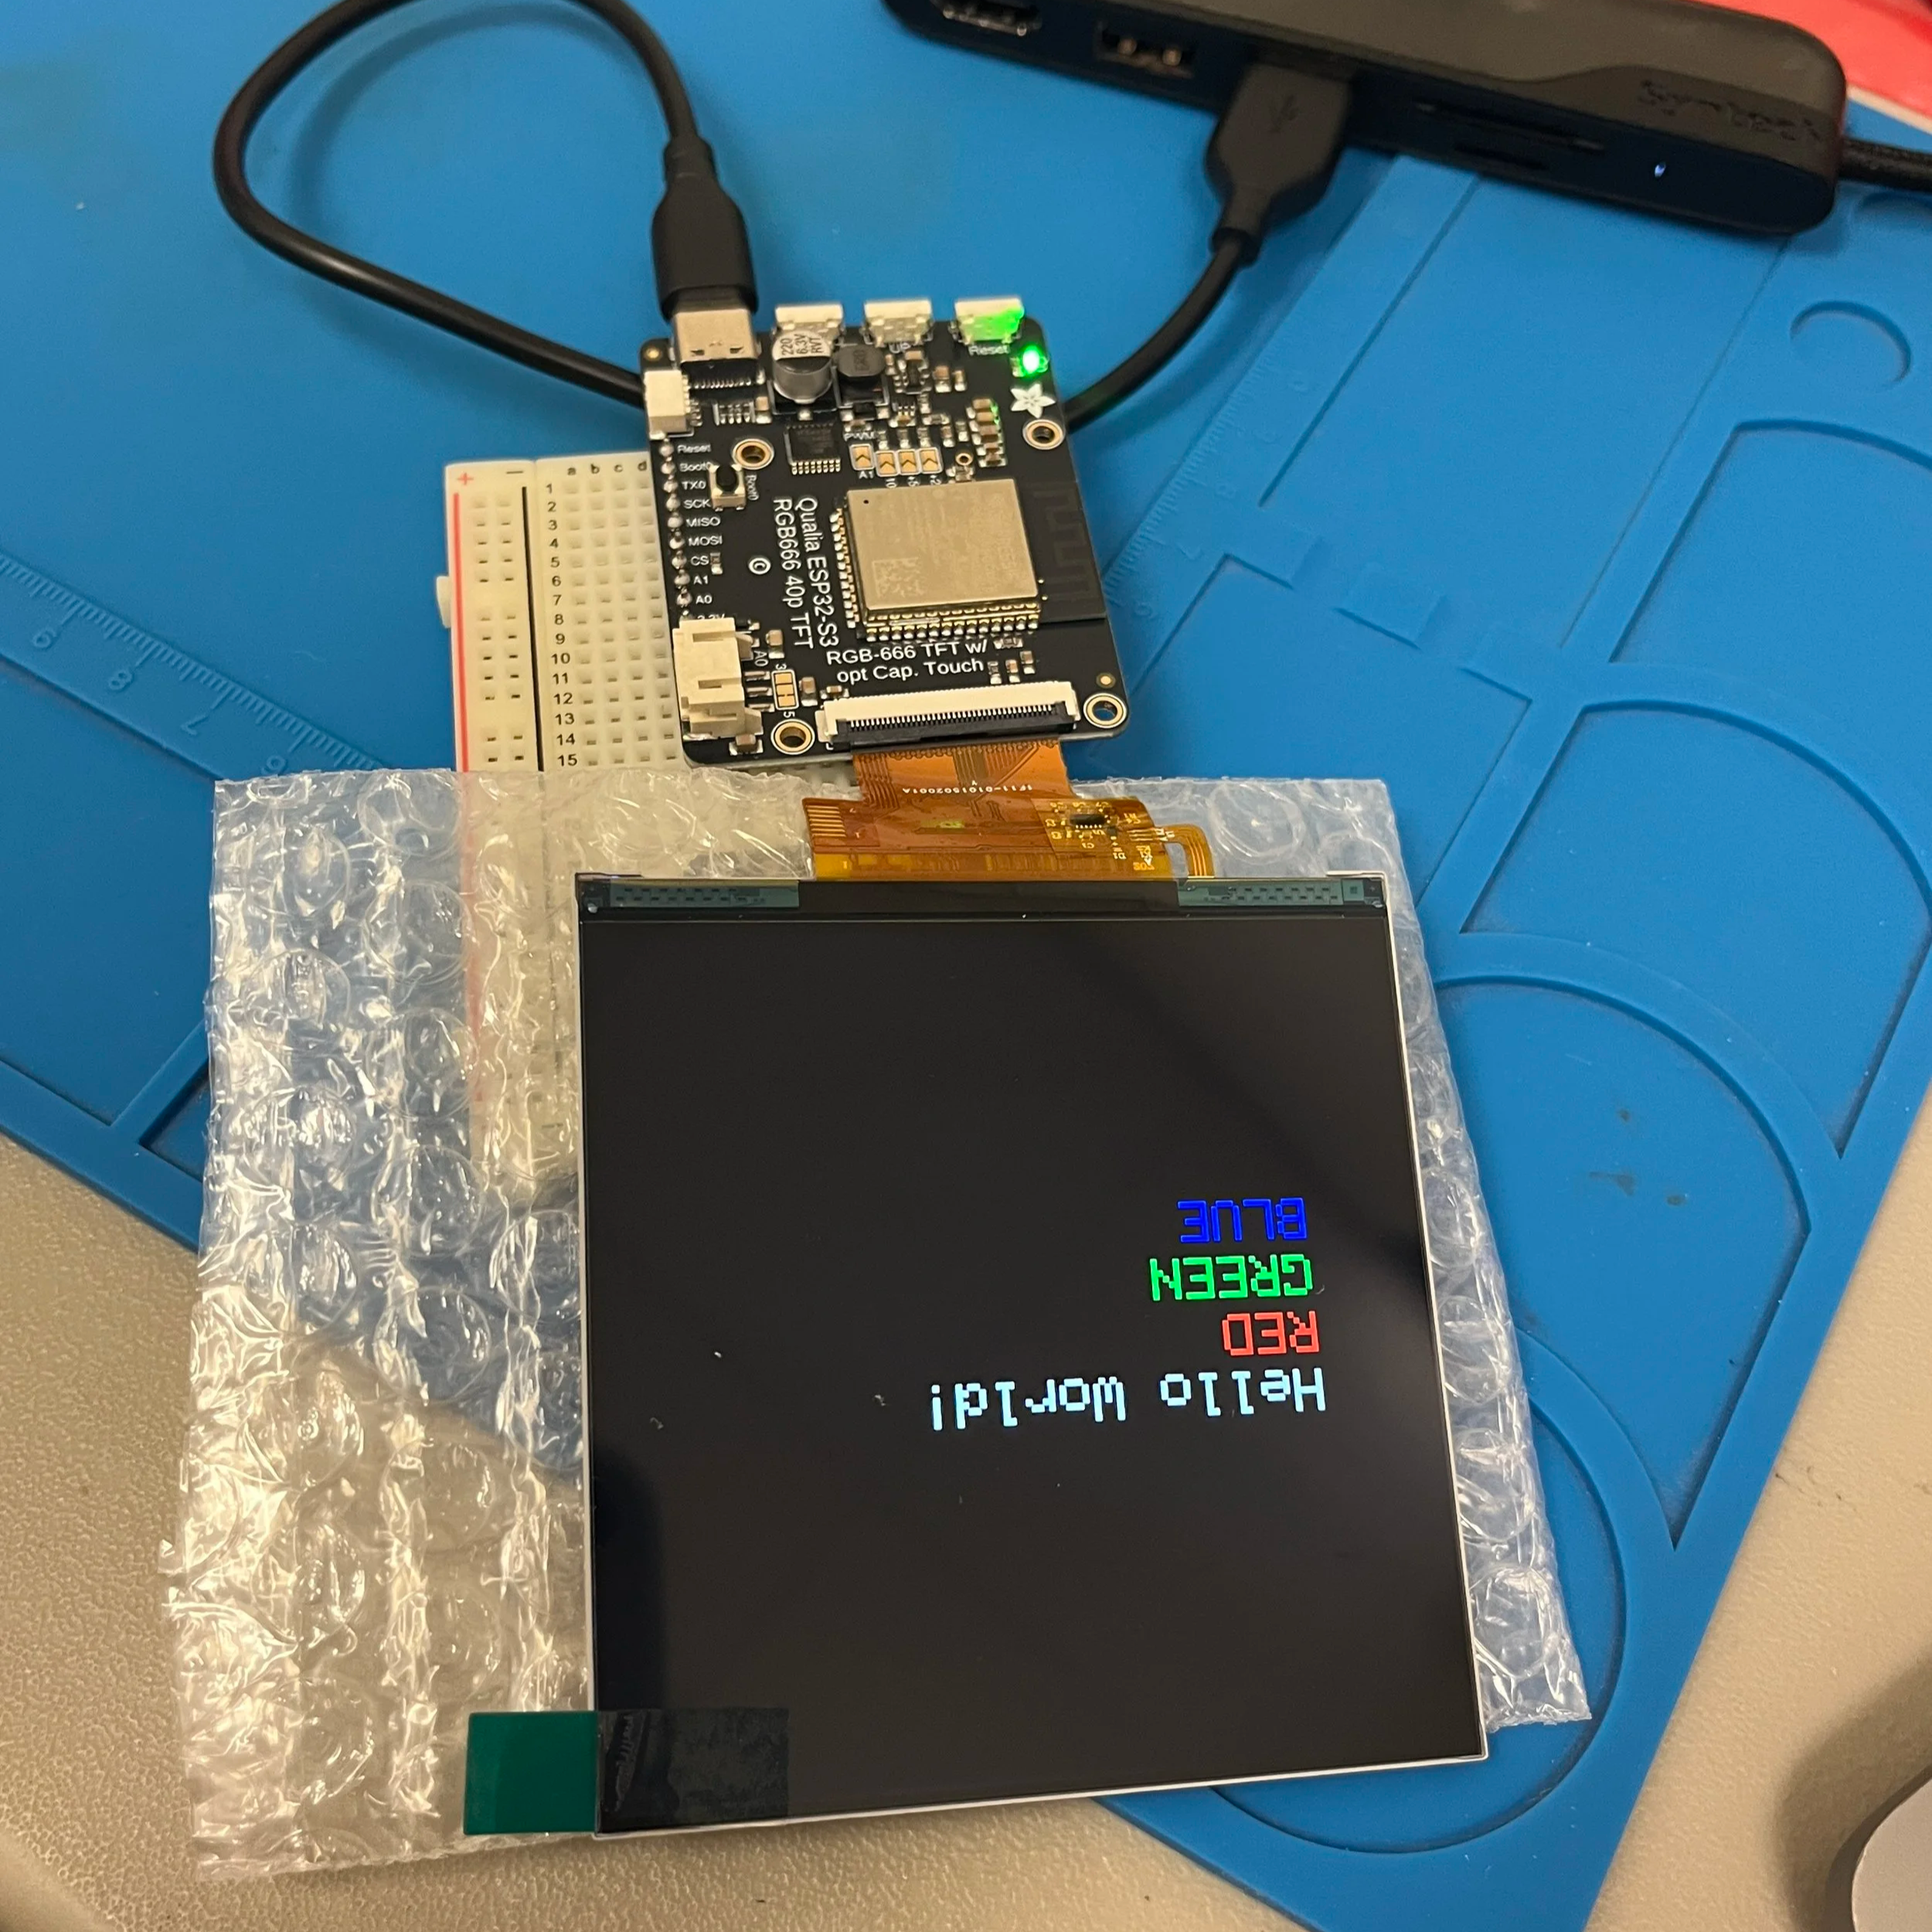
Hello world example
From the tutorial
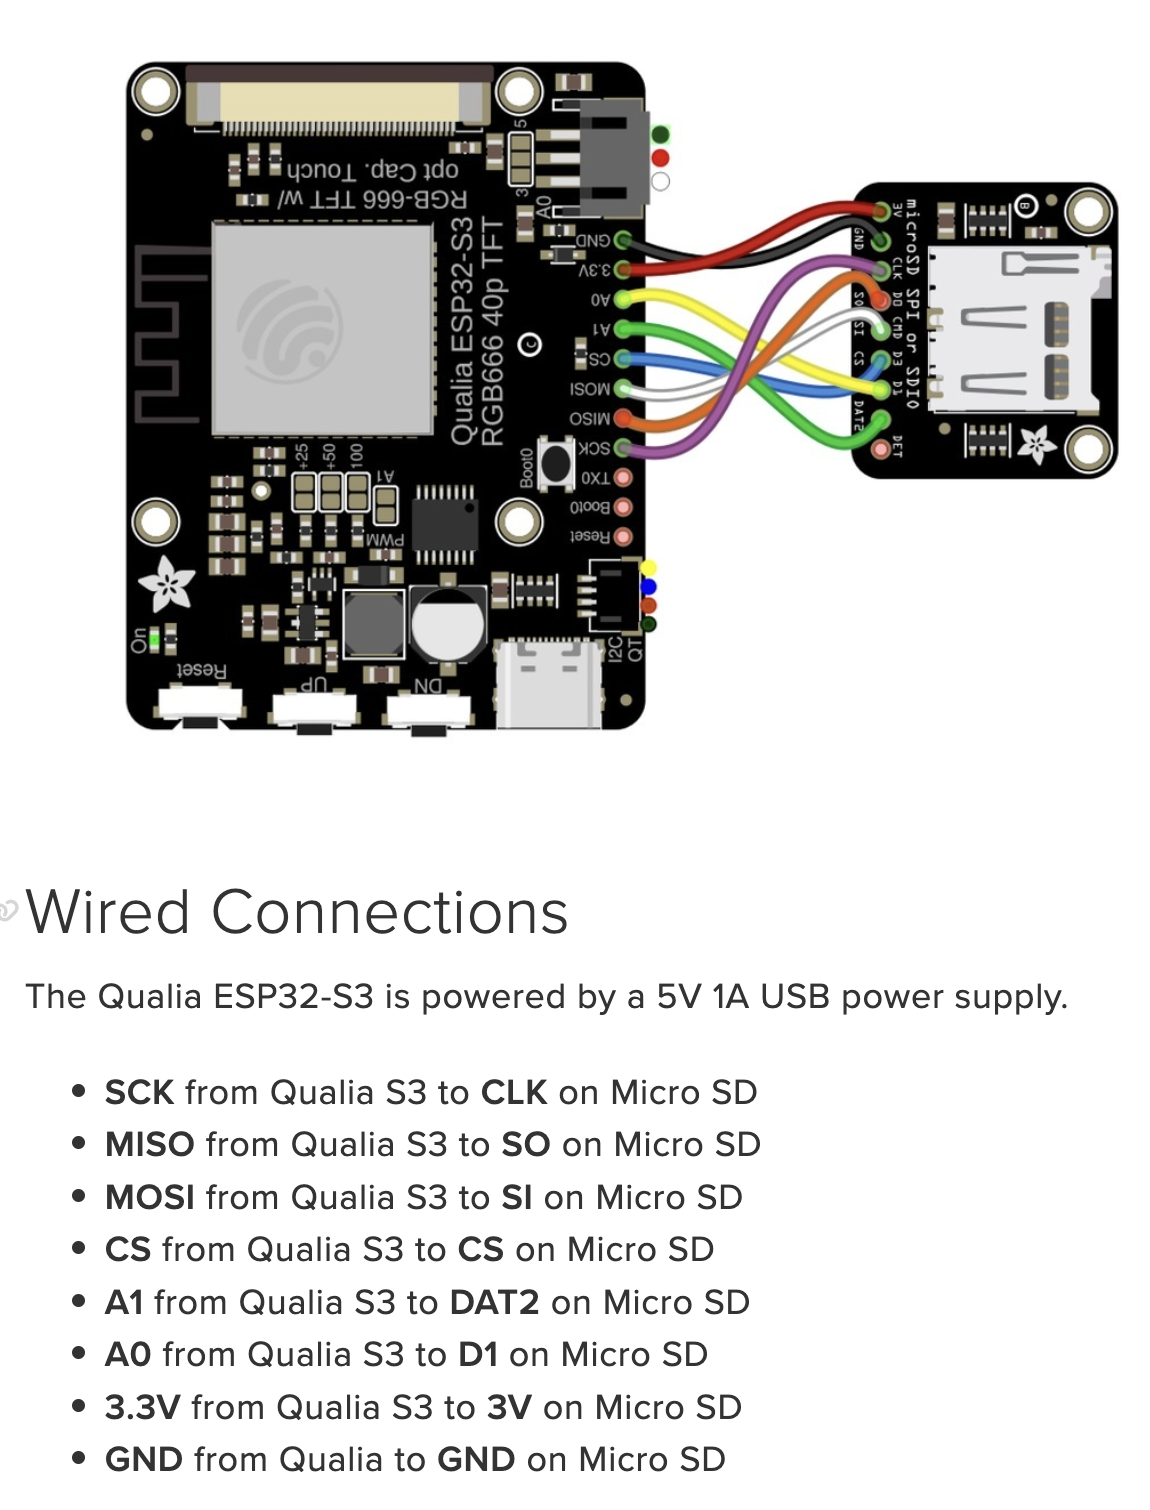
I then shifted to the video player tutorial. I added the micro SD card reader into my circuit and followed the instructions about converting video files. For this tutorial, they leverage a third-party library to deal with JPEGs on the ESP32. I had to work with my videos in the MJPEG format (not MPEG!). I don’t have a ton of experience working with video but I had never heard of this type of video file before. It stands for “Motion JPEG” and is essentially just a sequence of JPEG images.
I ran into a bit of an issue trying to get my MJPEG videos to play at first. The code looks through the items on the SD card and tries to find files that have “.mjpeg” in the file name and then play those. Through some handy debug statements (and shout out to the Adafruit forums) I learned that the Arduino code was trying to play a dot file. Dot files are configuration files that my MacBook automatically creates and each time I added a new video file to my SD card, Spotlight created an invisible dot file too. I was able to get rid of these dot files and video playing with a combination of reformatting the SD and running this command: “sudo mdutil -i off /Volumes/[sdcard name]”
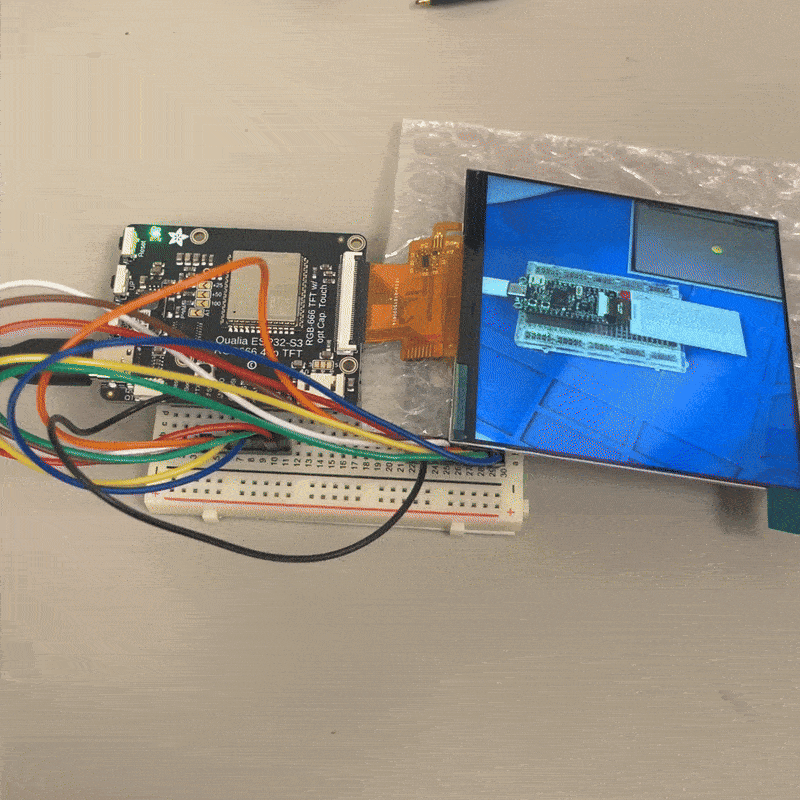
Screen within a screen!
Slowness is not from the gif but the size of the video playing on the screen
PROS:
Looks good, good size
Relatively quick refresh rate, videos still a lil bit laggy
Small form-factor, simple design
CONS:
With the added SD card reader, no left over pins for anything else
Can’t make it wireless (battery operated)

Soldered proto board!
Material
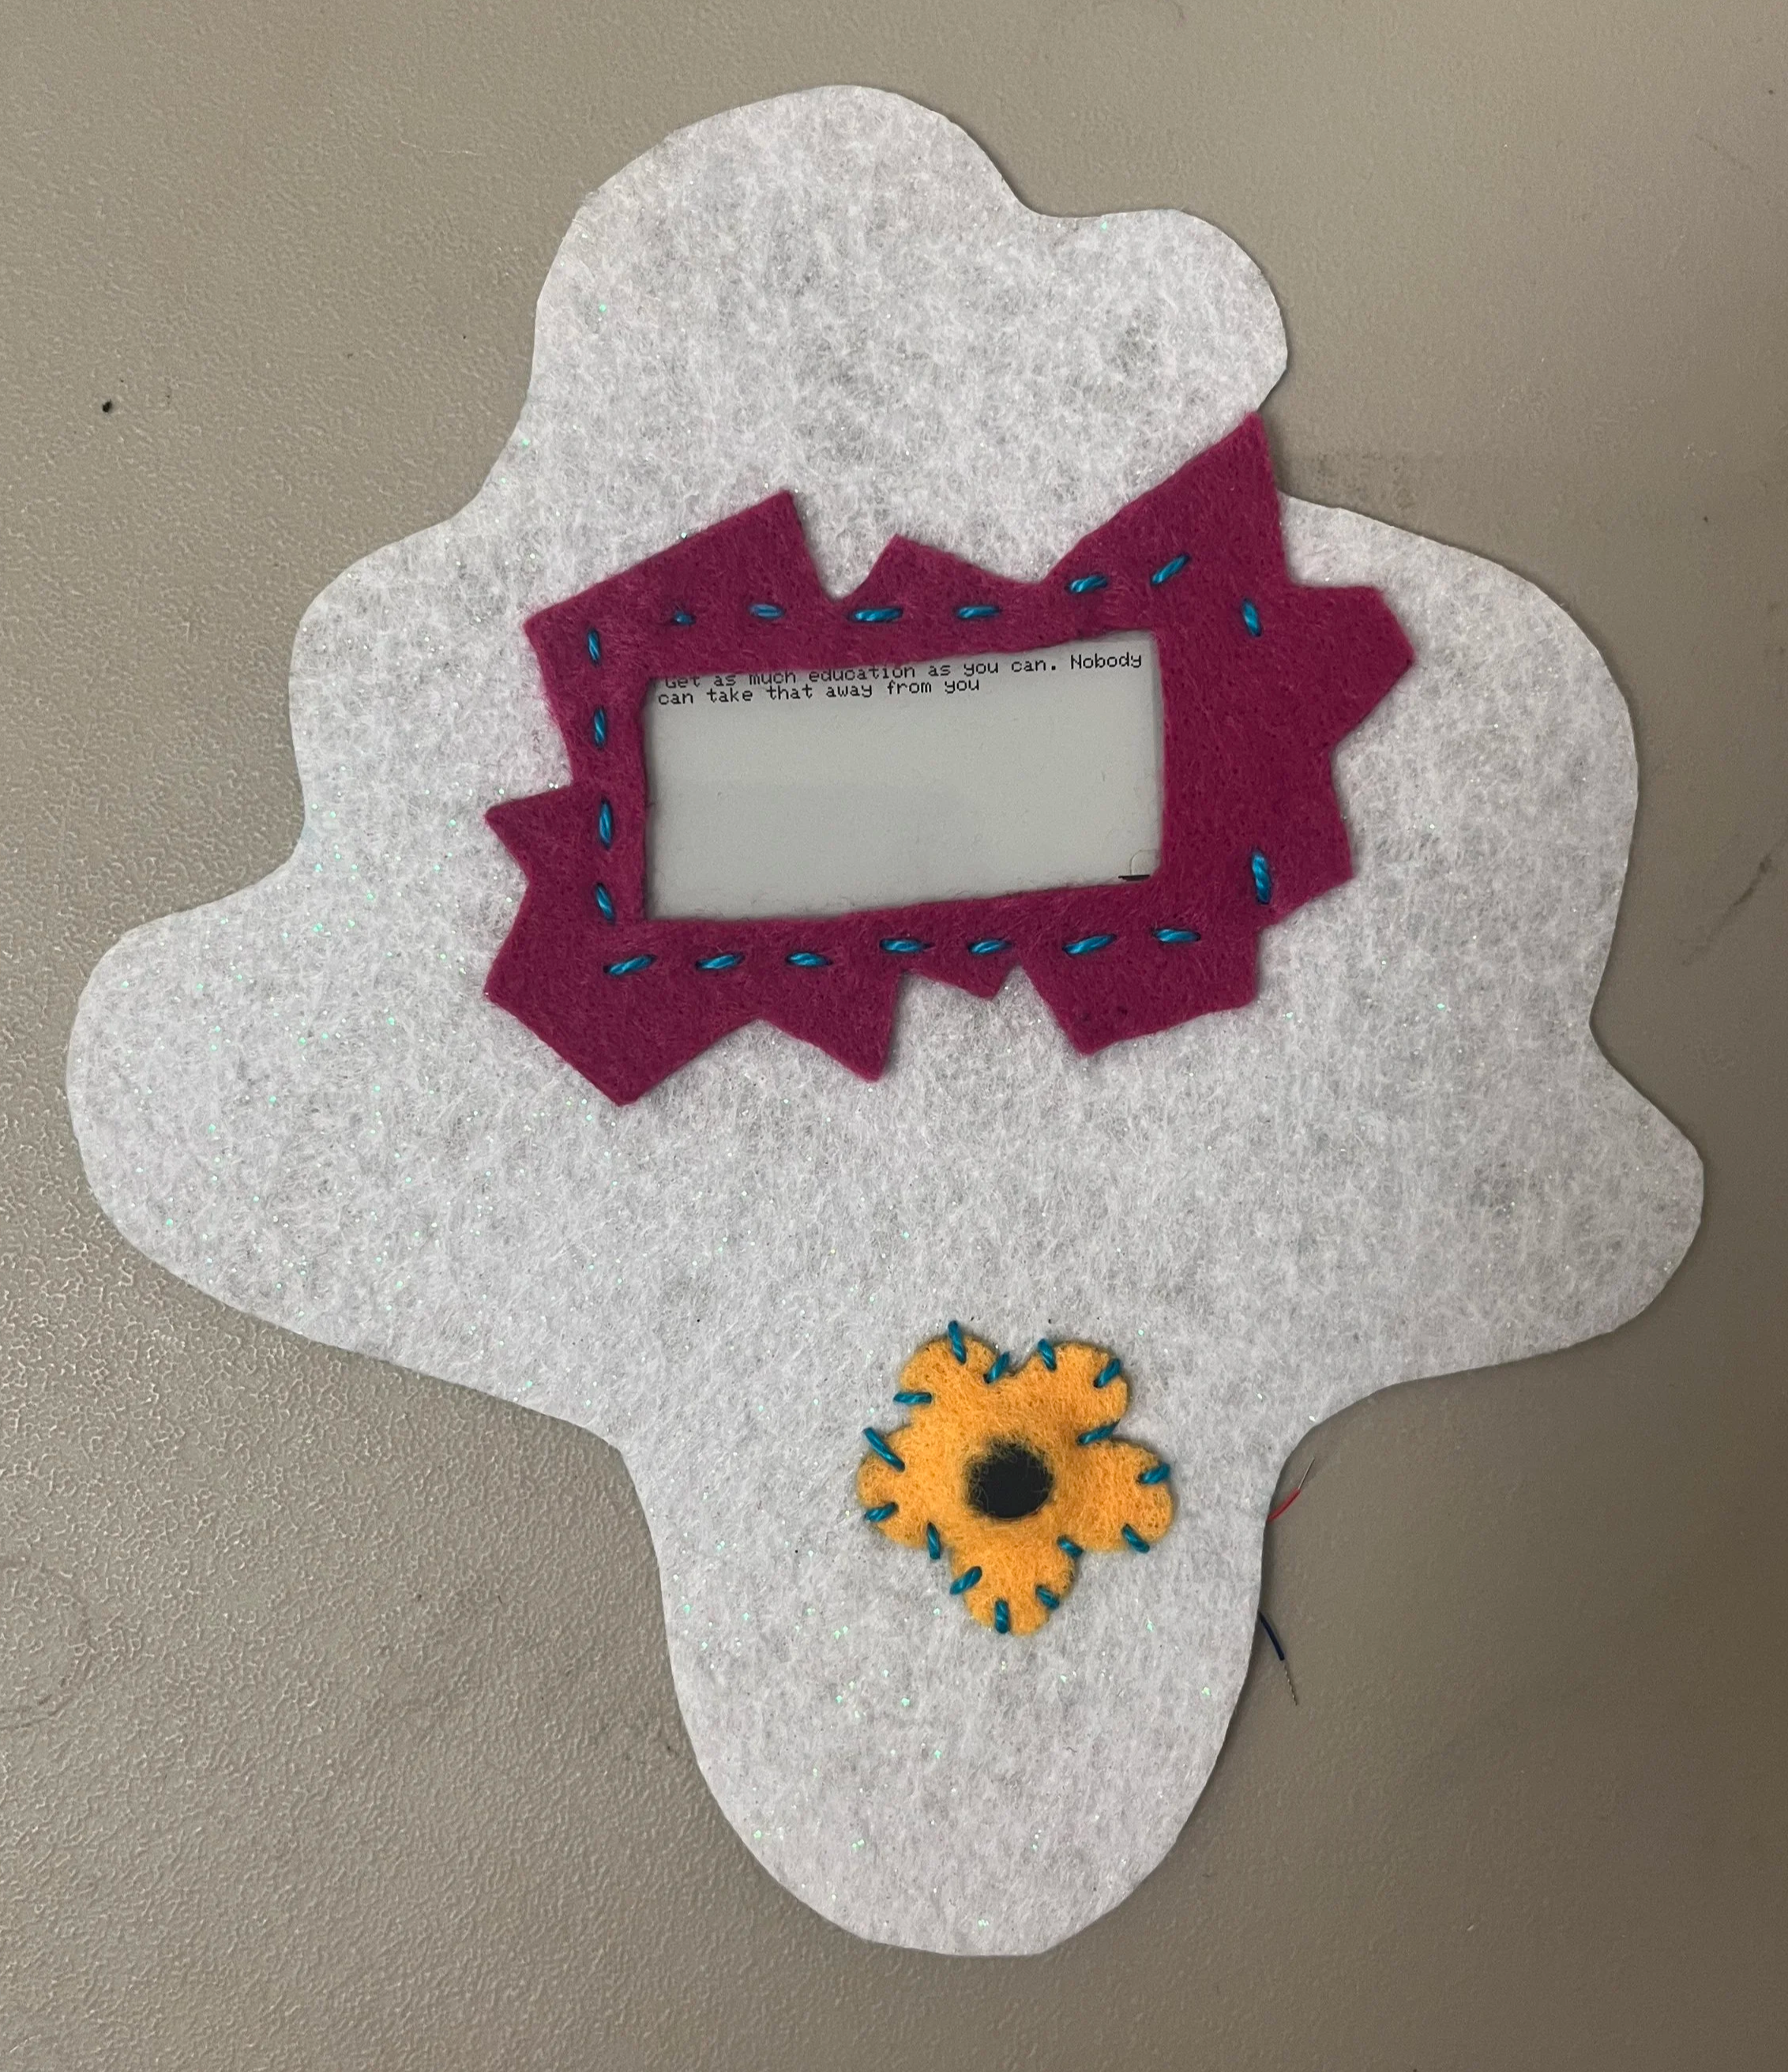
Now that I had a reliable video player I could focus on the form. I made a quick prototype in felt, sewing an EPD and a vibe motor onto a simple, speculative interface. I also tried out a button enclosure on some bioplastic scrap I had laying around.

I cooked two large sheets of my standard recipe agar agar bioplastic. The recipe is as follows:
Spatula
Pot
Baking tray
Kitchen scale
Spoons
1200mL of distilled water
40g of agar agar powder
81g of vegetable glycerin
2 capfuls of white vinegar
Isopropyl alcohol

Make sure that all equipment is clean and dried. Disinfect the baking tray using a paper towel and some isopropyl alcohol.
Pour water, vegetable glycerin, and vinegar into the pot. Use the spatula to stir gently and combine all ingredients.
Measure out the agar agar powder into some container.
Place pot on hotplate. Turn on medium heat.
Take agar agar container in one hand, spatula in the other. Slowly sift the agar agar powder into the hot water and continue stirring, avoiding clumps. This process may take several minutes.
Continue cooking the mixture for approximately 30 minutes over medium heat. Avoid boiling and stir gently to avoid introducing air bubbles into the mixture.
When finished with cooking, pour the mixture into the baking tray. Let it sit to cool + dry for at LEAST five days.
Material texture
The material that I made ended up being beautiful but just barely working for this project. The sheets ended up much thinner and more fragile than material I’ve made in the past. Also, the more I worked with it, the stickier I feel it became. It was wet! I think this is because I’m still learning to make these bioplastics in a desert climate. The kitchen I was working in was definitely much warmer than spaces I’ve worked in in the past. Also, I’m still suspicious that different brands of agar cook and behave differently.
I feel like at this point in my material experience I should just be able to know exactly what I need to tweak to make a material thicker, or stronger, or less sticky, etc. I’ll be working on that!
Making the video … in After Effects?!

“Content aware fill” silliness
Okay, so the video content was the most daunting part of this project and I put that off all the way to the end. I went back and forth about making separate clips that the microcontroller code would play or create one great, big, beautiful composition. Once I landed on one video composition and started to think about transitions between clips, I couldn’t ignore this sinking feeling that I should use … dun dun dun Adobe After Effects (AE). I had been introduced to the software during my time at ITP but I remember just being confused and the software being hard to learn. But I went for it anyway and treated it like I do when I work with any Adobe software: just googling hyper-specific things that I need the software to do.
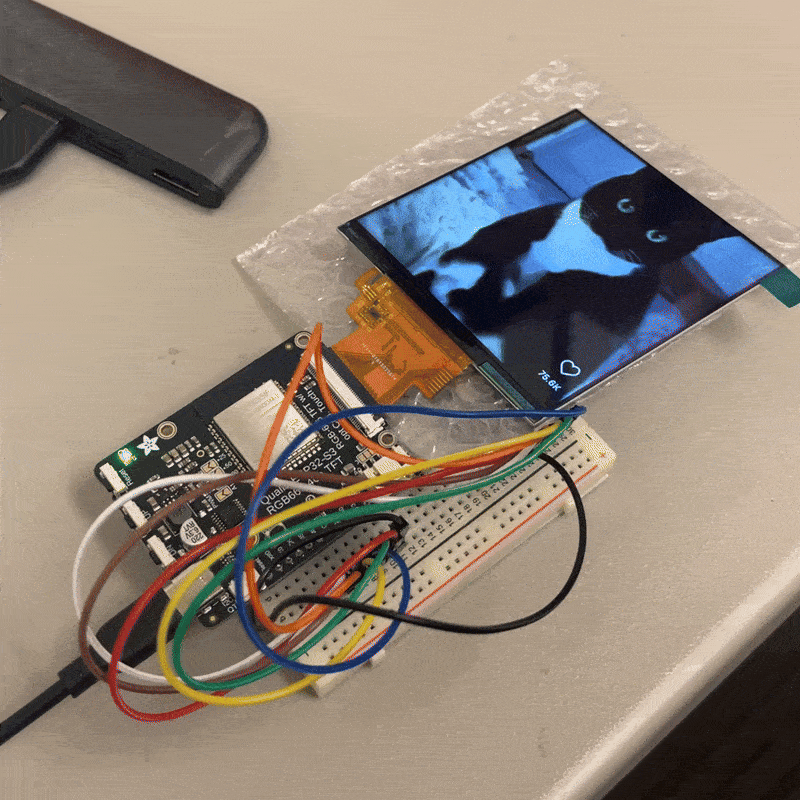
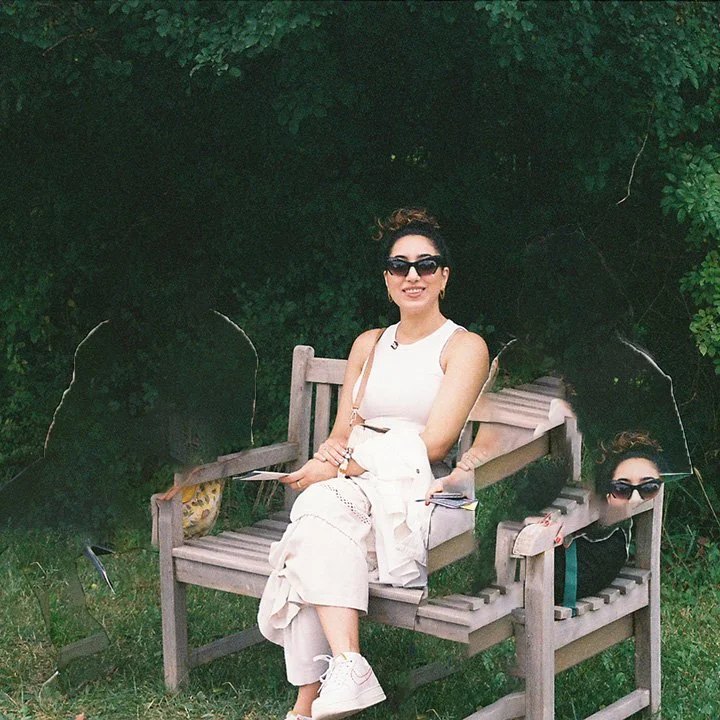
First, I started by figuring out exactly what I wanted my video to be (already a huge challenge!). I knew I wanted to include some really simple hand-drawn animations, so I made a few of those on my iPad in Procreate. I also had these film photos of my friends that I had manipulated in PhotoShop (I <3 the absurdity of content aware fill!) that I wanted to fade in and out between. And the last thing I wanted to include were some surreal AI cat videos that would scroll on through.
The process of making this video was super specific to what I wanted to make, but here are some tips and tricks I came across:
Make sure all the video clips/content have the same fps before composing
Used the “Fade out over layer below” effect in AE
I followed this tutorial to get the drawn animation to play on top of the video feed (could not get this to work with text that was black!)
Followed this tutorial to make the scroll up animation
If the video playback on the screen is laggy, re-convert to MJPEG with lower fps and video quality

Here is the final video that I animated and edited together.
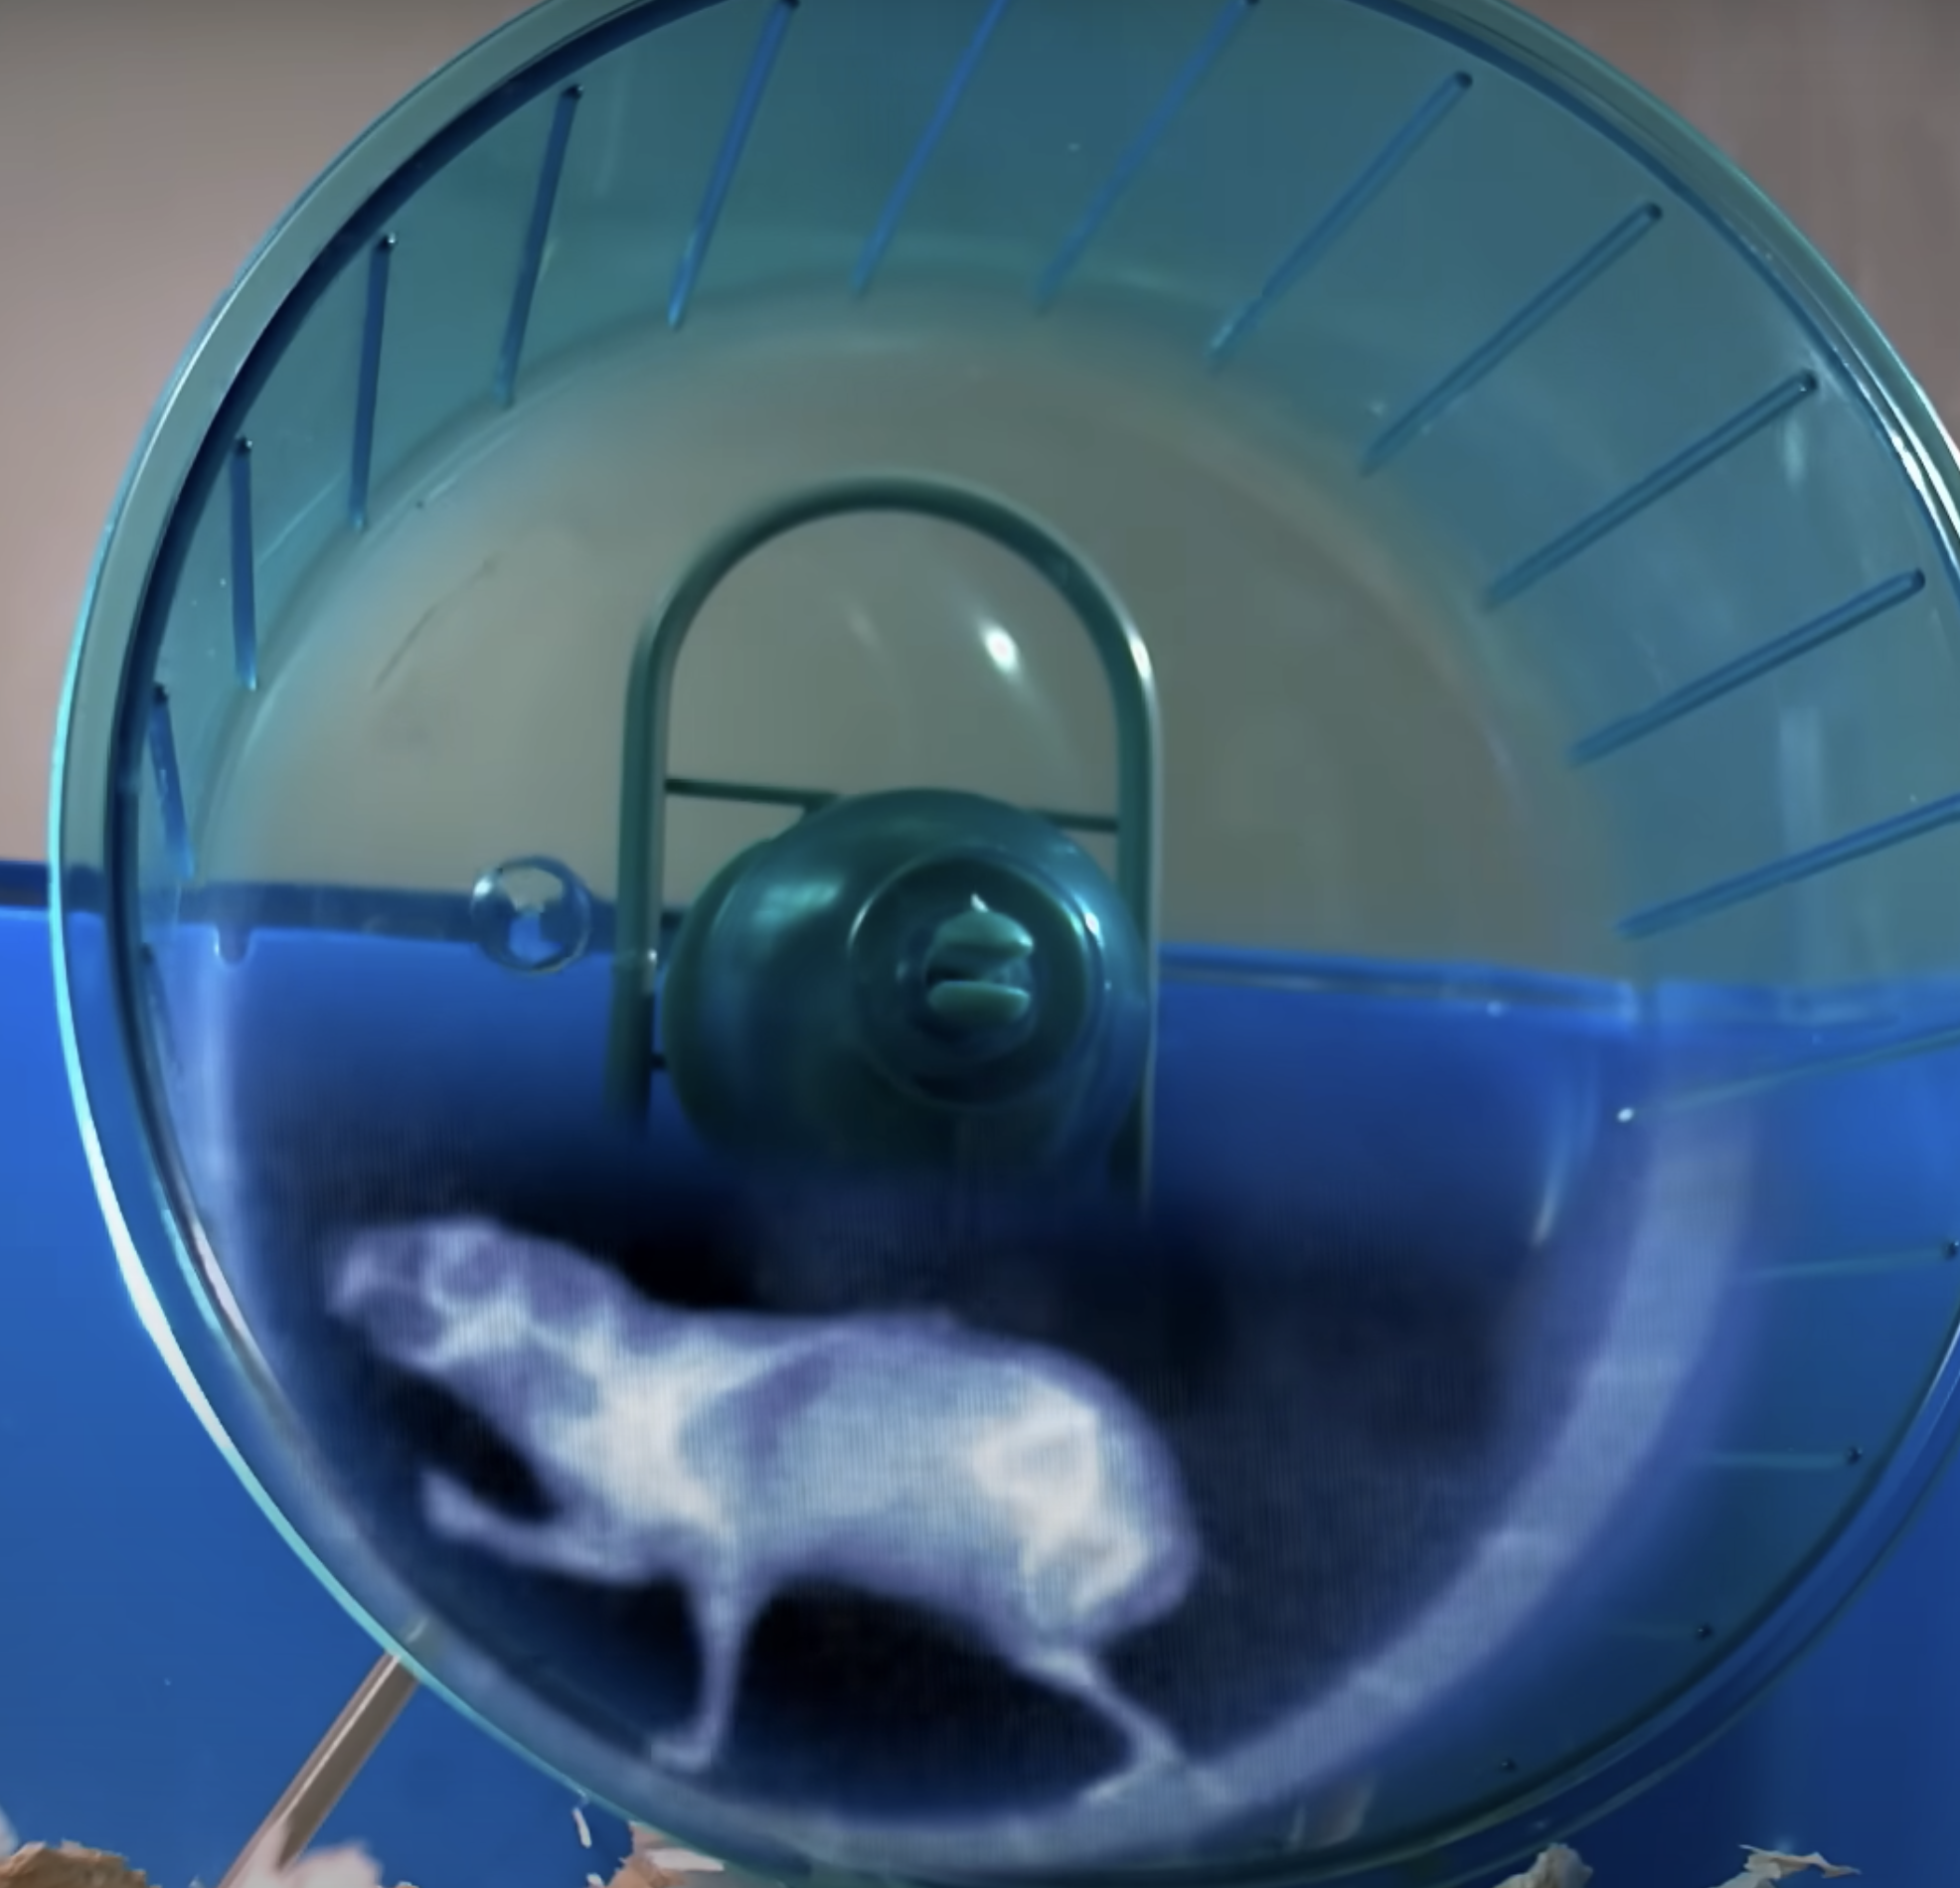
Hamster reference image
Sewing it all together
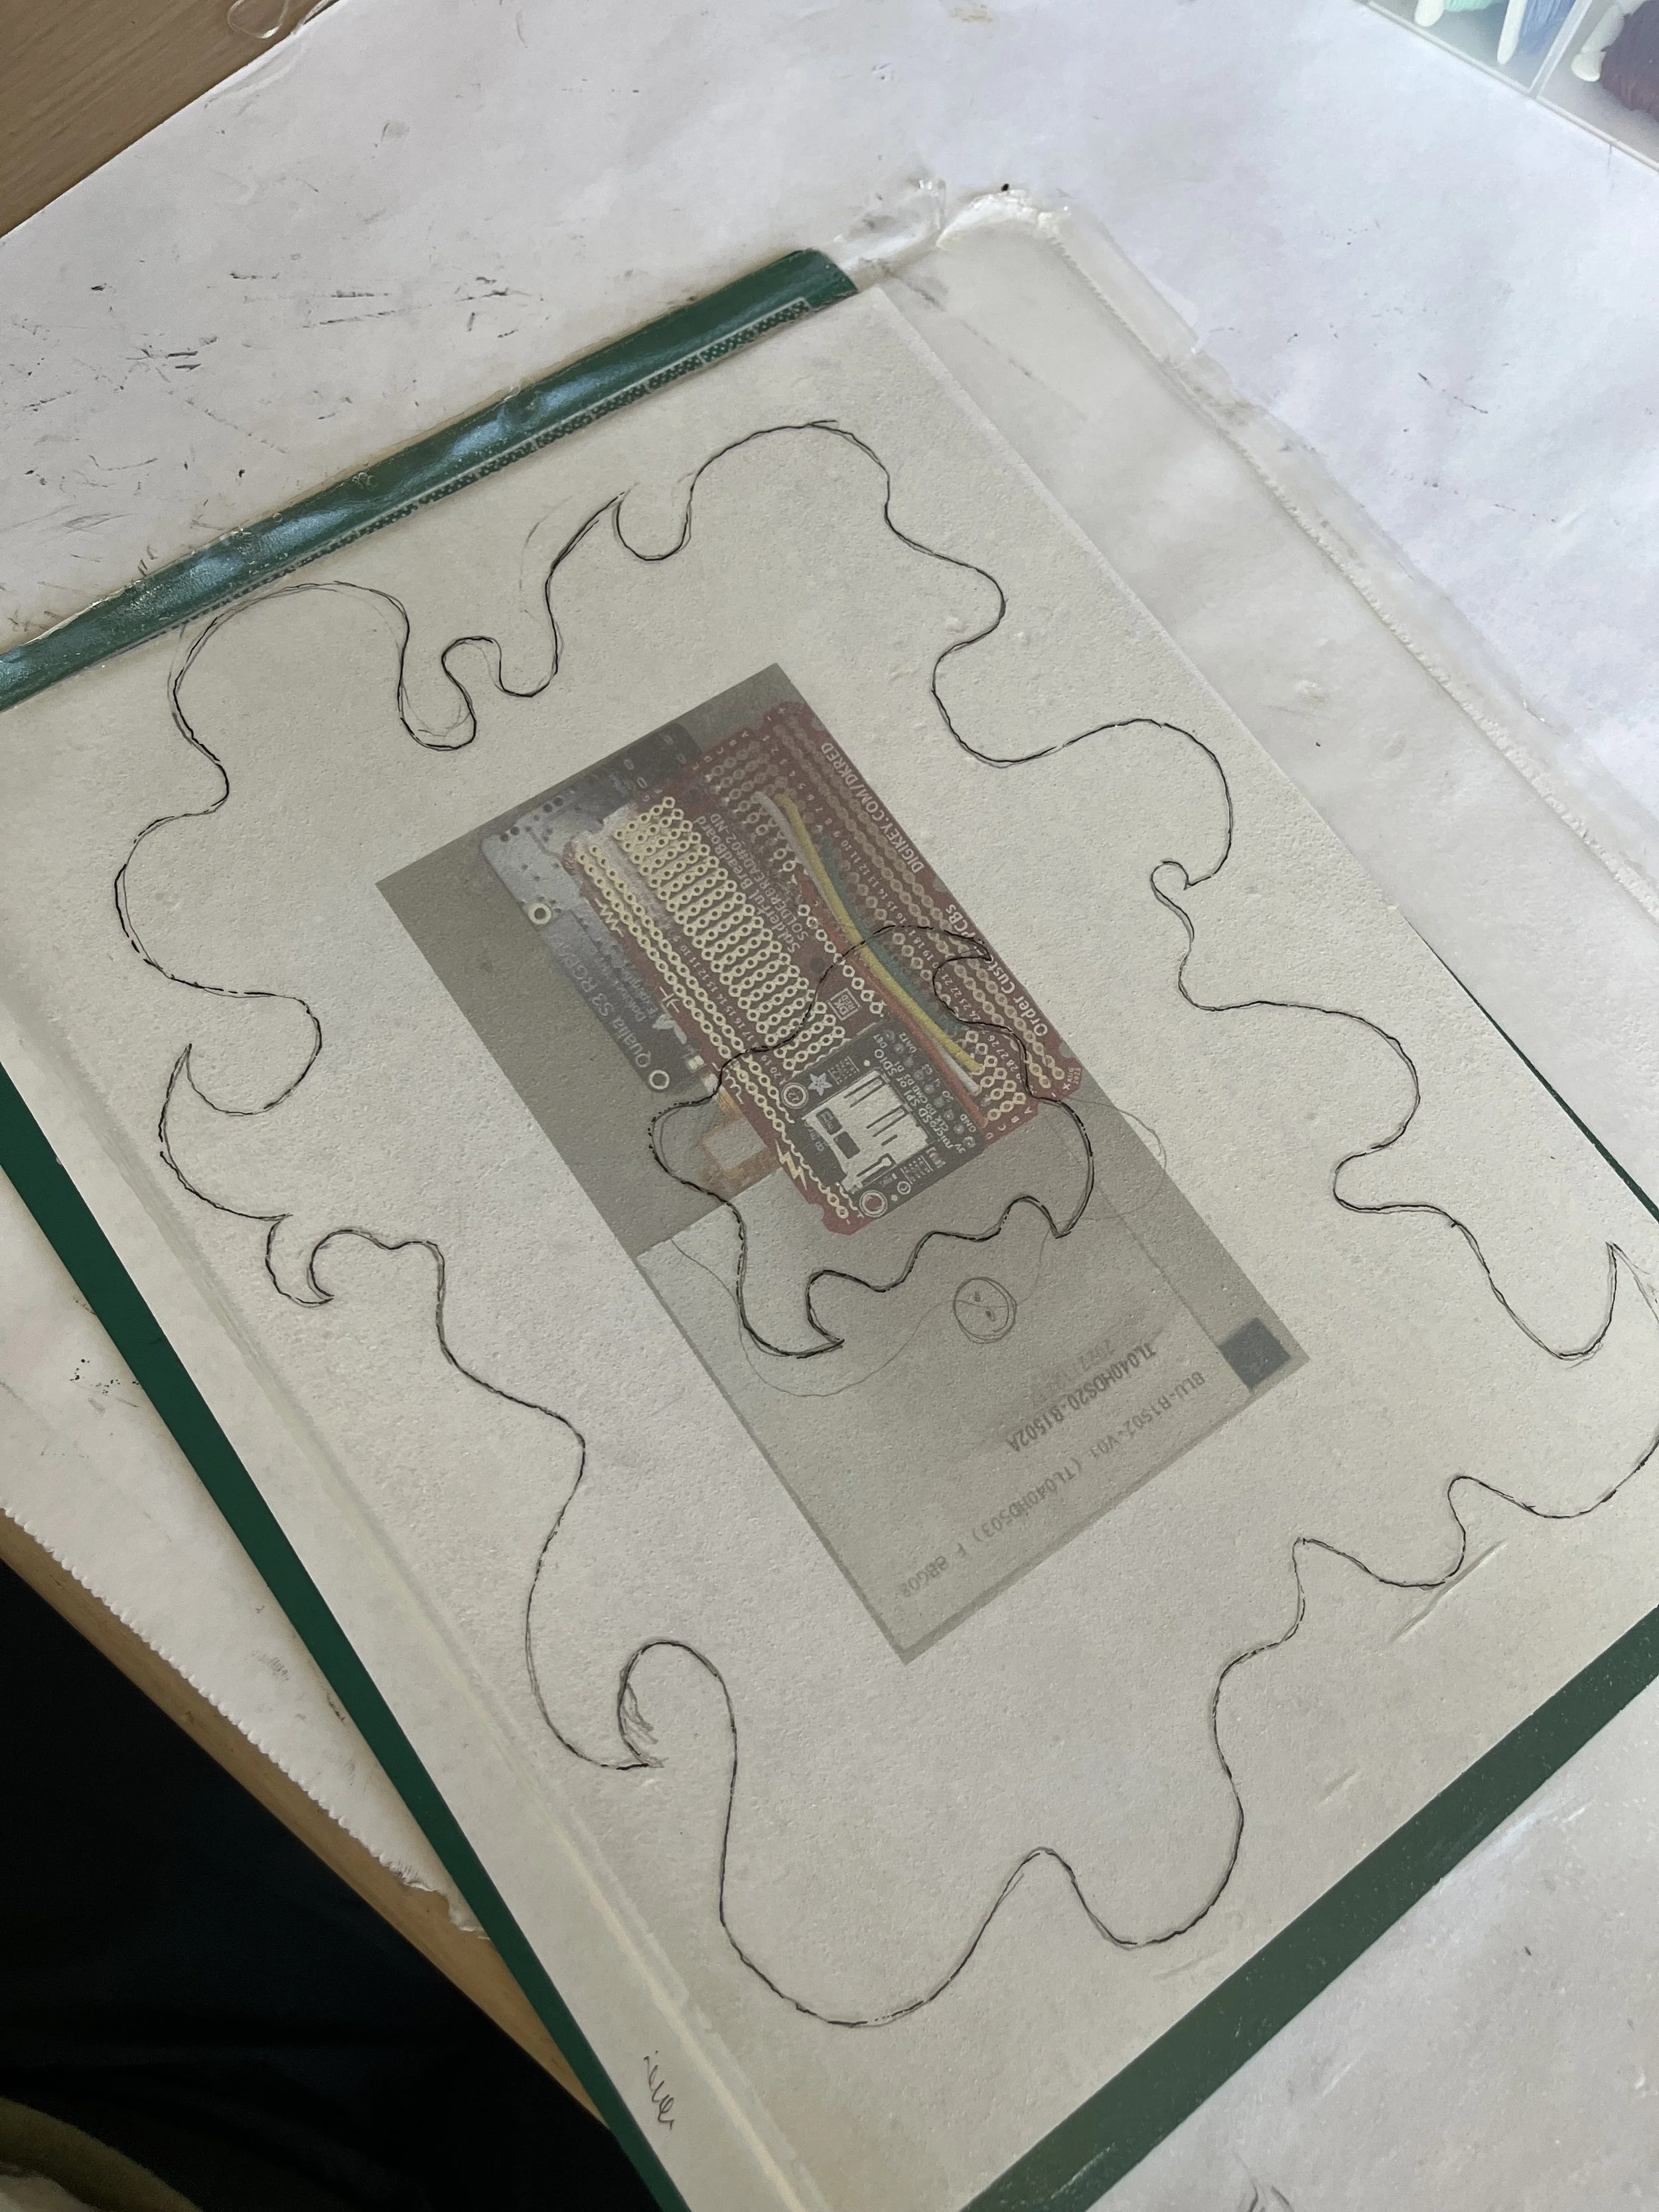
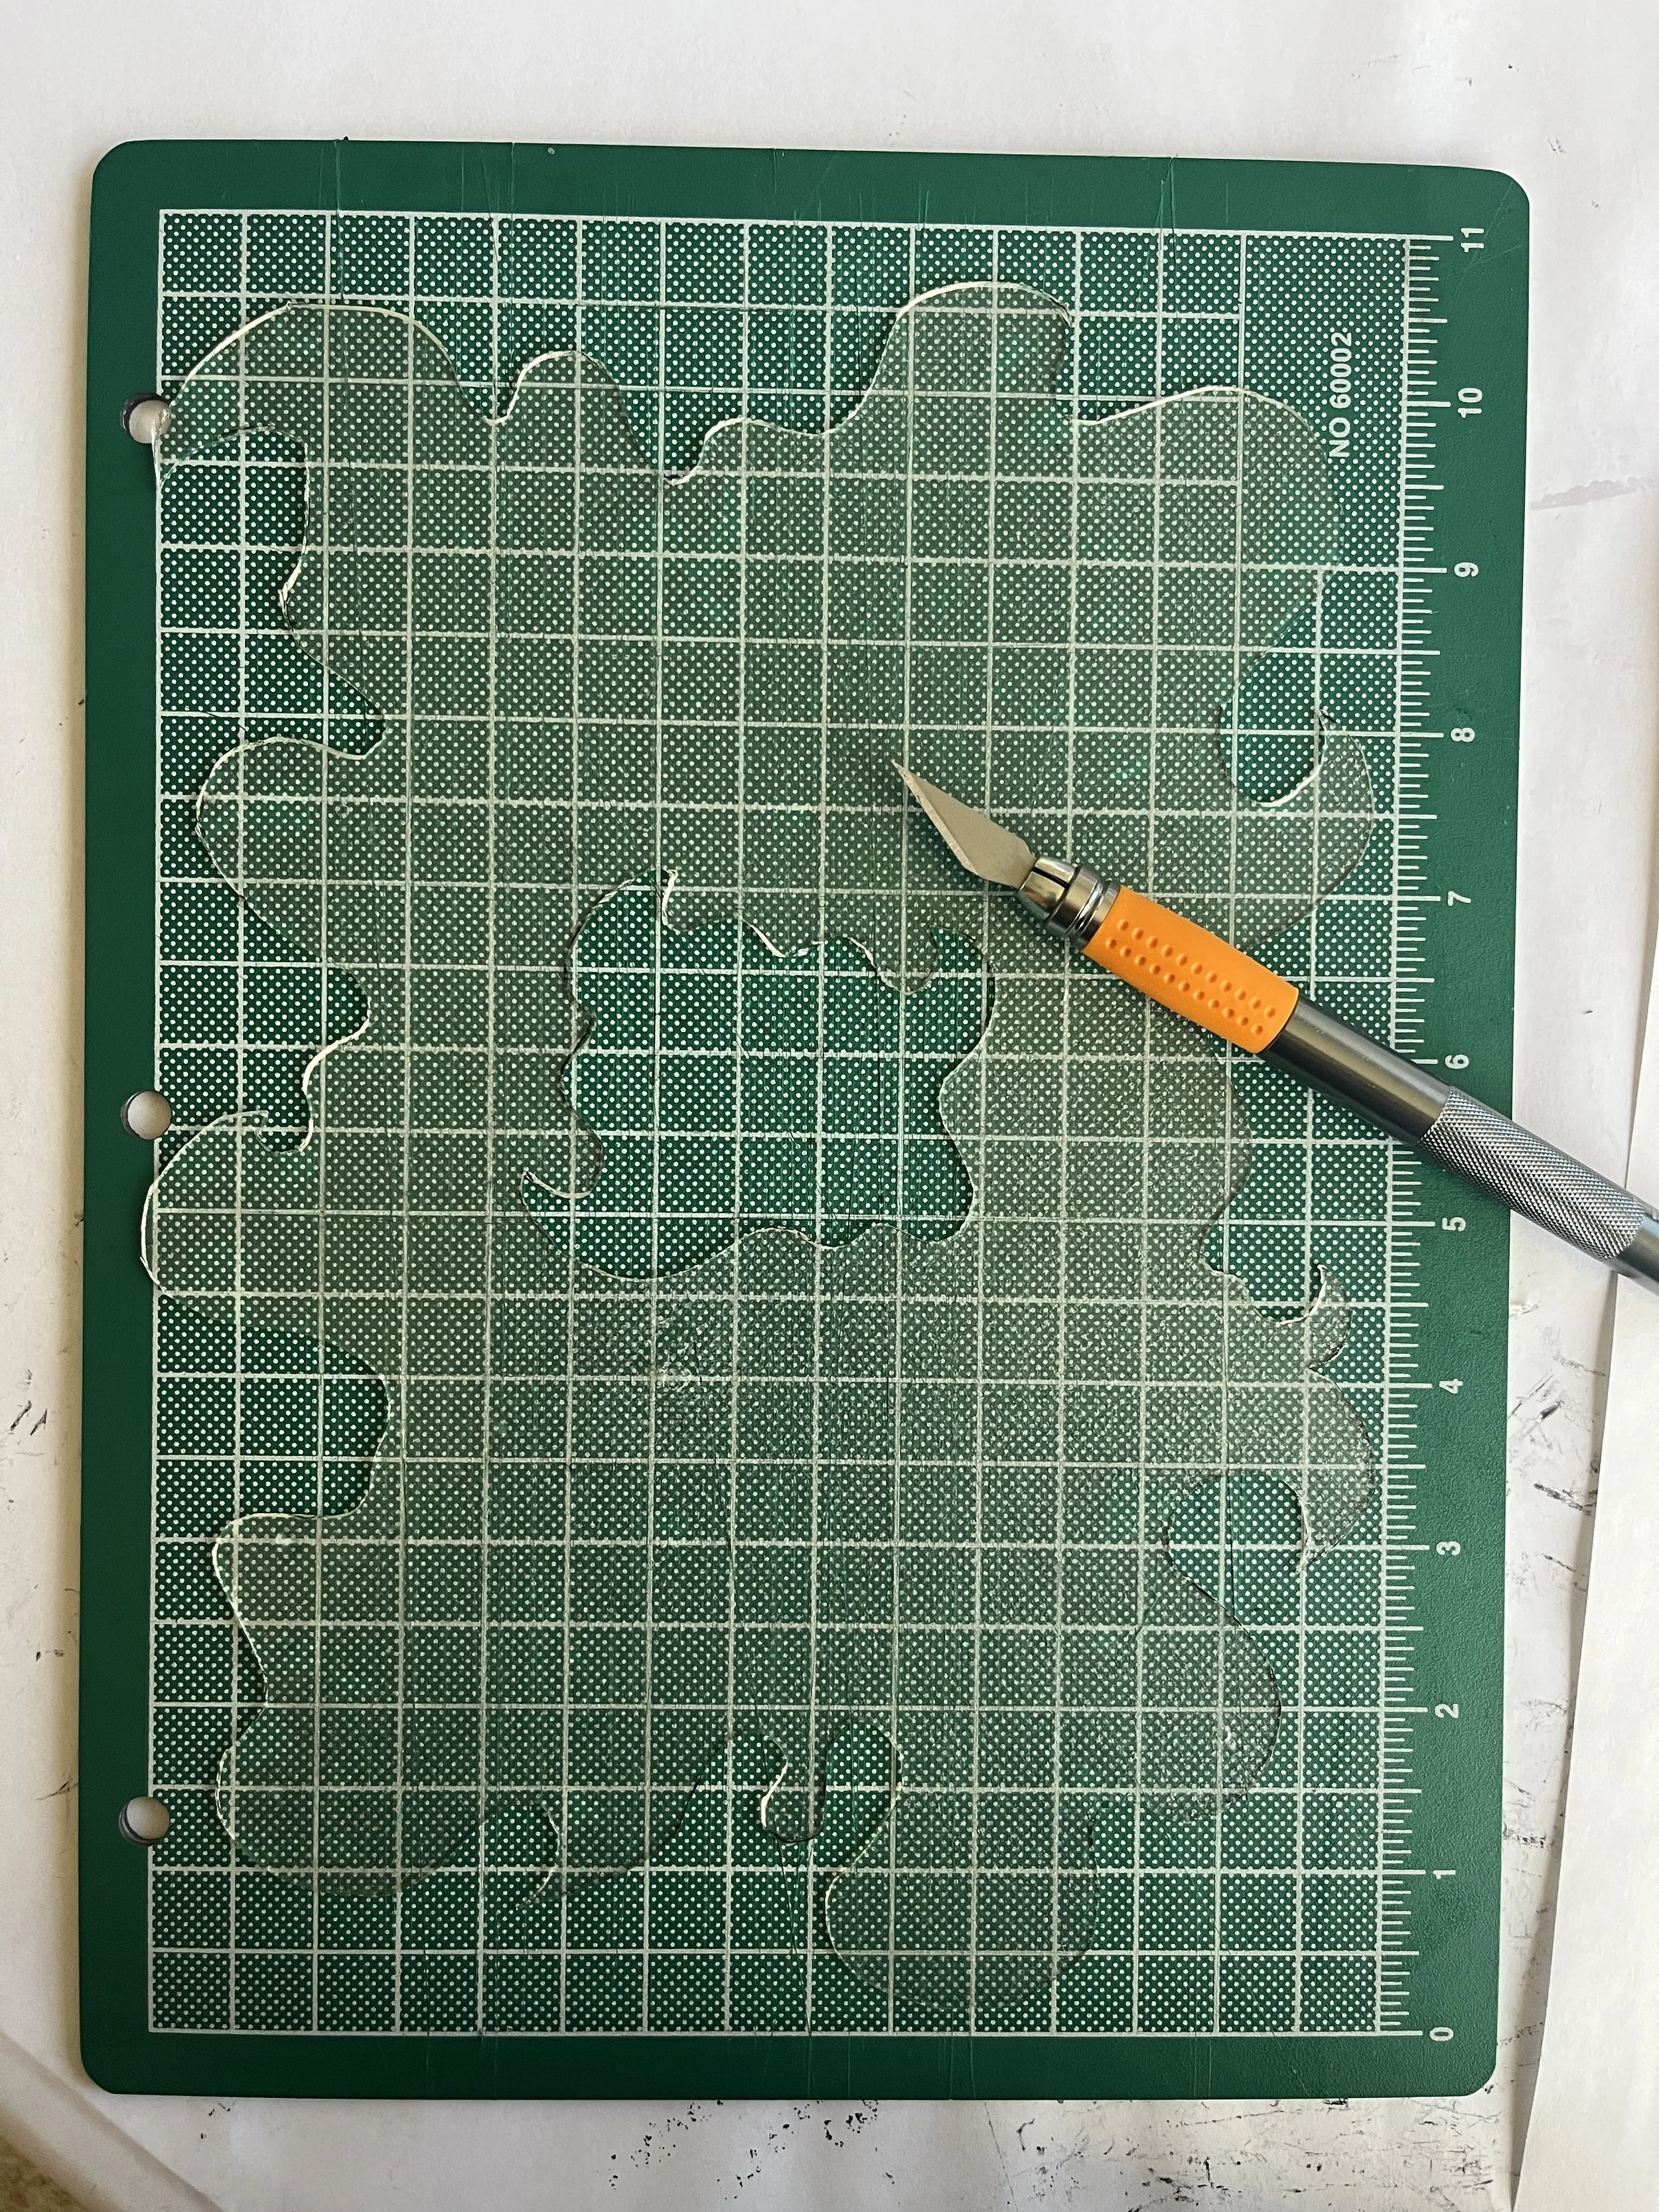
This was a kind of quick, intuition thing. I just printed out a picture of my circuitry to scale and sketched out curly, spikey shapes to use as a guide for cutting the bioplastic with an X-acto knife.
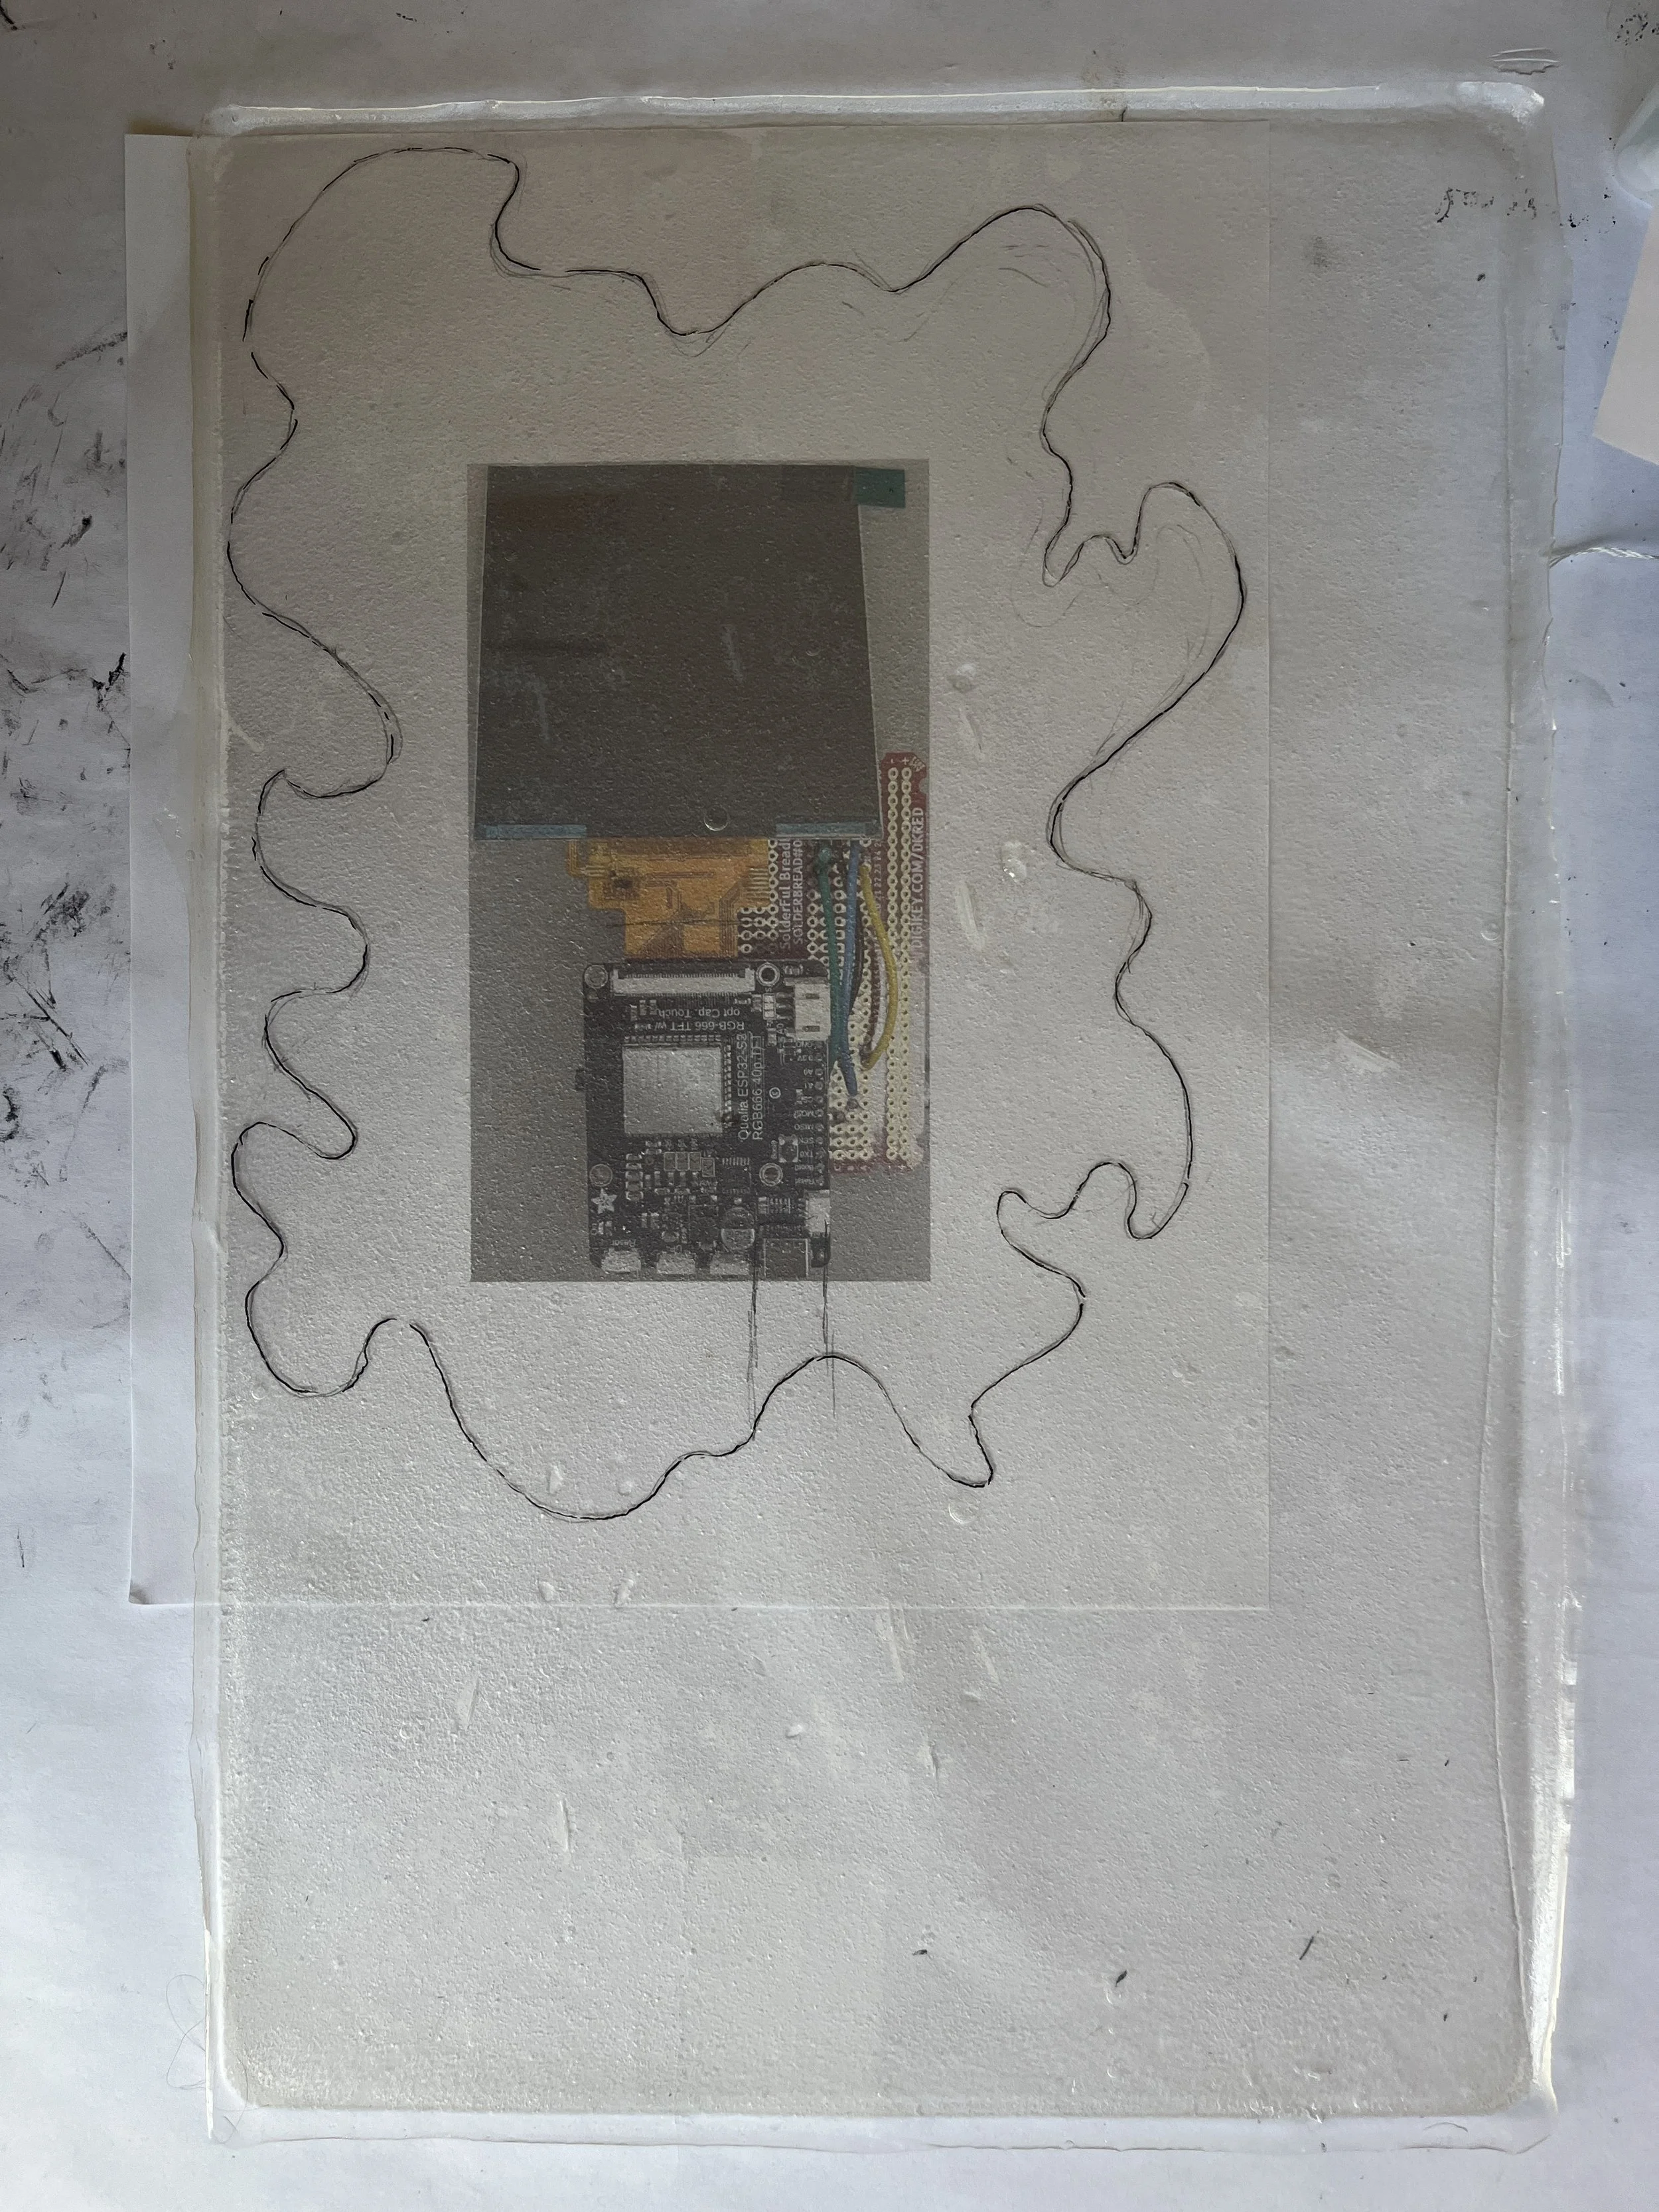
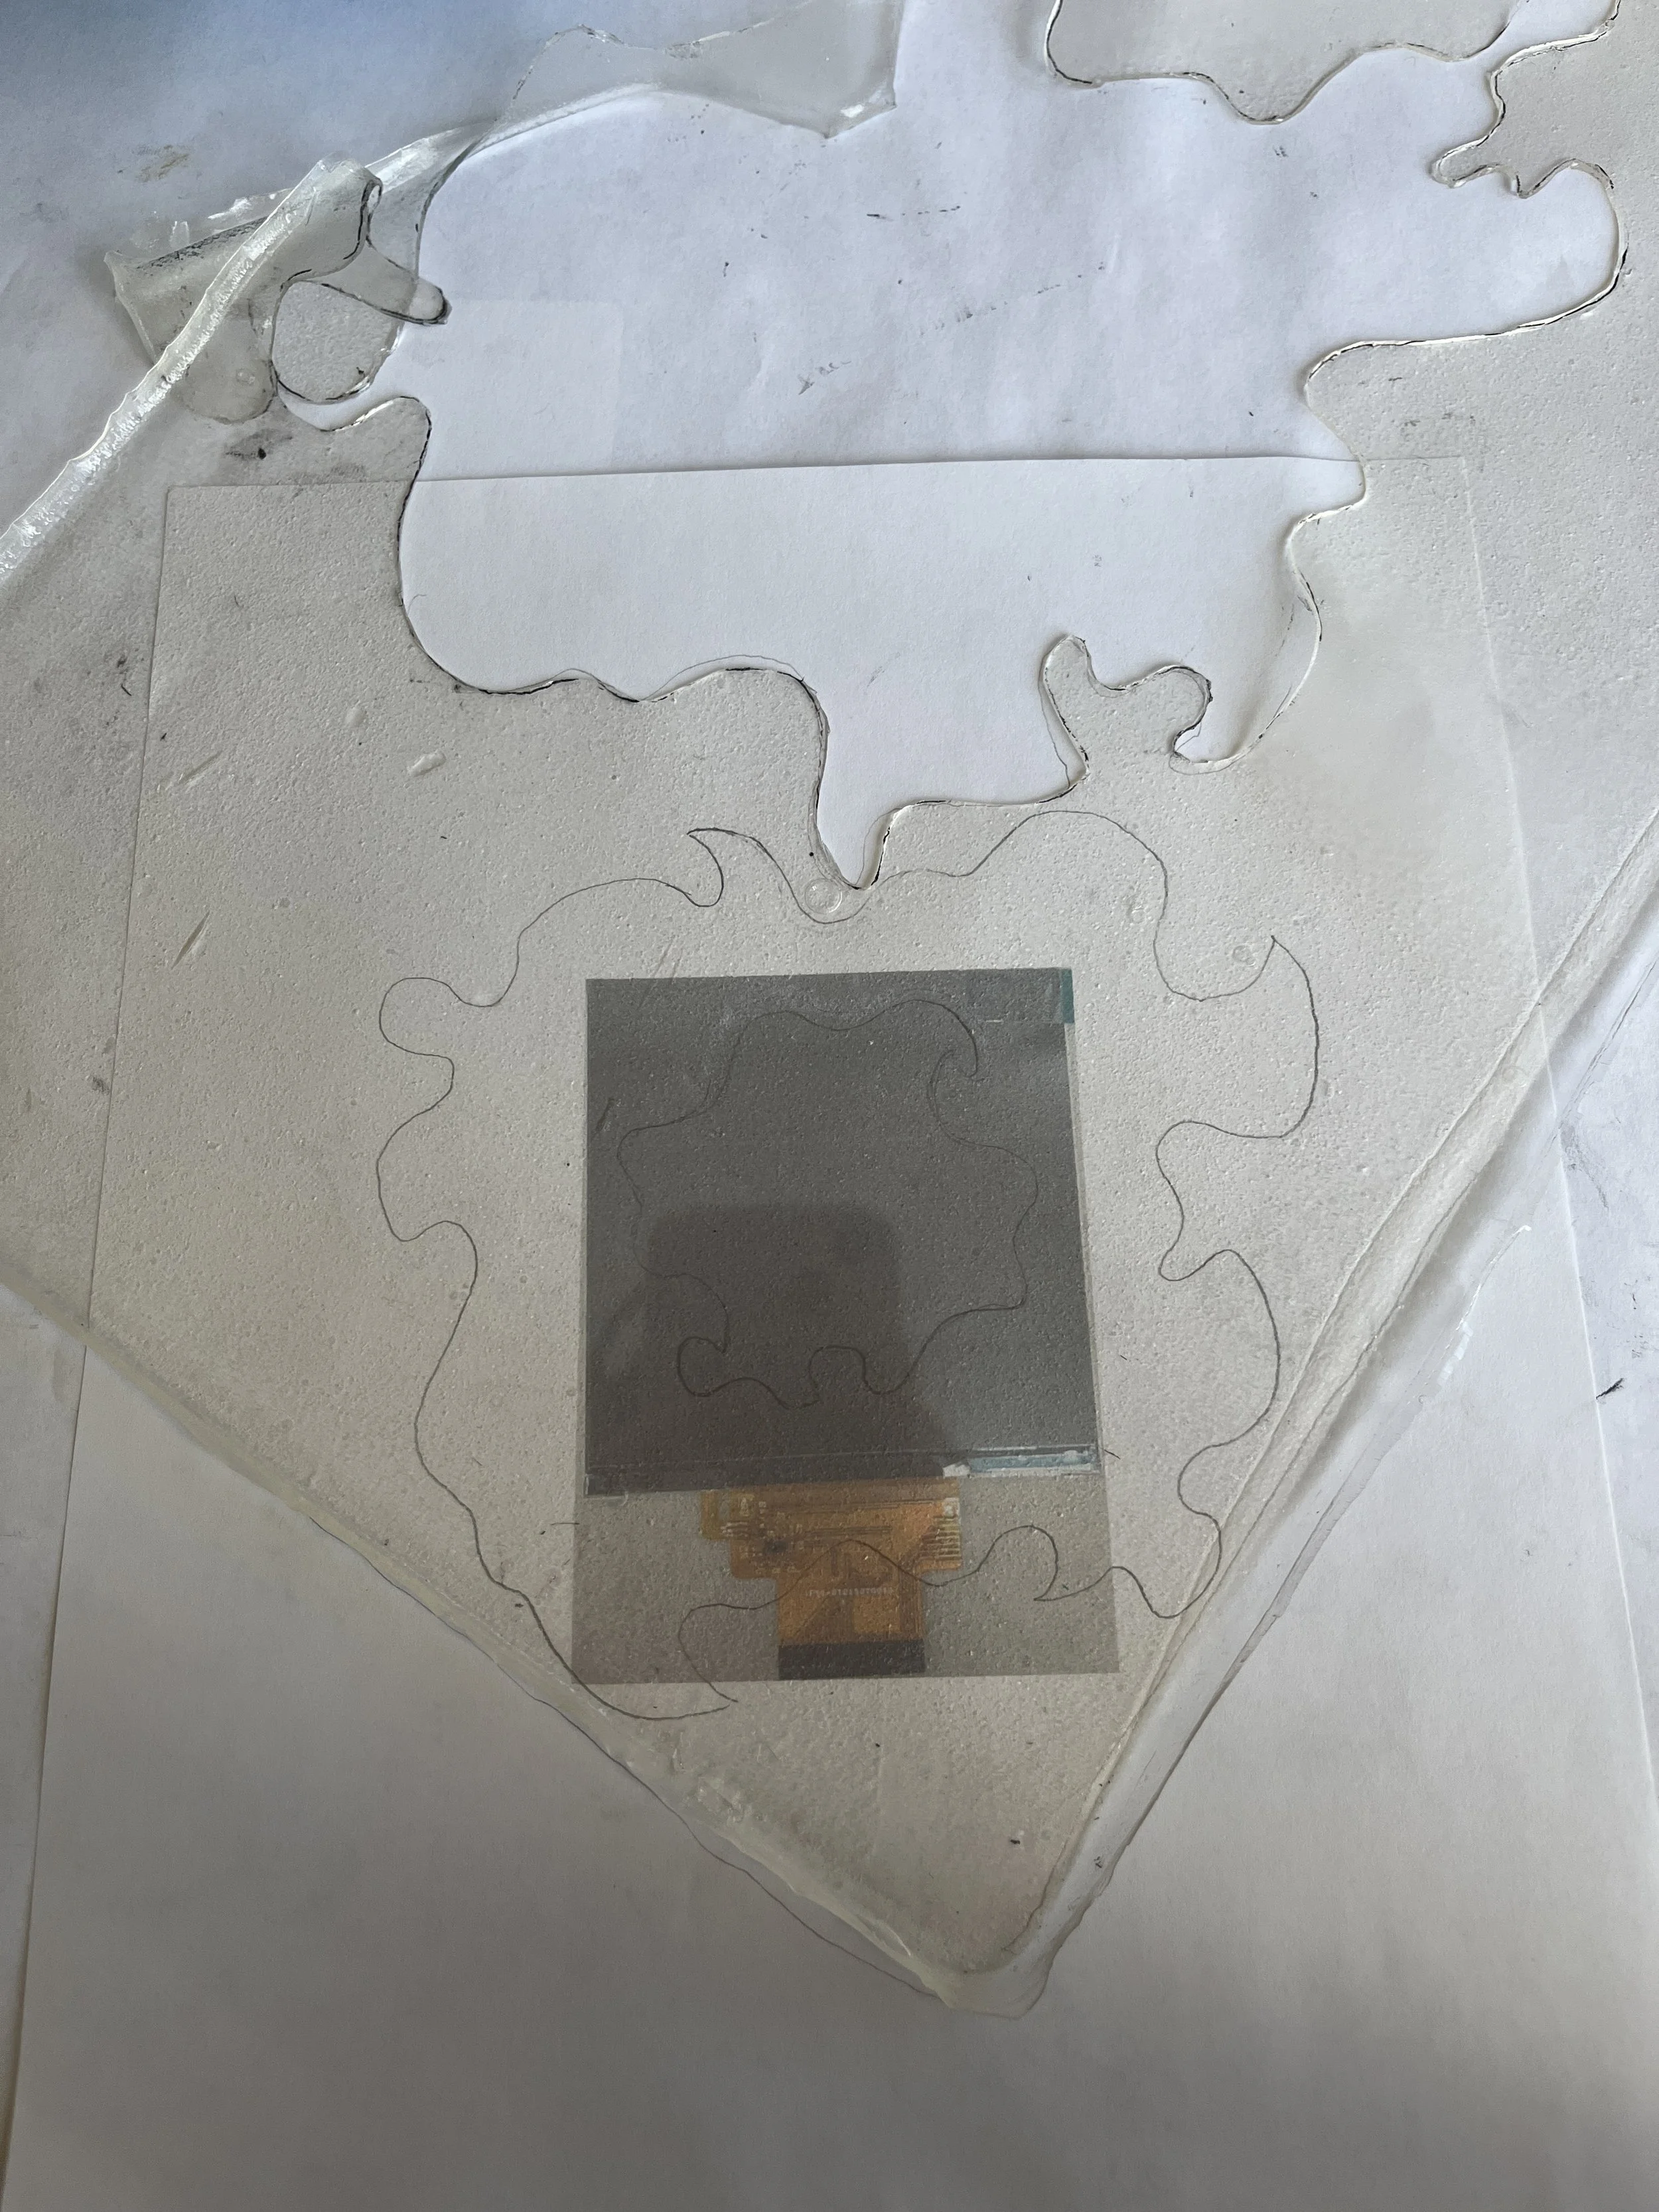
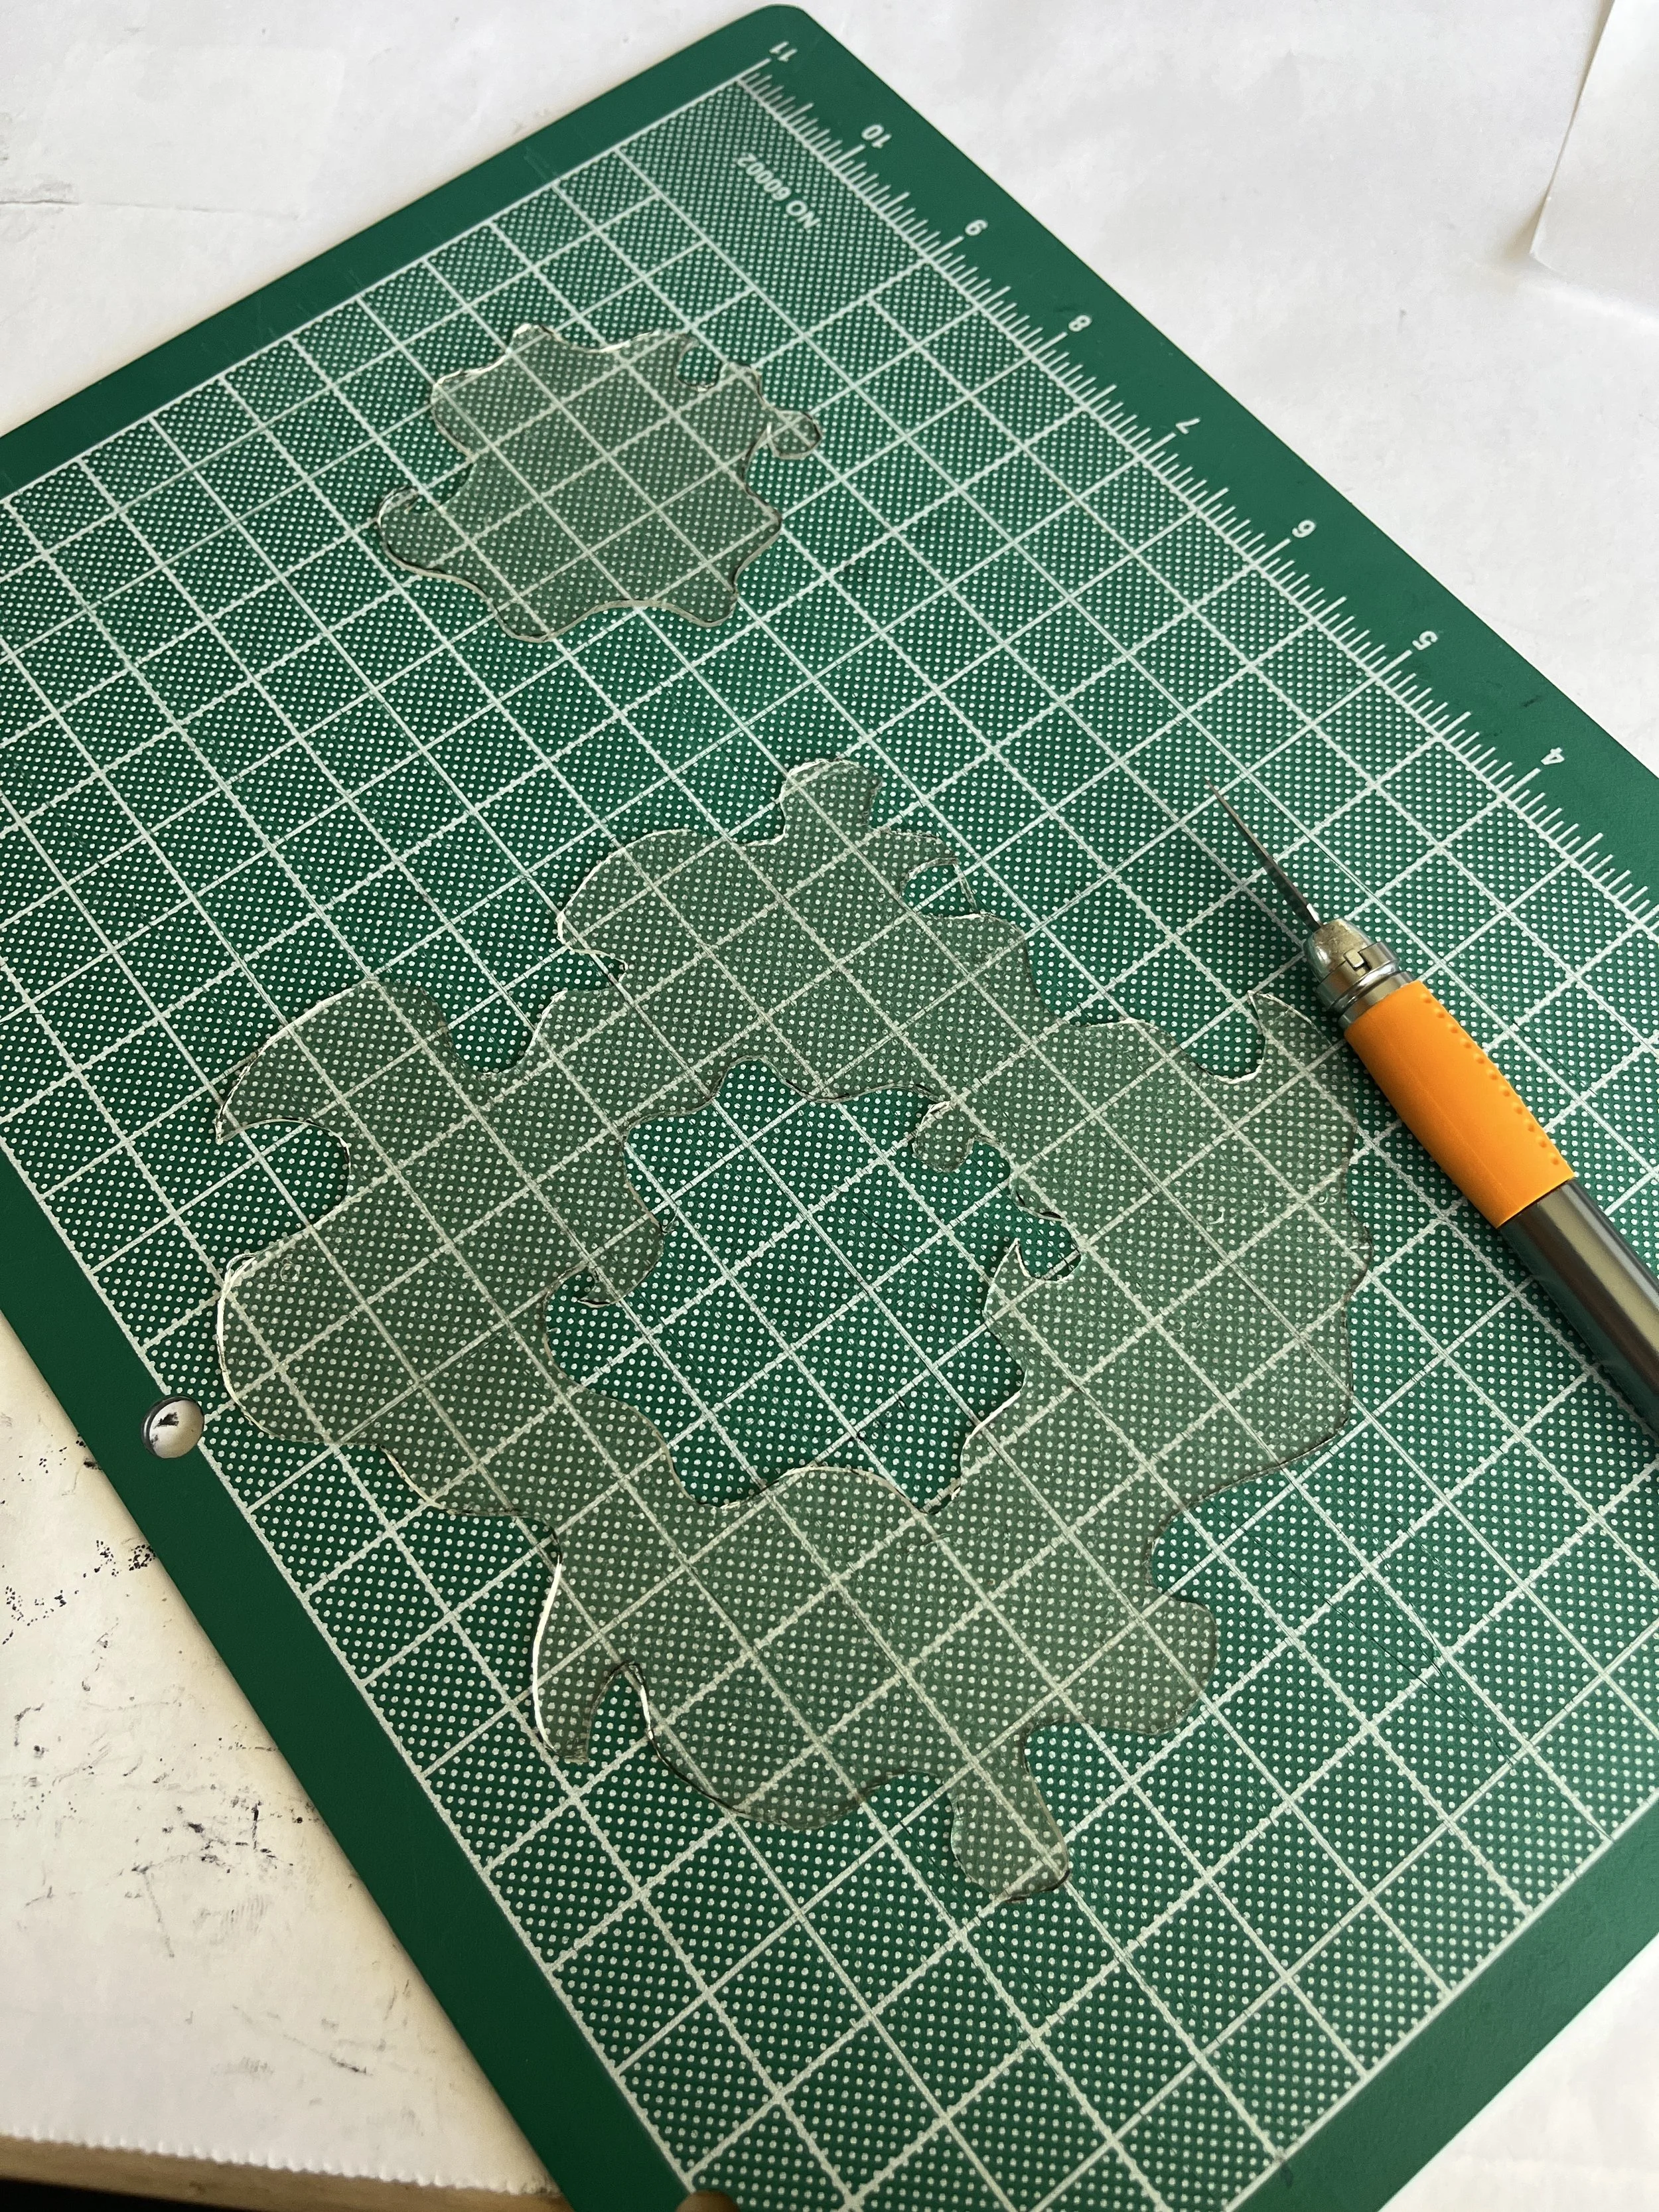
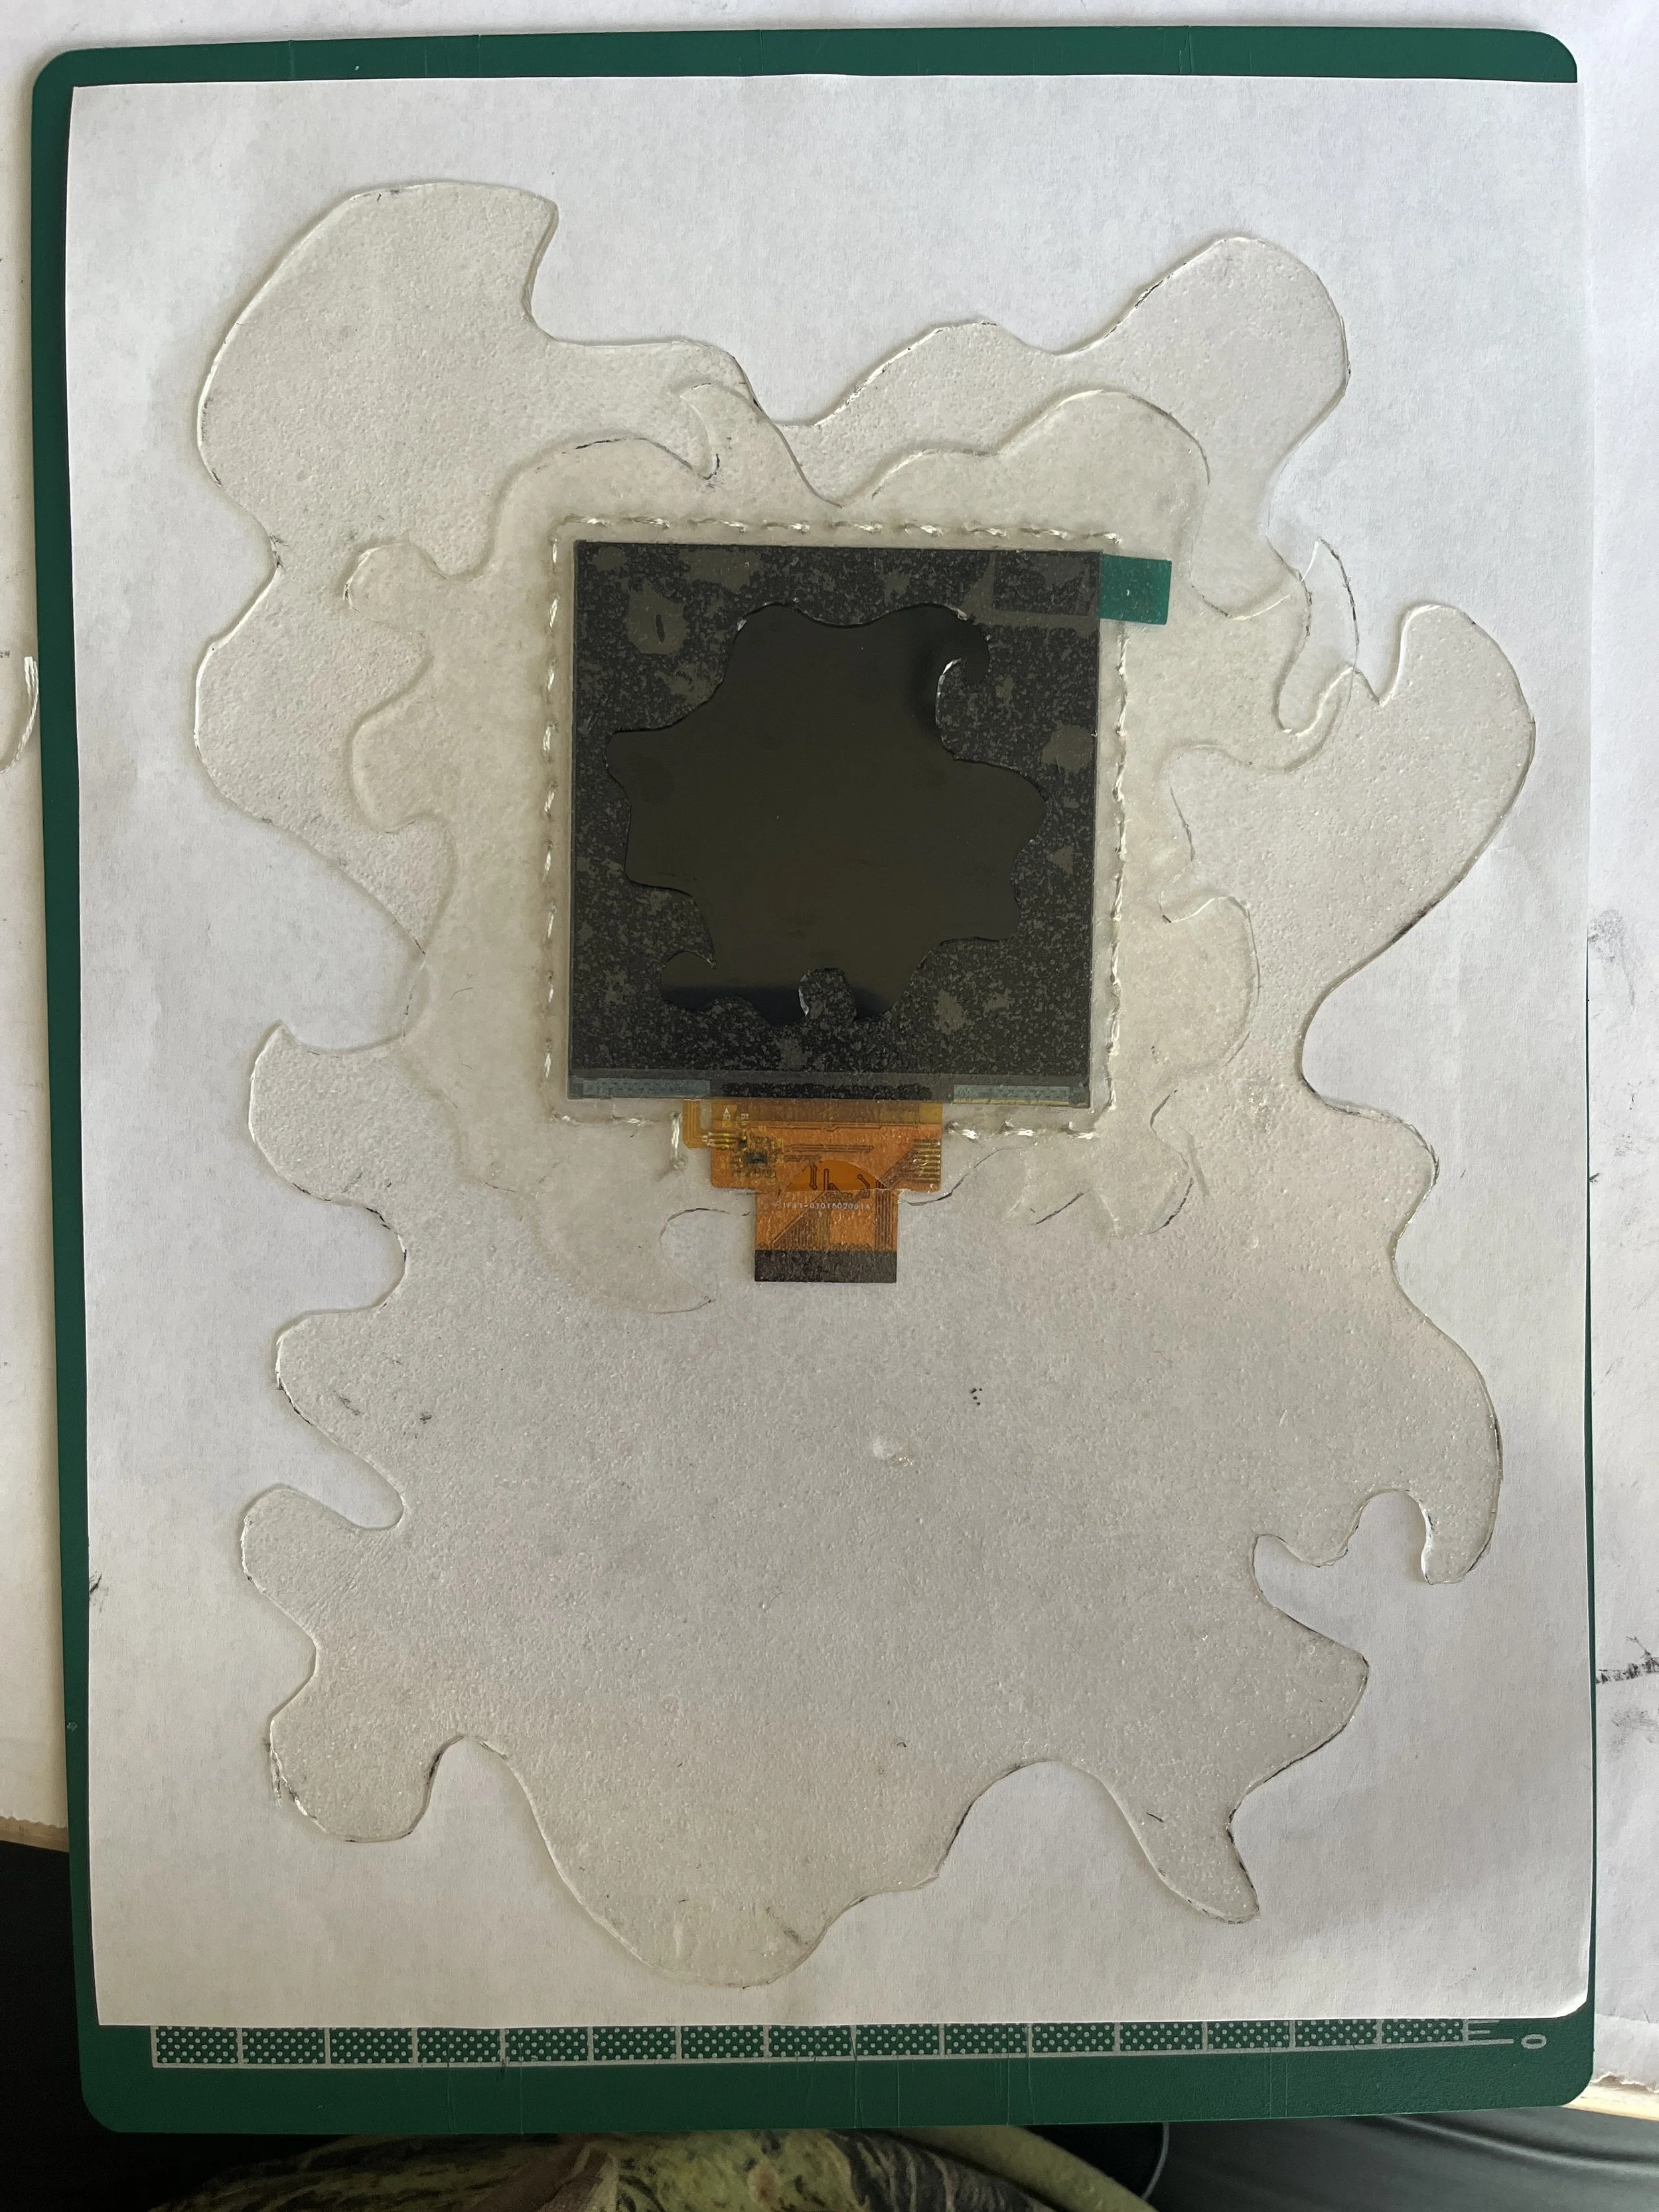
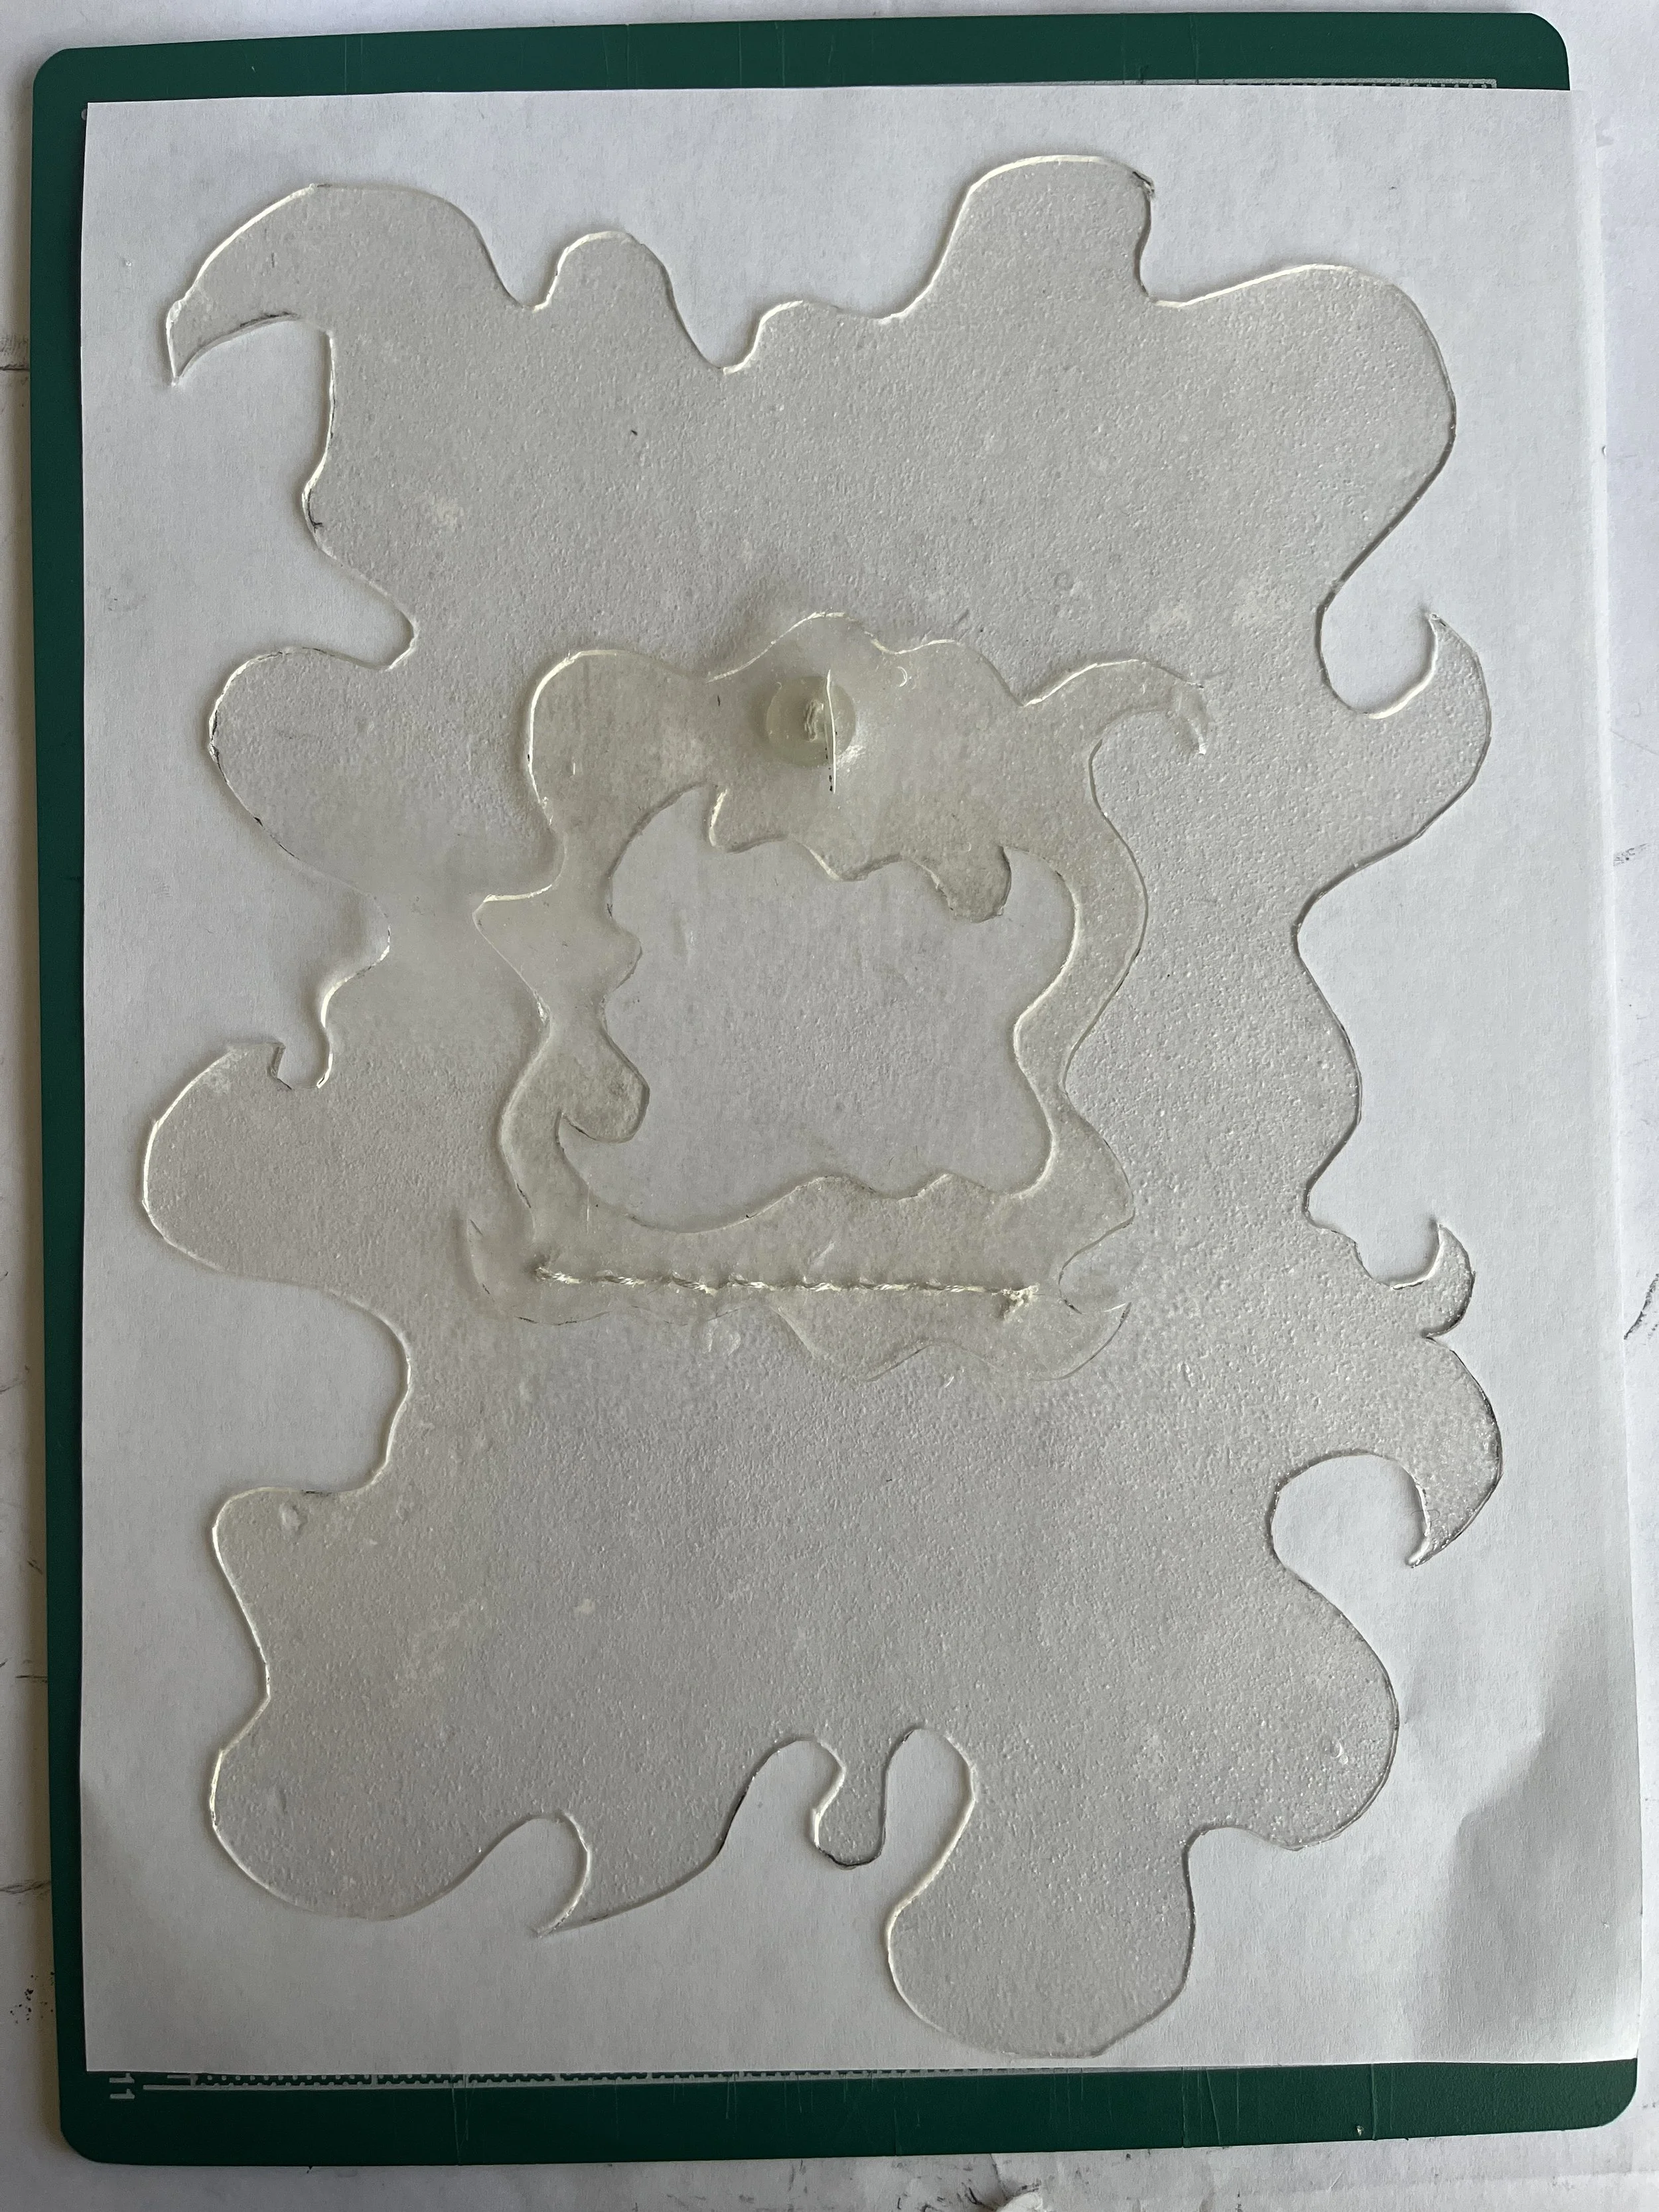
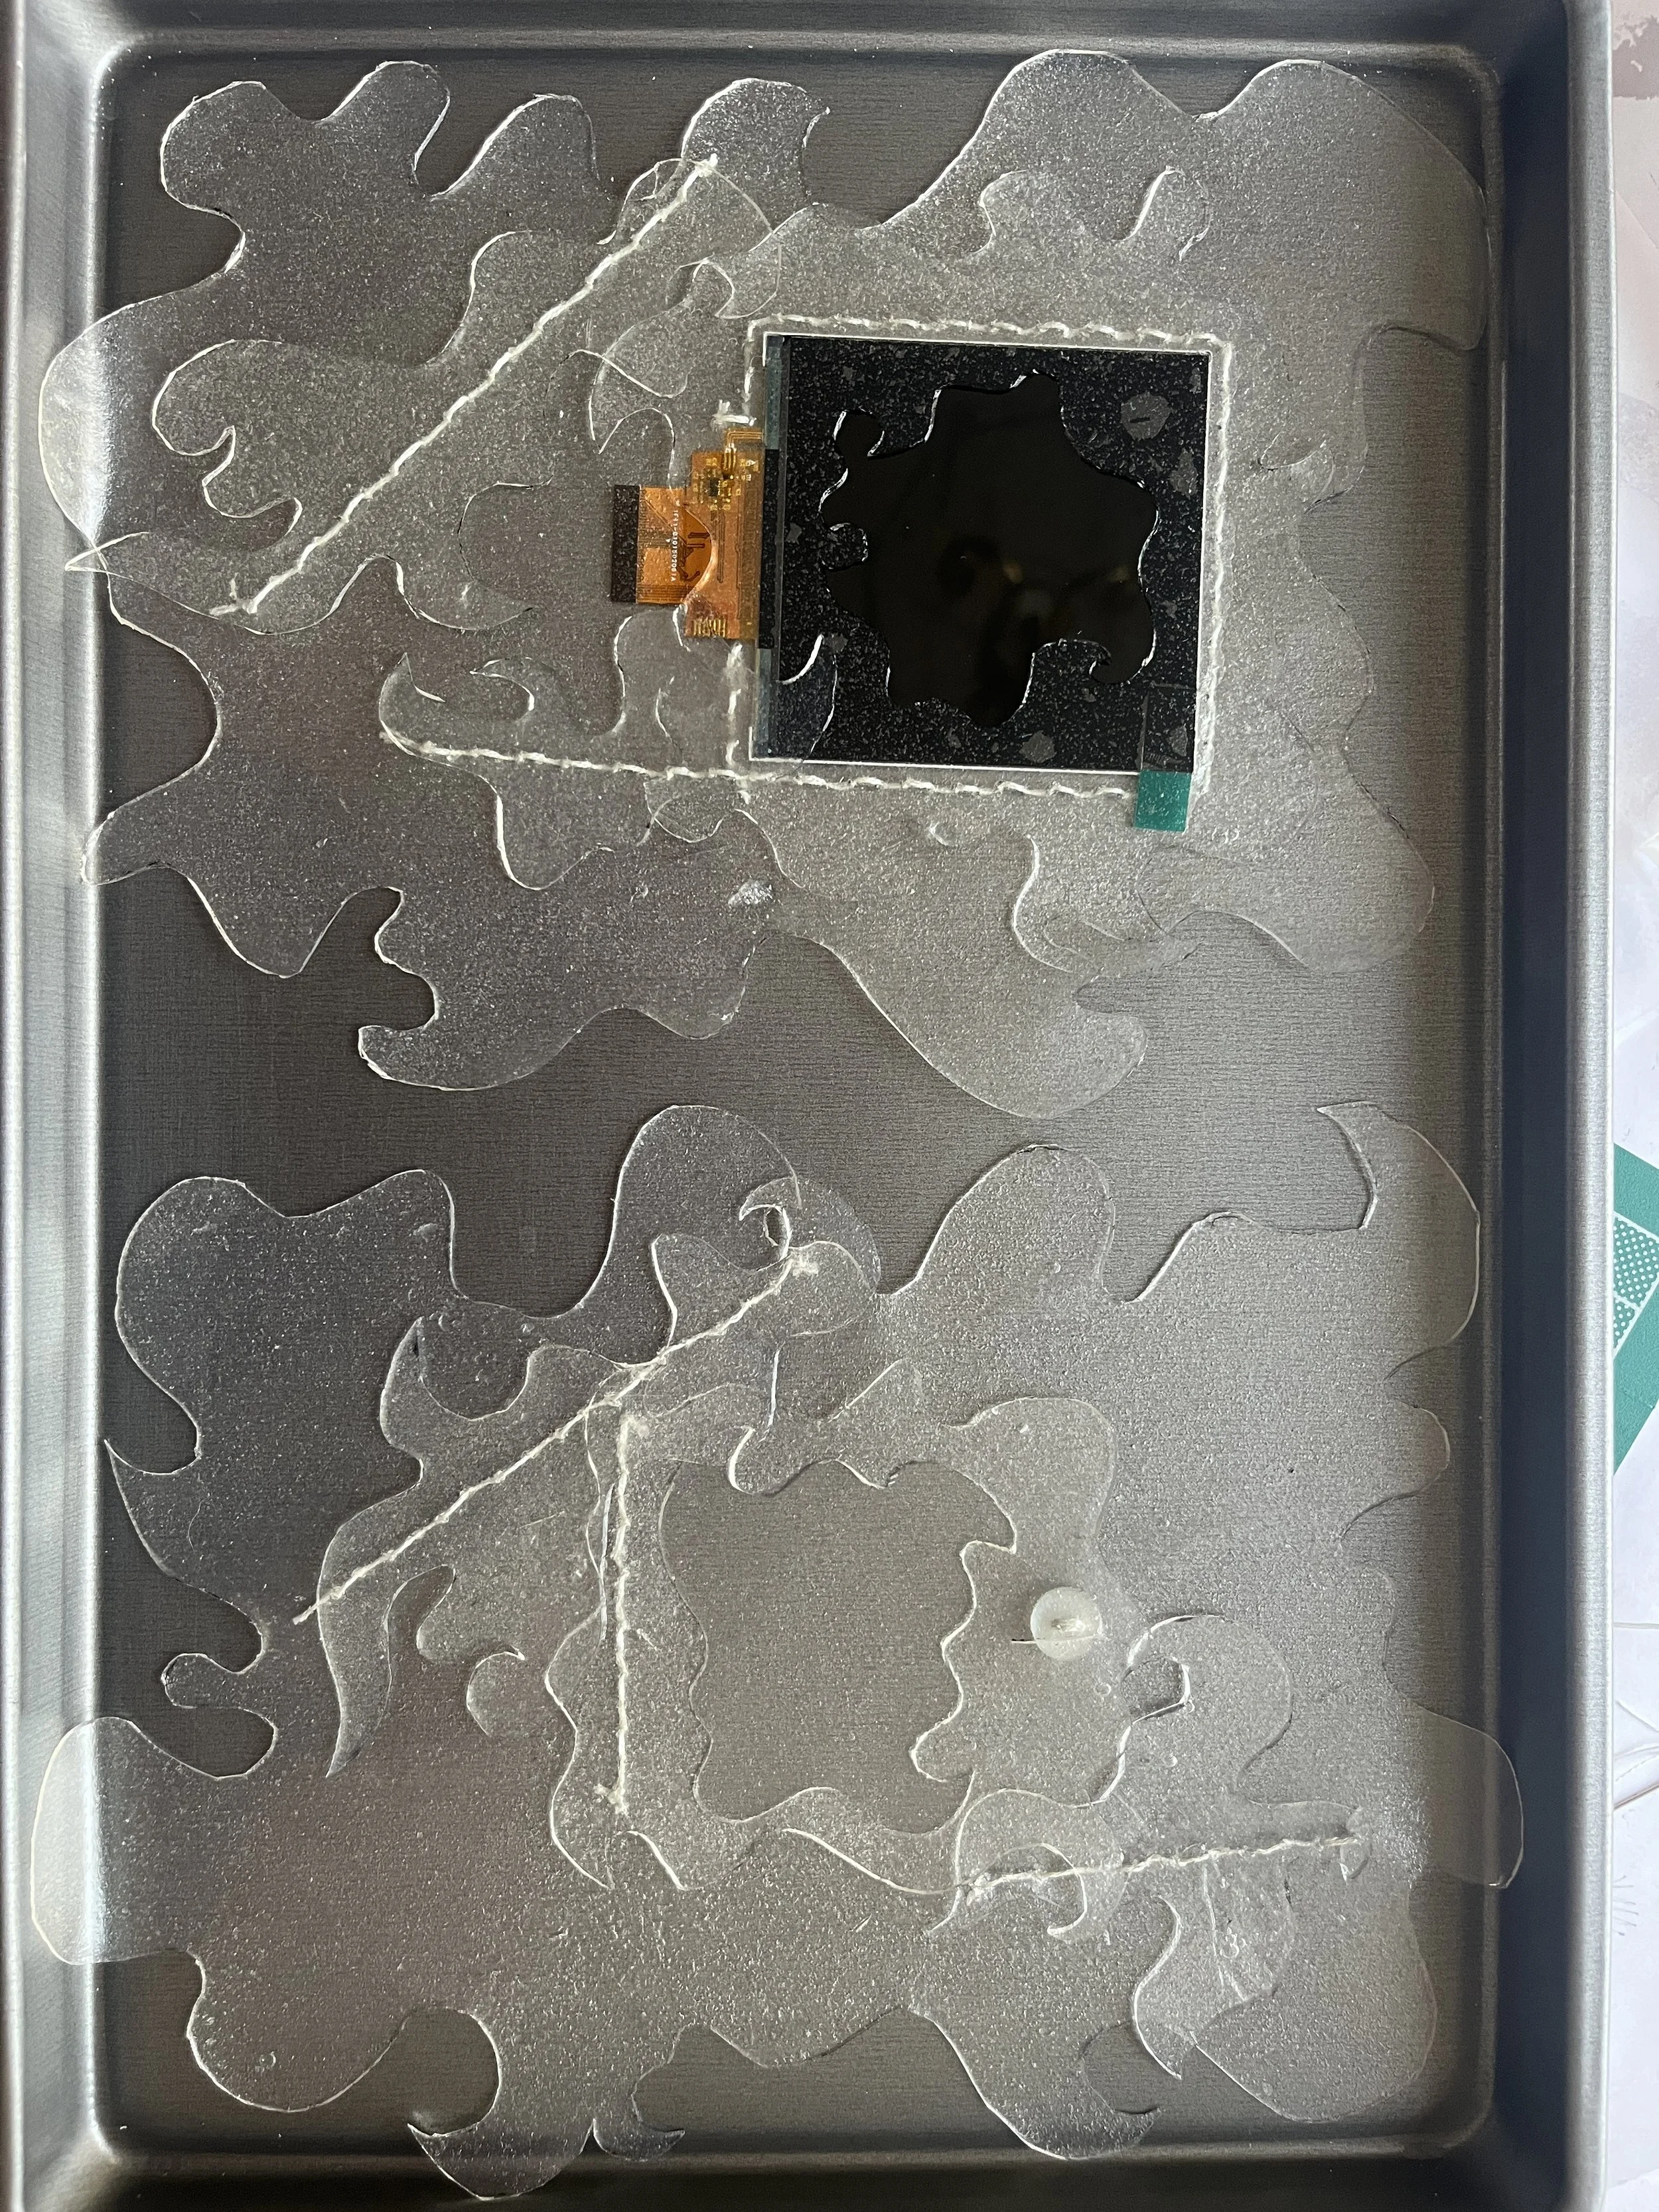
Then I sewed the screen into place, between two pieces of bioplastic. I also cut some ornamental pieces and sewed those onto the front/back sheets. Lastly, I assembled the circuitry again and sewed the front piece on to the back using a running stitch with the electronics in between. Like I mentioned before, the material I made wasn’t the most strong and I found it becoming more moist and fragile the more I worked with it, so sometimes it needed a break in the fridge.
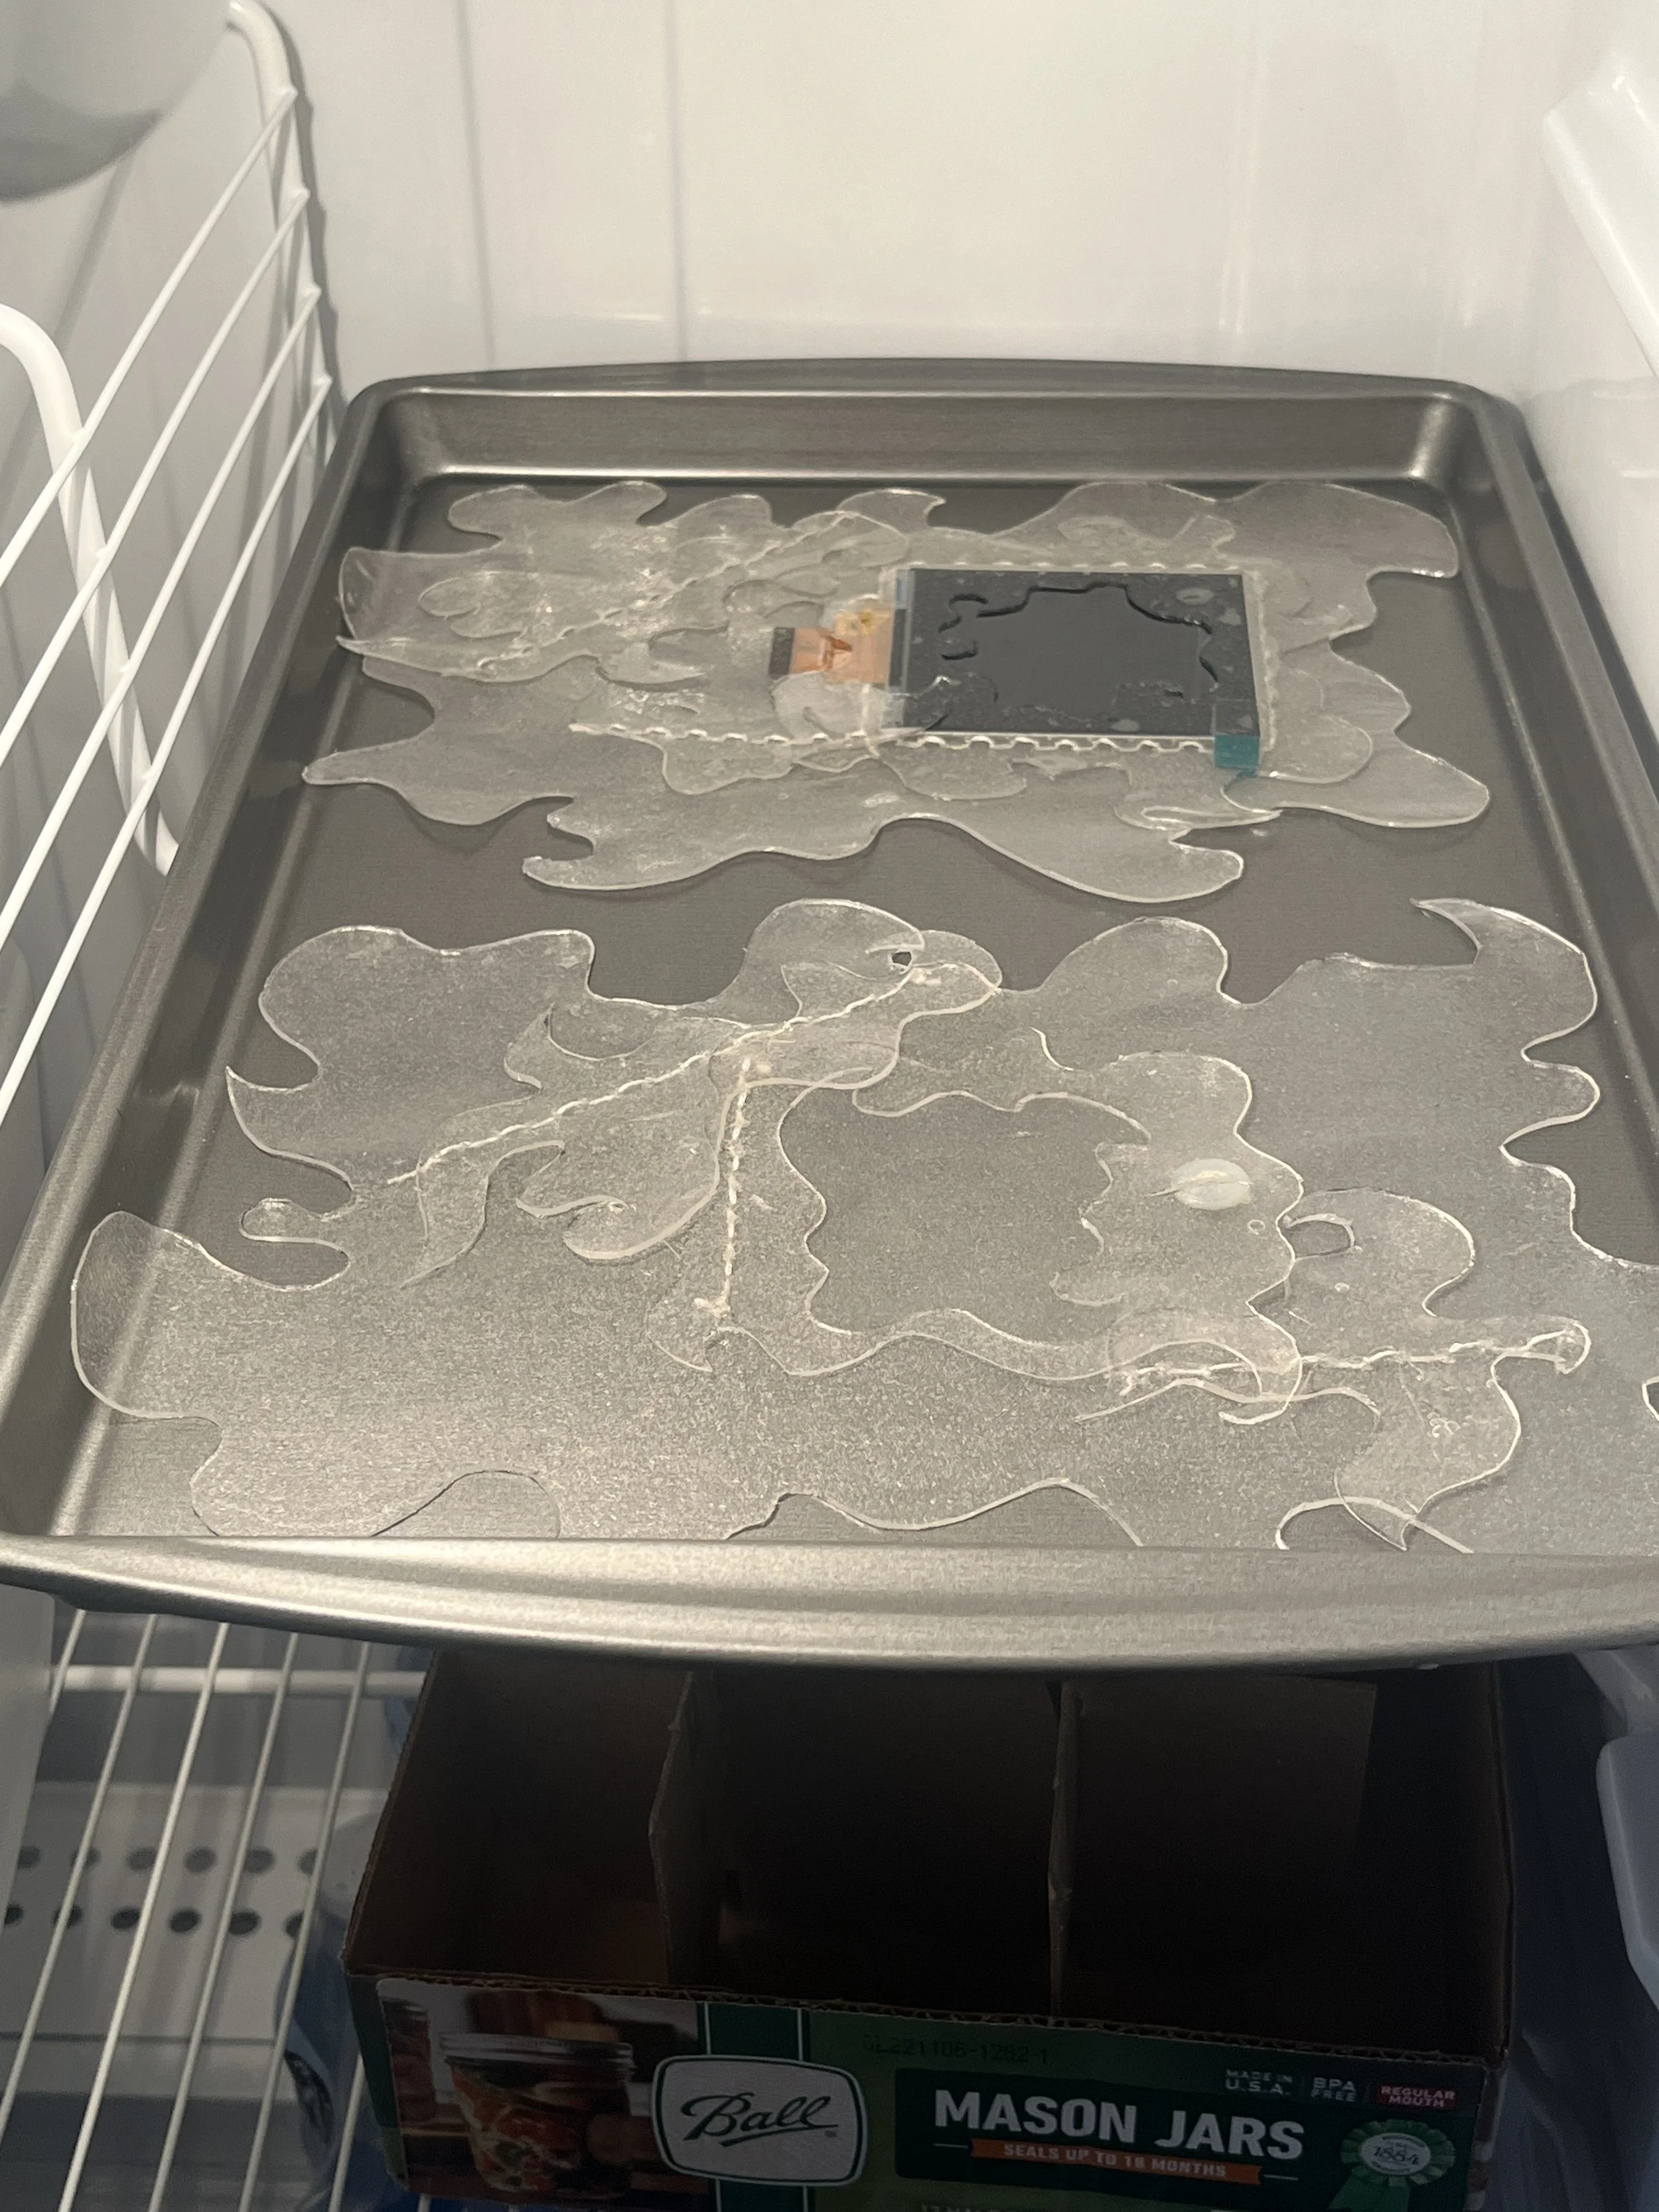
Material cool down
Final Product
You will have to grab a copy of Club Rambutan volume iv in the fall!
Resources
Transparent OLED from Waveshare
Adafruit RP2040 ThinkInk Feather
Adafruit Qualia ESP32-S2 for RGB-666 Displays
Square RGB-666 TTL TFT Display - 4” 720x720