
This blog was originally written for and published on the SparkFun Electronics site.
I recently designed and built my first kinetic sculpture Nature Mobile which I made for the "Convivial Machines" show at the Museum of Boulder. My mentor Jiffer Harriman approached me in the summer to create a piece for his upcoming show. Naturally, the first thing you’ve gotta come up with is a great idea. He told me that the show’s theme was the balance between the benefits and setbacks of technology and suggested something that was moving to be placed in the lobby windows. I had some experience with kinetic sculpture but had never conceptualized one by myself!
Coming up with an idea was the hardest part. I kept in mind the following questions: what theme did I want to explore in my piece? What are the themes and constraints of the exhibit? What inspires me? What materials did I want to work with? What skills did I want to learn when it comes to fabrication? I sat on it for close to 4 weeks and until I finally had an idea. My personal style is all about bright colors and I am constantly inspired by nature and flowers. I’m a big fan of the plexiglass sculpter Marina Fini and I wanted to use this as an opportunity to work with acrylic and learn to use the laser cutter. That’s how Nature Mobile was born.

Initial notes

Initial sketch
It’s also important to realize that the design process is fluid. More conversations with Jiffer, myself, and other artists helped me to rebase, redefine, and refine my ideas.
I was ready to order materials. I started looking for acrylic. I knew I wanted really bright, neon, and translucent plastic. I wanted the thickness to be as small as possible (¼”) to keep my mobile light. Turns out you can get anything from Amazon. As for the circuitry, I’ve built motor systems 83457938 times. You could simply power a DC motor or easily snatch one of these Big Easy Driver (BED) kits, but I ended up using a pretty beefy stepper motor. This is obviously an over engineered solution, especially for something that is spinning in one direction, constantly and needs no accuracy, but the system I used creates a good visual effect and is the engineering part of my piece. I got all my components from SparkFun:
https://www.sparkfun.com/products/12859
https://www.sparkfun.com/products/18158
https://www.sparkfun.com/products/10846
https://www.sparkfun.com/products/15664
Next I had to learn to use the laser cutter. Luckily we’ve got one at the office, and our resident expert, Joshua, showed me the ropes. It’s actually as easy as printing out a design in illustrator. Here are a couple of examples of my cuts:

Laser cutter file

Laser cutter file
Now that I had all the separate parts, I was ready to string everything together. My mentor and client Trey Duvall invited me over to his studio to practice installation. He’s got high ceilings! First, he helped me plastic weld the sun together. We did some measuring and tied the top parts to the tails. Then we put together the motor housing and practiced what it would be like attaching everything to the dry wall in the museum. Sourcing all the screws, nuts, and washers was another thing I’m not too familiar with, but Trey gave me a shopping list of what I would need.

Hanging pieces

Plastic welding

All put together

Installation rehearsal
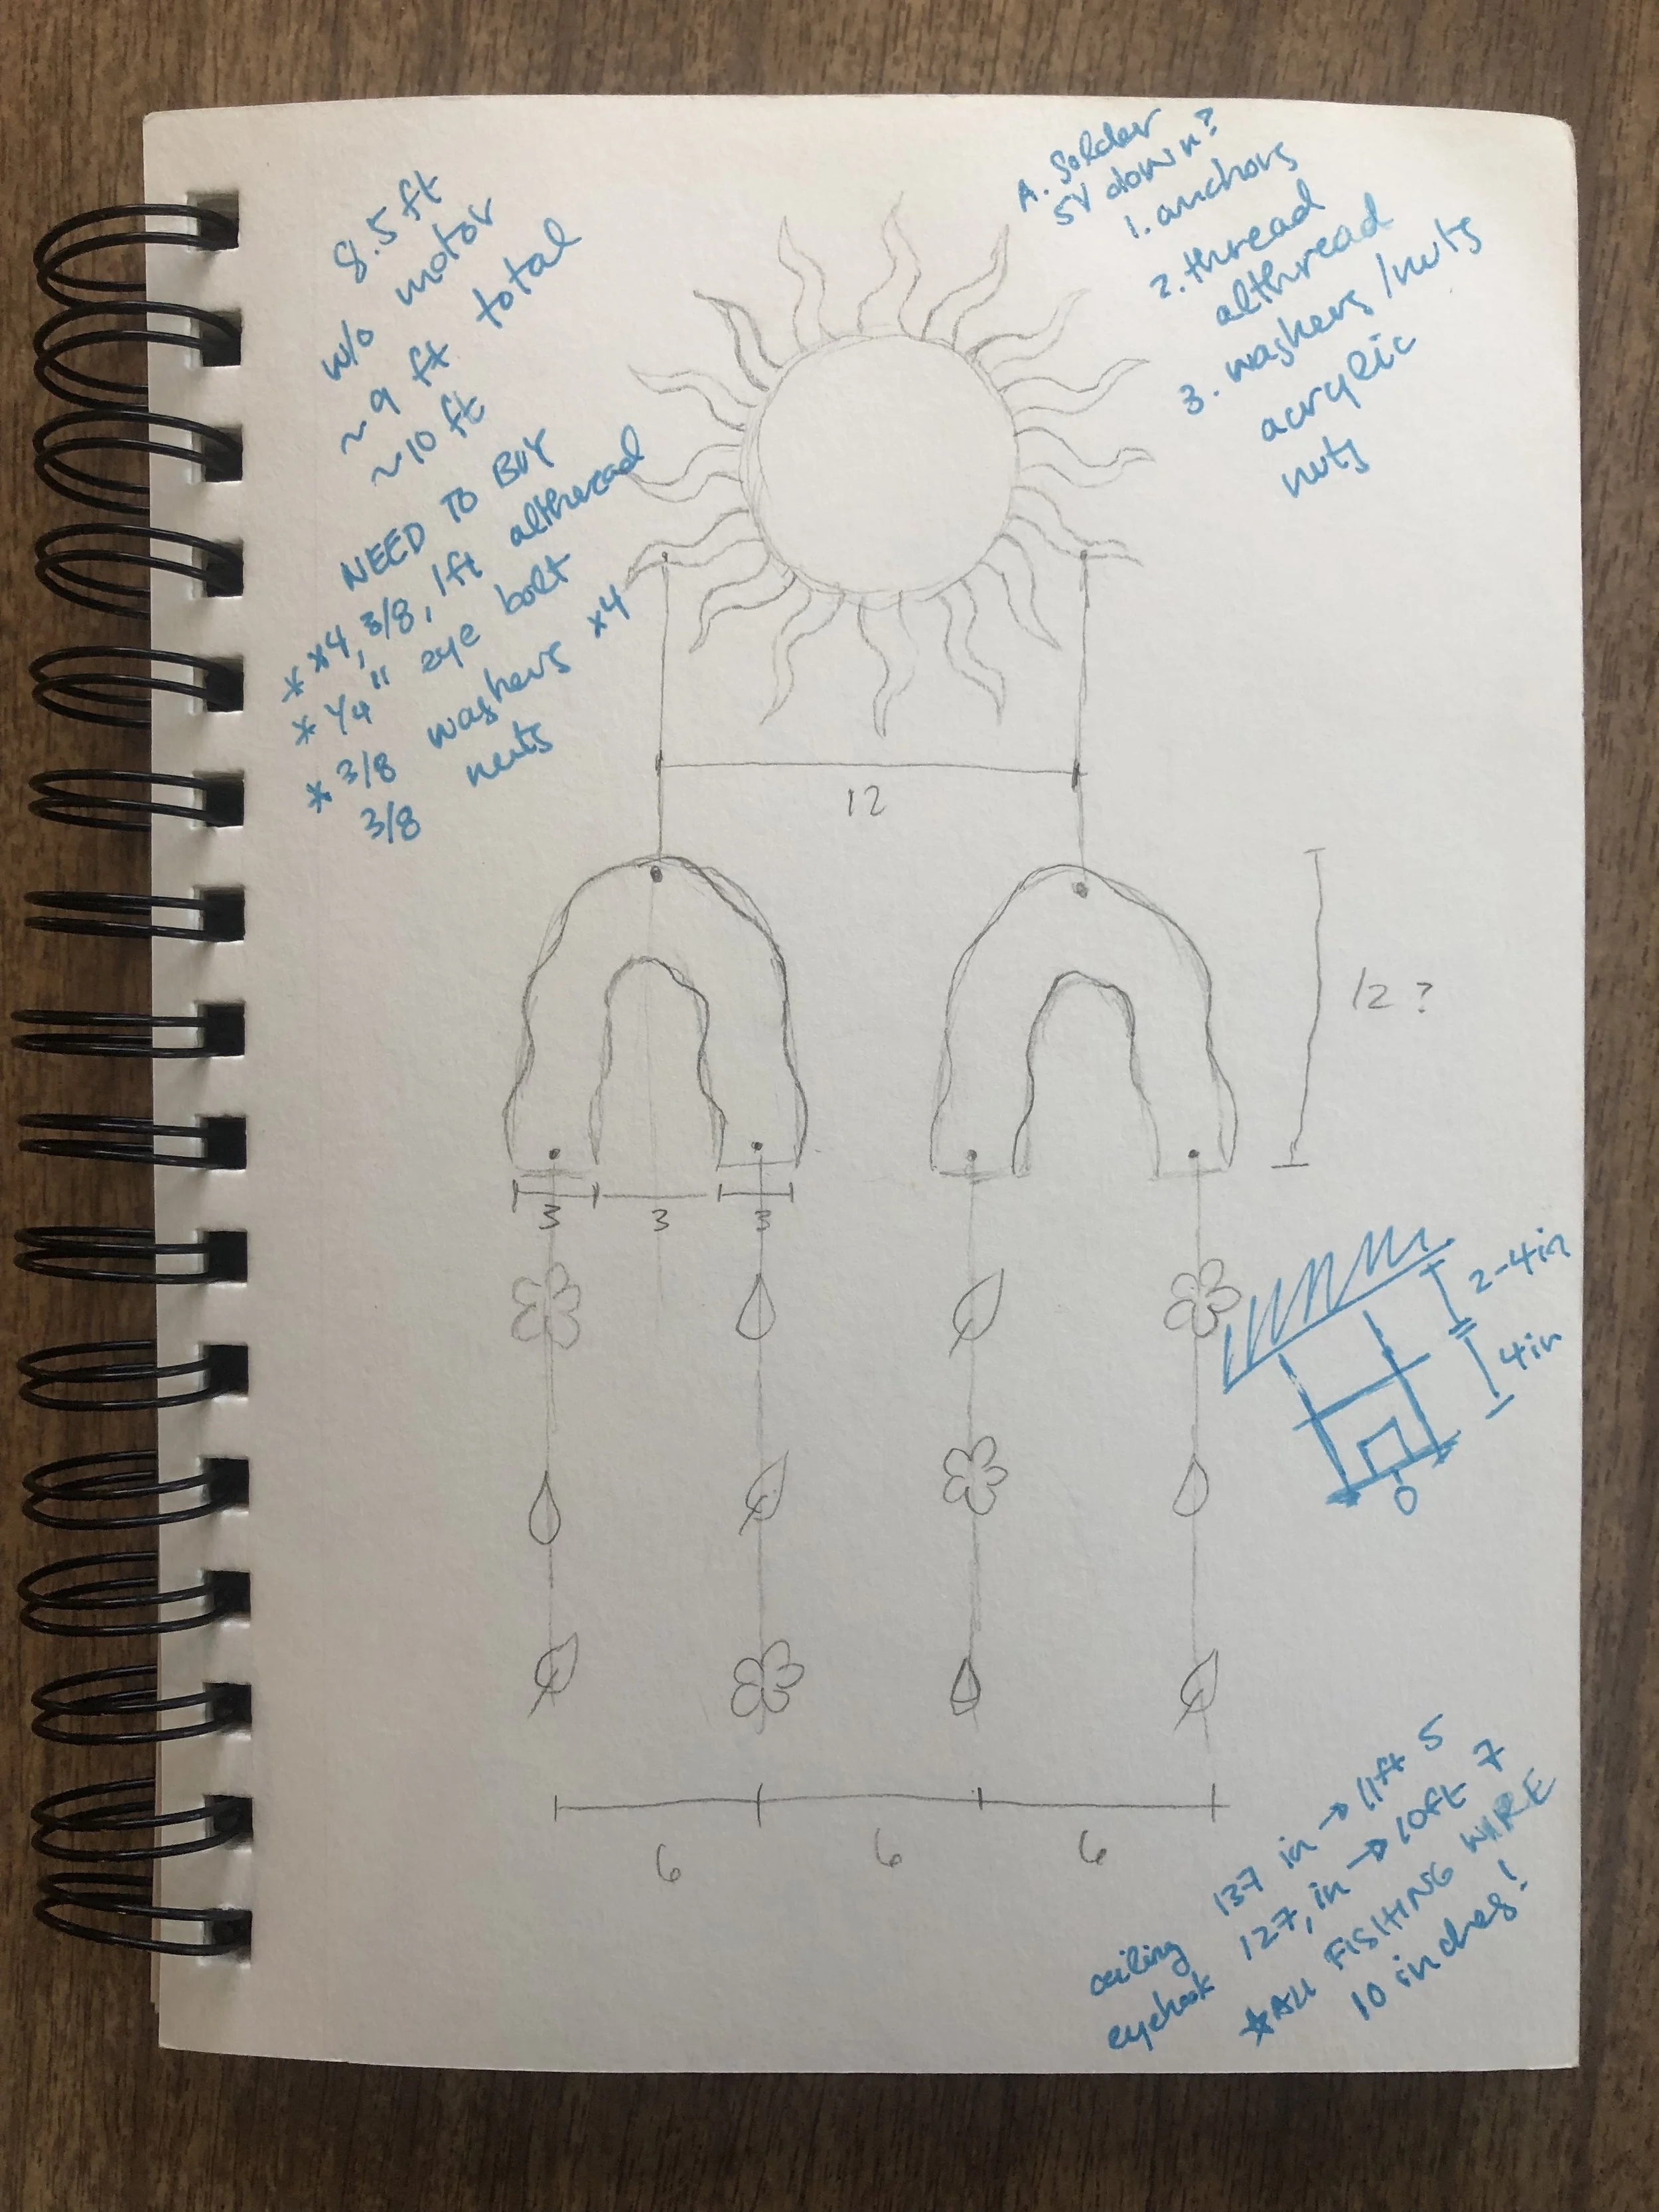
Hardware shopping list with measurements
Installation day came and I had originally blocked out two hours to get everything hung up. I had all my parts and my install steps all written out and rehearsed. The best advice I was given was to plan out a WHOLE day for installation and to plan for the worst. For the most part, everyone was on their own when it came to installing our pieces, but Jiffer was super nice in helping me get my stuff screwed into the ceiling.
The original idea of screwing 3/8th all thread into the dry wall anchors quickly broke down because there wasn’t enough clearance above the ceiling. We weren’t really sure what was up there. We toyed with ideas of building a shelf or moving the piece somewhere else (not in front of a window) and screwing into another large piece of acrylic ($$$). Eventually, we refocused and cut out three more holes in the motor housing’s top plate and sourced shorter drywall screws and anchors.
After the housing was secure in the ceiling I could hang up my mobile, fine tune the BED to make it quieter and vibrate less, clean the acrylic of fingerprints, and tape up the extension cord. Everything came together in the end!


Nature Mobile, 2021

Nature Mobile, 2021

Nature Mobile, 2021
“Nature Mobile explores the future relationship between technology, engineering, art, and nature. The organic shapes have been cut from colorful plastic using a laser cutter. Nature has a lot to teach us. Man-made designs are often inspired by nature and the materials come from the earth. Ironically, these nature-influenced processes often hurt it. The solution to our changing climate hangs in the balance of listening to nature and the future of engineering advancements.”