
Signal Culture
While loitering around the ITP floor last summer, I was dumping all my future employment trauma's on my professor Ali. He thought for a moment and and consoled me with a “Would you want to do a residency in Colorado?”. Little did he know that I <3 Colorado. Big time! Nearly six months later I was still unemployed (still am now!) but I just had the best week at Signal Culture.
Signal Culture is an organization that “encourages creation of new work, building of community, and connection to history in the field of experimental media art by providing artists, researchers, and innovators with residencies, resources, and exhibition opportunities”. They offer three different residencies for artists, toolmakers, and researchers. The co-founders, Debora and Jason Bernagozzi, open up their home to multiple residents at once and welcome them to the studios at Artworks. With little idea what I was in for, I flew to Denver to do my toolmaker residency and my time coincided with the extremely talented video artist and lovely Sarah Turner.
I had no idea that both Debora and Jason are experts in experimental media and have traveled the world performing. Staying with them was a dream, so cozy and comfy. Morning coffee consisted of stories of trips to Japan, career mentorship, and sharing of niche synth modules. Their studios are home to incredibly unique synthesizer and video equipment, many of which are the only ones in existence. Technical questions that go unanswered can be solved by a quick call to the inventor of the system, many of which are close friends of theirs. Huge flex!
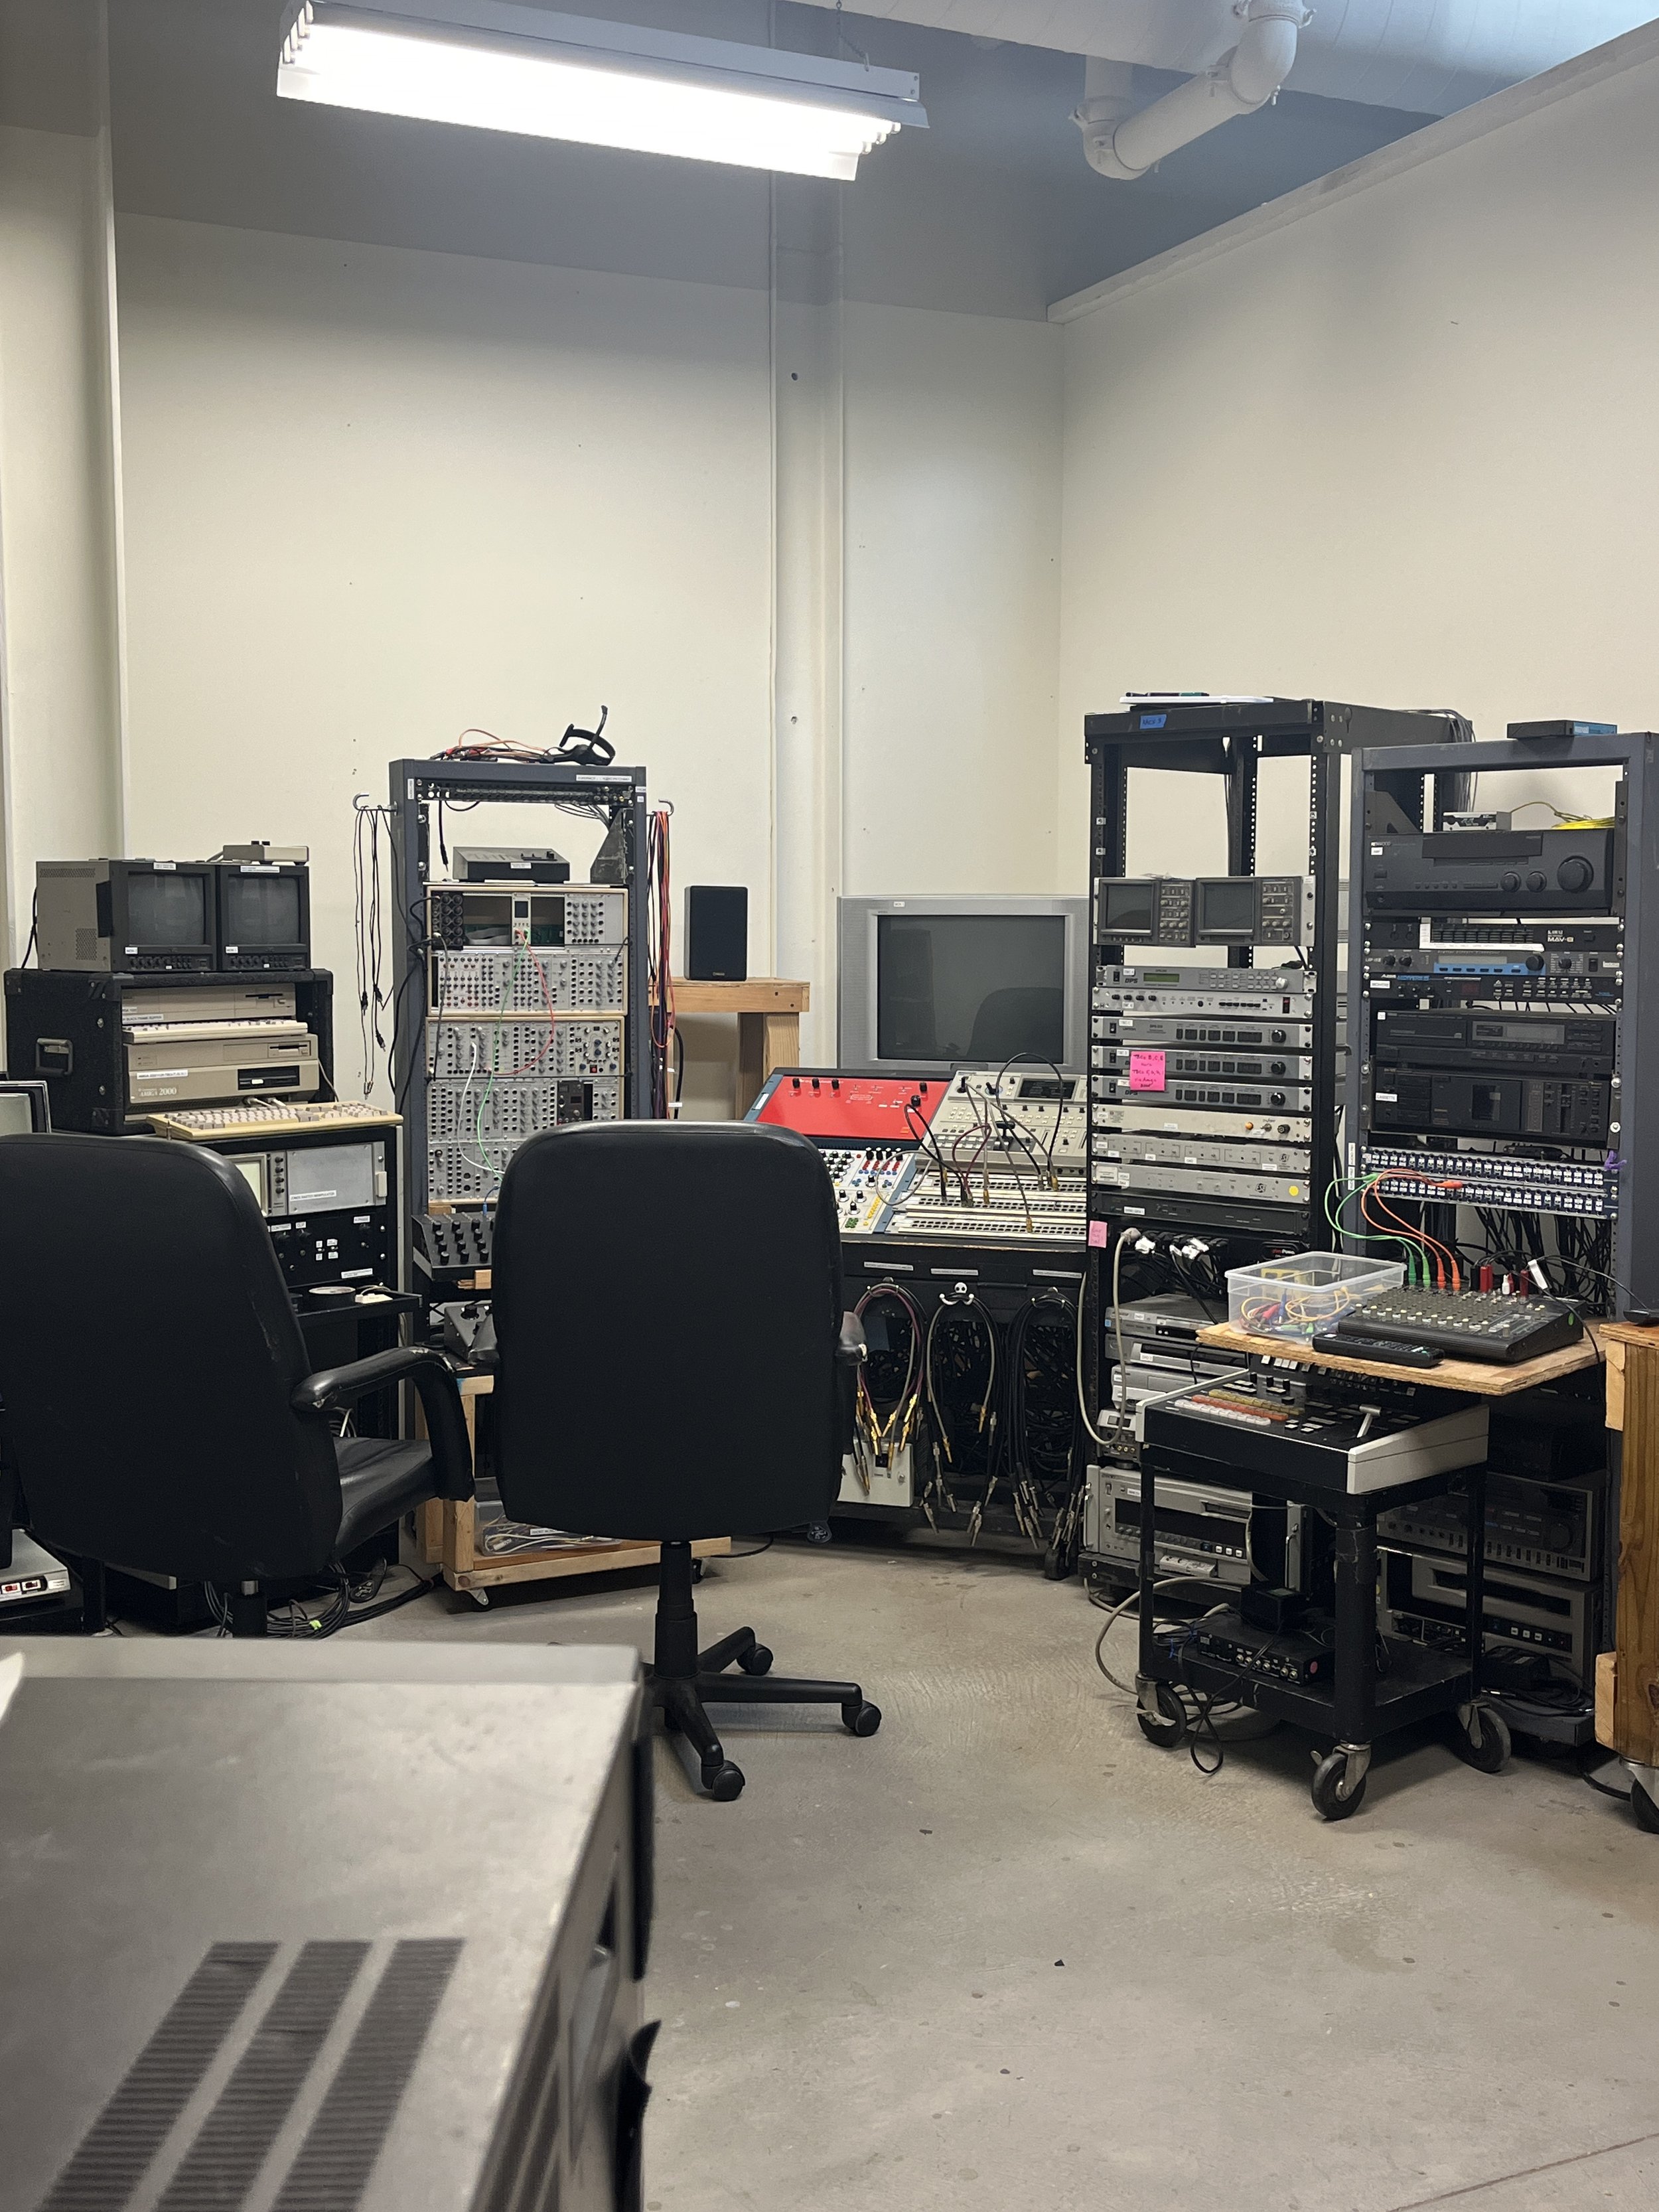
Some Signal Culture Machines
Since I have little experience in new media art, and none in video, I wanted to write up what I learned about the equipment I saw. Toolmaker residents don’t usually have access to the machines in the artists studio but Sarah was super kind to let me sit in on the training. Like I mentioned before, many of these machines are one of a kind (OOAK), developed by the close friends of Signal Culture, so it was really special to see how they work.
NOTE: I am no new media or video art expert. If what I explain is not right or doesn’t make sense, that is probably why.

All kinds of cameras for live video feed

Video wave output on the waveform monitor (is this just an o-scope?!)
Terms / Acronyms I came across

CRT
CRT (cathode ray tube) - a vacuum tube containing one or more electron guns, which emit electron beams that are manipulated to display images on a phosphorescent screen.
TBC (time base correction) - a technique to reduce errors caused by mechanical instability present in analog recordings on mechanical media
CV (control voltage) - a voltage signal (positive, 0, negative) that affects the behavior of another signal; “they do the exact same thing that knobs do”
Key frame - a shot that defines the starting and ending points of a smooth transition
Keying - a modulation signal takes one of a specific (predetermined) number of values at all times; transmit a digital signal over an analog channel
Jones Colorizer
The Jones Colorizer was developed by the one and only synth expert Dave Jones. This module is one of a kind (OOAK) and was gifted to Signal Culture. The knobs are used to key in different R, G, B values. You can dial in other parameters such as clip and softness which can lead to interesting color fringing effects.
NOTE: the pictures and videos of the CRT TV’s have black bars running through them due to the frame rate of my phone camera not matching with the frame rate of the TV.

Jones Colorizer module

Color fringing?!
You can generate oscillator signals to create control voltages that are used to modulate the video feed and you can also patch different video feeds into each other.
… something is oscillating

Waveform monitor output
Jones MVIP

Screen grab from MVIP YouTube manual demonstrating bit swapping

Pixelation effect
Dave Jones’ MVIP (Mini Video Image Processor) is a Eurorack module for … processing video. You can dial in all the normal attributes like brightness and hue. It also does specialty effects like bit swapping. Through bit swapping, the video feed is digitized and the user can choose between a number of pre-programmed rearrangements of the bits that are swapped and/or inverted. The hue and brightness controls are still active which can result in these crazy, oil-spill colored images! Soooo cool!
The fifth knob controls the video processing mode. You choose how many color bits the output signal has. It also controls video effects like the degree of pixelization and colorizing with luminance.

Dave Jones MVIP on the left, Dave Jones O’Tool on the right

So much magic in just one MVIP knob!

MIX50 Mixer
I’m preeeetty sure it’s that thing with all the patch cables sticking out of it…
The MIX50 mixer can mix up to 4 channels of video on two different busses; so many options! It has different “wipe” patterns to transition between feeds and other digital effects.
Amiga Frame Buffer
This is a real historical relic and piece of technological history. The software even runs off of floppy disks!
A frame buffer meant to display single images at a time and dump the image. It’s not usually used for moving graphics. The software is used to pick pixels of a specific value and replace them with pixels from a different frame. That’s how we achieved this repetitive, image-within-image, gif-like effect.
Fun with the frame buffer
Can playback frames in reverse order

Amiga 1000 frame buffer
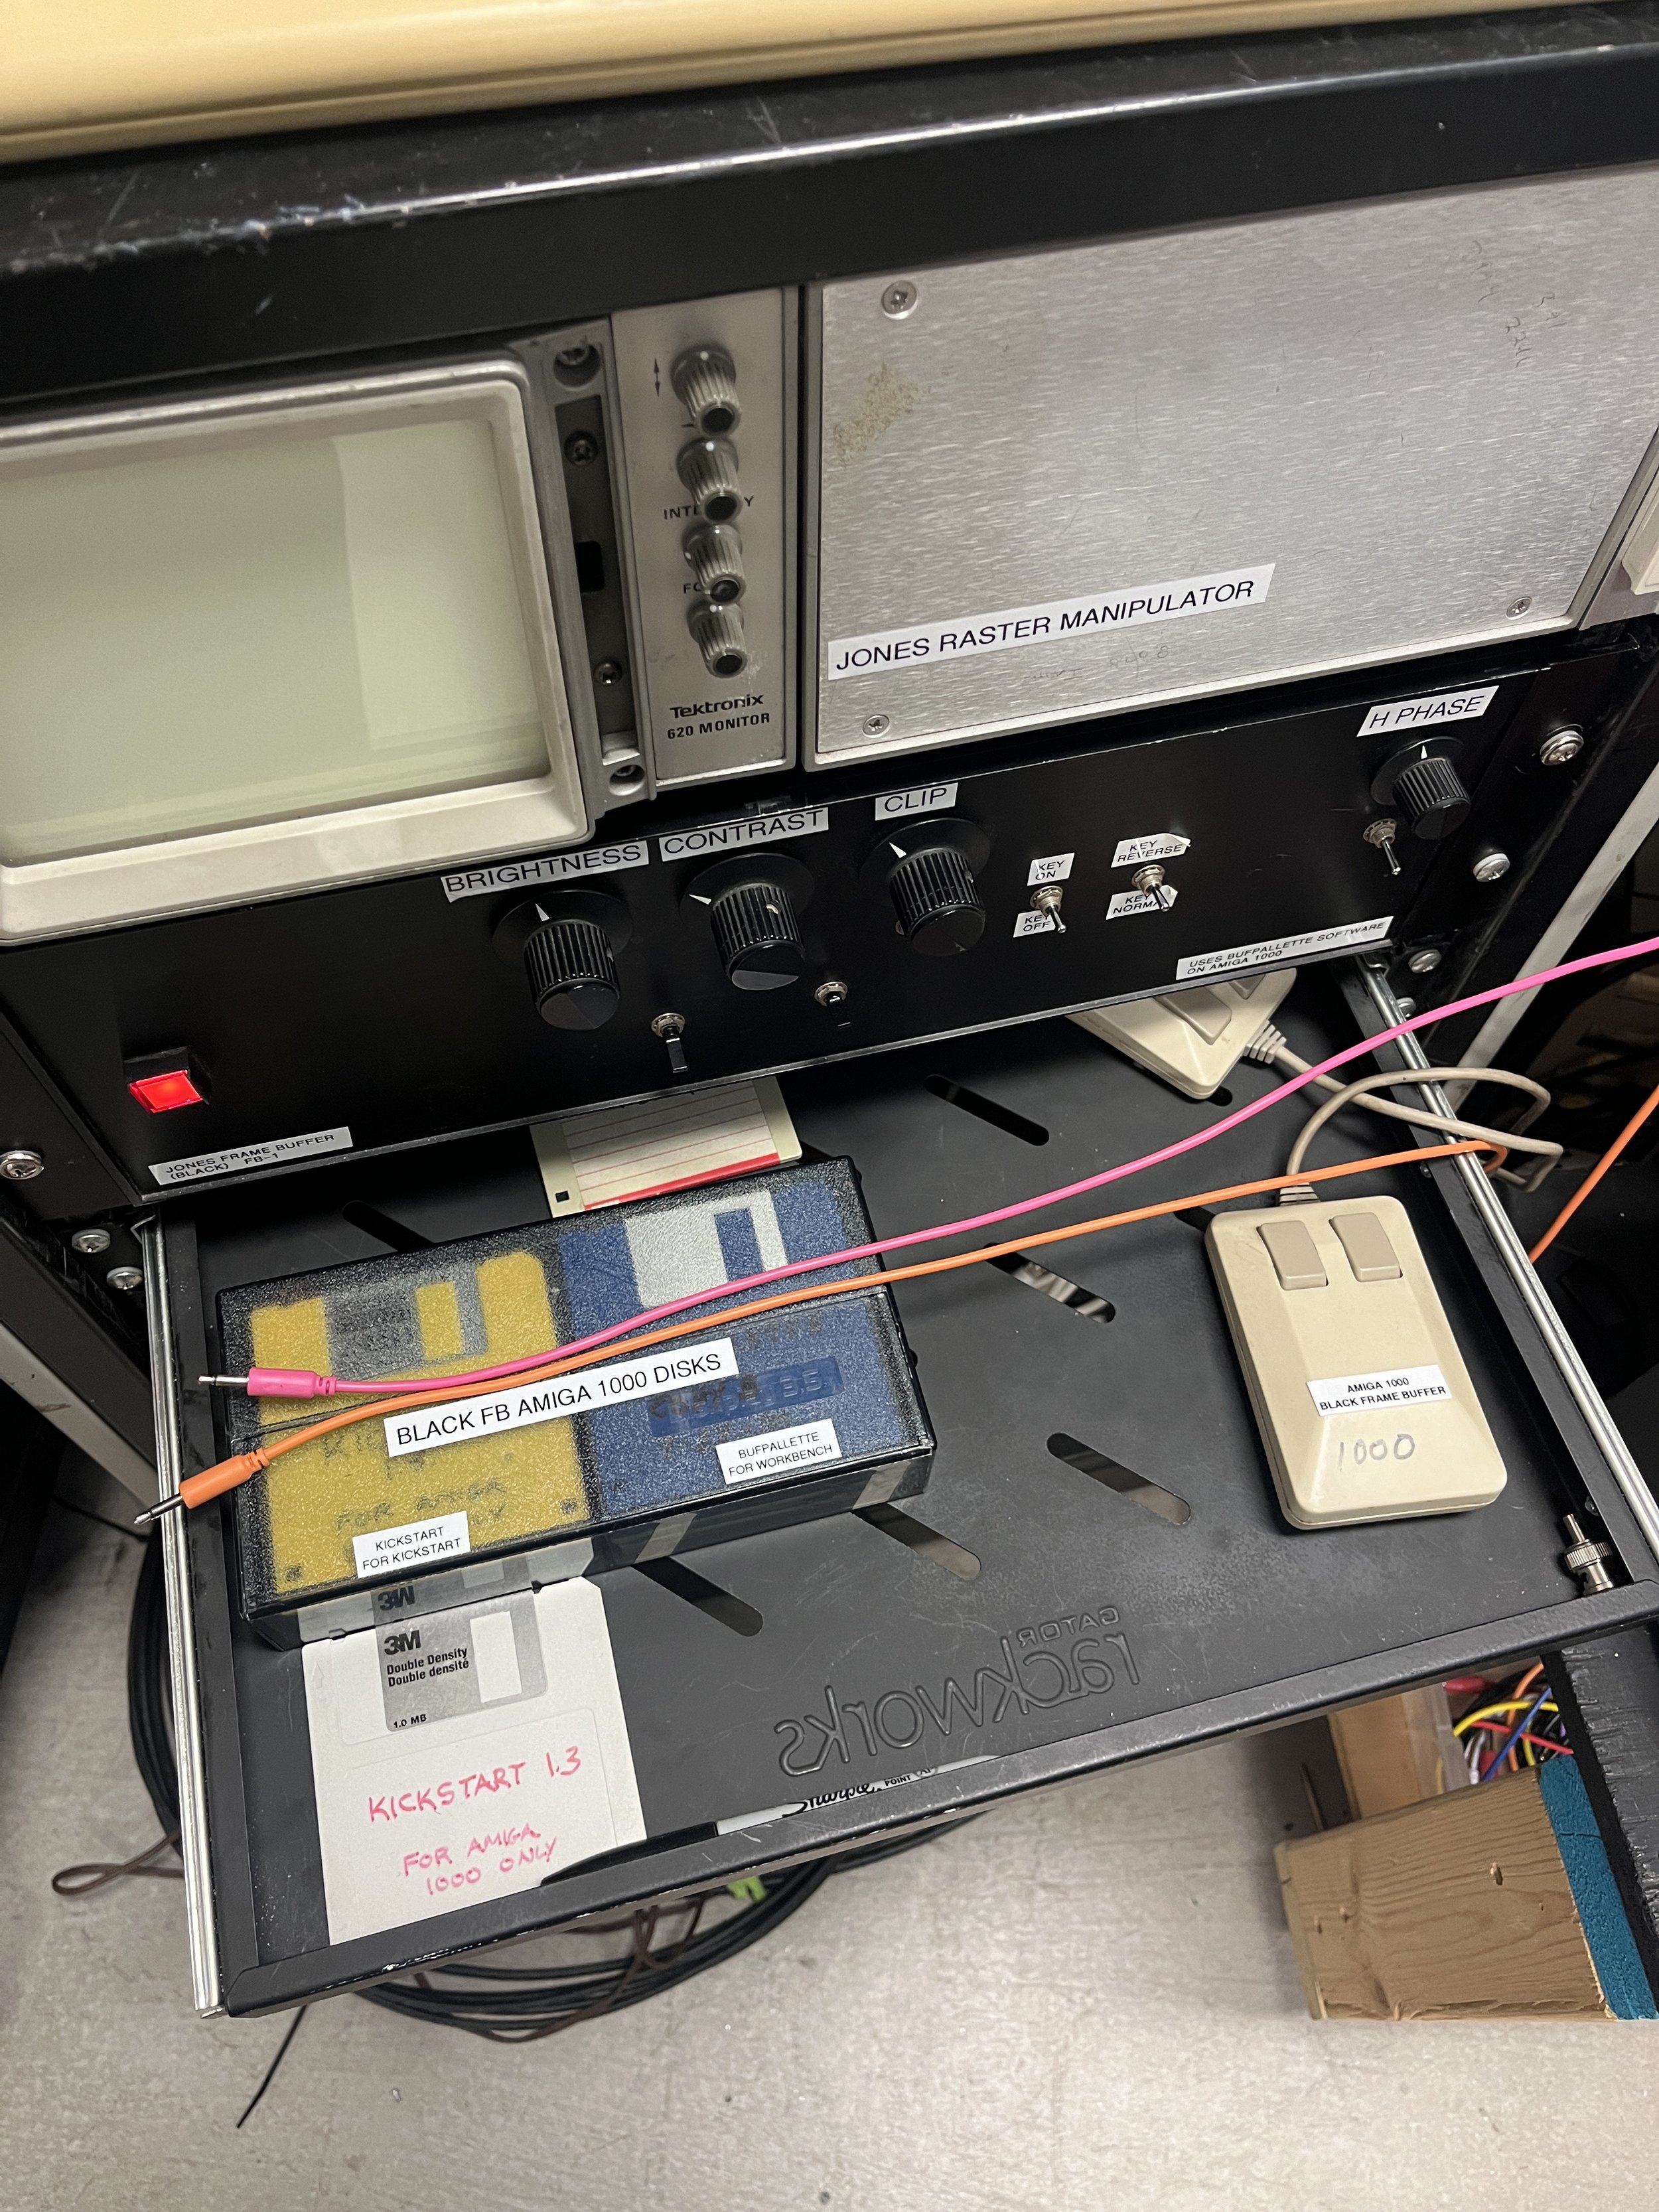
Runs off of floppy disks! 🤯 Look at that mouse
Hearn AB Videolab
So the Hearn synthesizer supports up to three video inputs. It has buffer control pots which function as oscillators. You can use these to overlay different video feeds and mix them. There is also a quantizing colorizer effect which maps B/W values to user defined colors. The pattern generator can be used to choose between different waveforms and map to different video feeds. Signal Culture is home to all kinds of unique video equipment, a true highlight is a compact dental cam; can you spot an eyeball closeup amongst the videos?!
Pattern generated with three different video feeds
Pattern generated with three different video feeds
Bernagozzi Wobbulator
This piece of equipment is definitely OOAK. The wobbulator was initially developed by Nam June Paik and Shuya Abe and made famous for being the tool with the funniest name in the world (this is a really beautiful informative video). Basically three sets of electromagnets are placed behind the screen of a CRT TV. Oscillators fed into the different electromagnets create crazy effects, collapsing the line of electrons being drawn onto the screen. The wobbulaor @ SC was courageously built by Jason Bernagozzi himself.
I mean… r u kidding me?~
Jones Raster Manipulator
This video synth is also OOAK and developed by, you guessed it, guru Jones again. It’s a device for real-time image processing and animation. Below you can see different oscillator shapes modulating the shape of the video feed. A video signal can be used as a control voltage too🤯

Sawtooth wave
CV and sine wave
So What Did I Do?

After stalking the artist studio, I had to remember what I was at Signal Culture to do. I had two goals:
Hardware updates to interFACE
Learn something about analog sound synthesis
Crimp Life
I brought with me interFACE (obviously) and a big ‘ol wire crimping kit (everything good I do I copy from my friend Bianca). Many of the connections within my step sequencer synth were either soldered in place or precariously jumper-wired together, so very precarious. And in all my time as an electrical engineer, I’ve never learned how to crimp wires and make my own connectors, can you believe it?! I set out to create JST connectors for all my components (pots, LEDs, buttons, etc) so that I could gracefully unplug the top face from the controller board. A bit of the process is below:

First, strip wires and crimp either a pin or socket metal

Insert crimped wires into connector housing

Completed 3-wire JST cable harness

Some crimped wires

Some JST connectors

Solder one end of the cable harness to the component and the other end to the board
As usual, a good YouTube video is the place I start when I’m trying to learn something new. This tutorial was very helpful with getting started with crimping wires (this one was good too if you are okay with the guy being a bit of an asshole).
The process of soldering, heat-shrinking, labeling, and crimping connectors to all the components of my synth really took a long time. So long in fact, that I didn’t finish until May of next year when I had to put my “face” back together for exhibition at Currents New Media Festival.
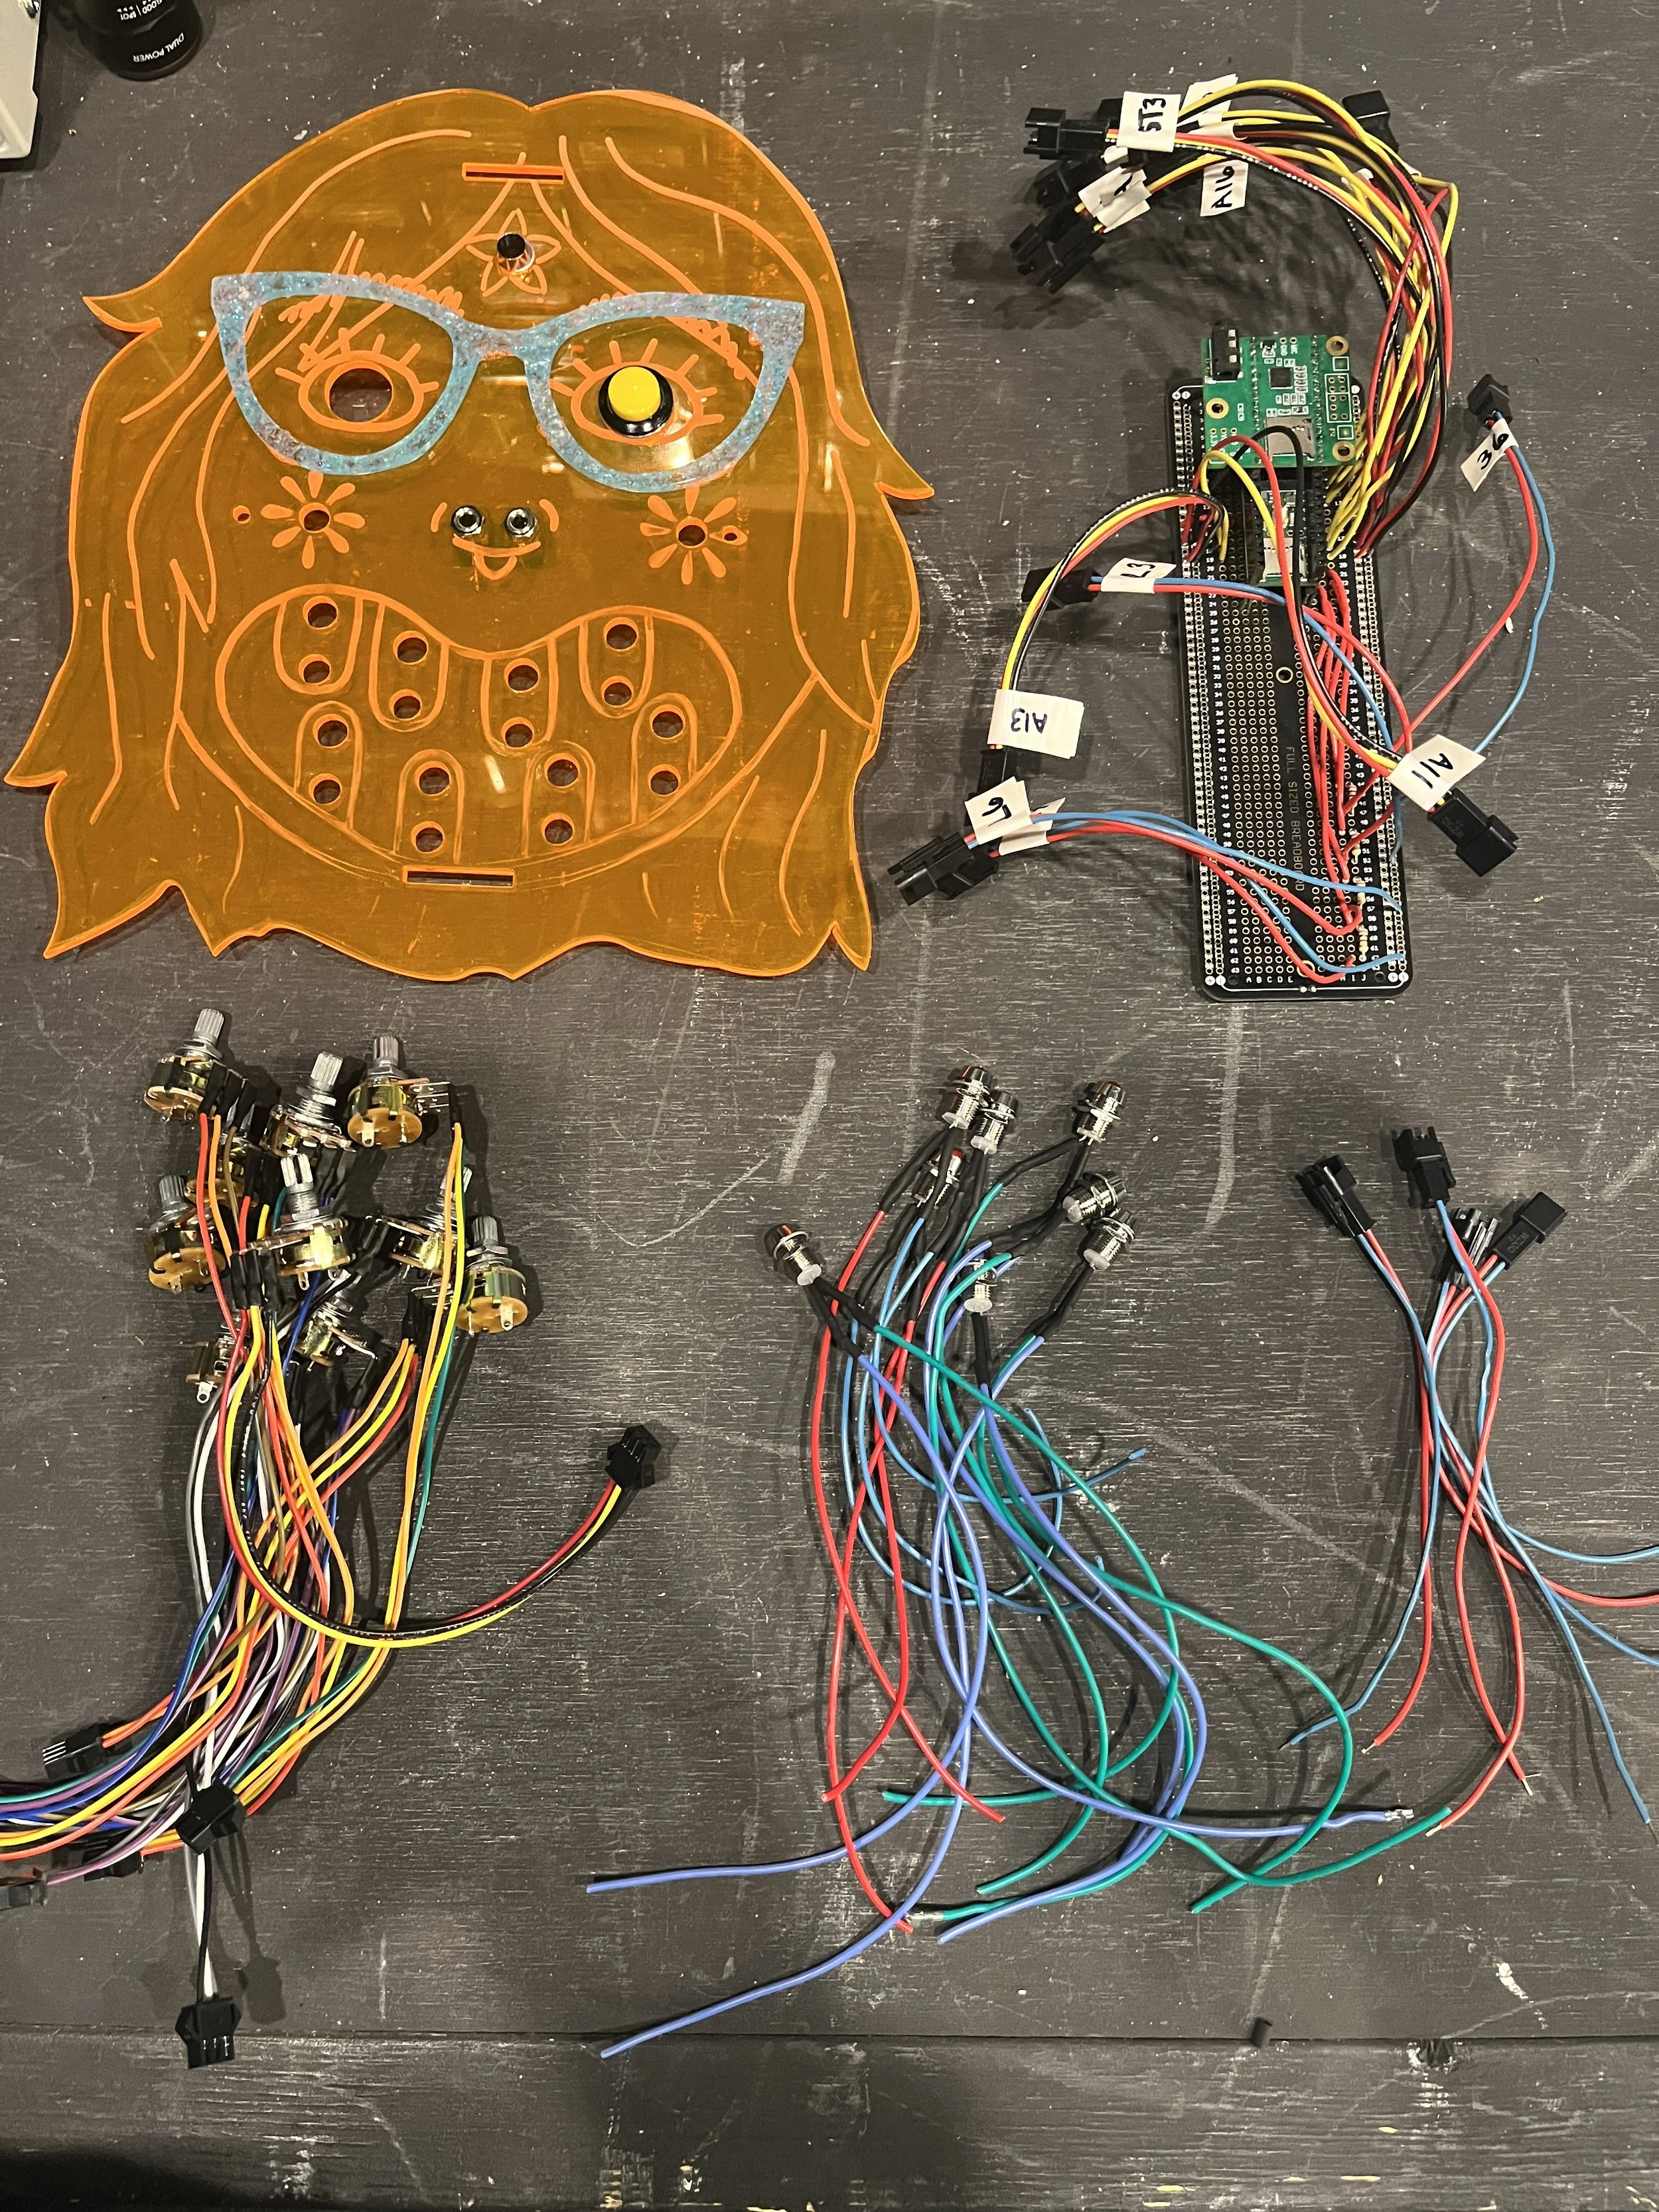
As far as I got by the end of my 1 week SC residency

05/25 Completed connectors
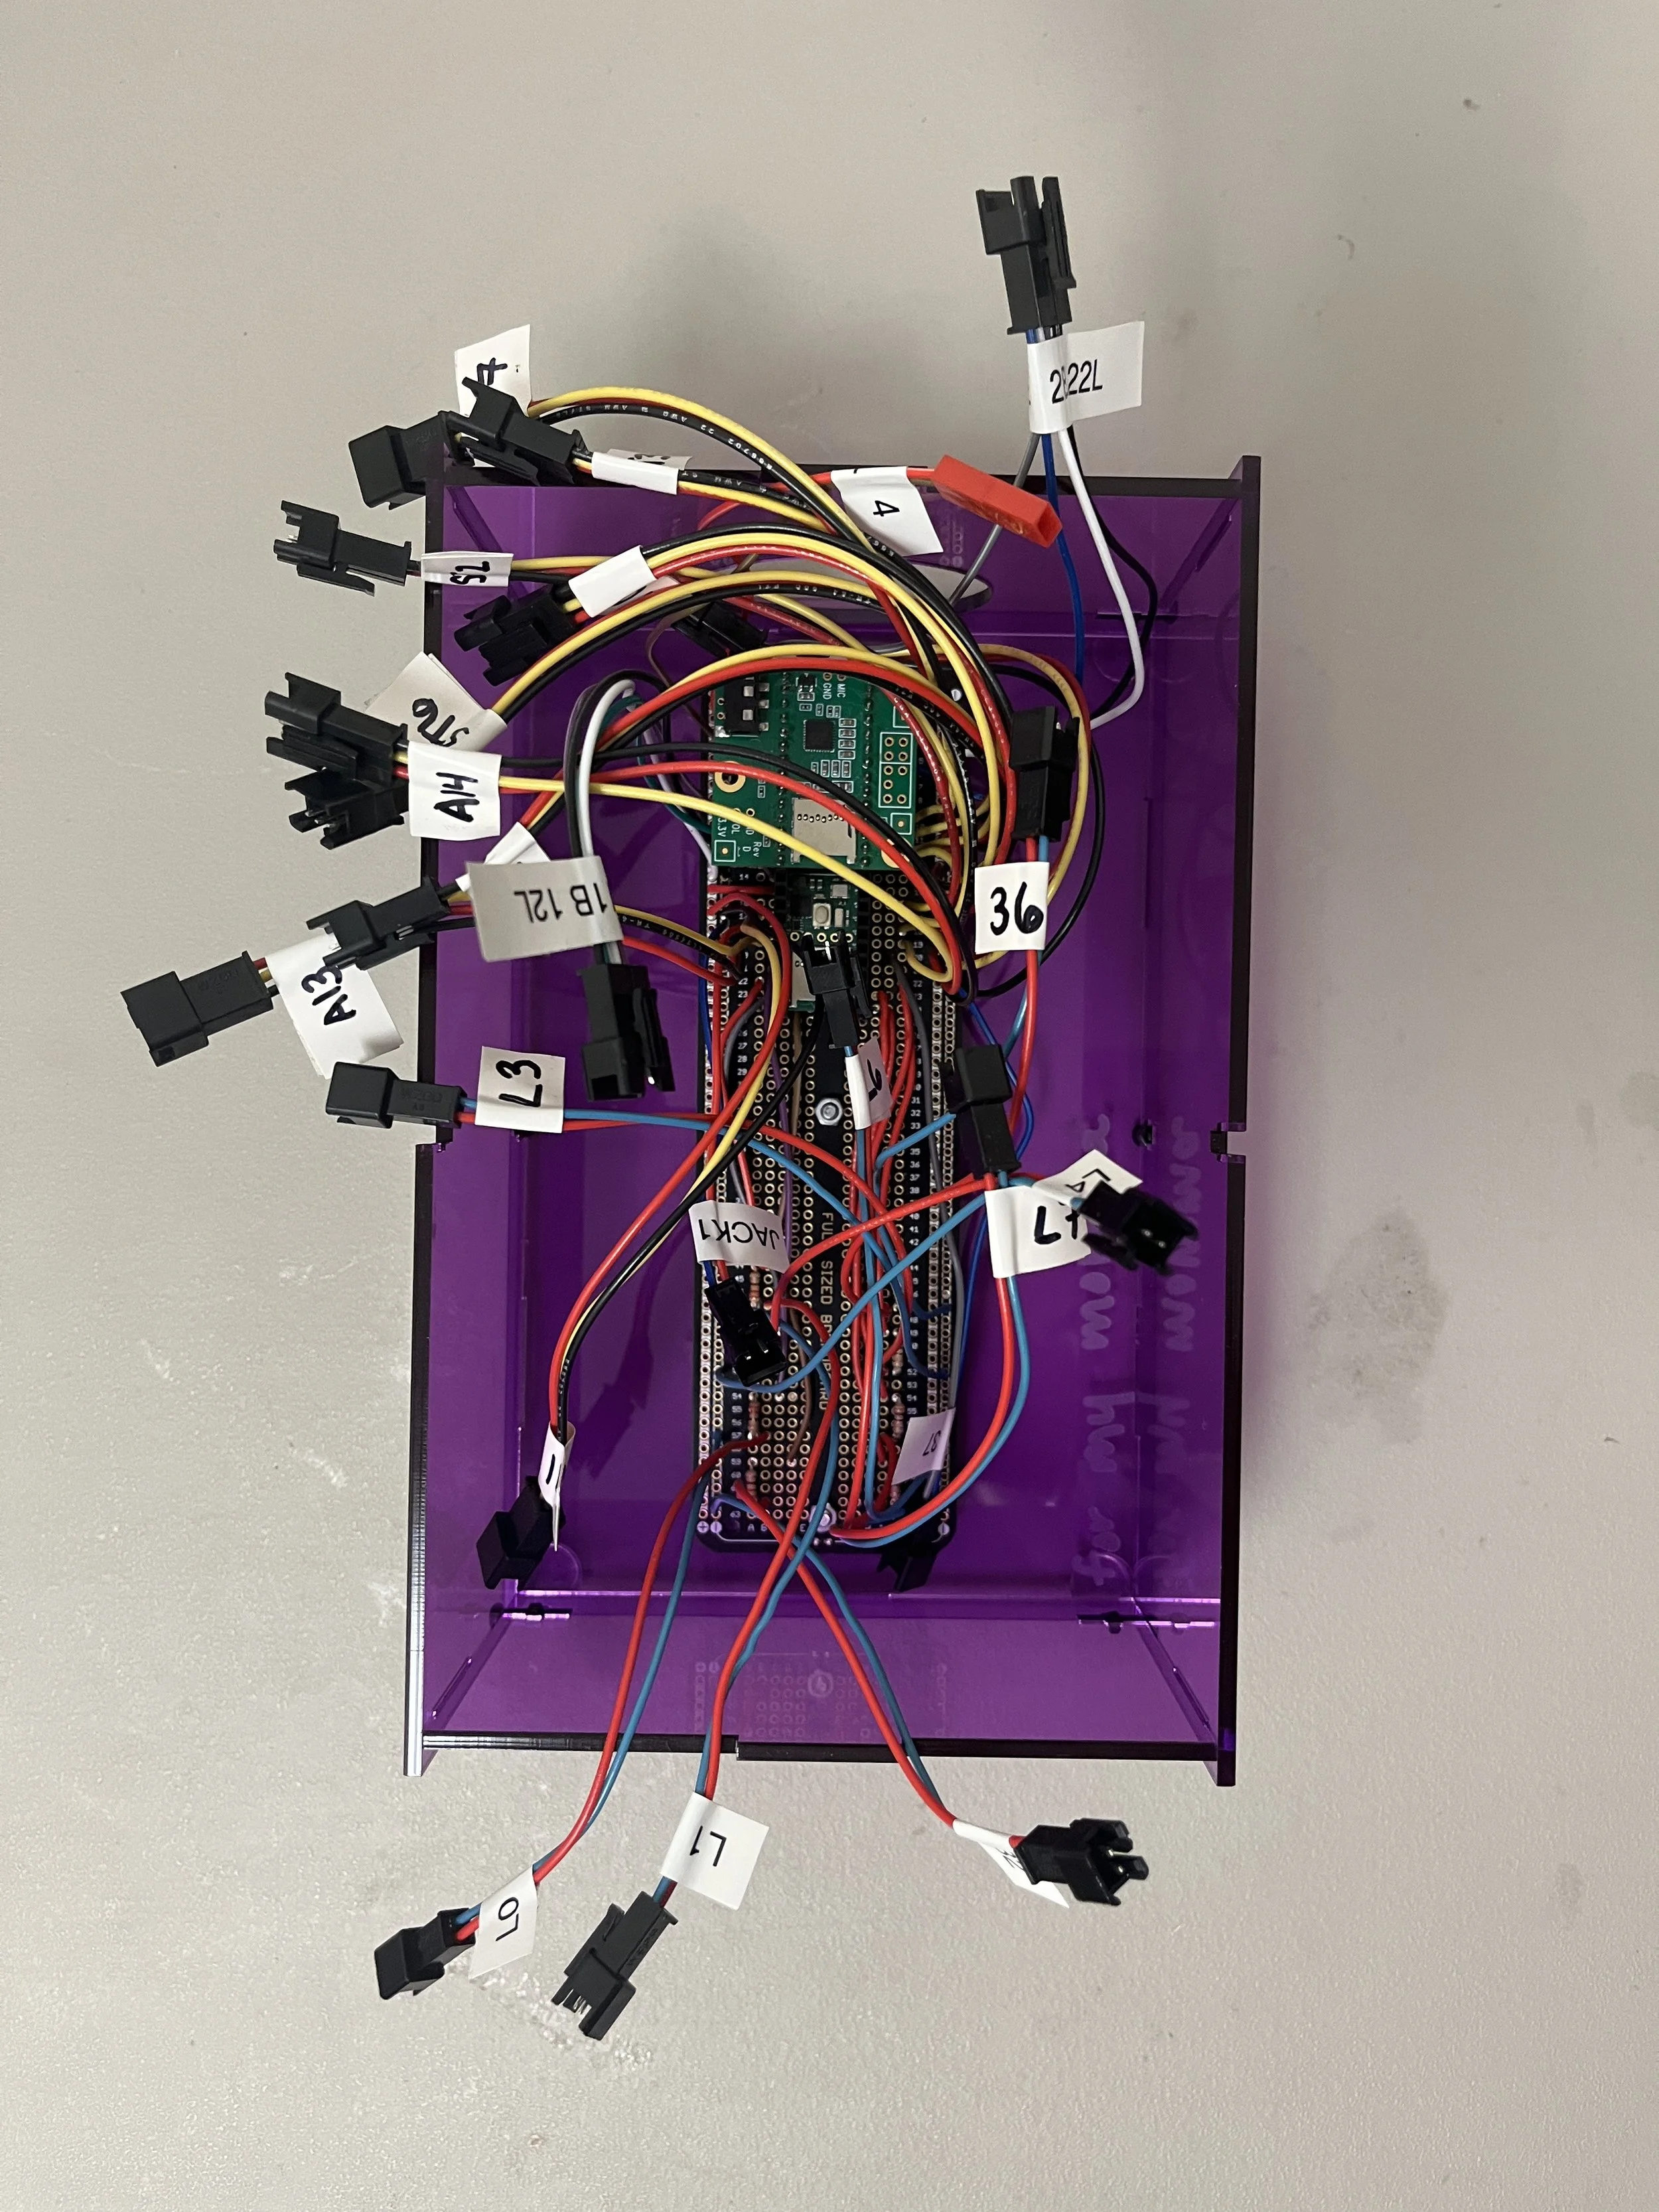
Controller board screwed into enclosure
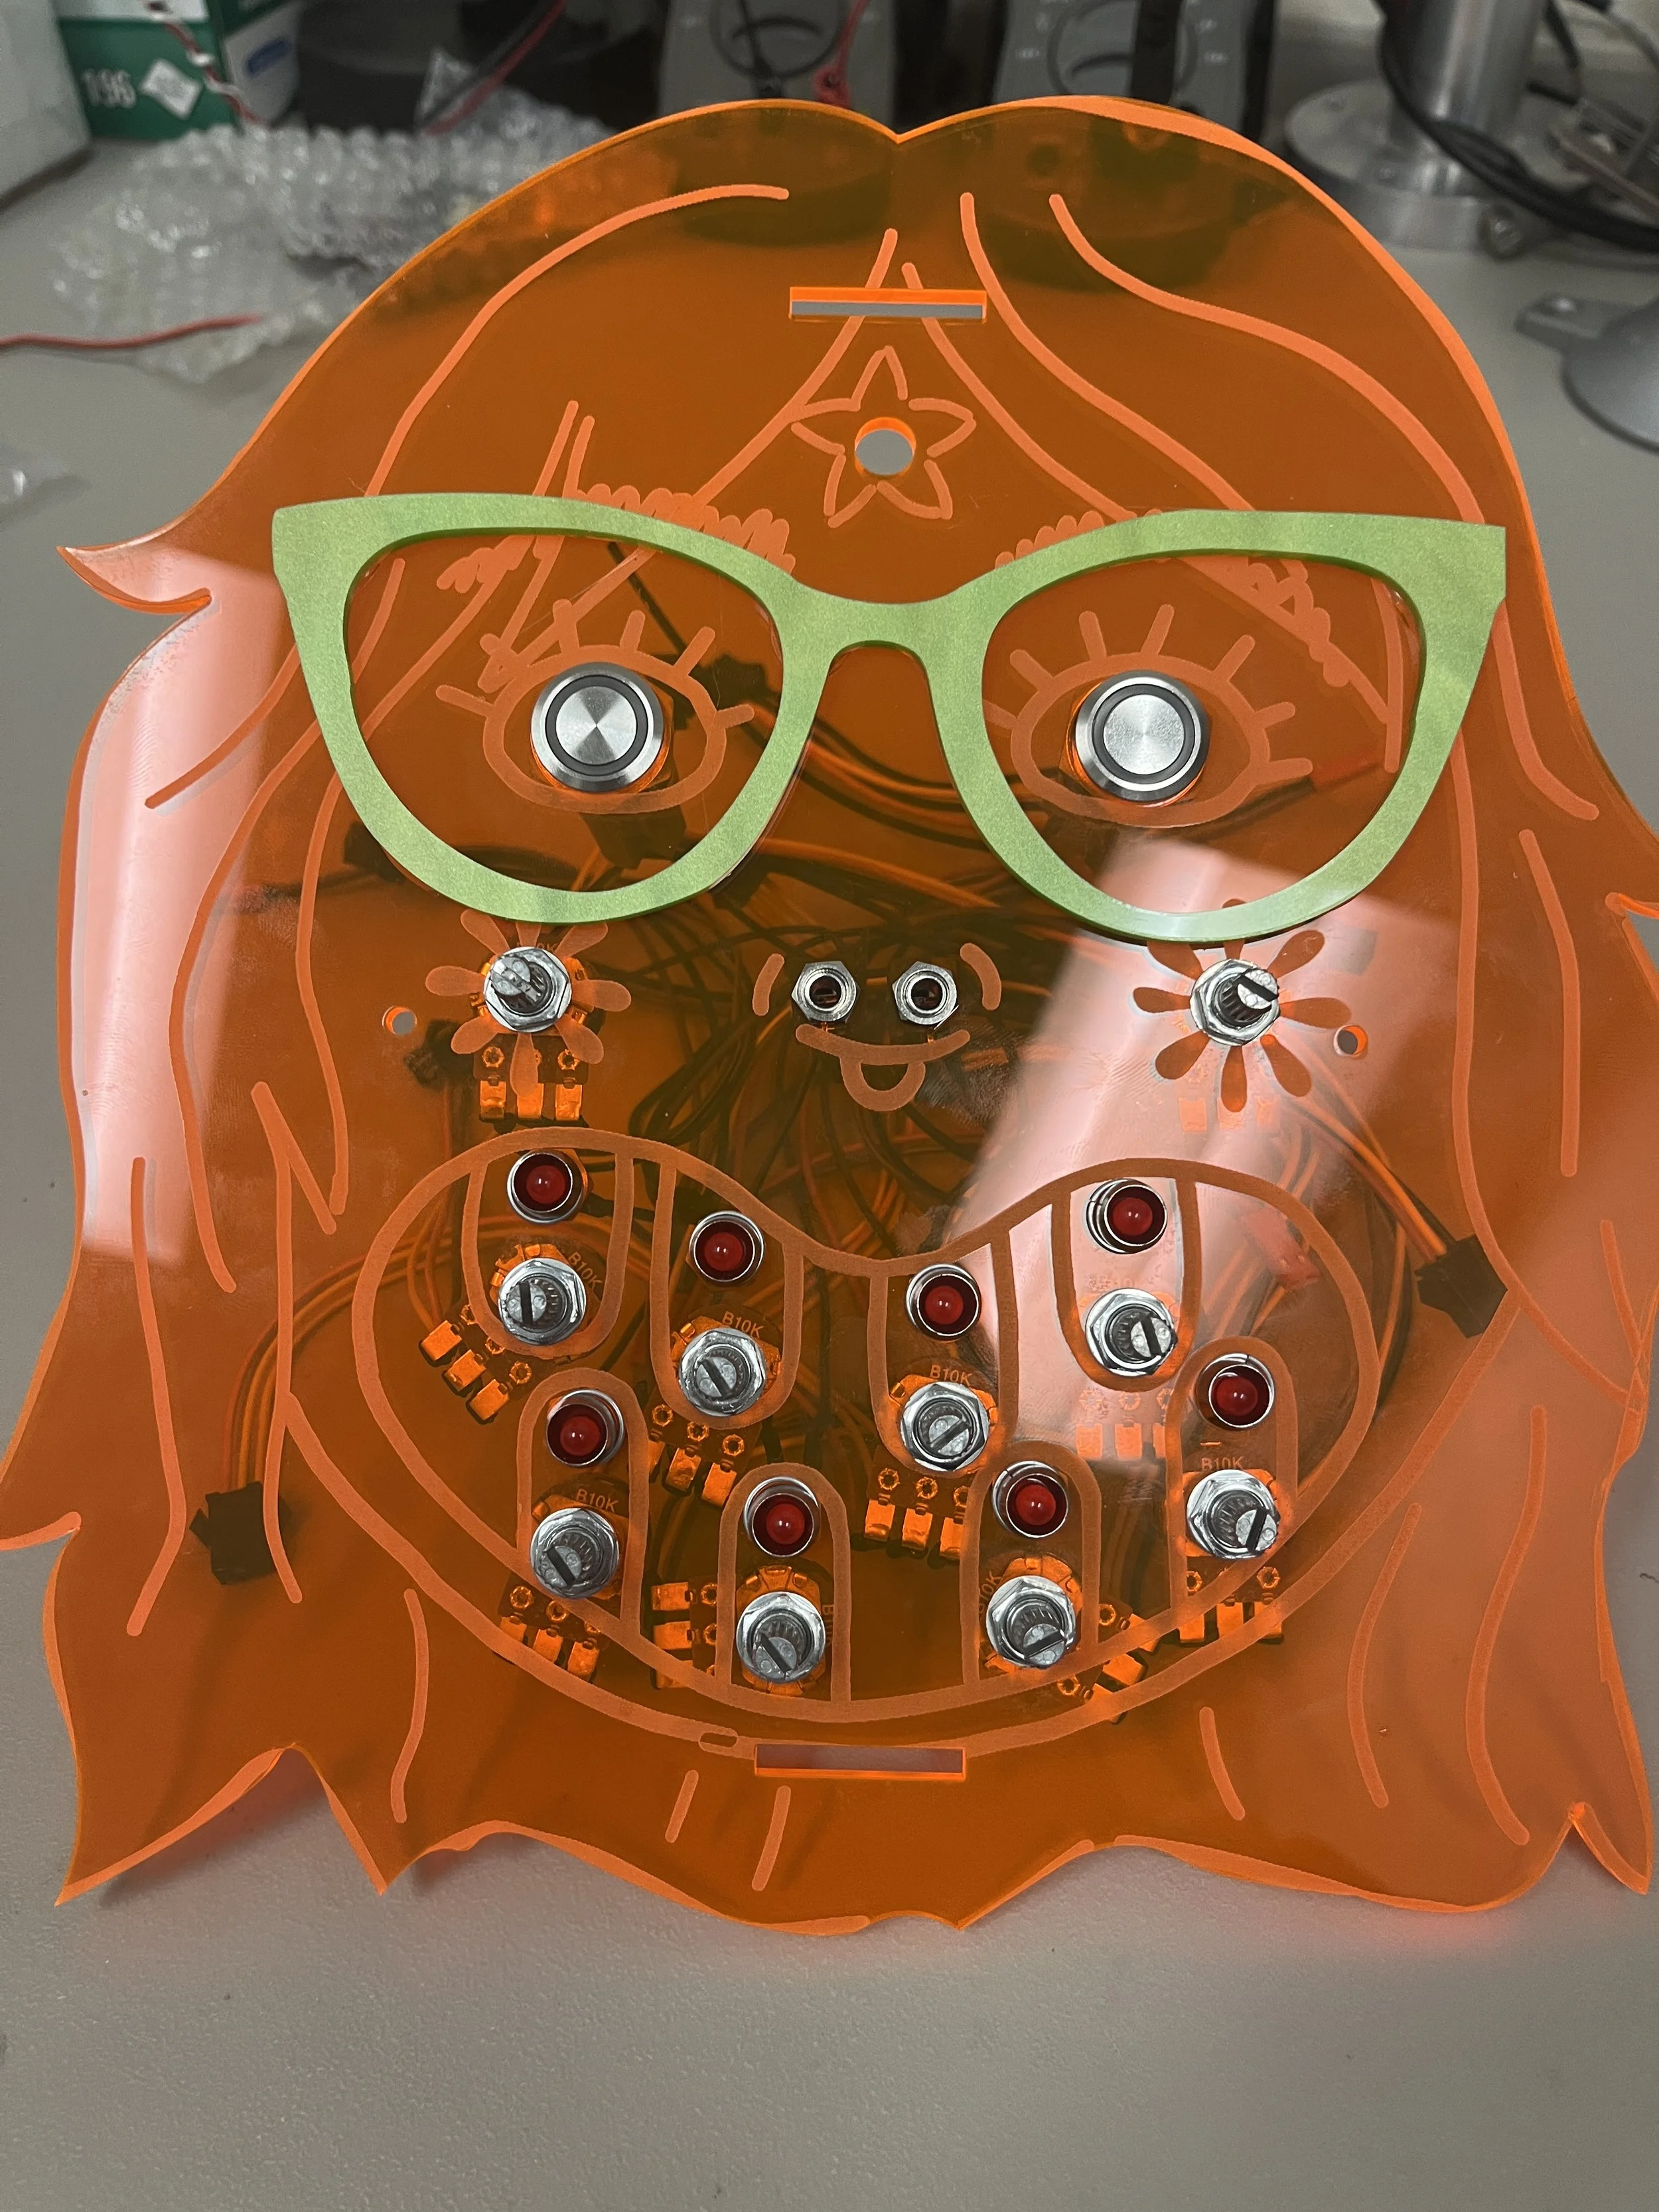
Components installed on face plate
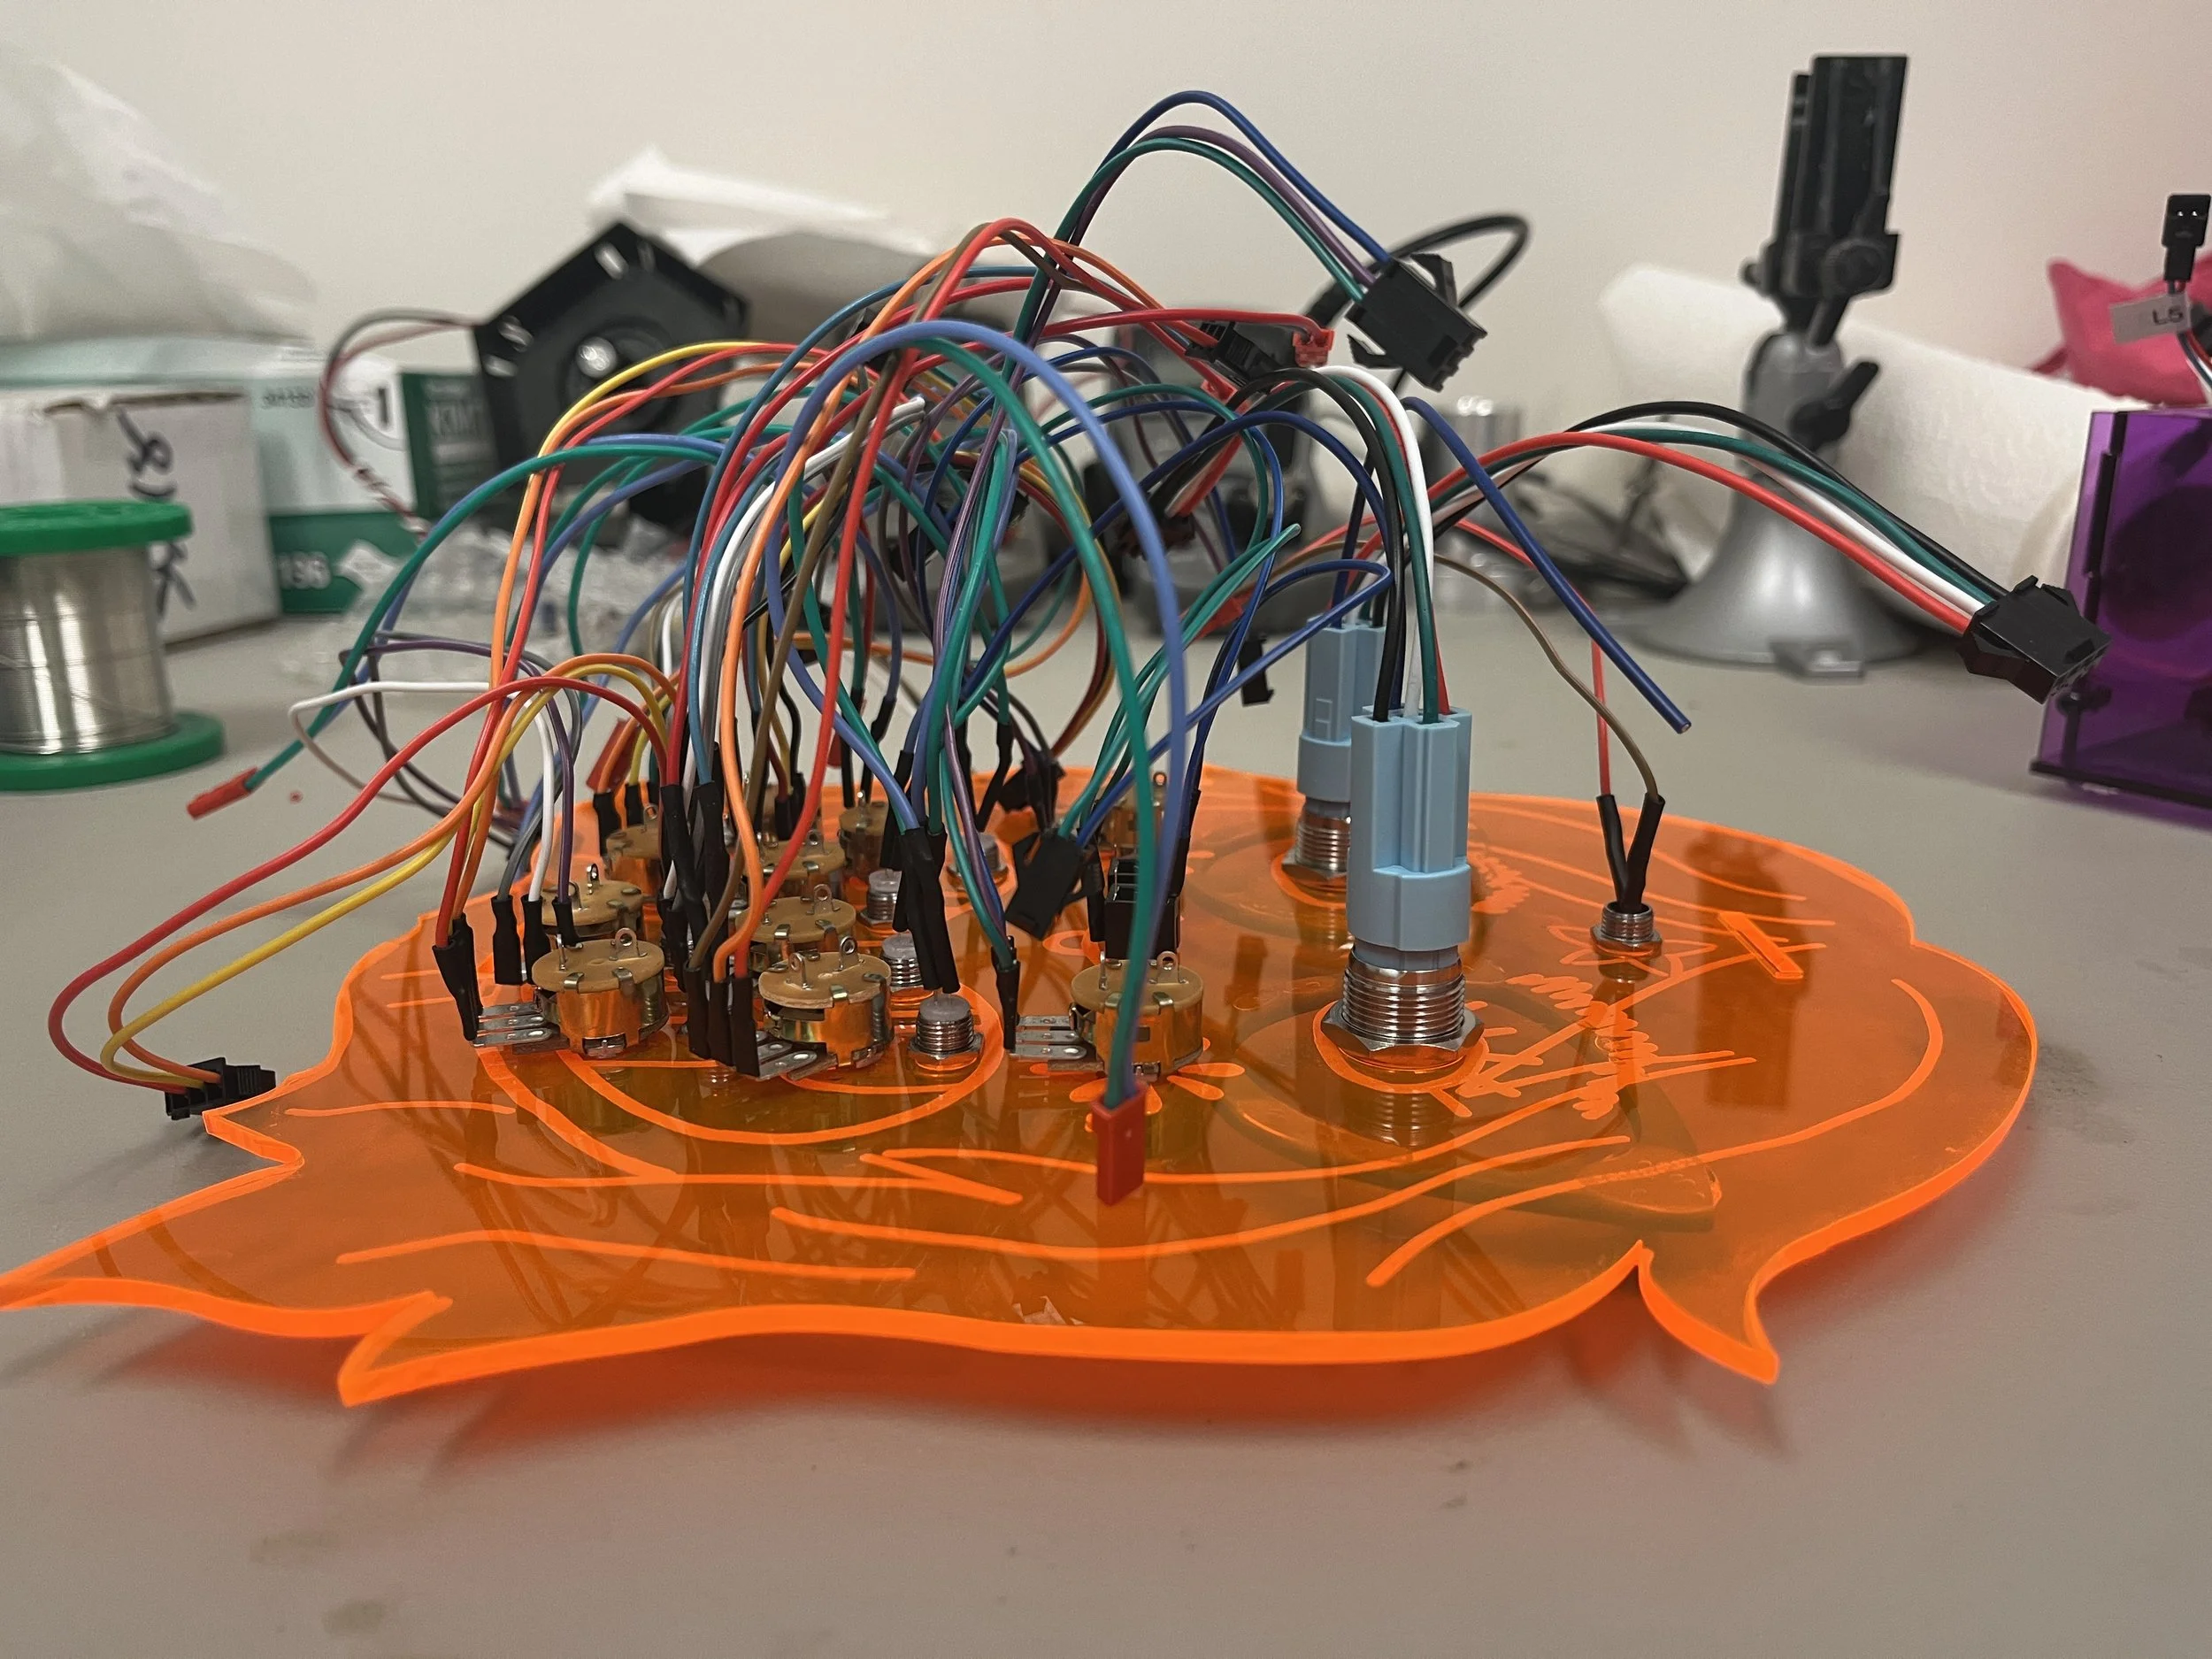
Components installed on face plate
Connecting all the wires
Another update to my synth that was desperately needing was replacing the “eye” buttons. Originally, I used these large buttons from Adafruit but their push was really unsatisfying and they looked pretty basic. I got a pair of these metal push buttons from SparkFun HQ with an LED ring in different colors. Much more sophisticated and the push gave a satisfying click! One button was momentary to kick off playing a sample and the other was latching to switch to different clocking modes. These will be my go-tos when I need a heavy duty button moving forward!
Baby’s first VCO
I was truly inspired by my friend Bianca to learn to build some analog synth circuits. She recommended this creator Moritz Klein who makes really well-explained tutorials on how to make many different synth module circuits. I decided to start with replicating his voltage controlled oscillator (VCO) circuit following this video.
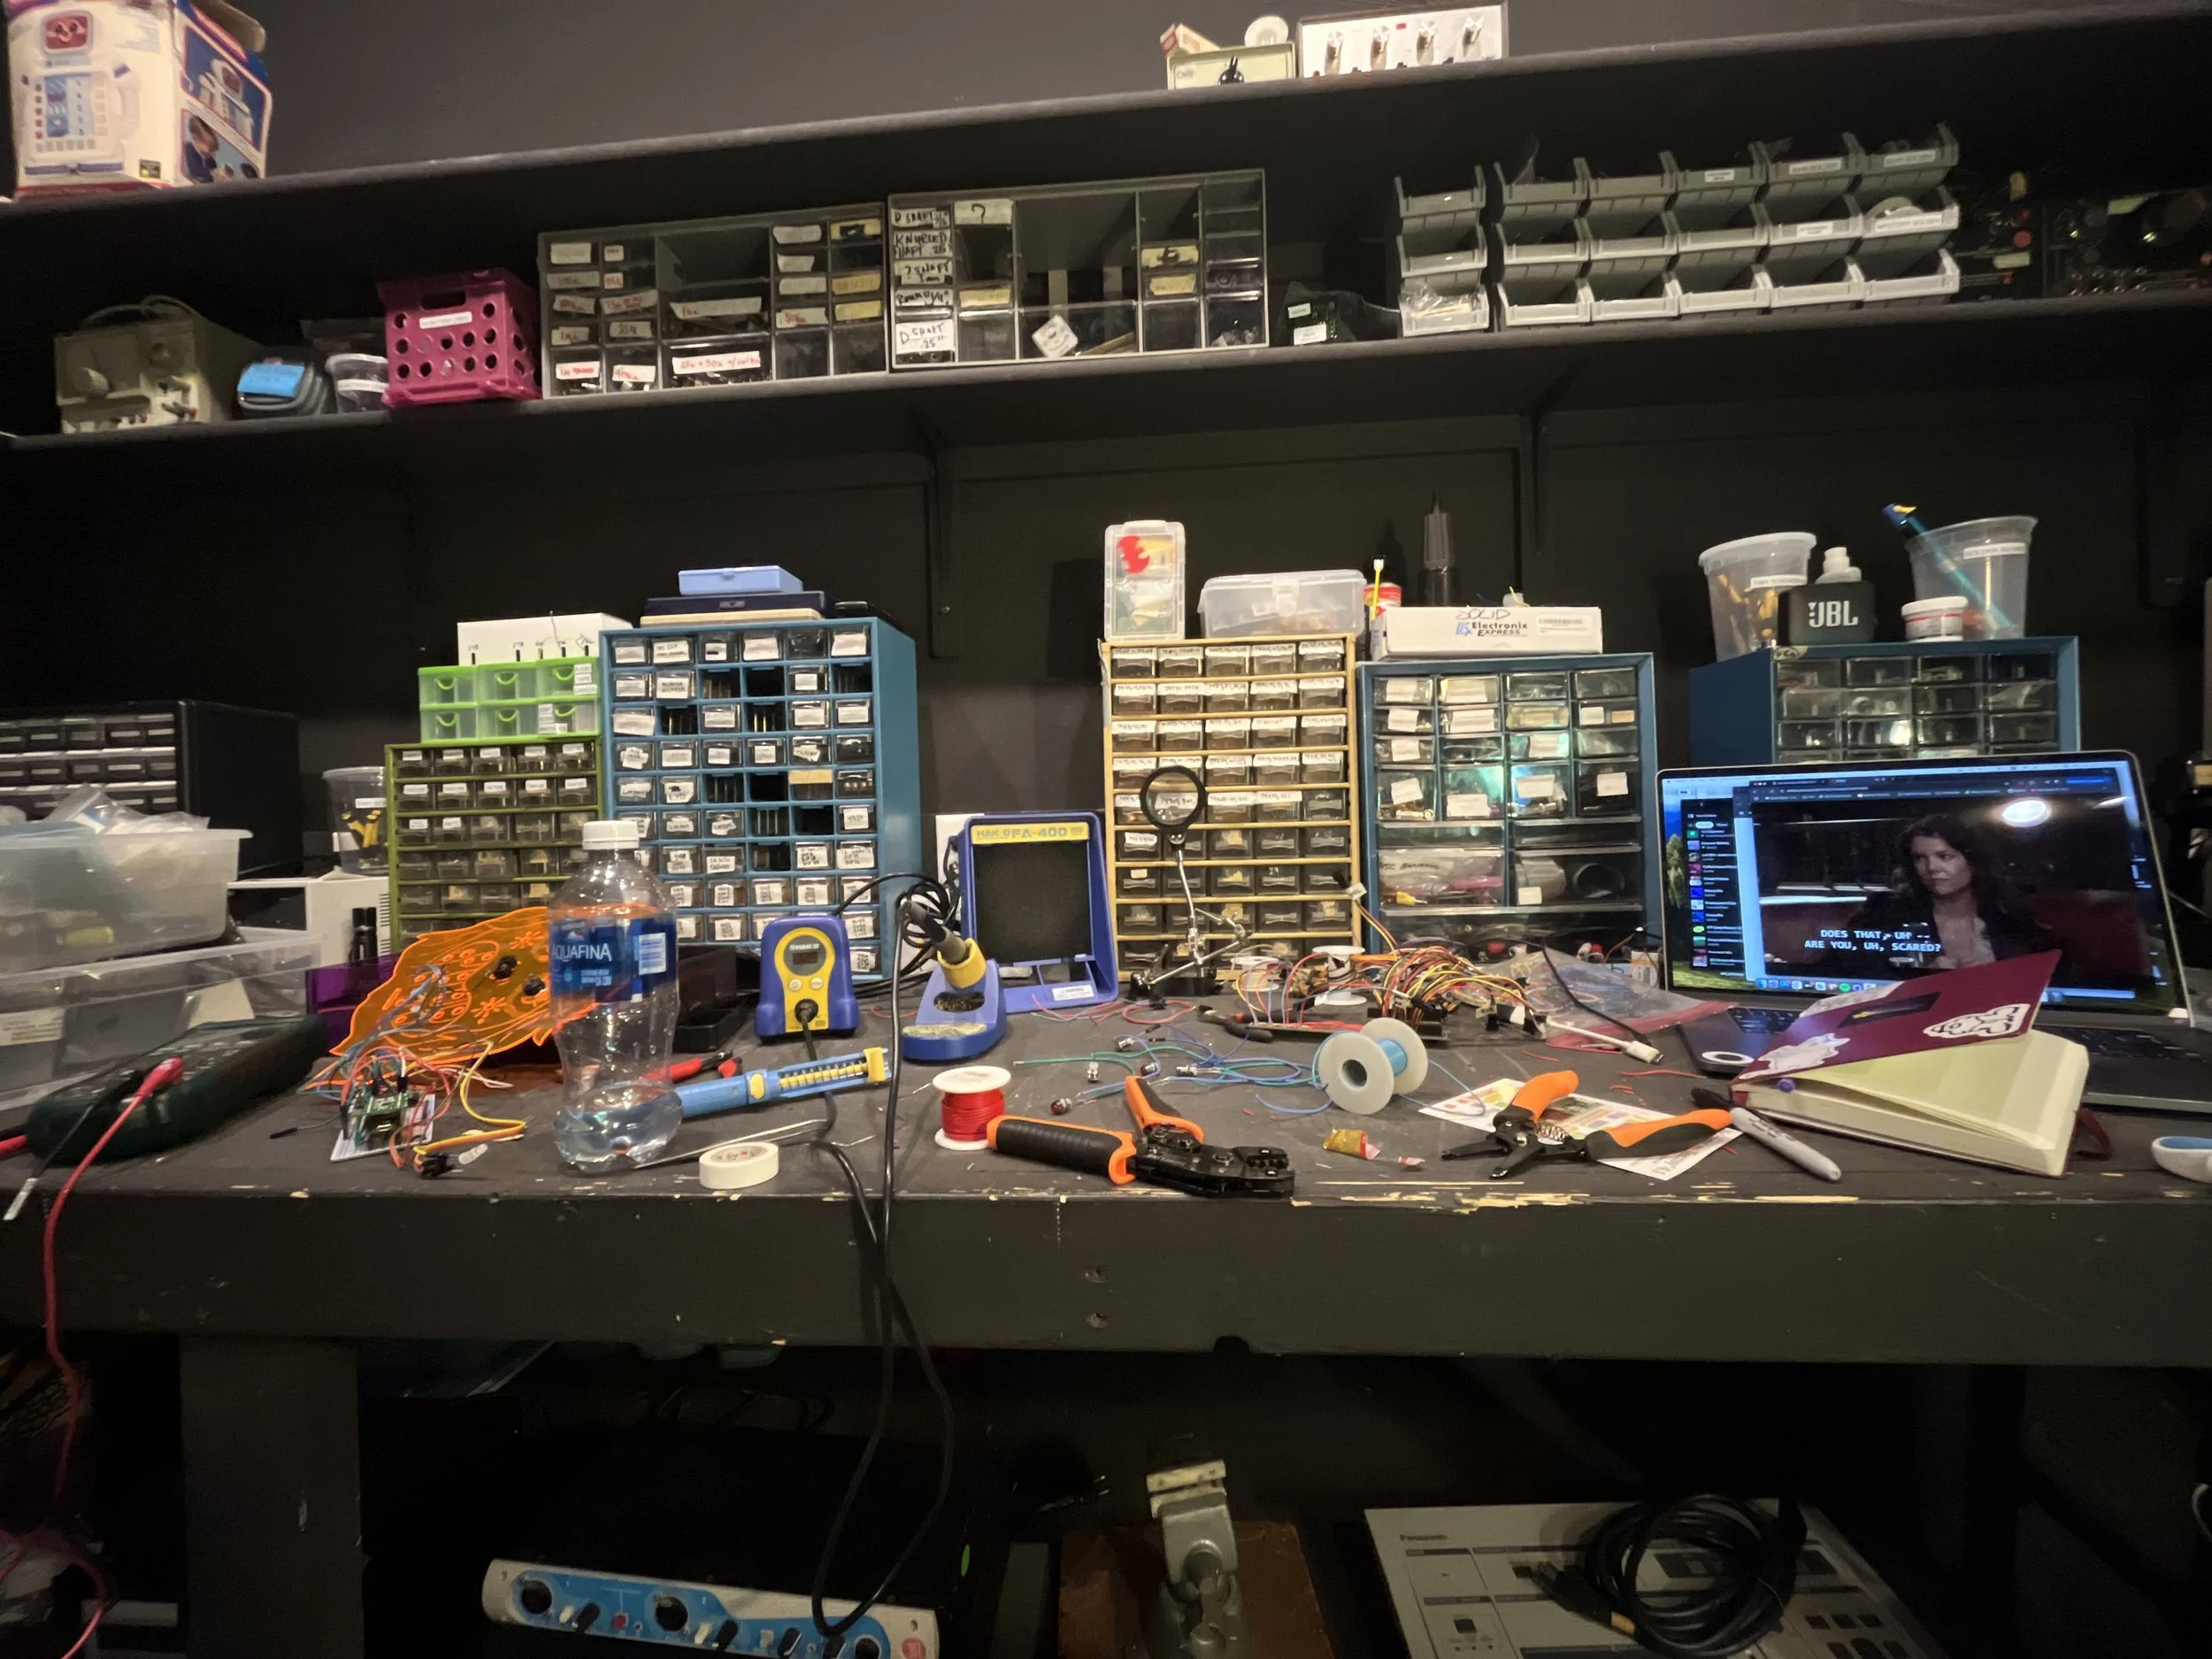
I scrounged through all the bins in the toolmaker lab and I ended up finding a MM74C14 Schmitt Trigger IC, TL084 op amp IC for the buffer, and the other passives (resistors and capacitors) I would need. This was also my first time “building a power supply” with both positive and negative voltage by connecting two 9V batteries together.
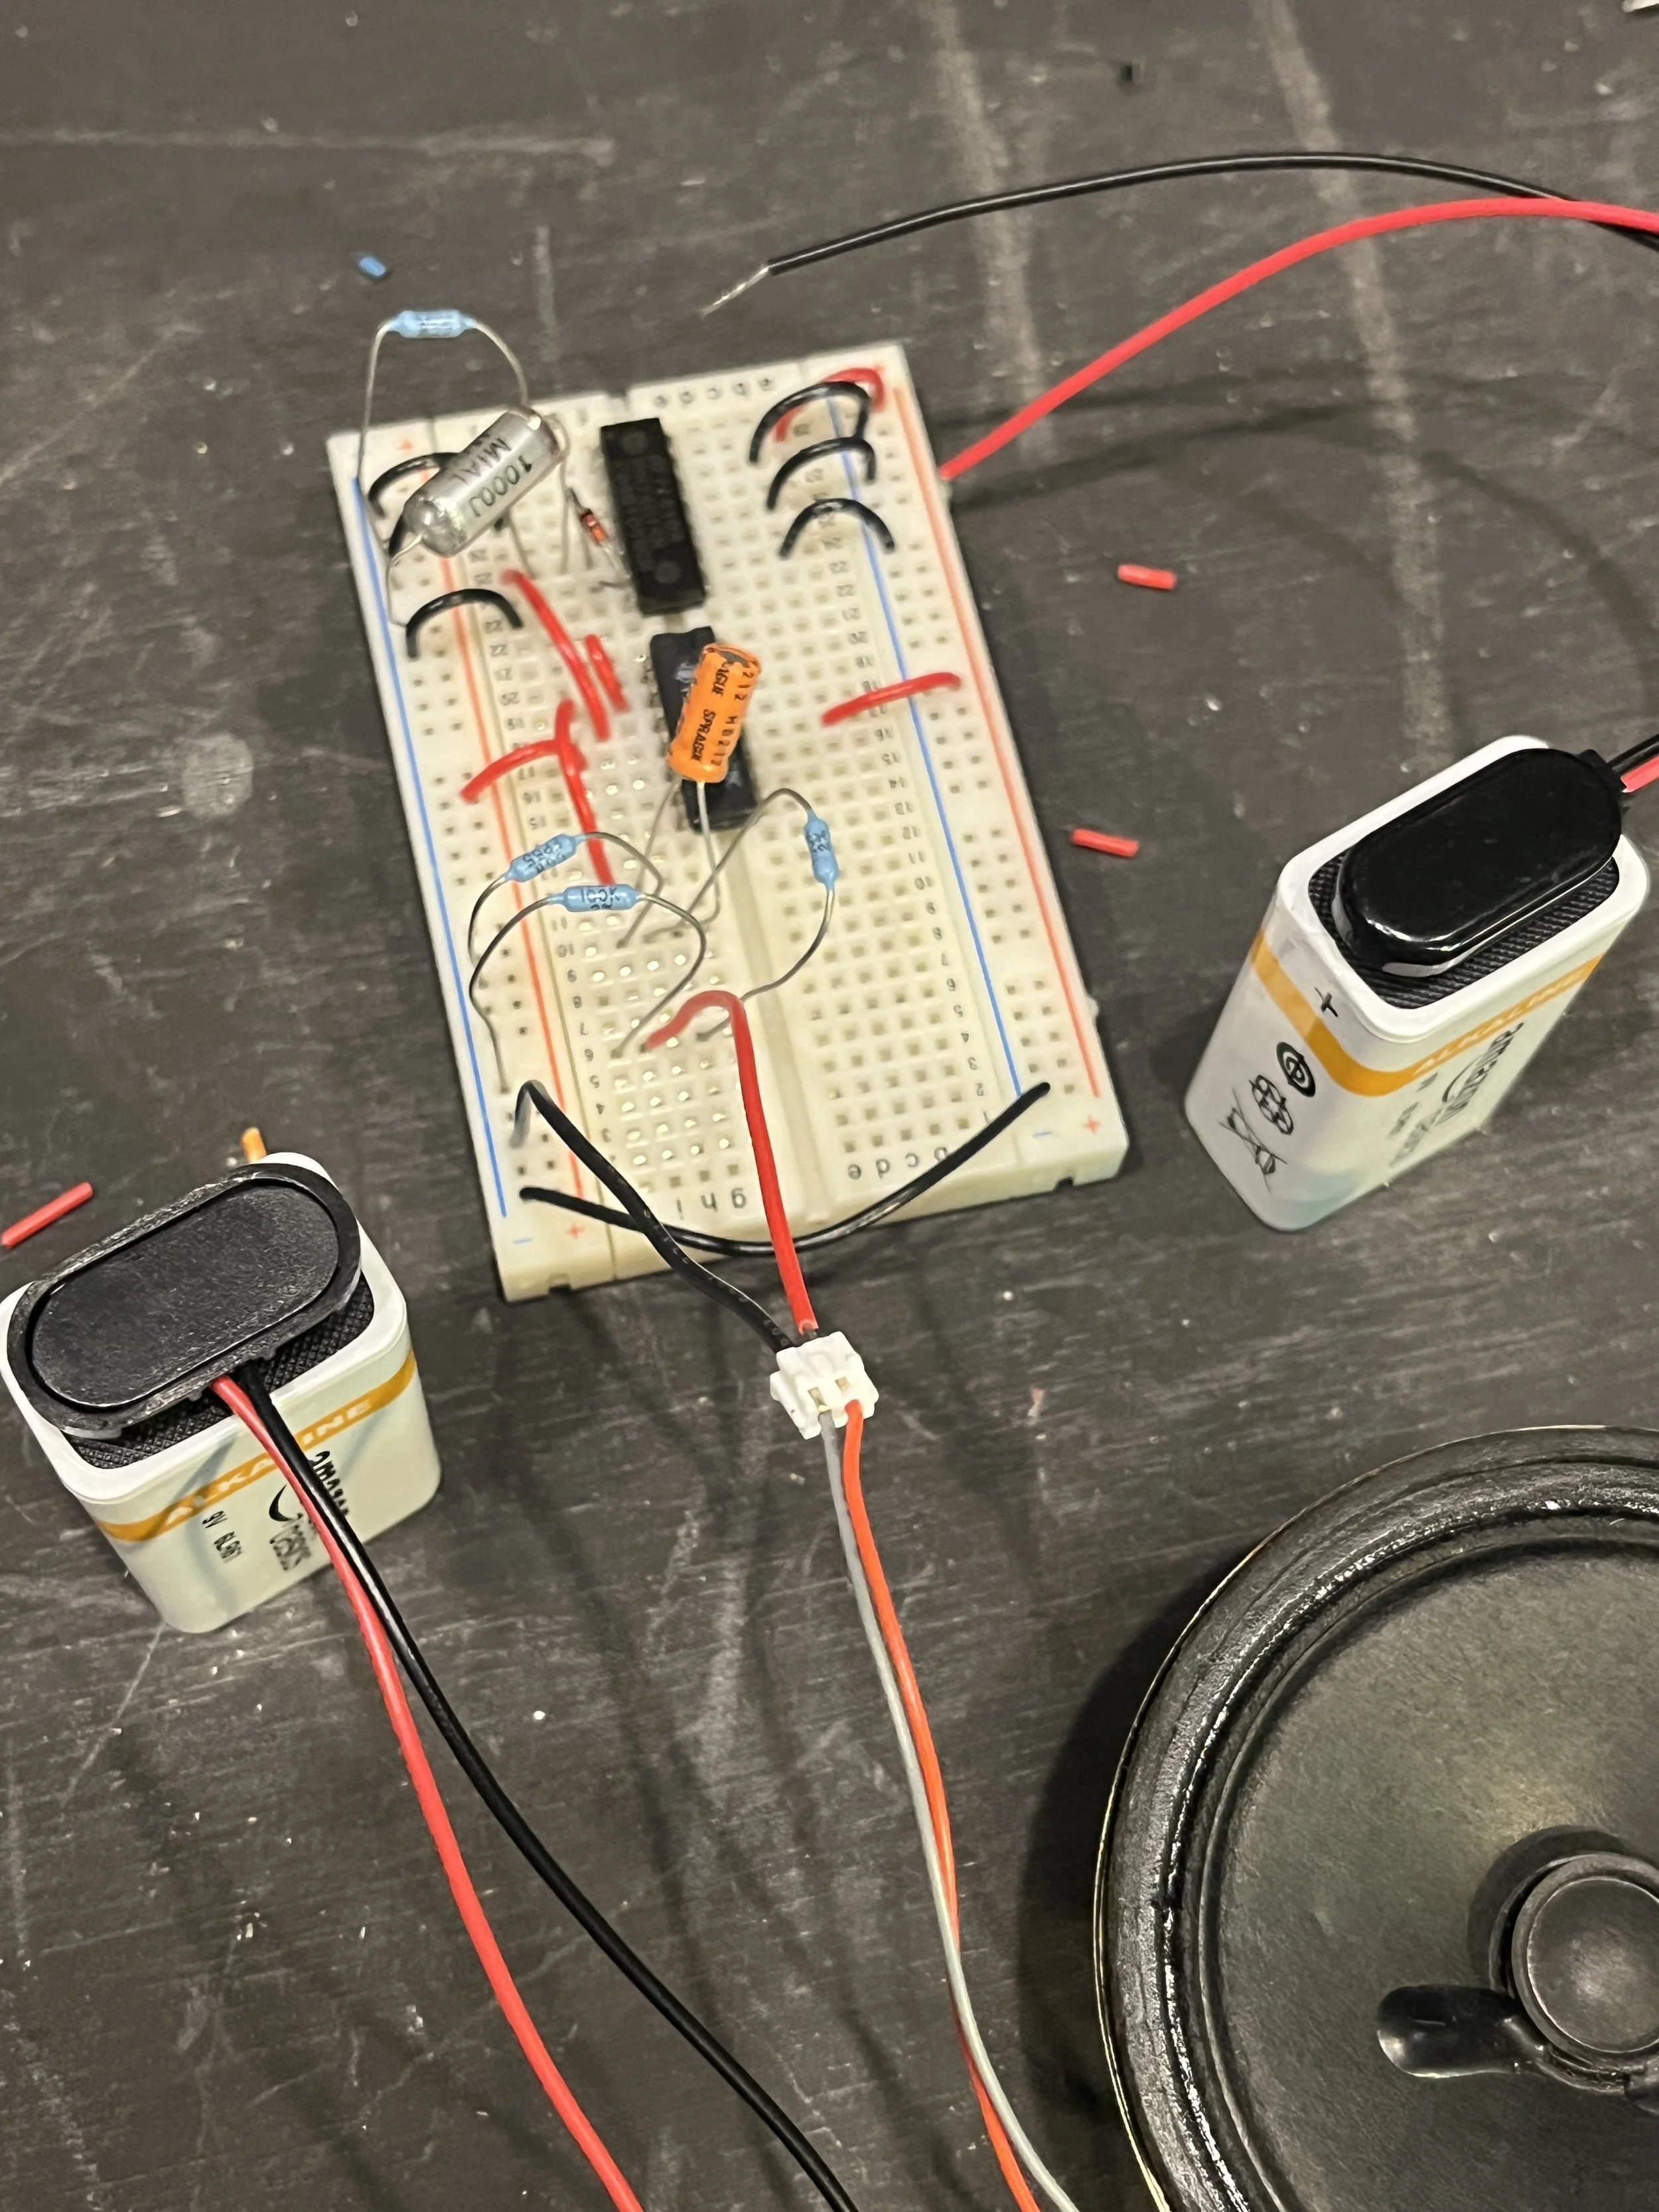
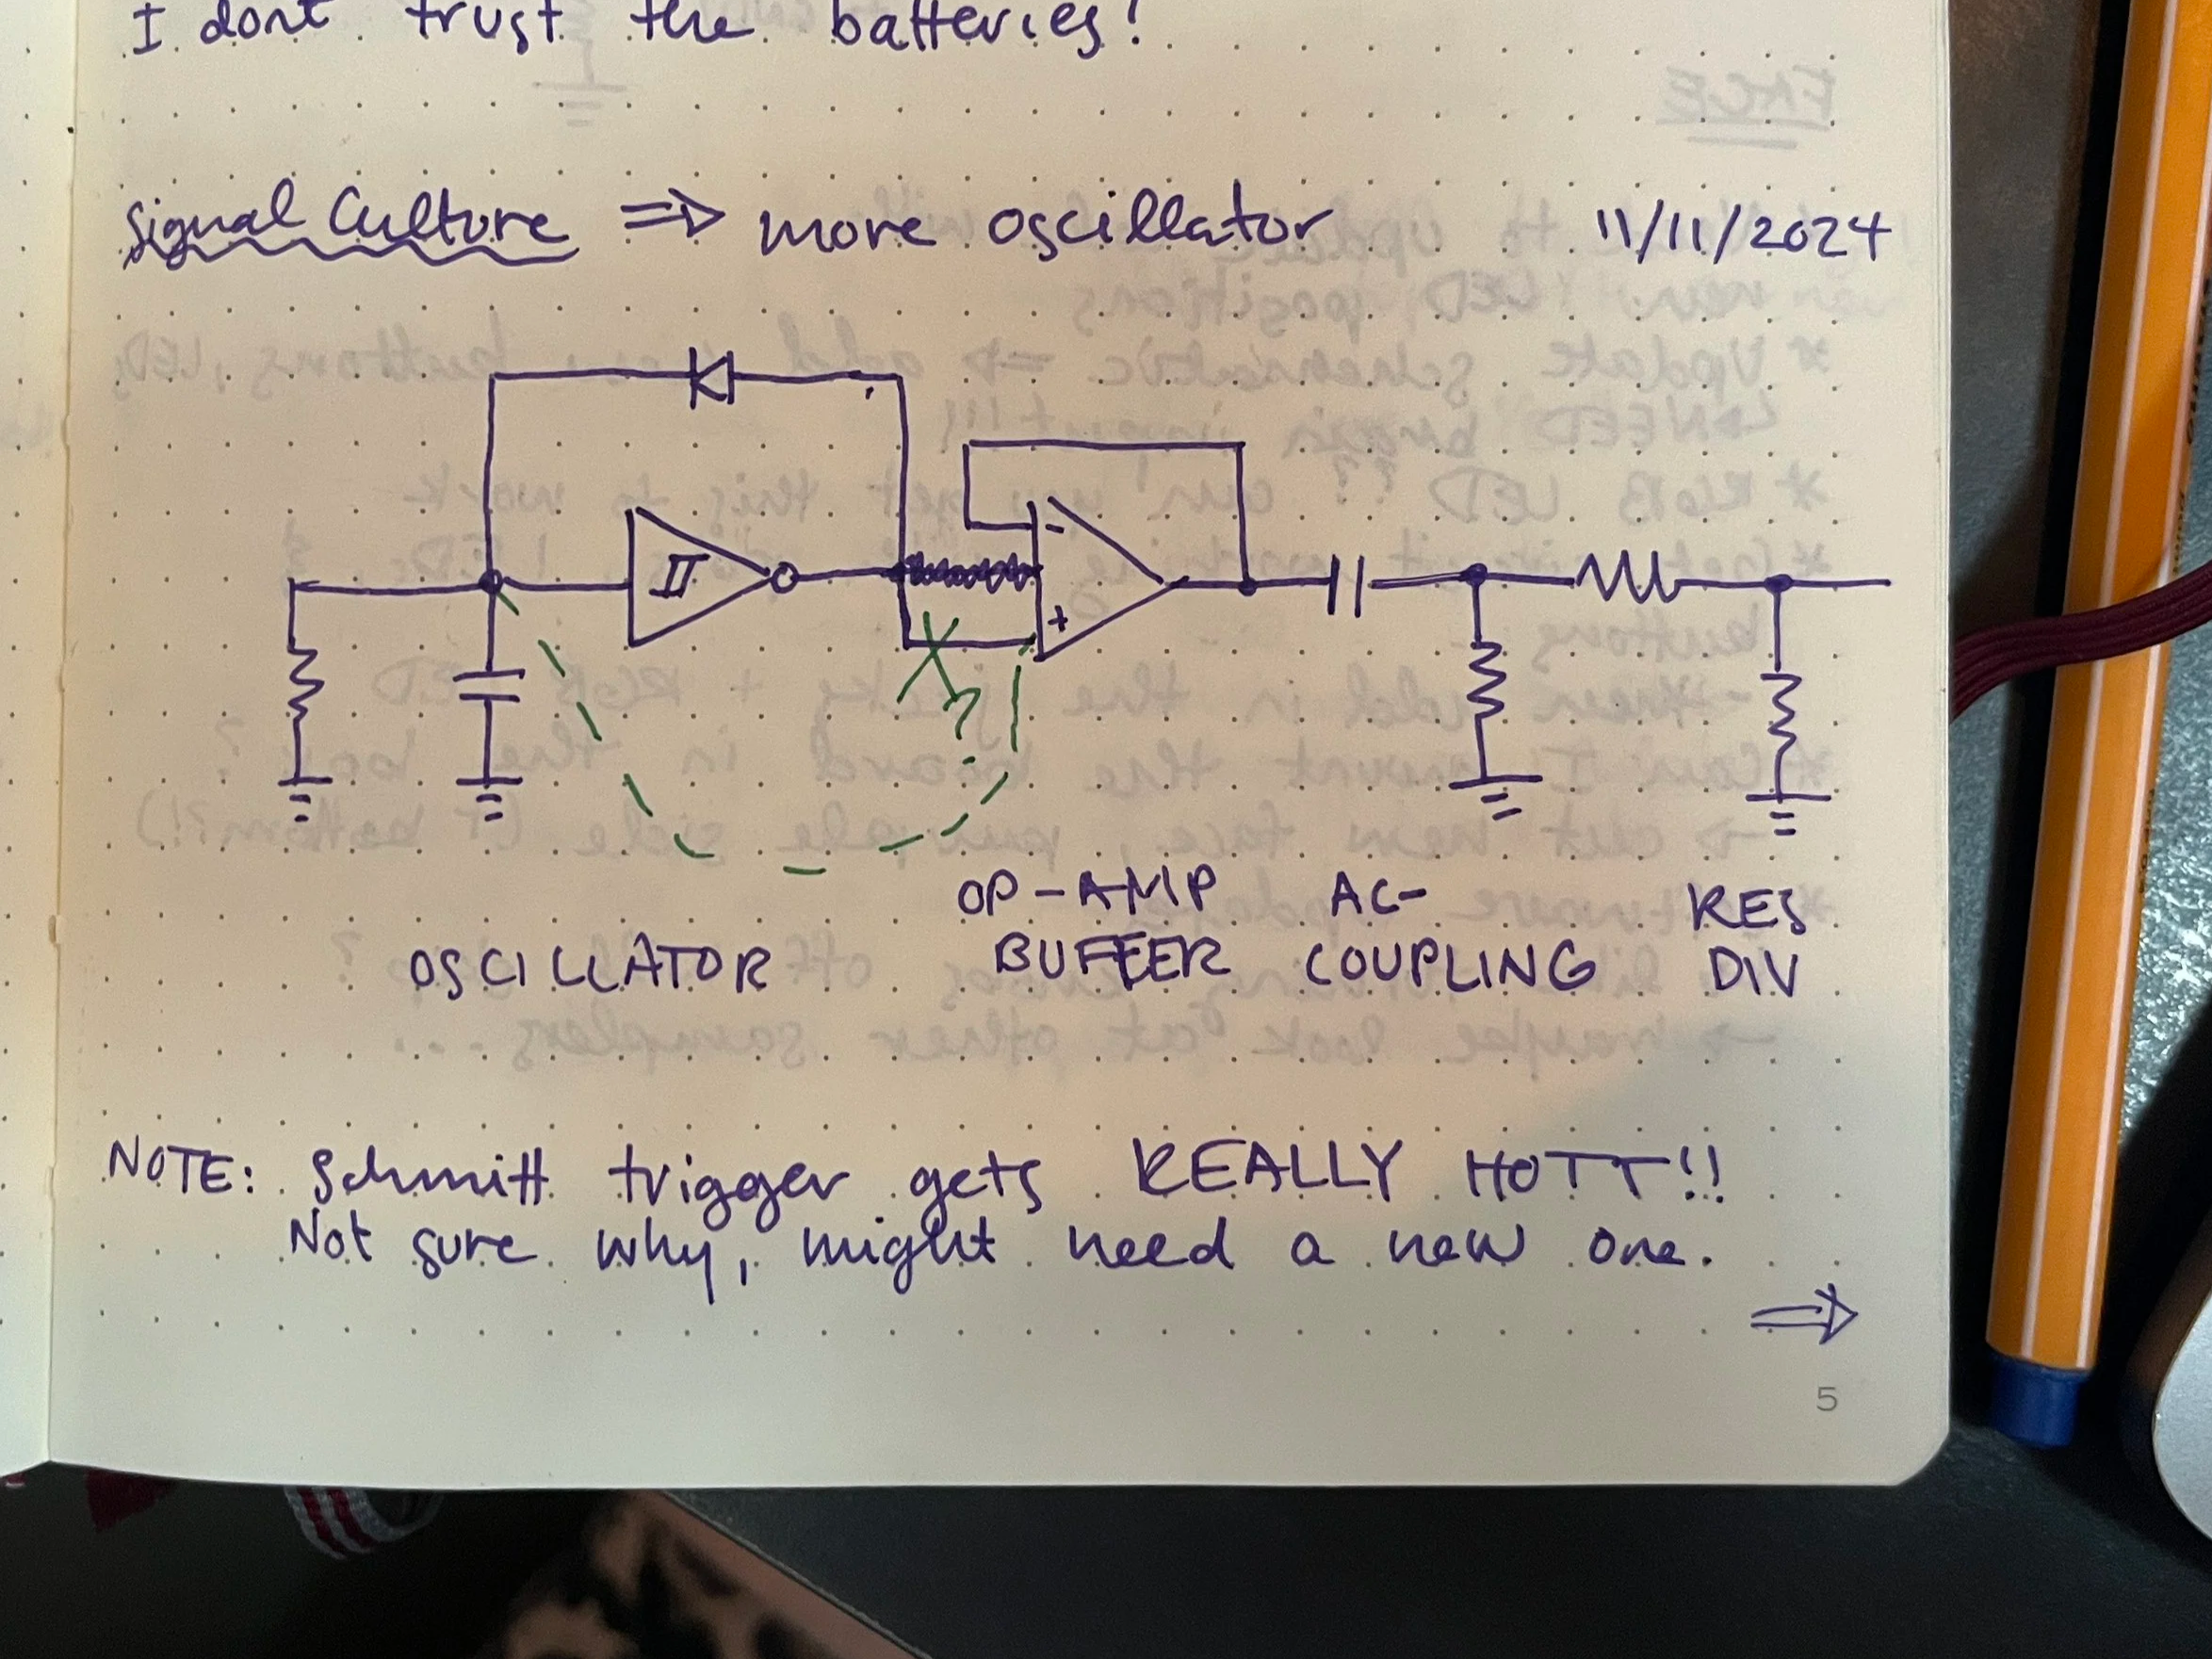

Even with all the music equipment around me I could not figure out how to actually listen to the saw tooth wave I generated but I was able to look at it with the O-scope. I’m pretty convinced I got it working, even though the Schmitt Trigger became toasty to the touch!
Other things I did during my residency:
Look through a lot of the books in the library
Peruse the guestbooks from residents past
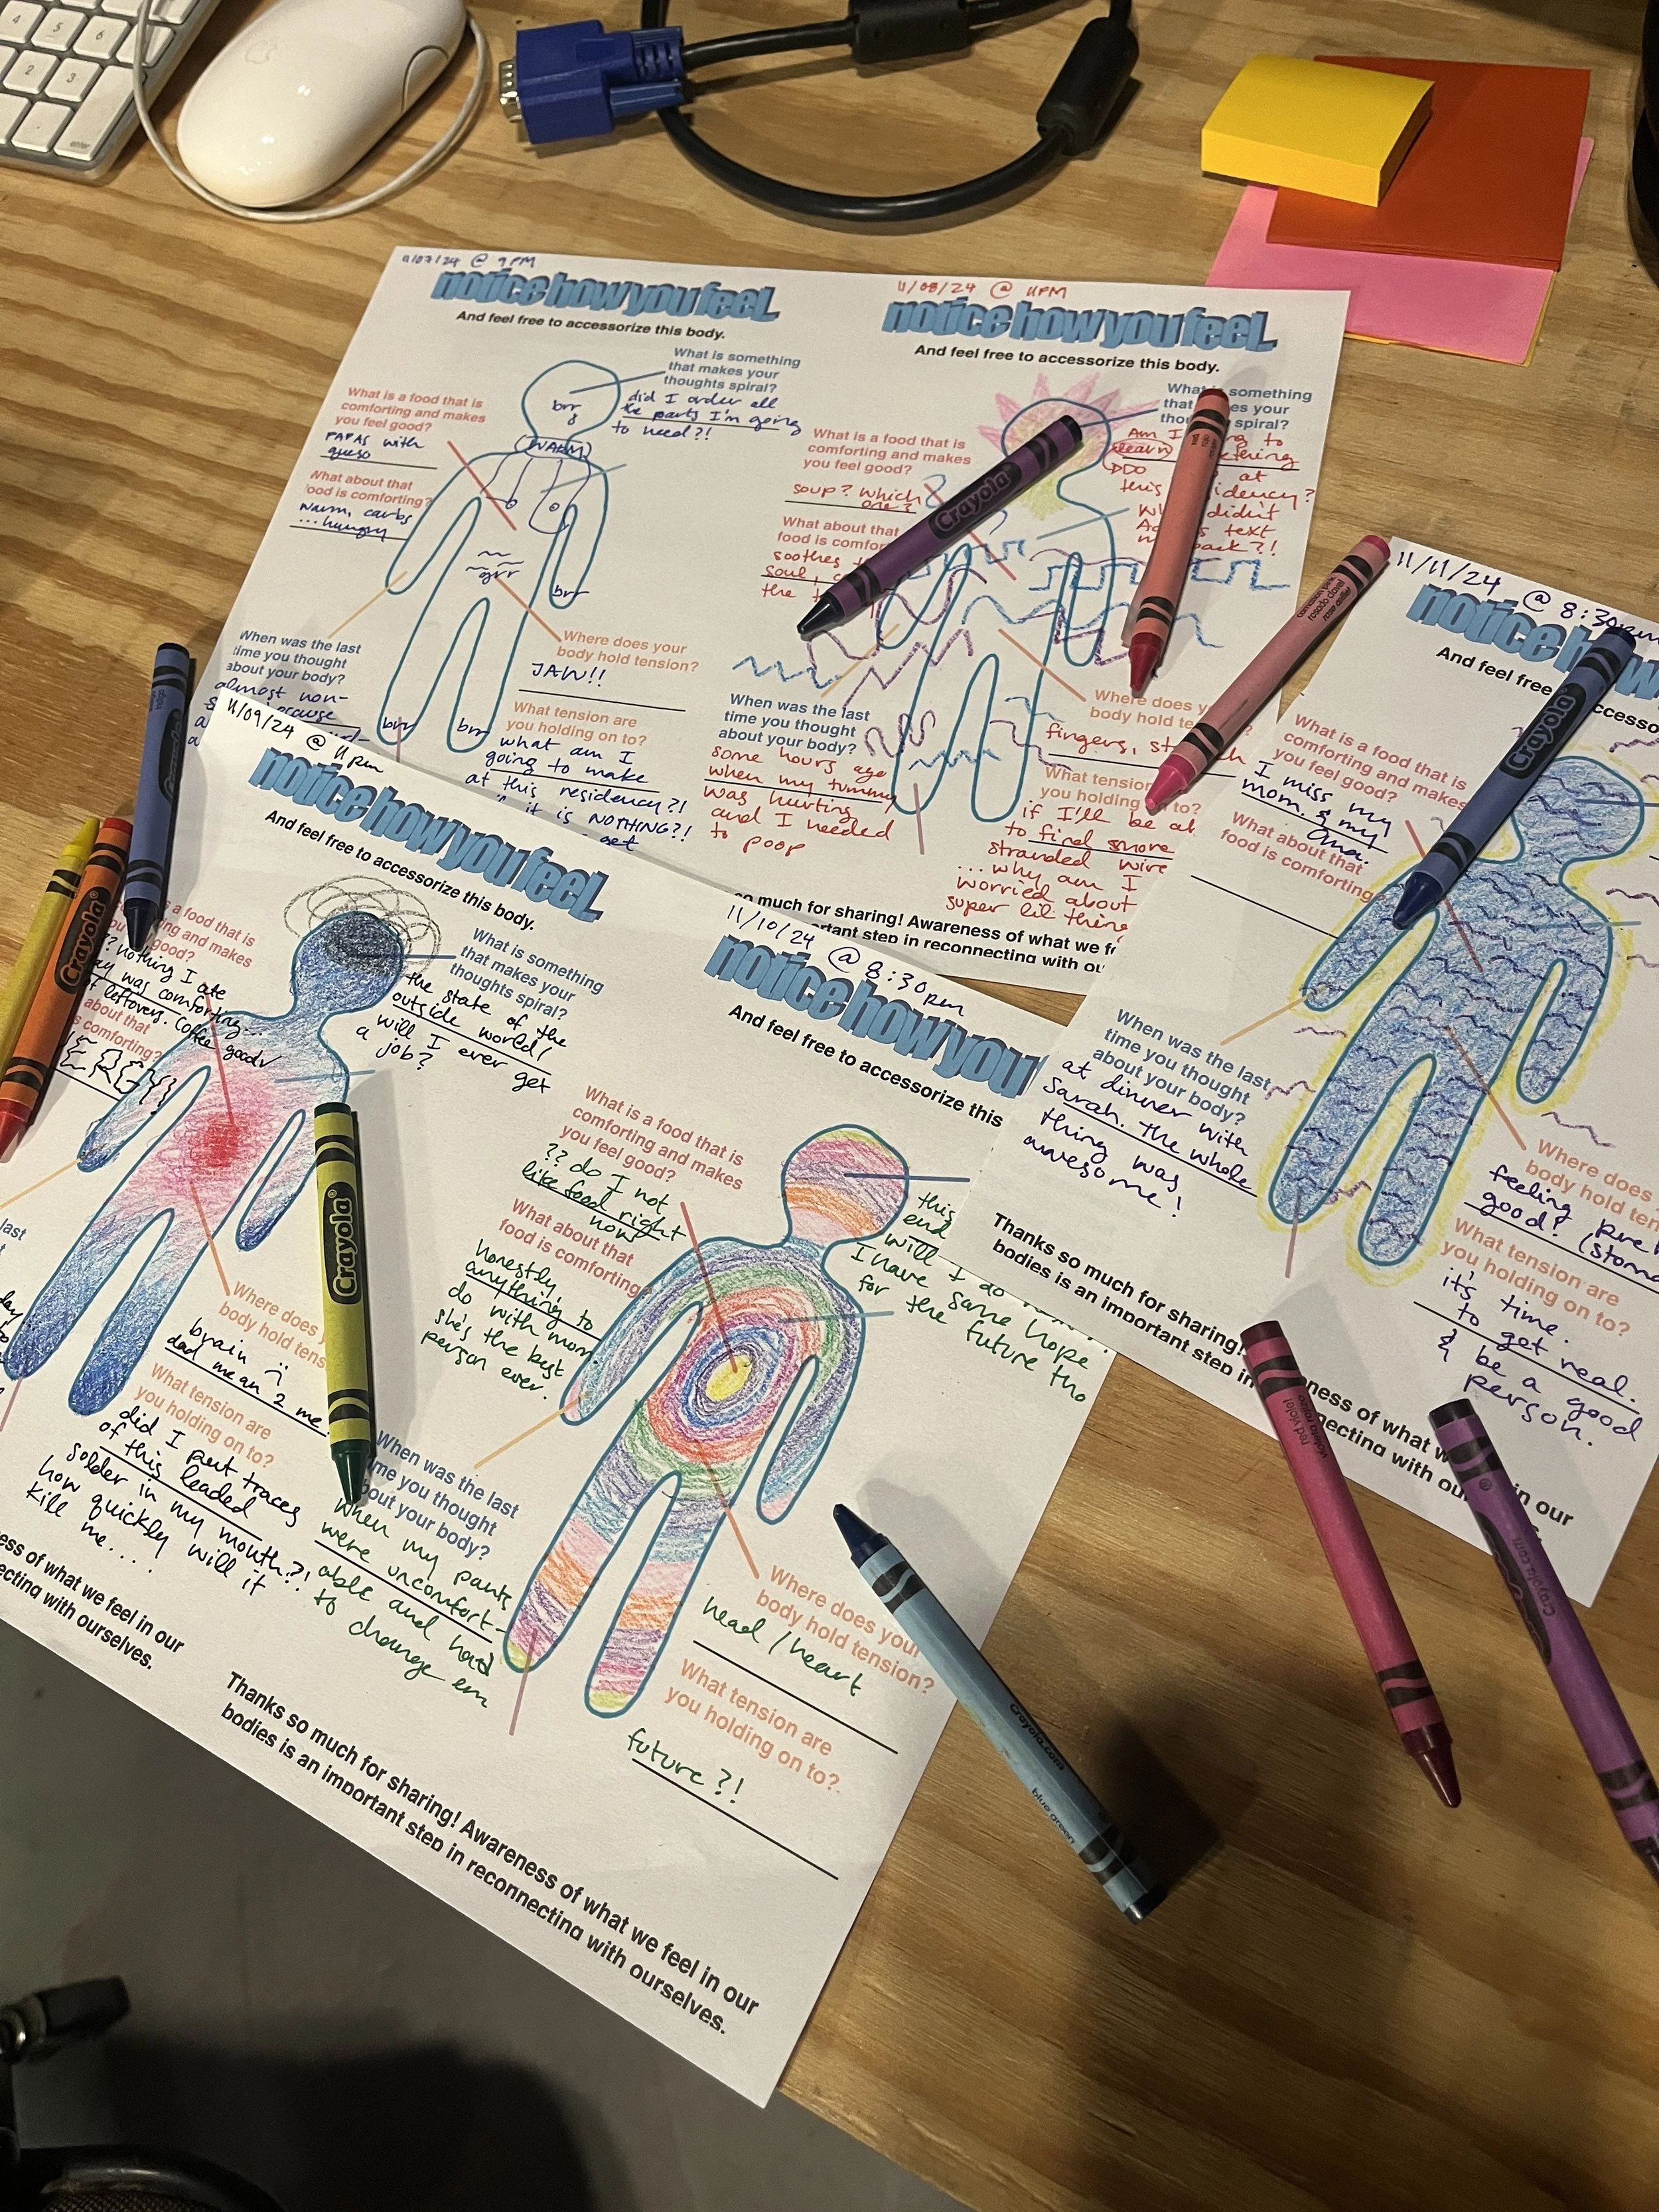
My own body check-ins
Future Plans?!
I obviously HIGHLY recommend the Signal Culture residency! I went in kind of blind and learned much more than I was ever expecting. I made some new friends and got to reconnect with some old ones in my old home state.
Since my stay in Loveland, the Bernagozzi’s and Signal Culture have moved back to upstate New York! I would love an opportunity to return as an artist in residence, but til then I will try to wrap my head around their digital apps for video processing and see if I can make something interesting.

A snowy visit to my old stomping grounds
Resources
SC Residency Resources I found helpful/interesting
Experimental Television Center
Resources for synthing
Connector Crimping Video 1 and 2