
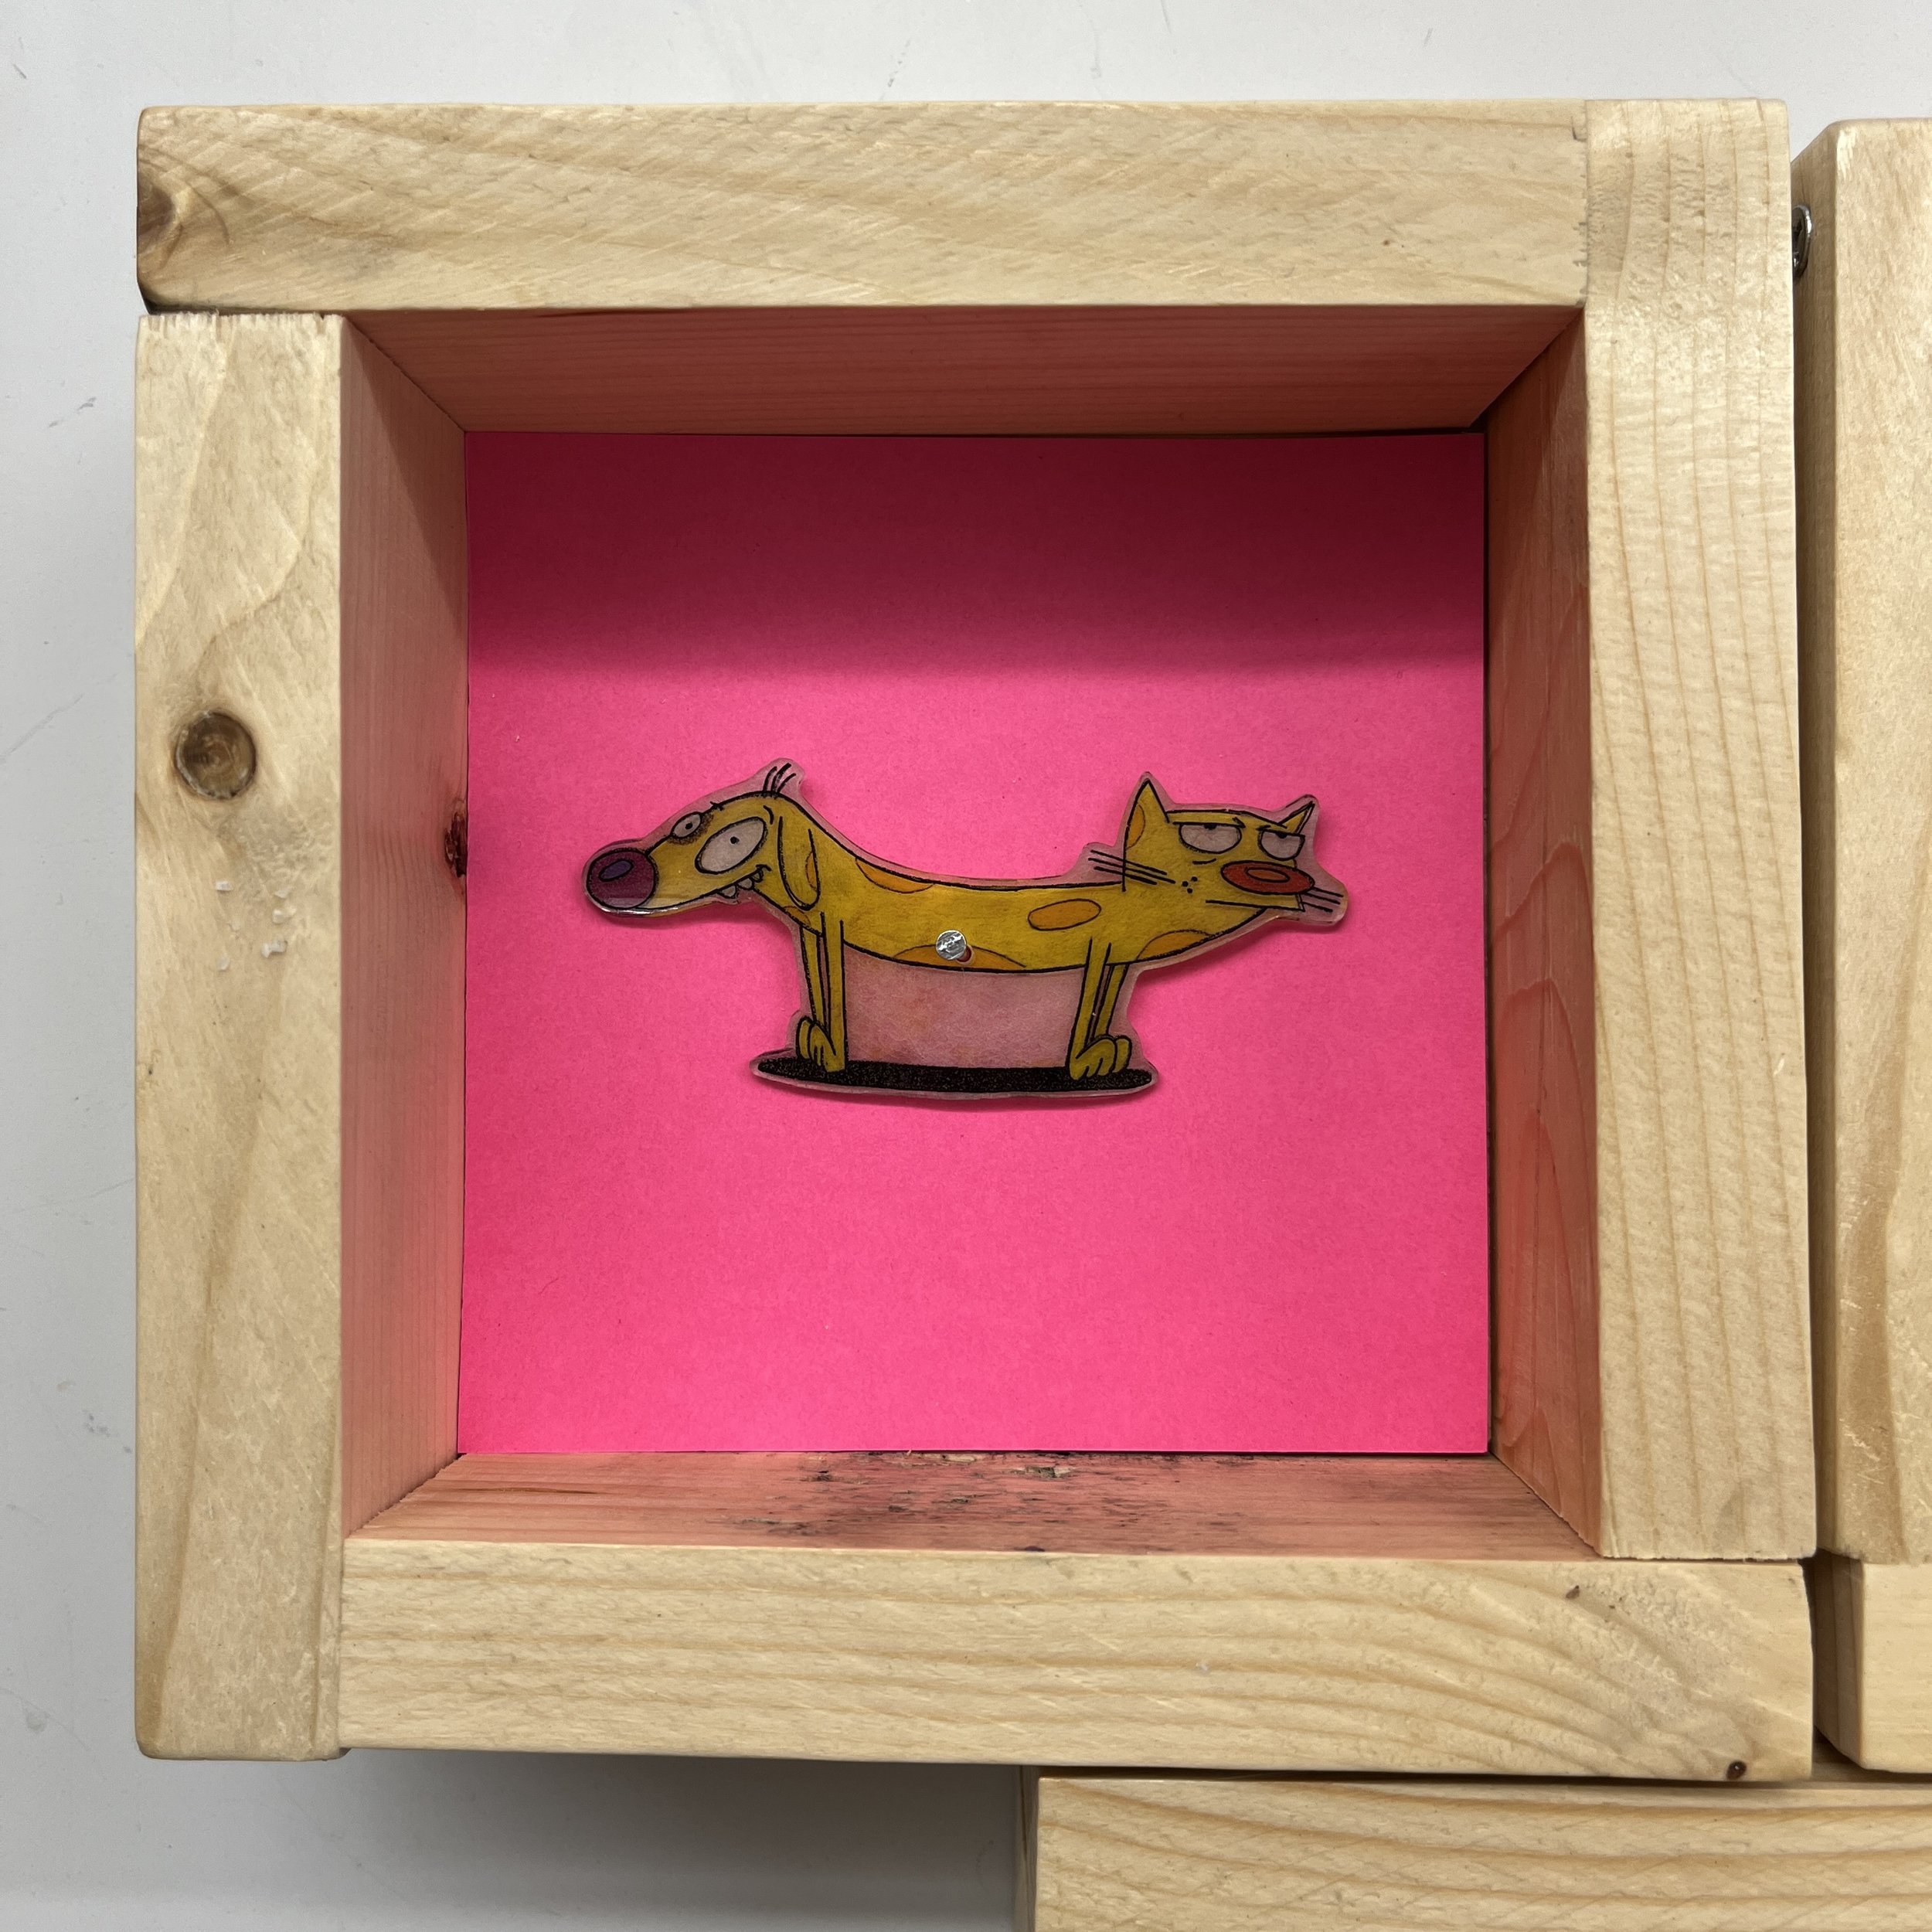
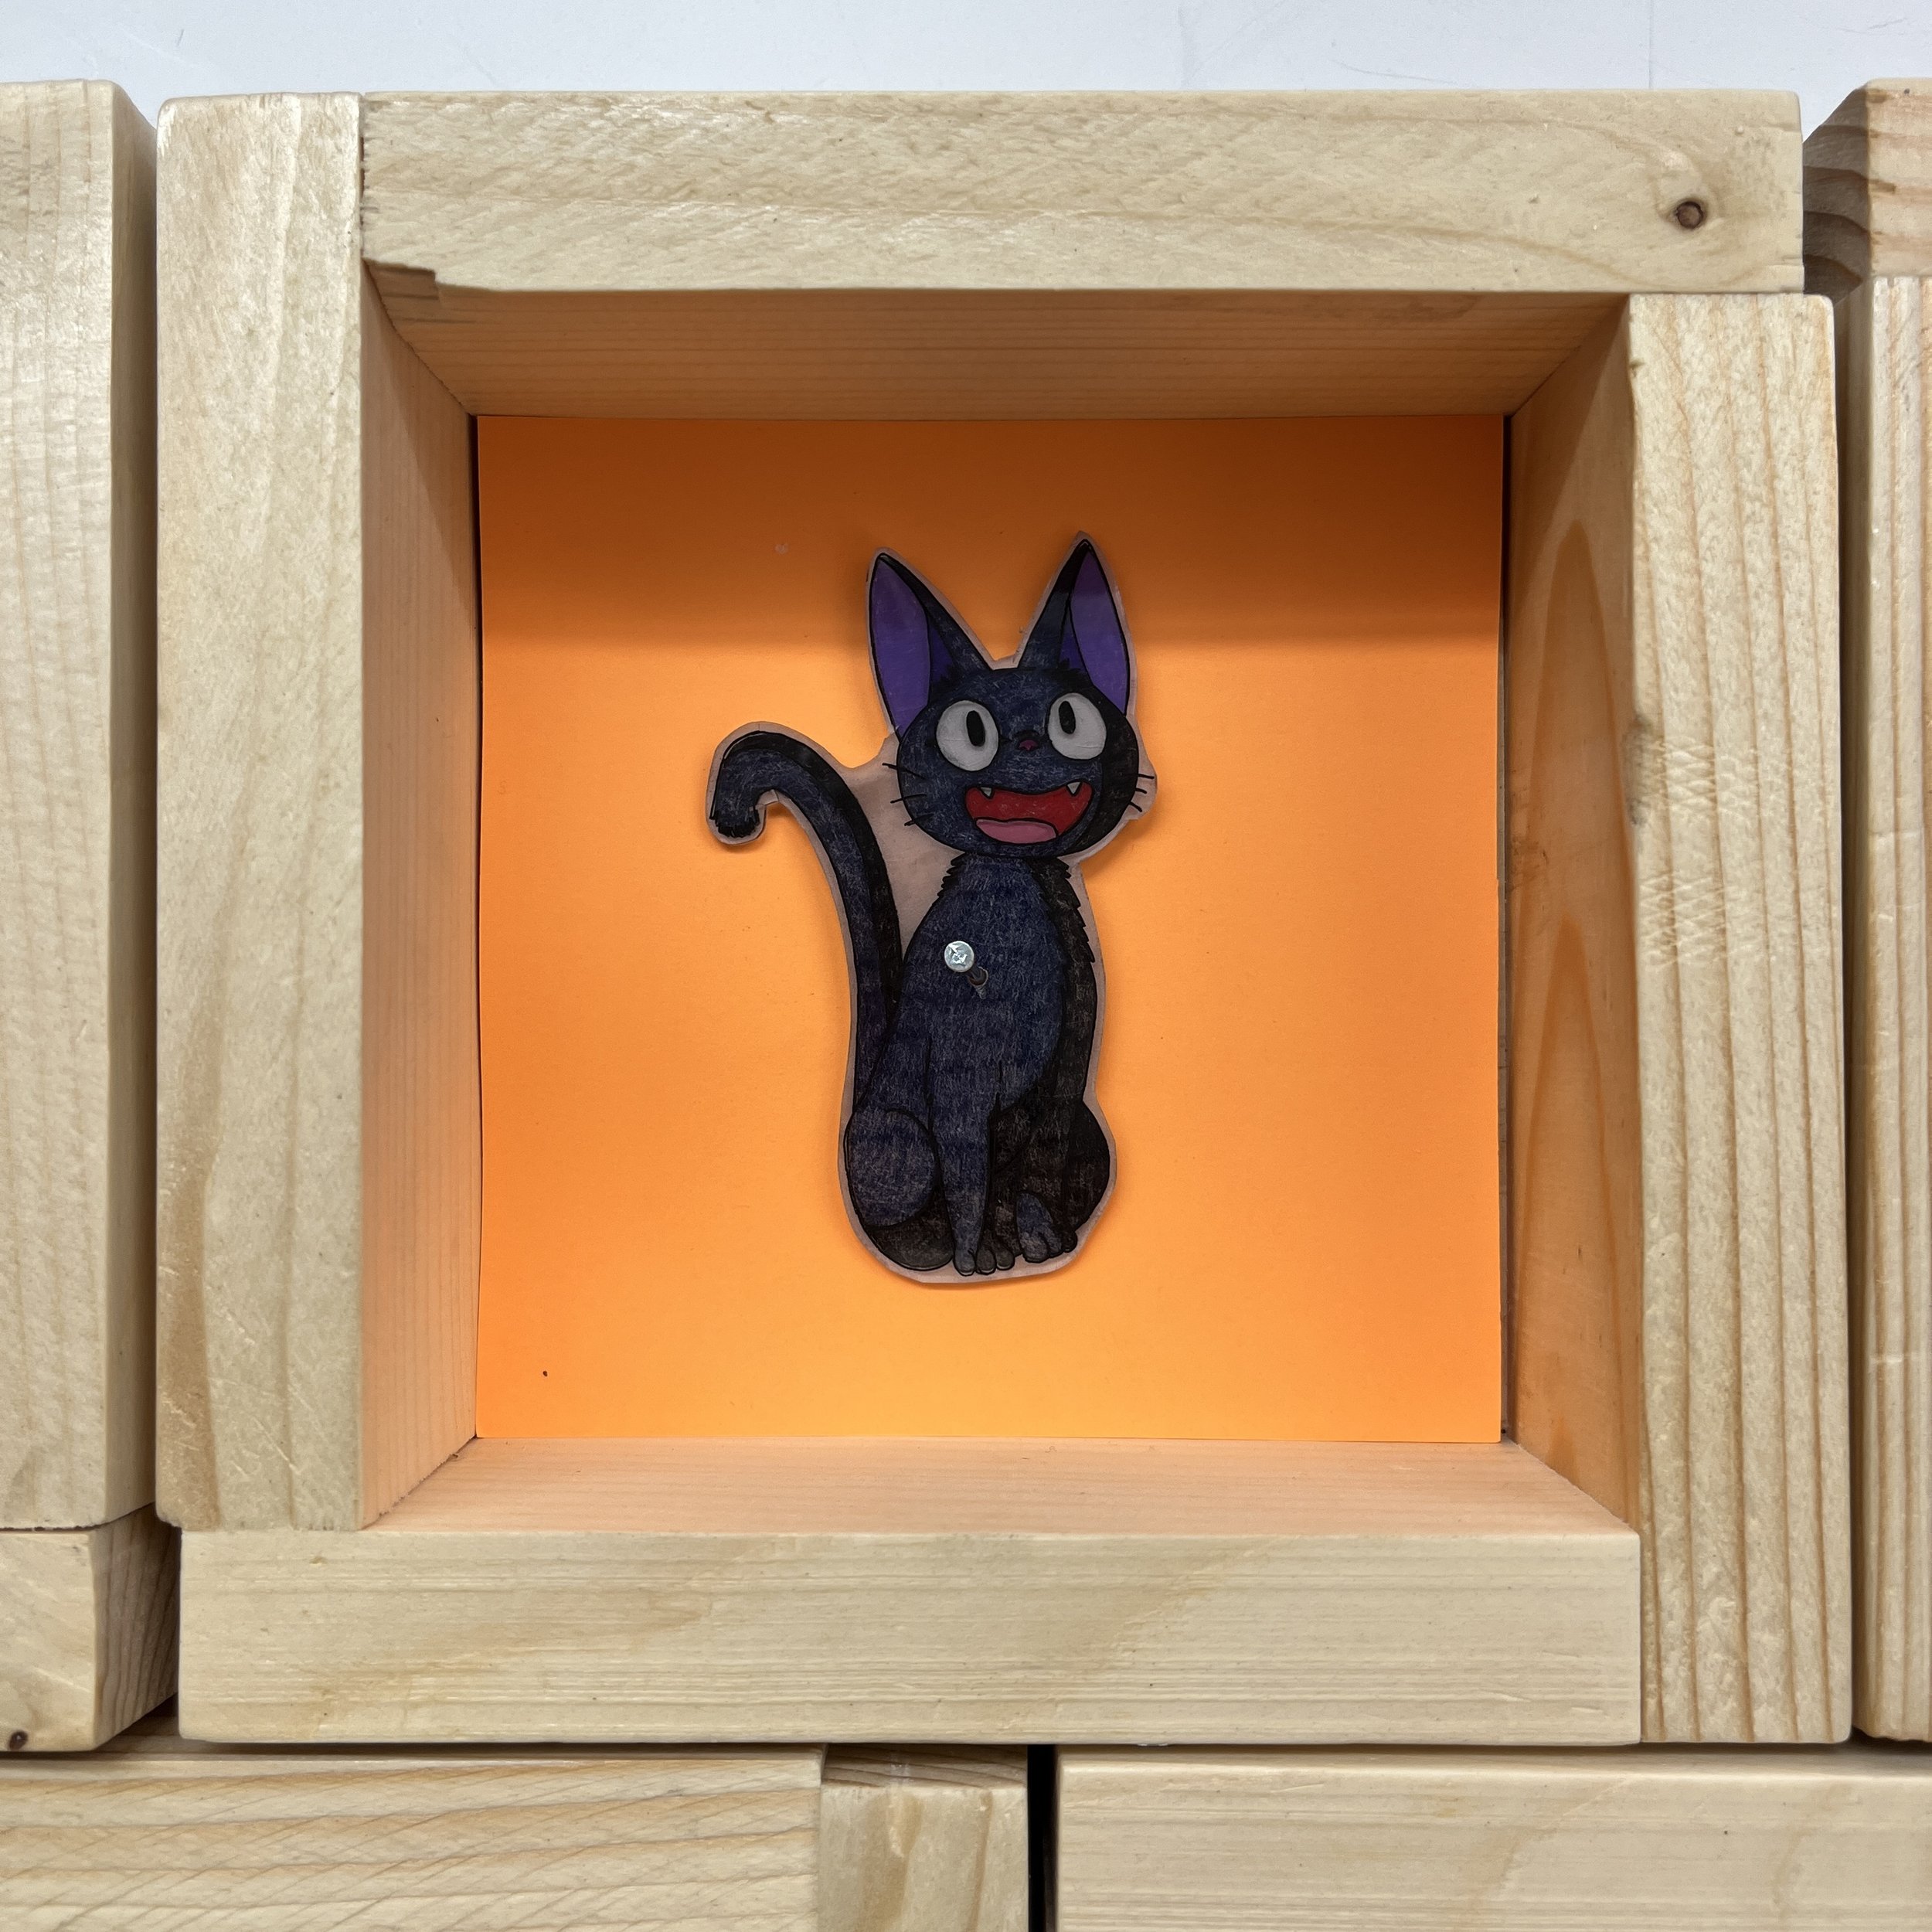
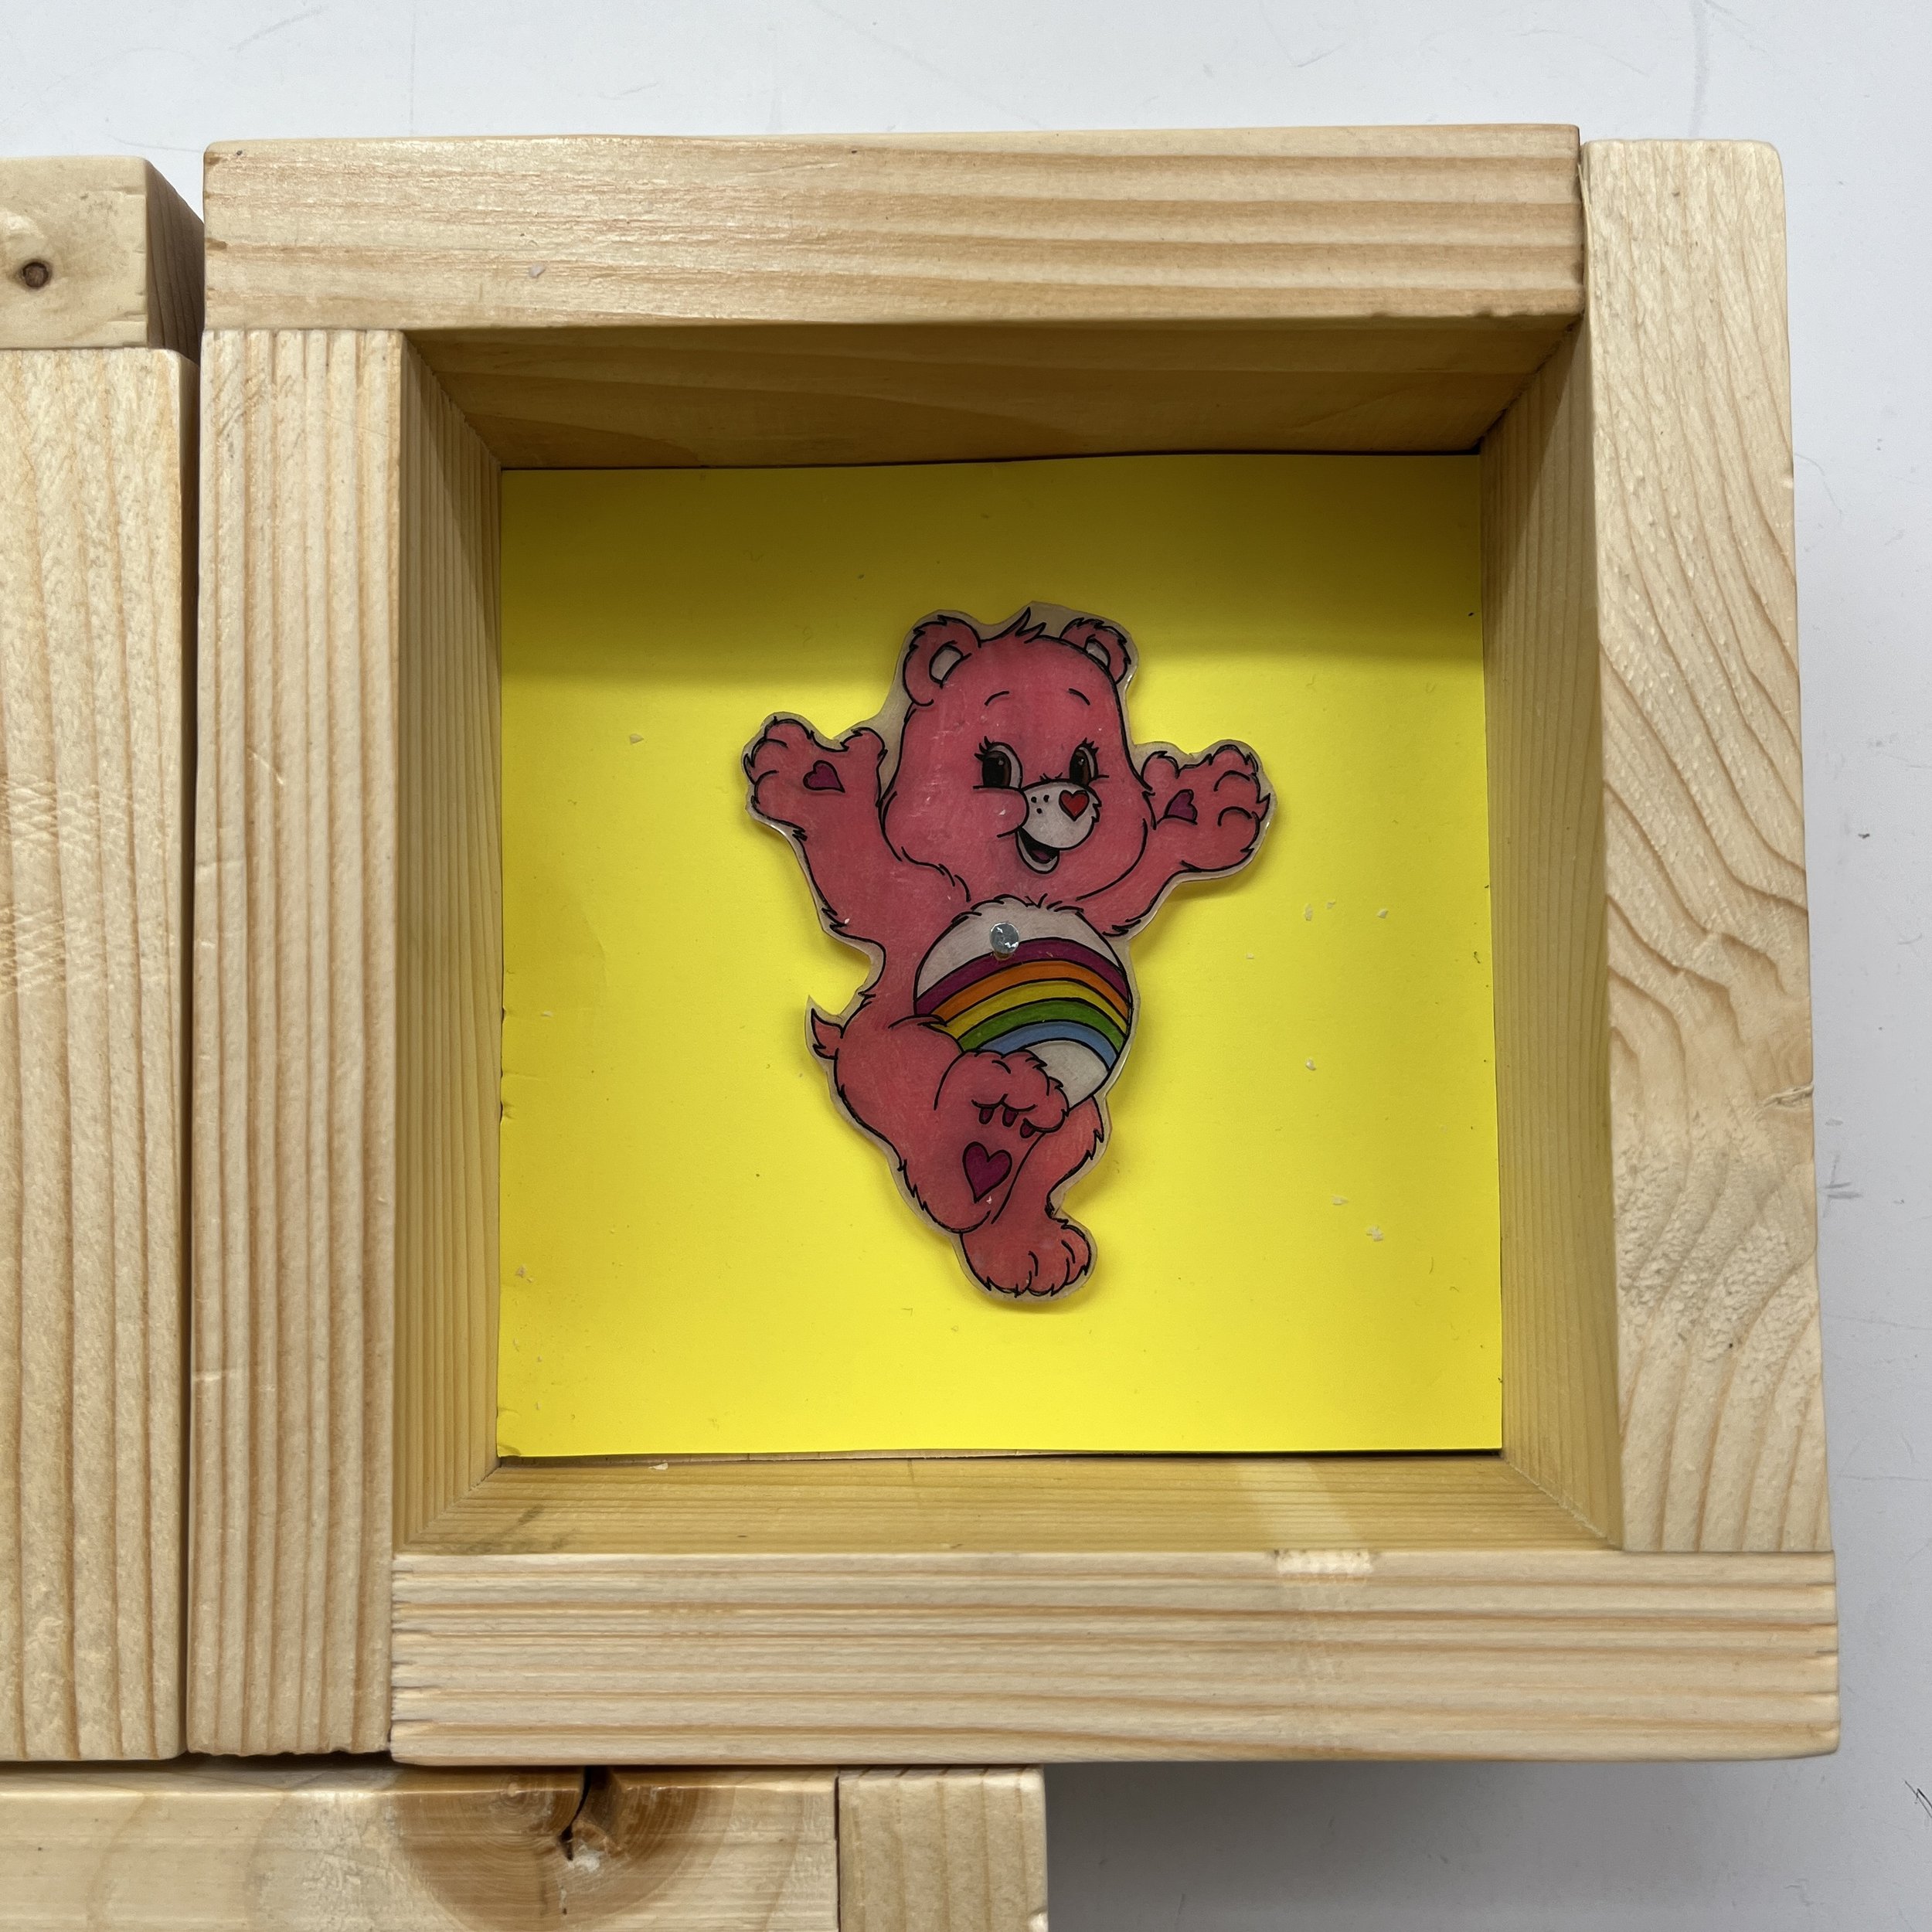
I LOVE revisiting crafts I used to do as a kid and seeing how I can repurpose them for my professional practice, so I’ve been playing around with Shrinky Dinks quite a bit recently. Honestly a perfectly (un)natural medium for my “specimens”. My “specimens” became cartoon animals I grew up with.
Process / Materials / Tools
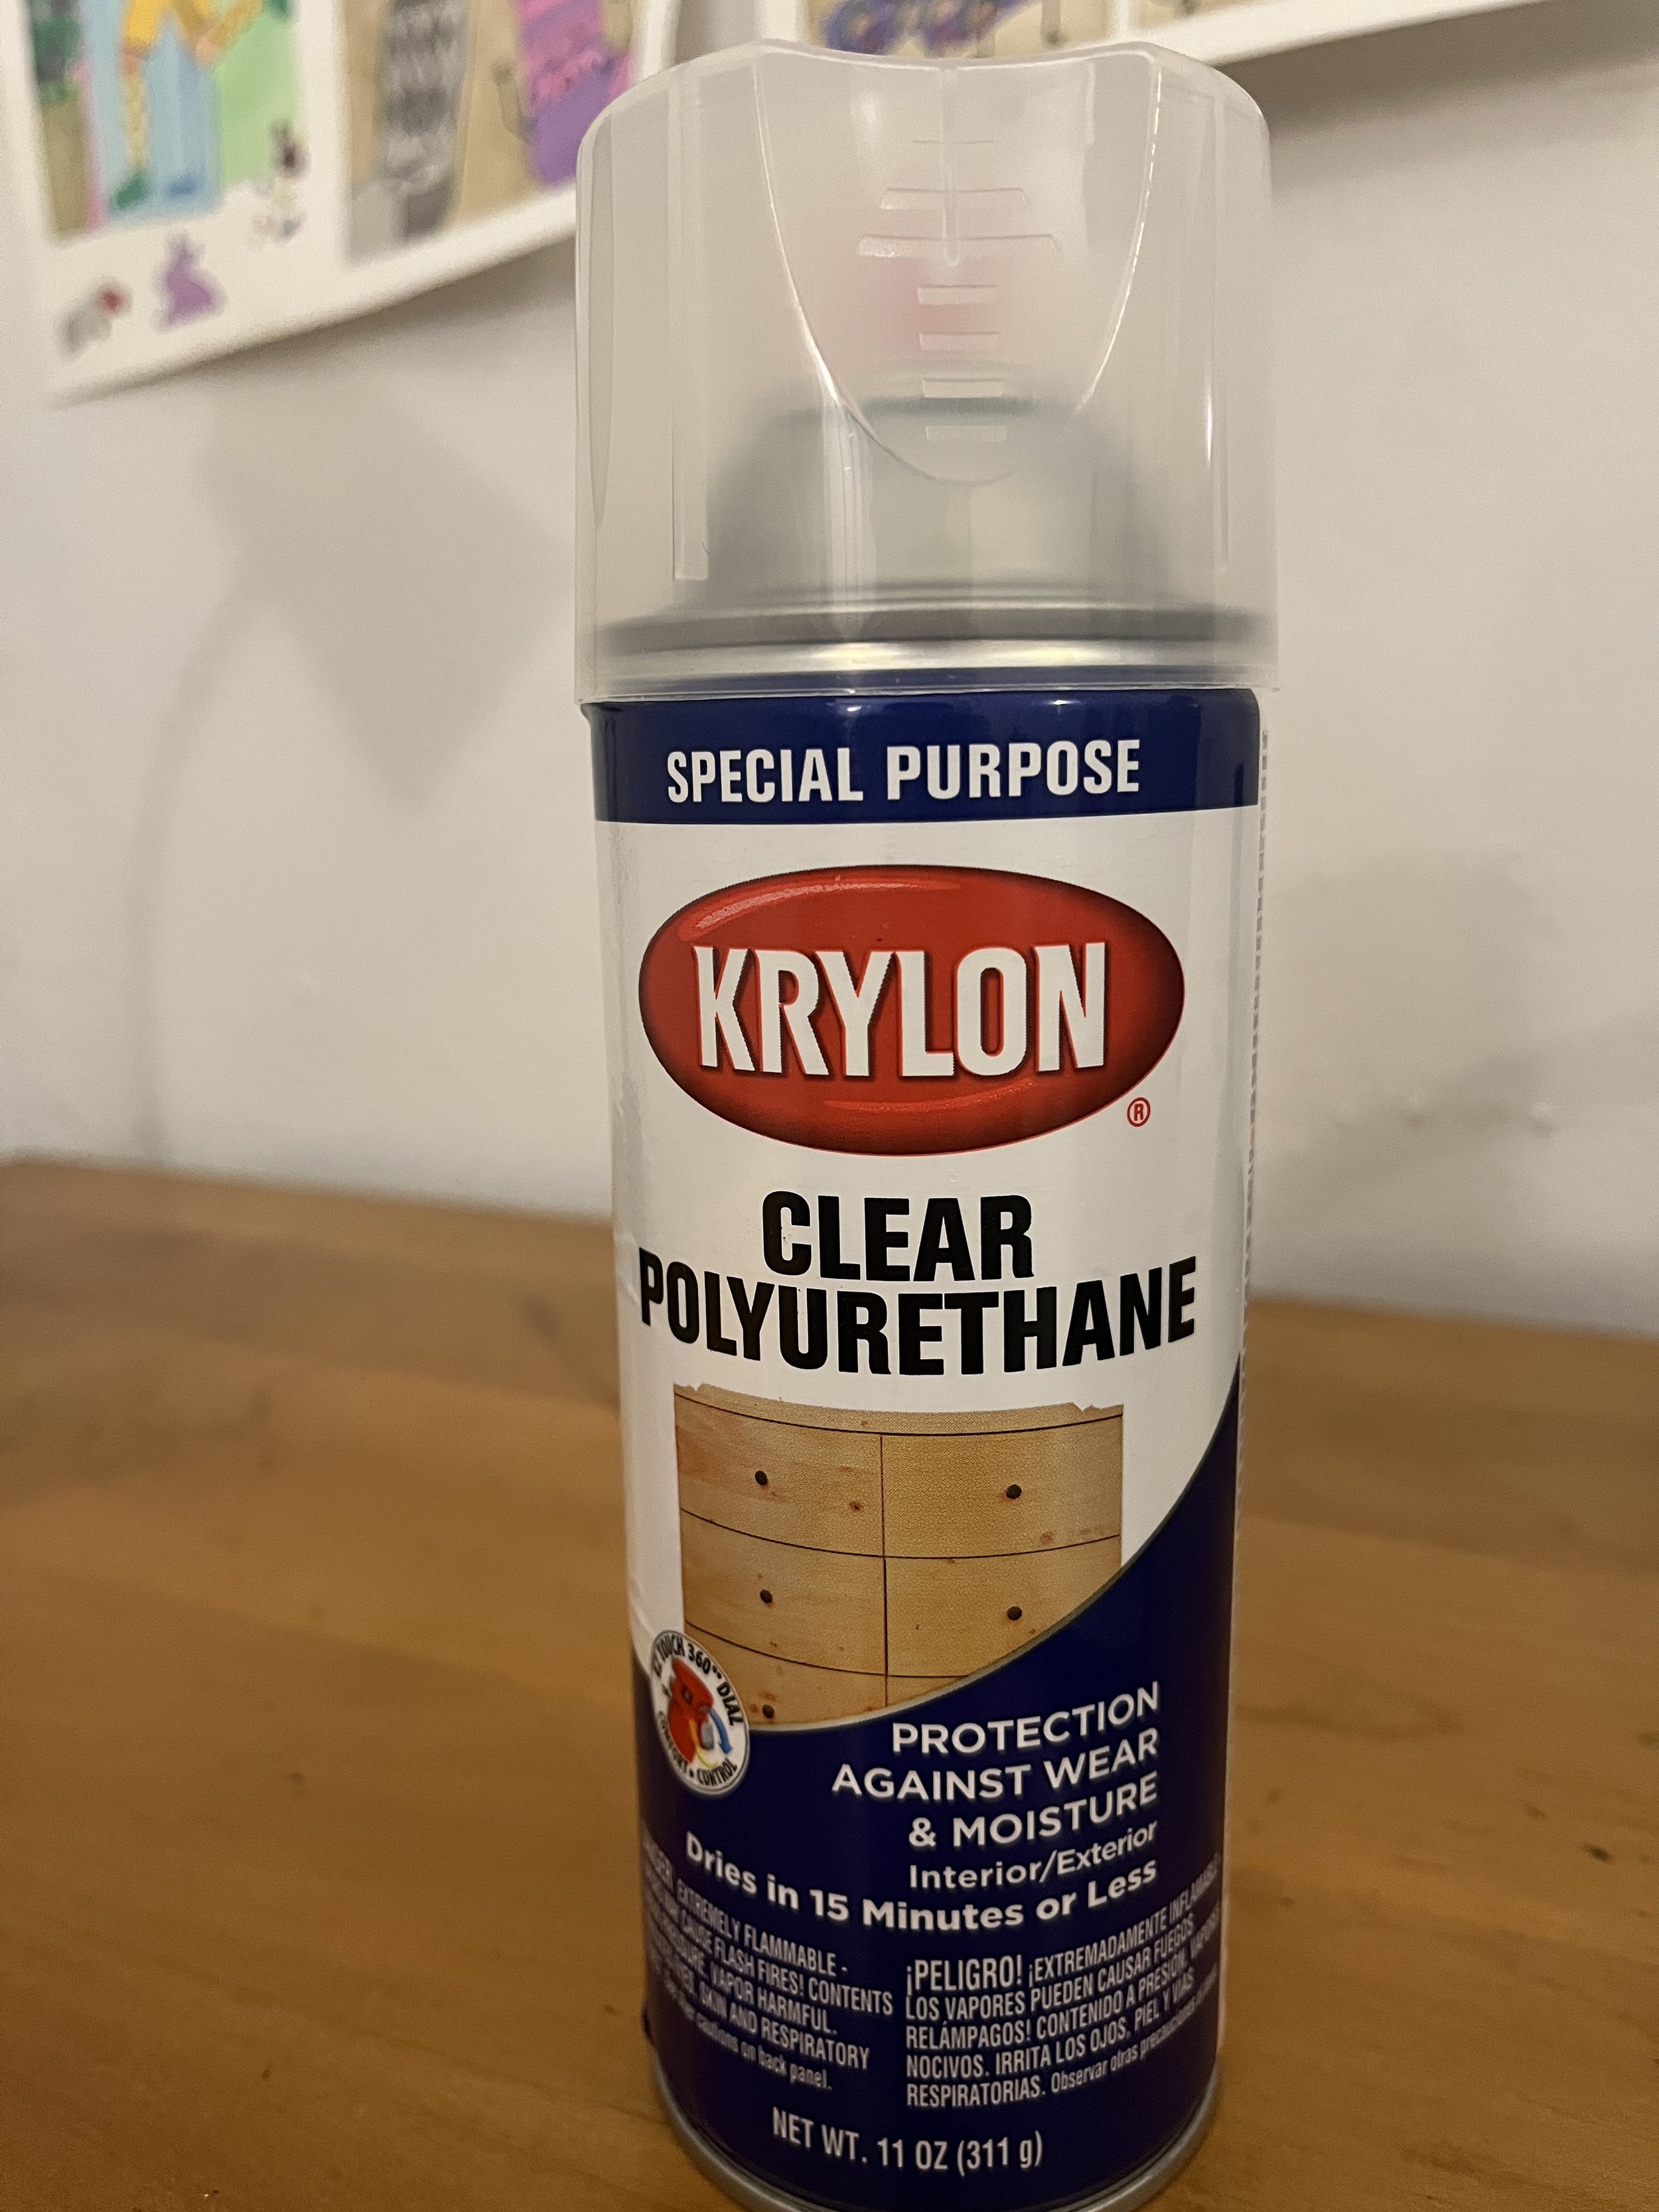
First I finished up my wood work by sanding down all my boxes using a foam block. I had a hard time finding a time when the shop was open over the weekend to varnish my boxes, so I picked up some spray polyurethane and sprayed them on my landlords fire escape. The spray takes about 4 hours to dry completely and I did two coats just to be safe. I’ve never used polyurethane in spray form before, but I am pretty happy with the result.
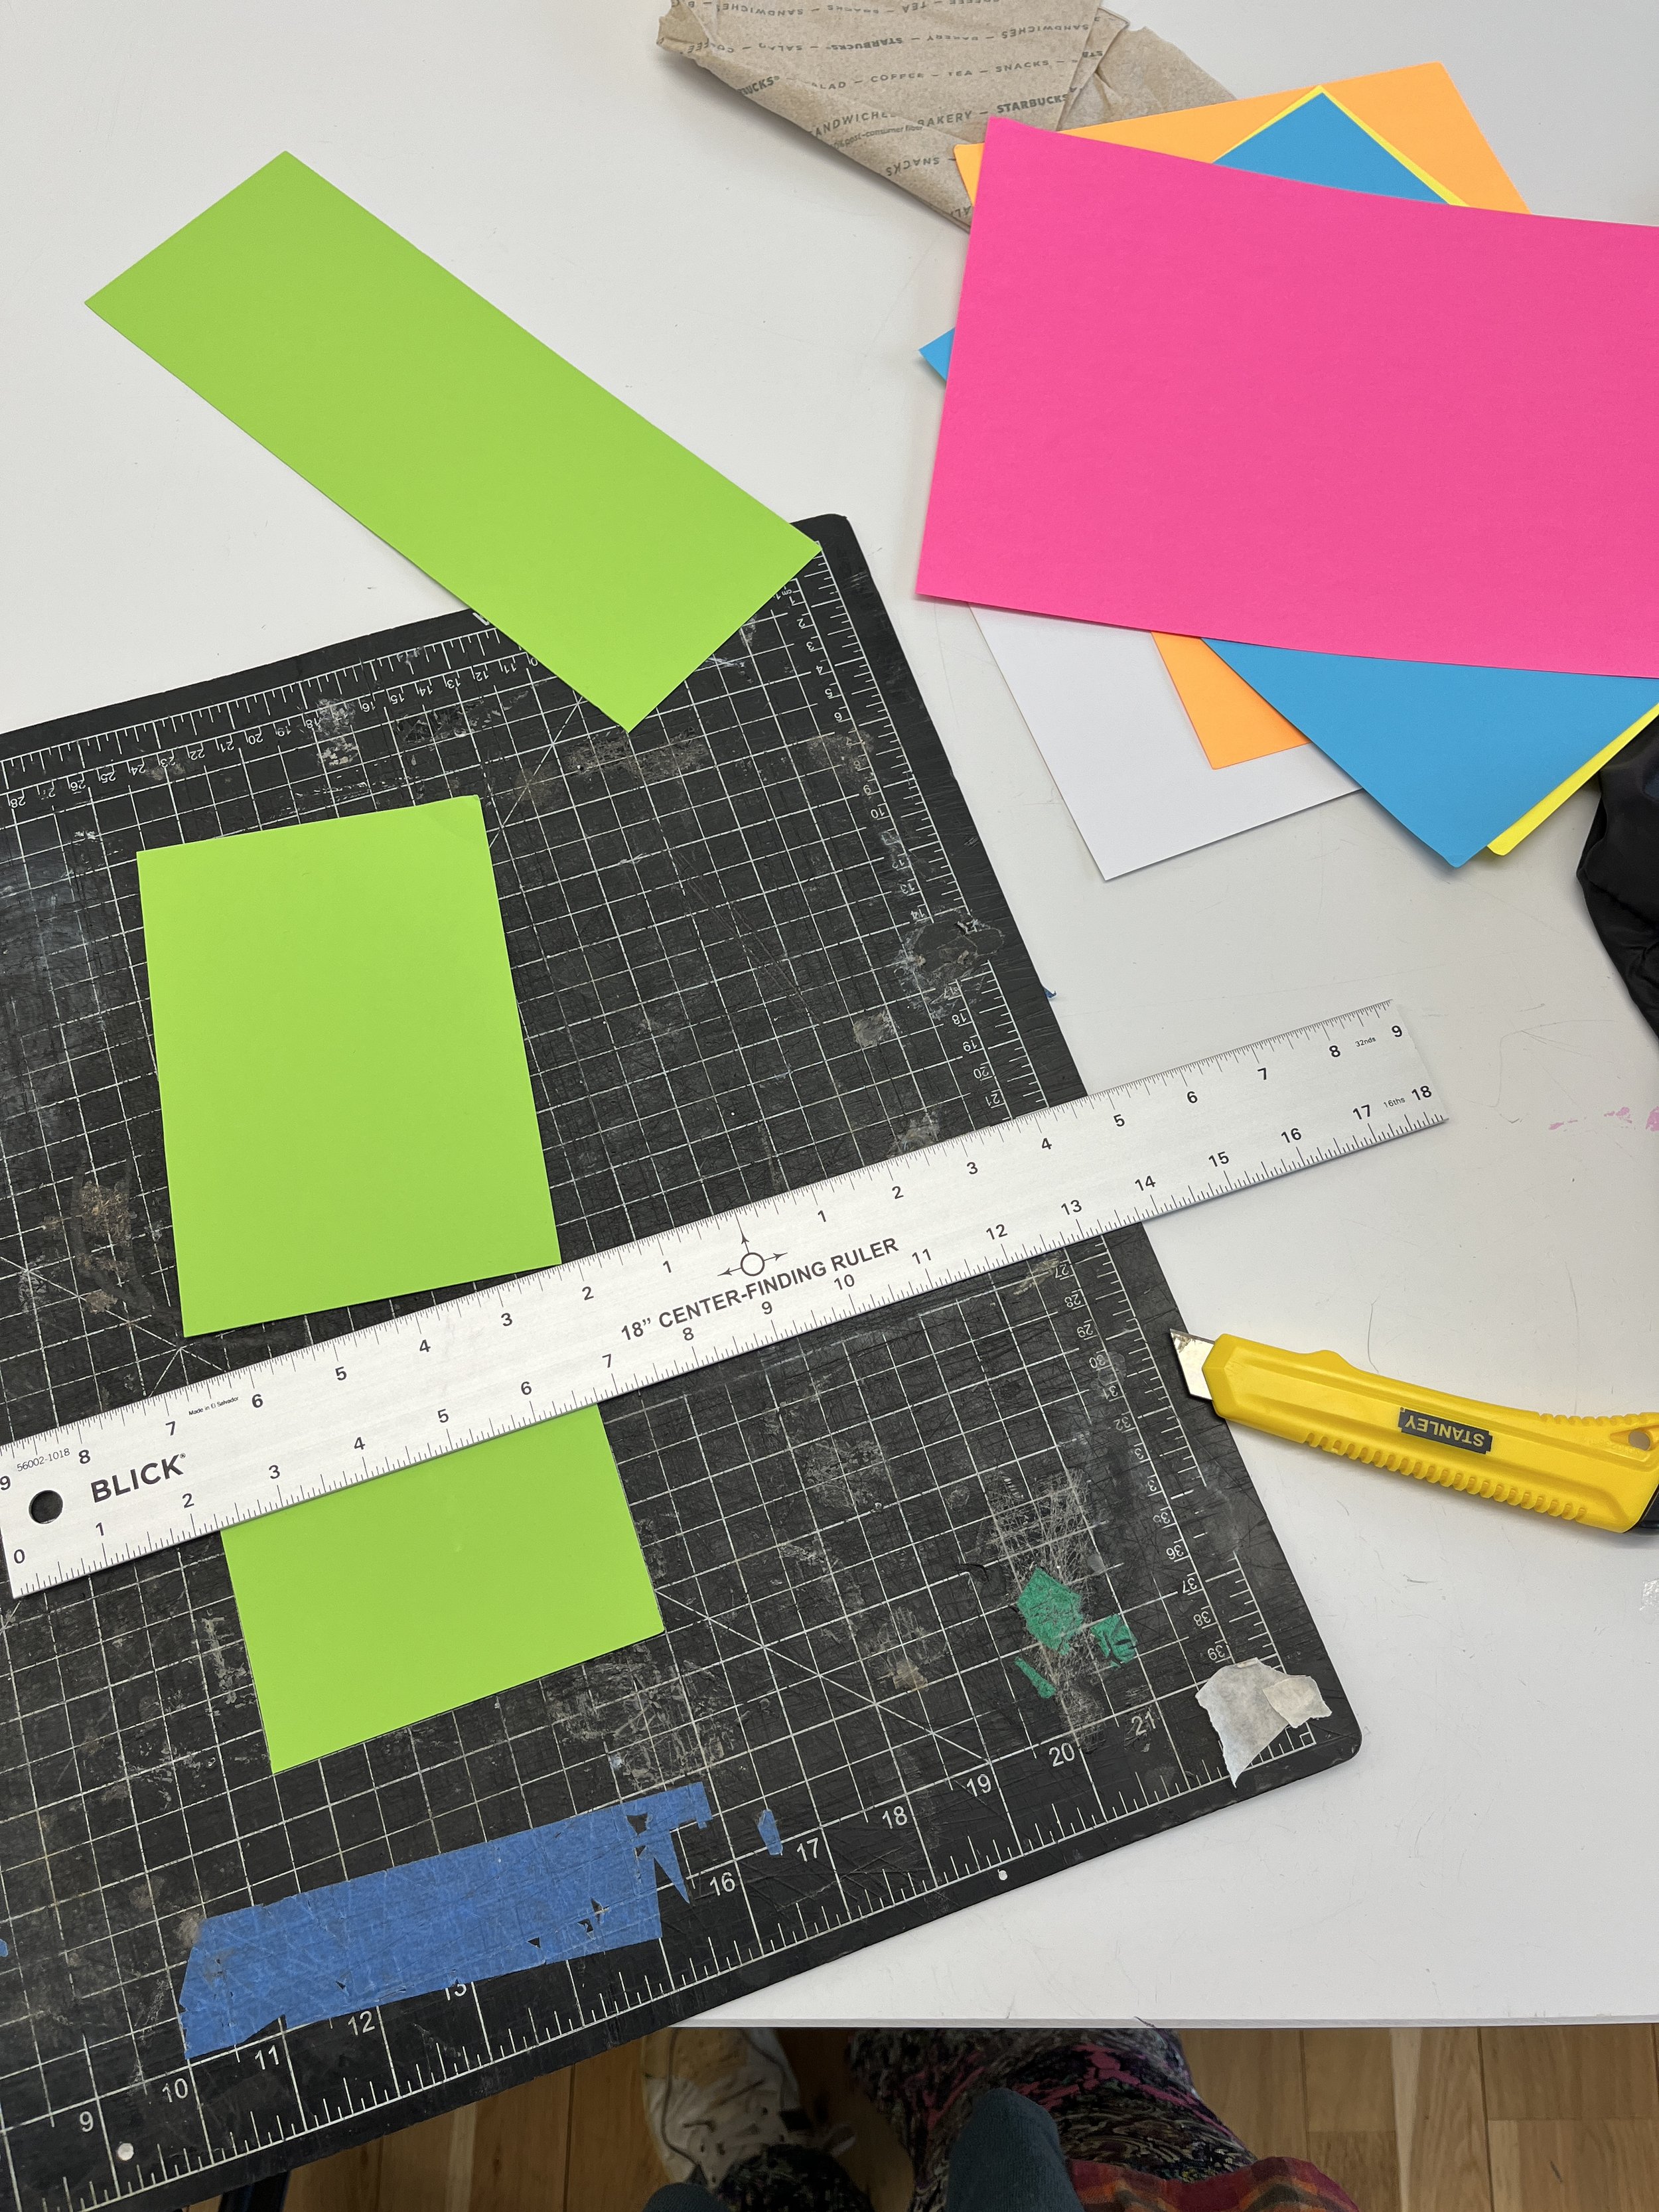
Next I cut my neon construction paper to fit the inside of my boxes using a razor blade and straight edge. I stuck them as backing into my display boxes using some craft putty. I love adding a pop of color whenever possible!

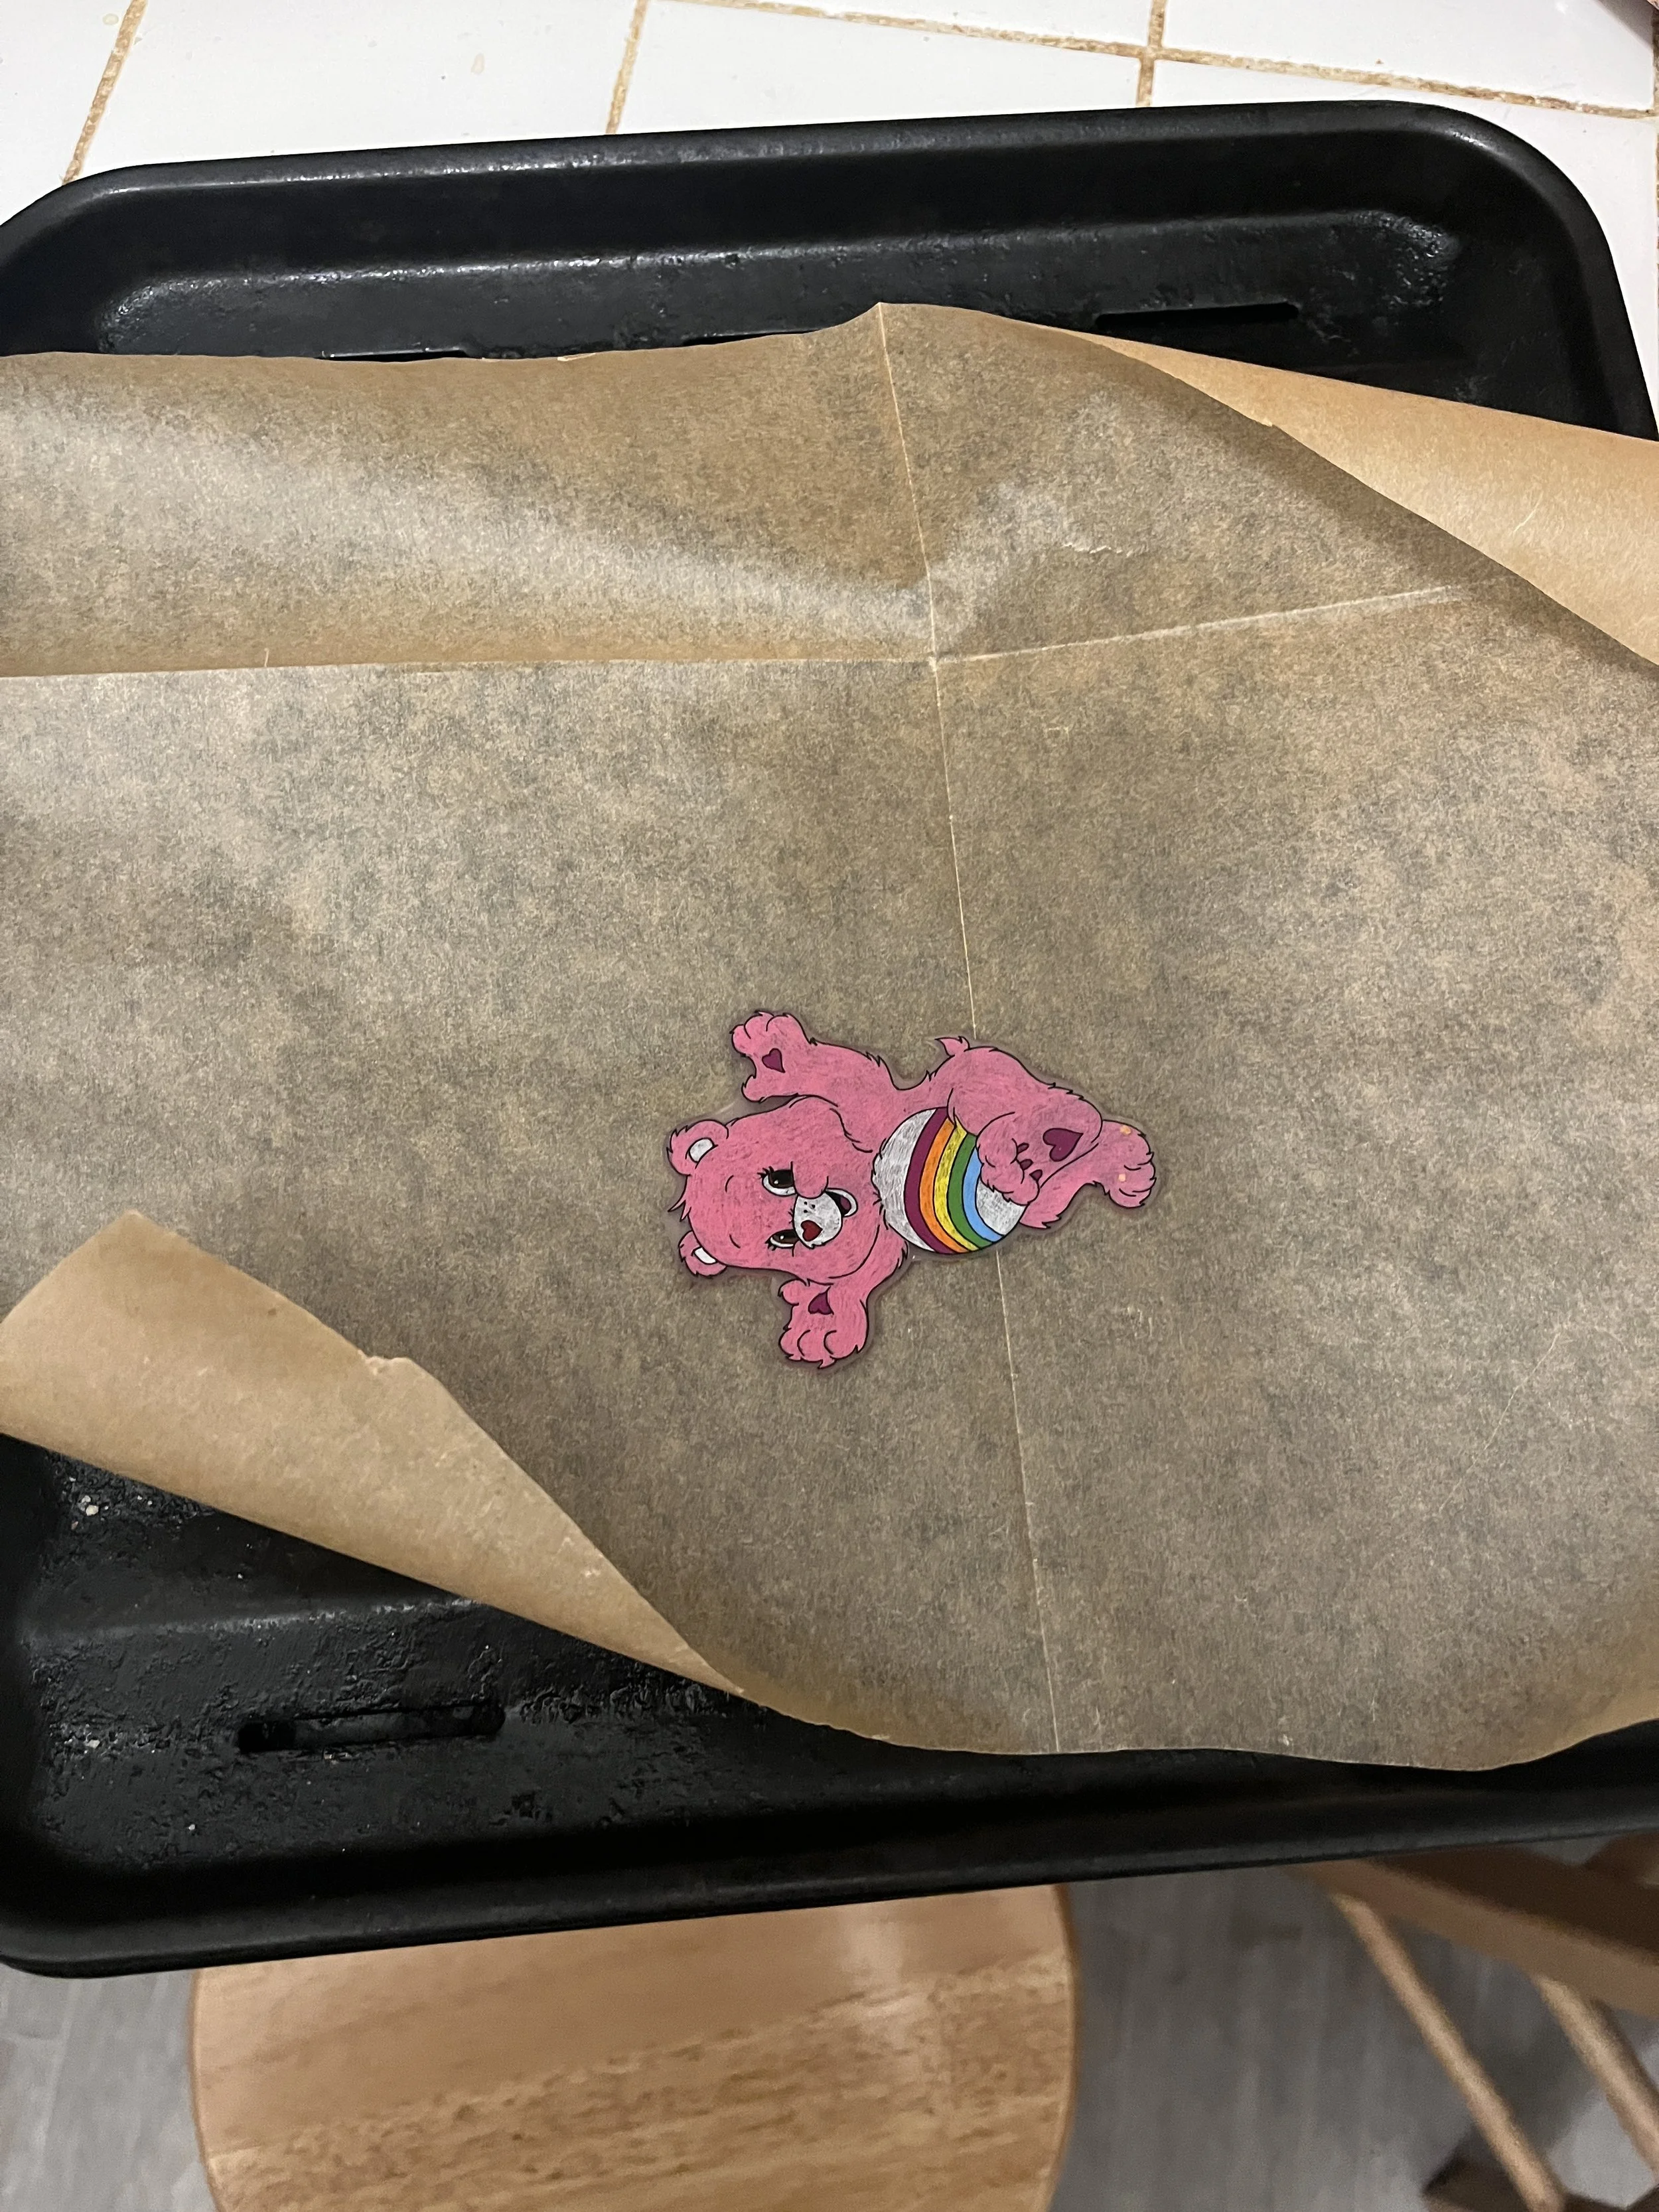
Then I created my “specimens” by drawing on Shrinky Dink paper using colored pencil and a fine liner for the outlines. The paper shrinks to 1/3 of its original size when baked in the oven, so the drawings had to be pretty big. A tray needs to be lined with parchment paper when baking so they don’t stick. The plastic also has a tendency to fold into itself (especially at this large size), so I had a knife handy to flatten them out during the baking process.
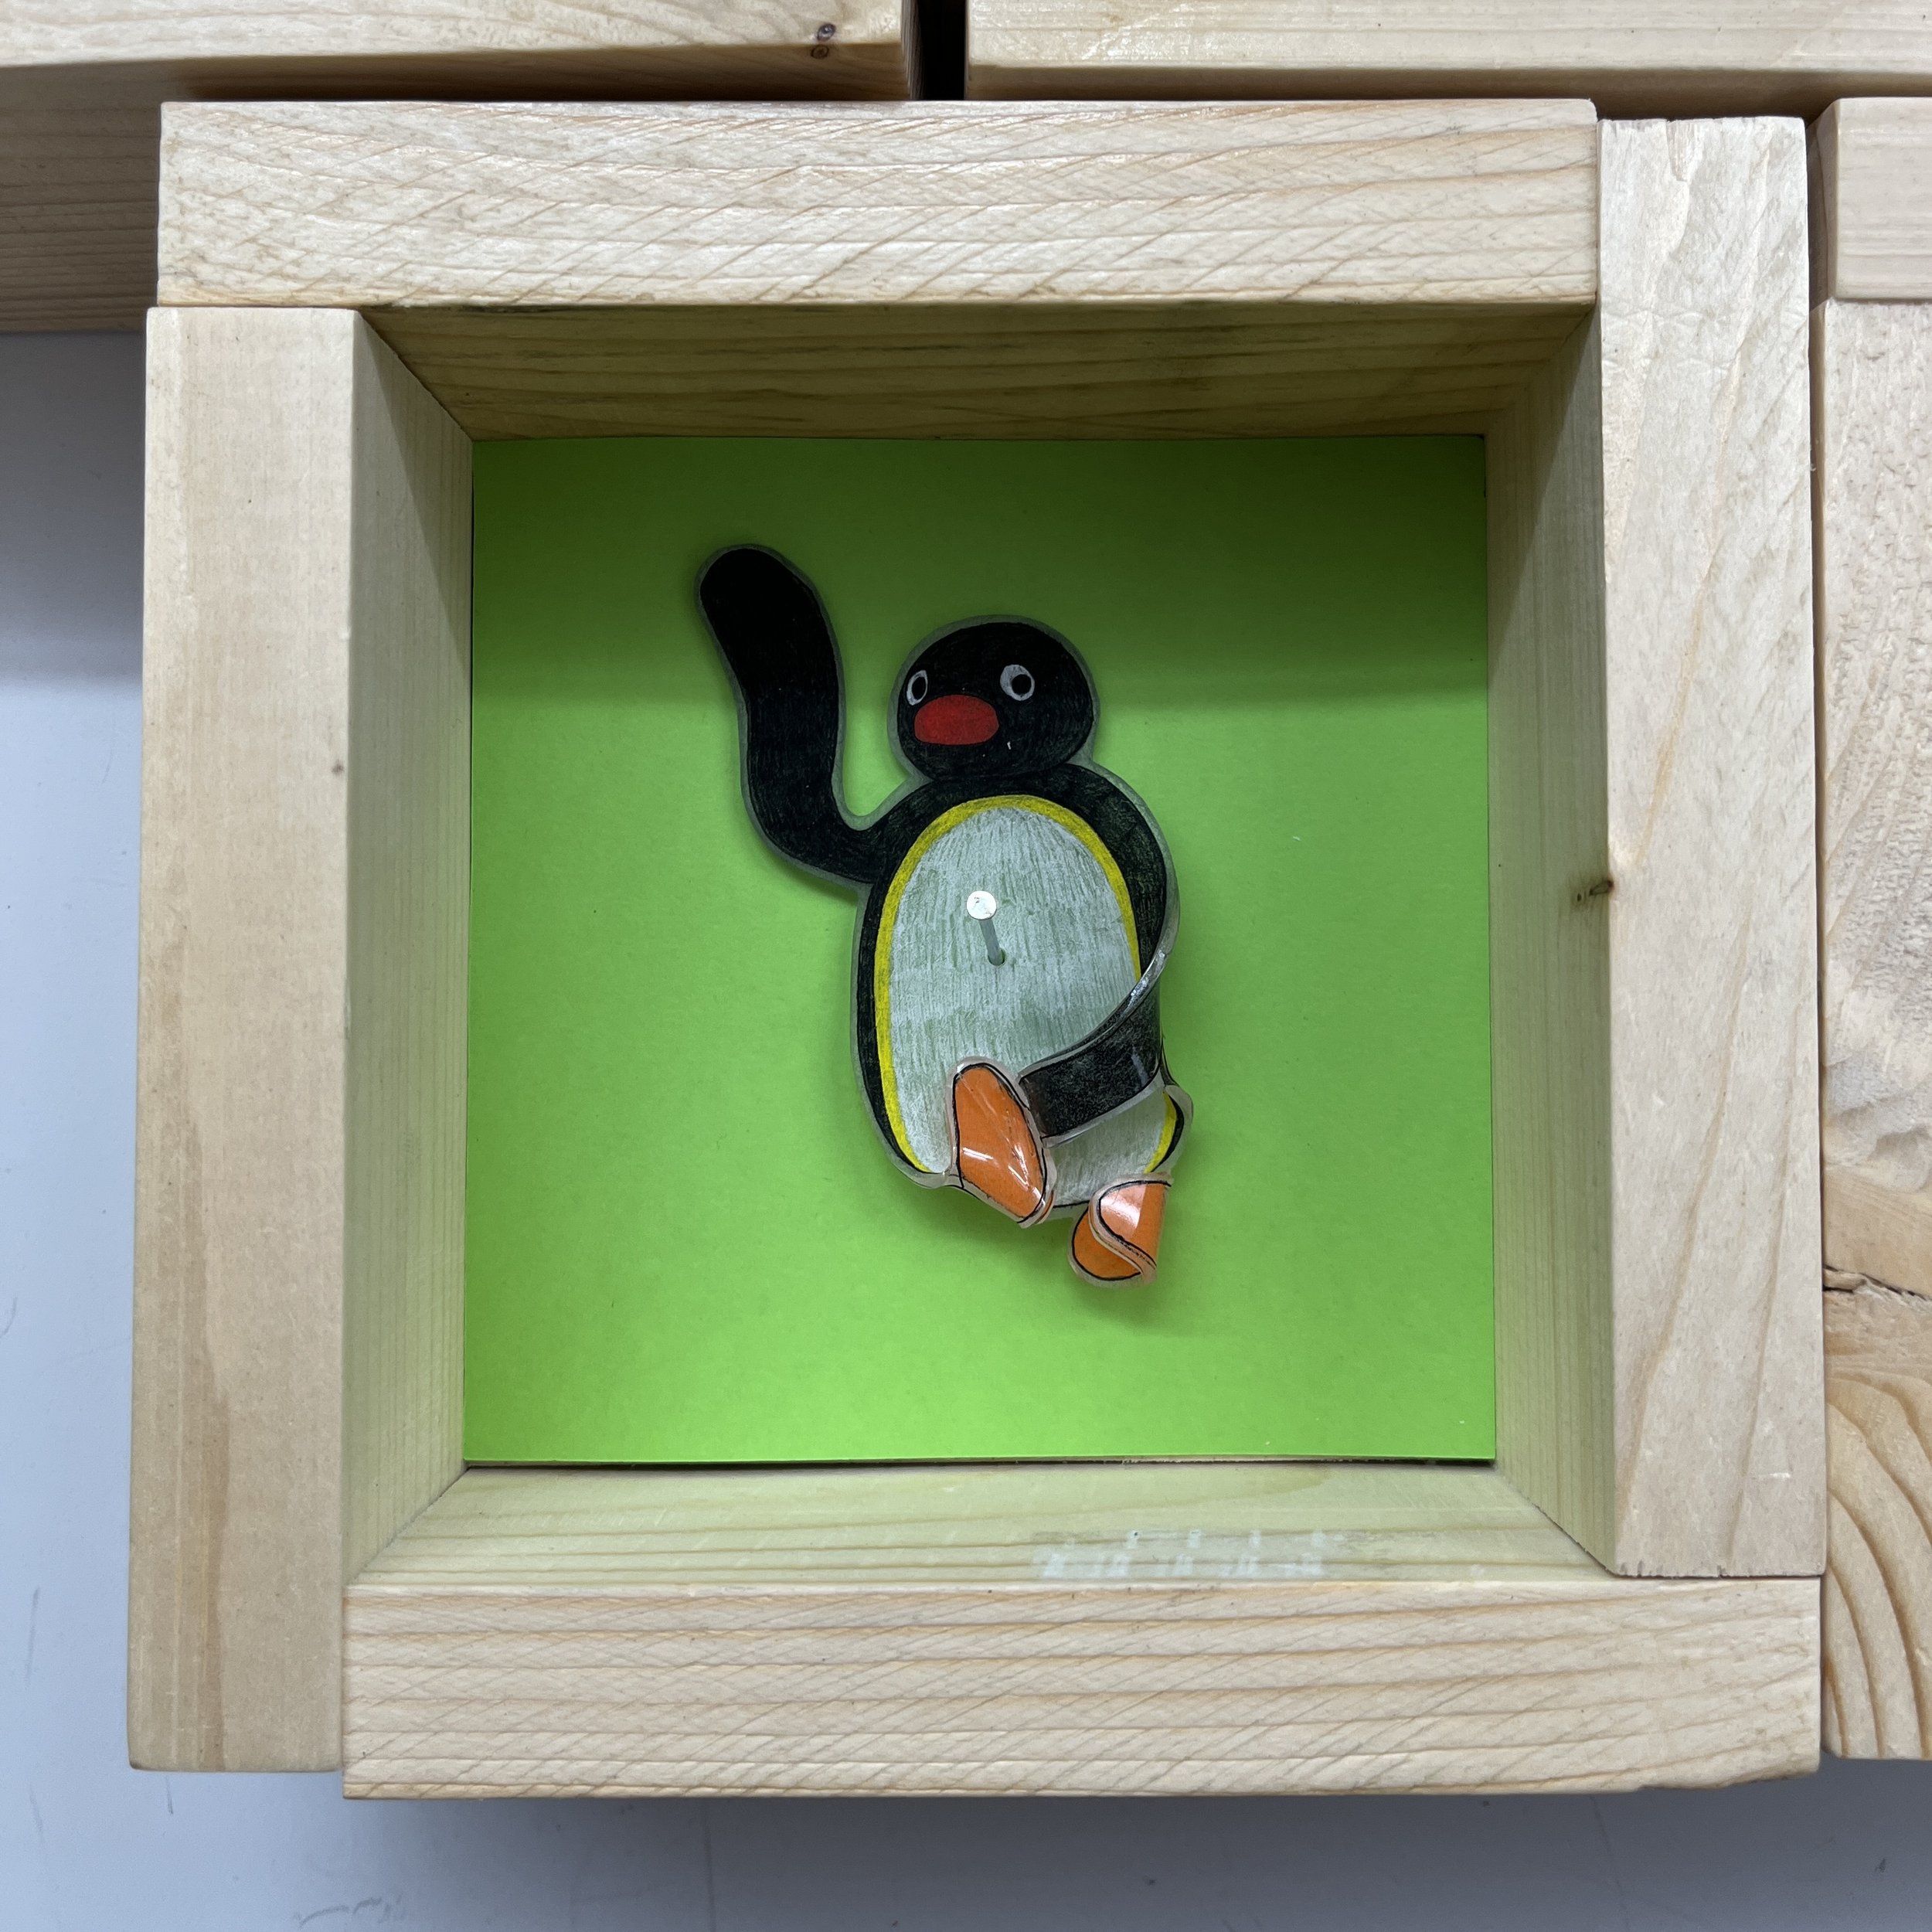
I nearly burnt the building down during my bake because my parchment paper caught on fire: don’t let it touch the heating element! That was my last bake of my Pingu “specimen”. Maybe you can notice his special effects?!

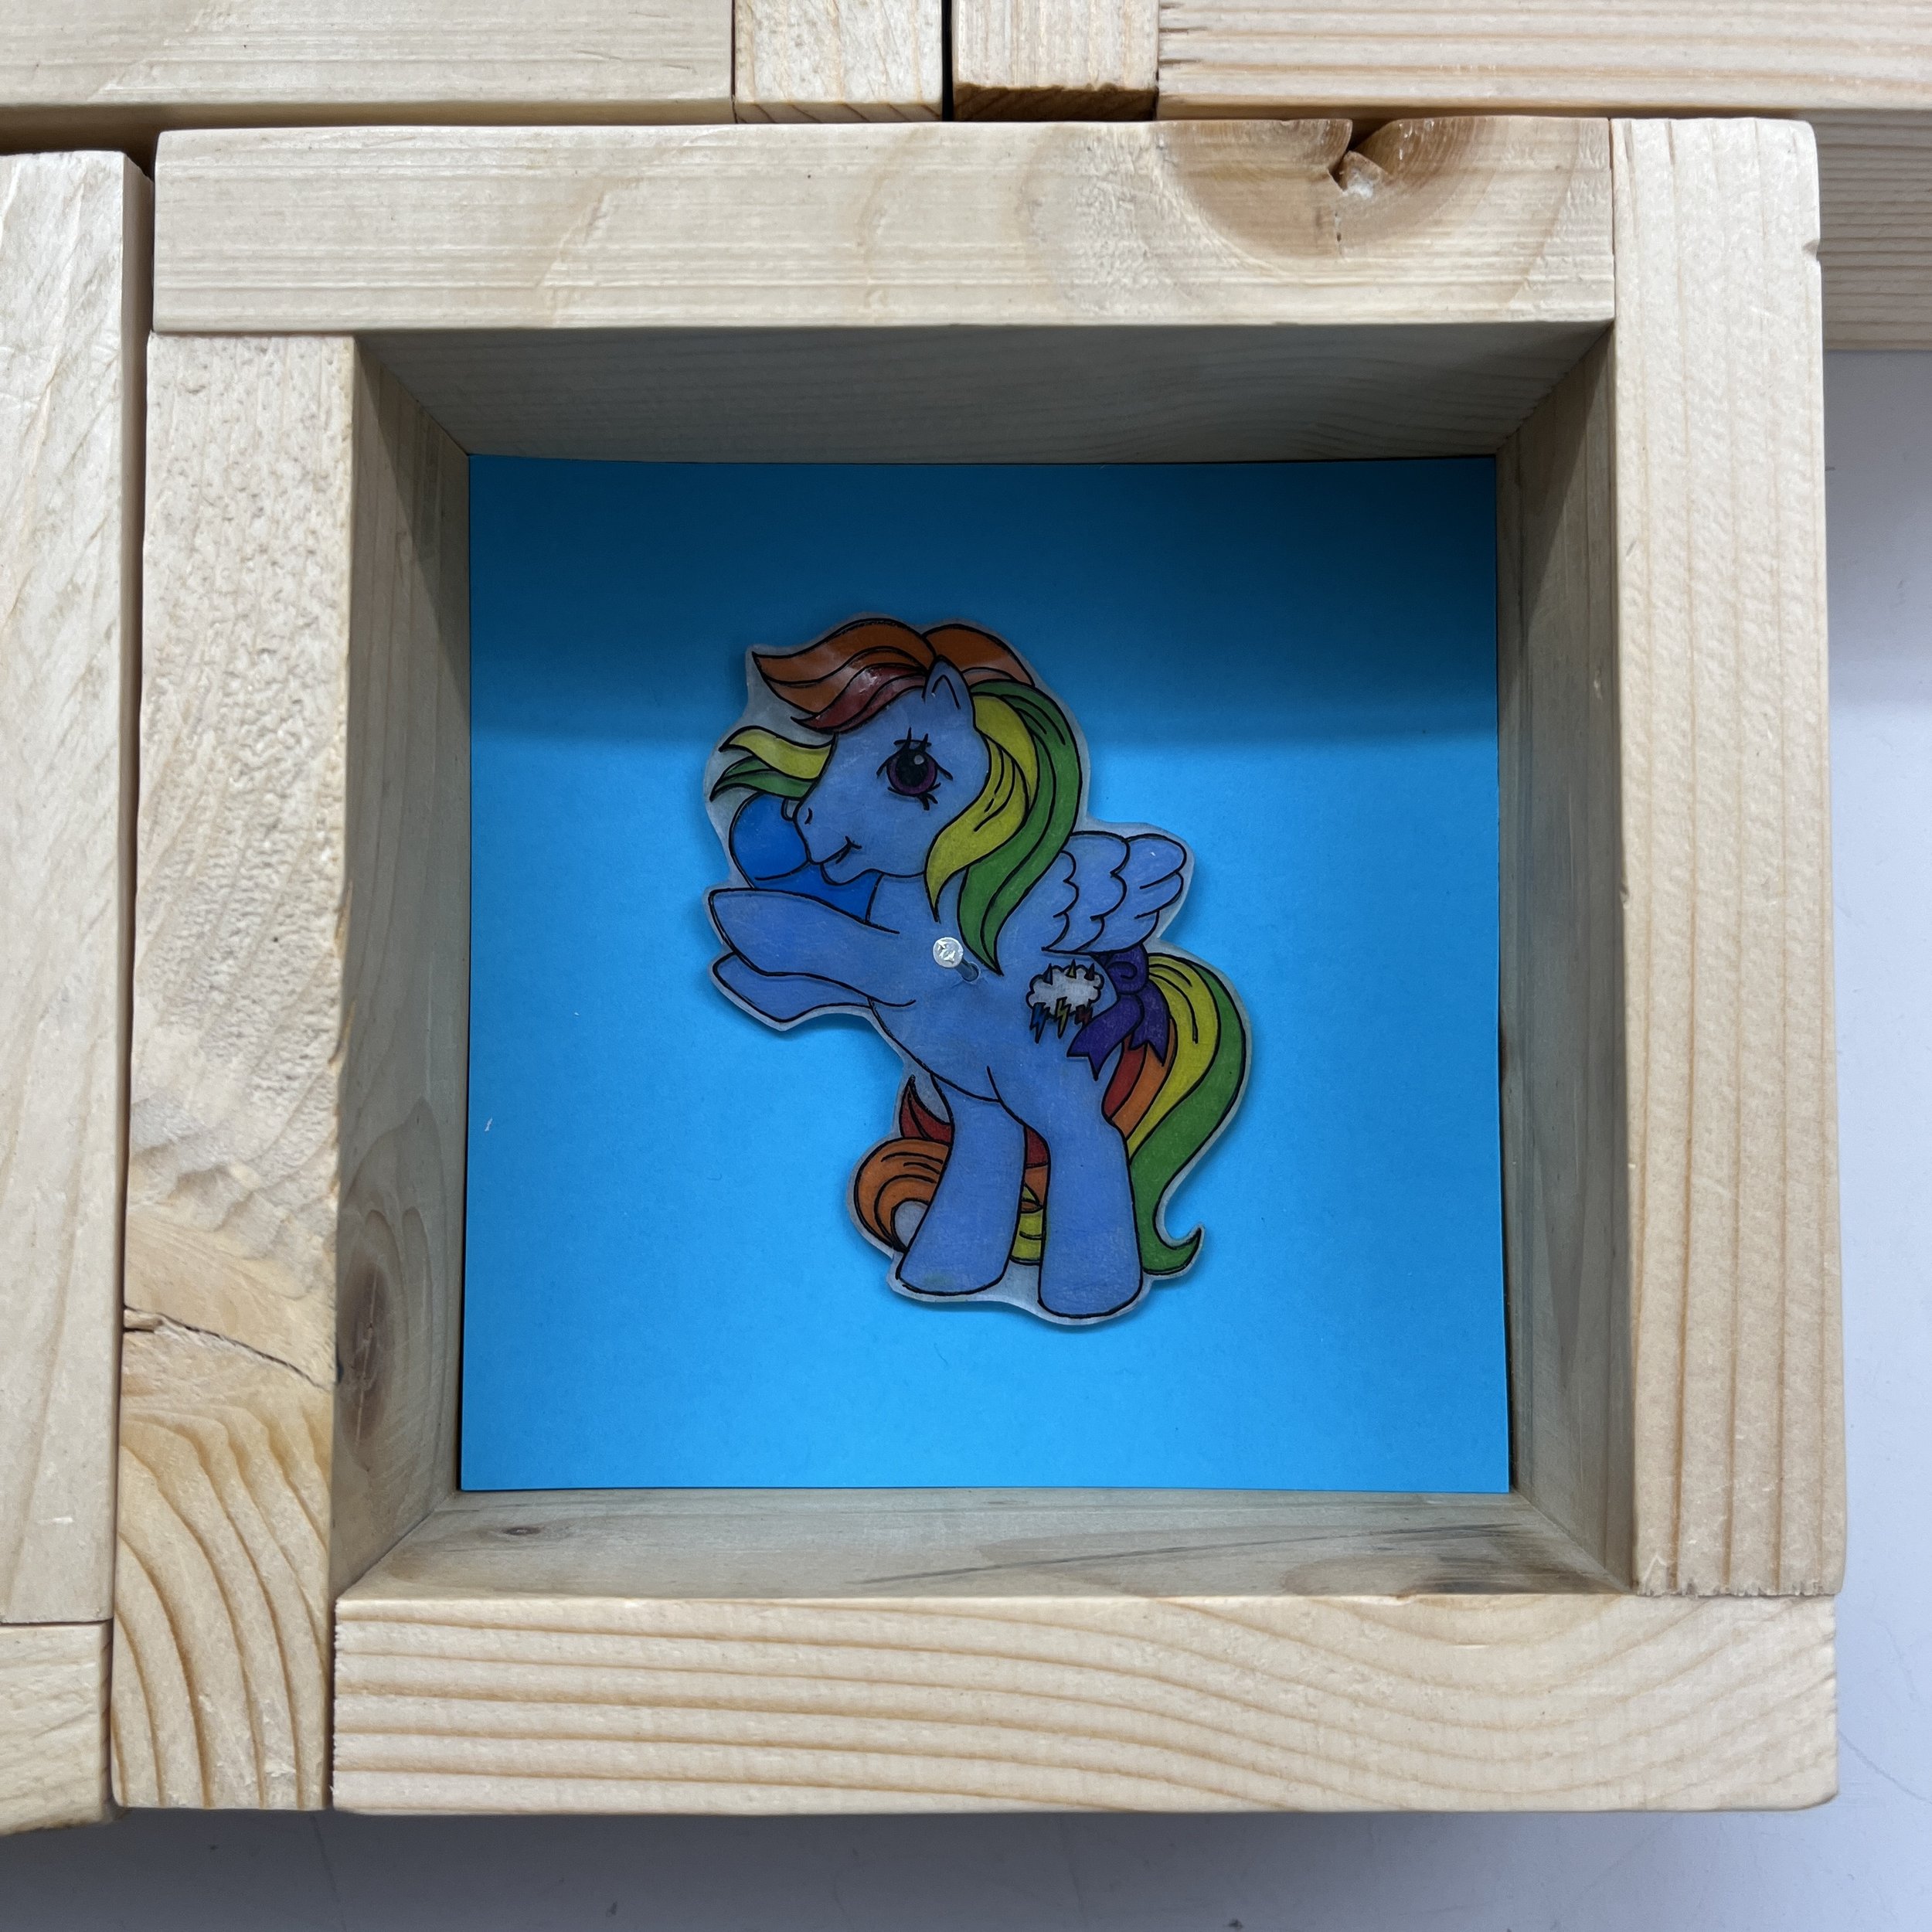
The last step was assembly. Normally I would have hole-punched the Shrinky Dinks before baking them but I couldn’t find the right hole punch. I drilled a hole in the shrinked versions using a tiny drill bit and attached them to my boxes by “pinning” them down using a nail.
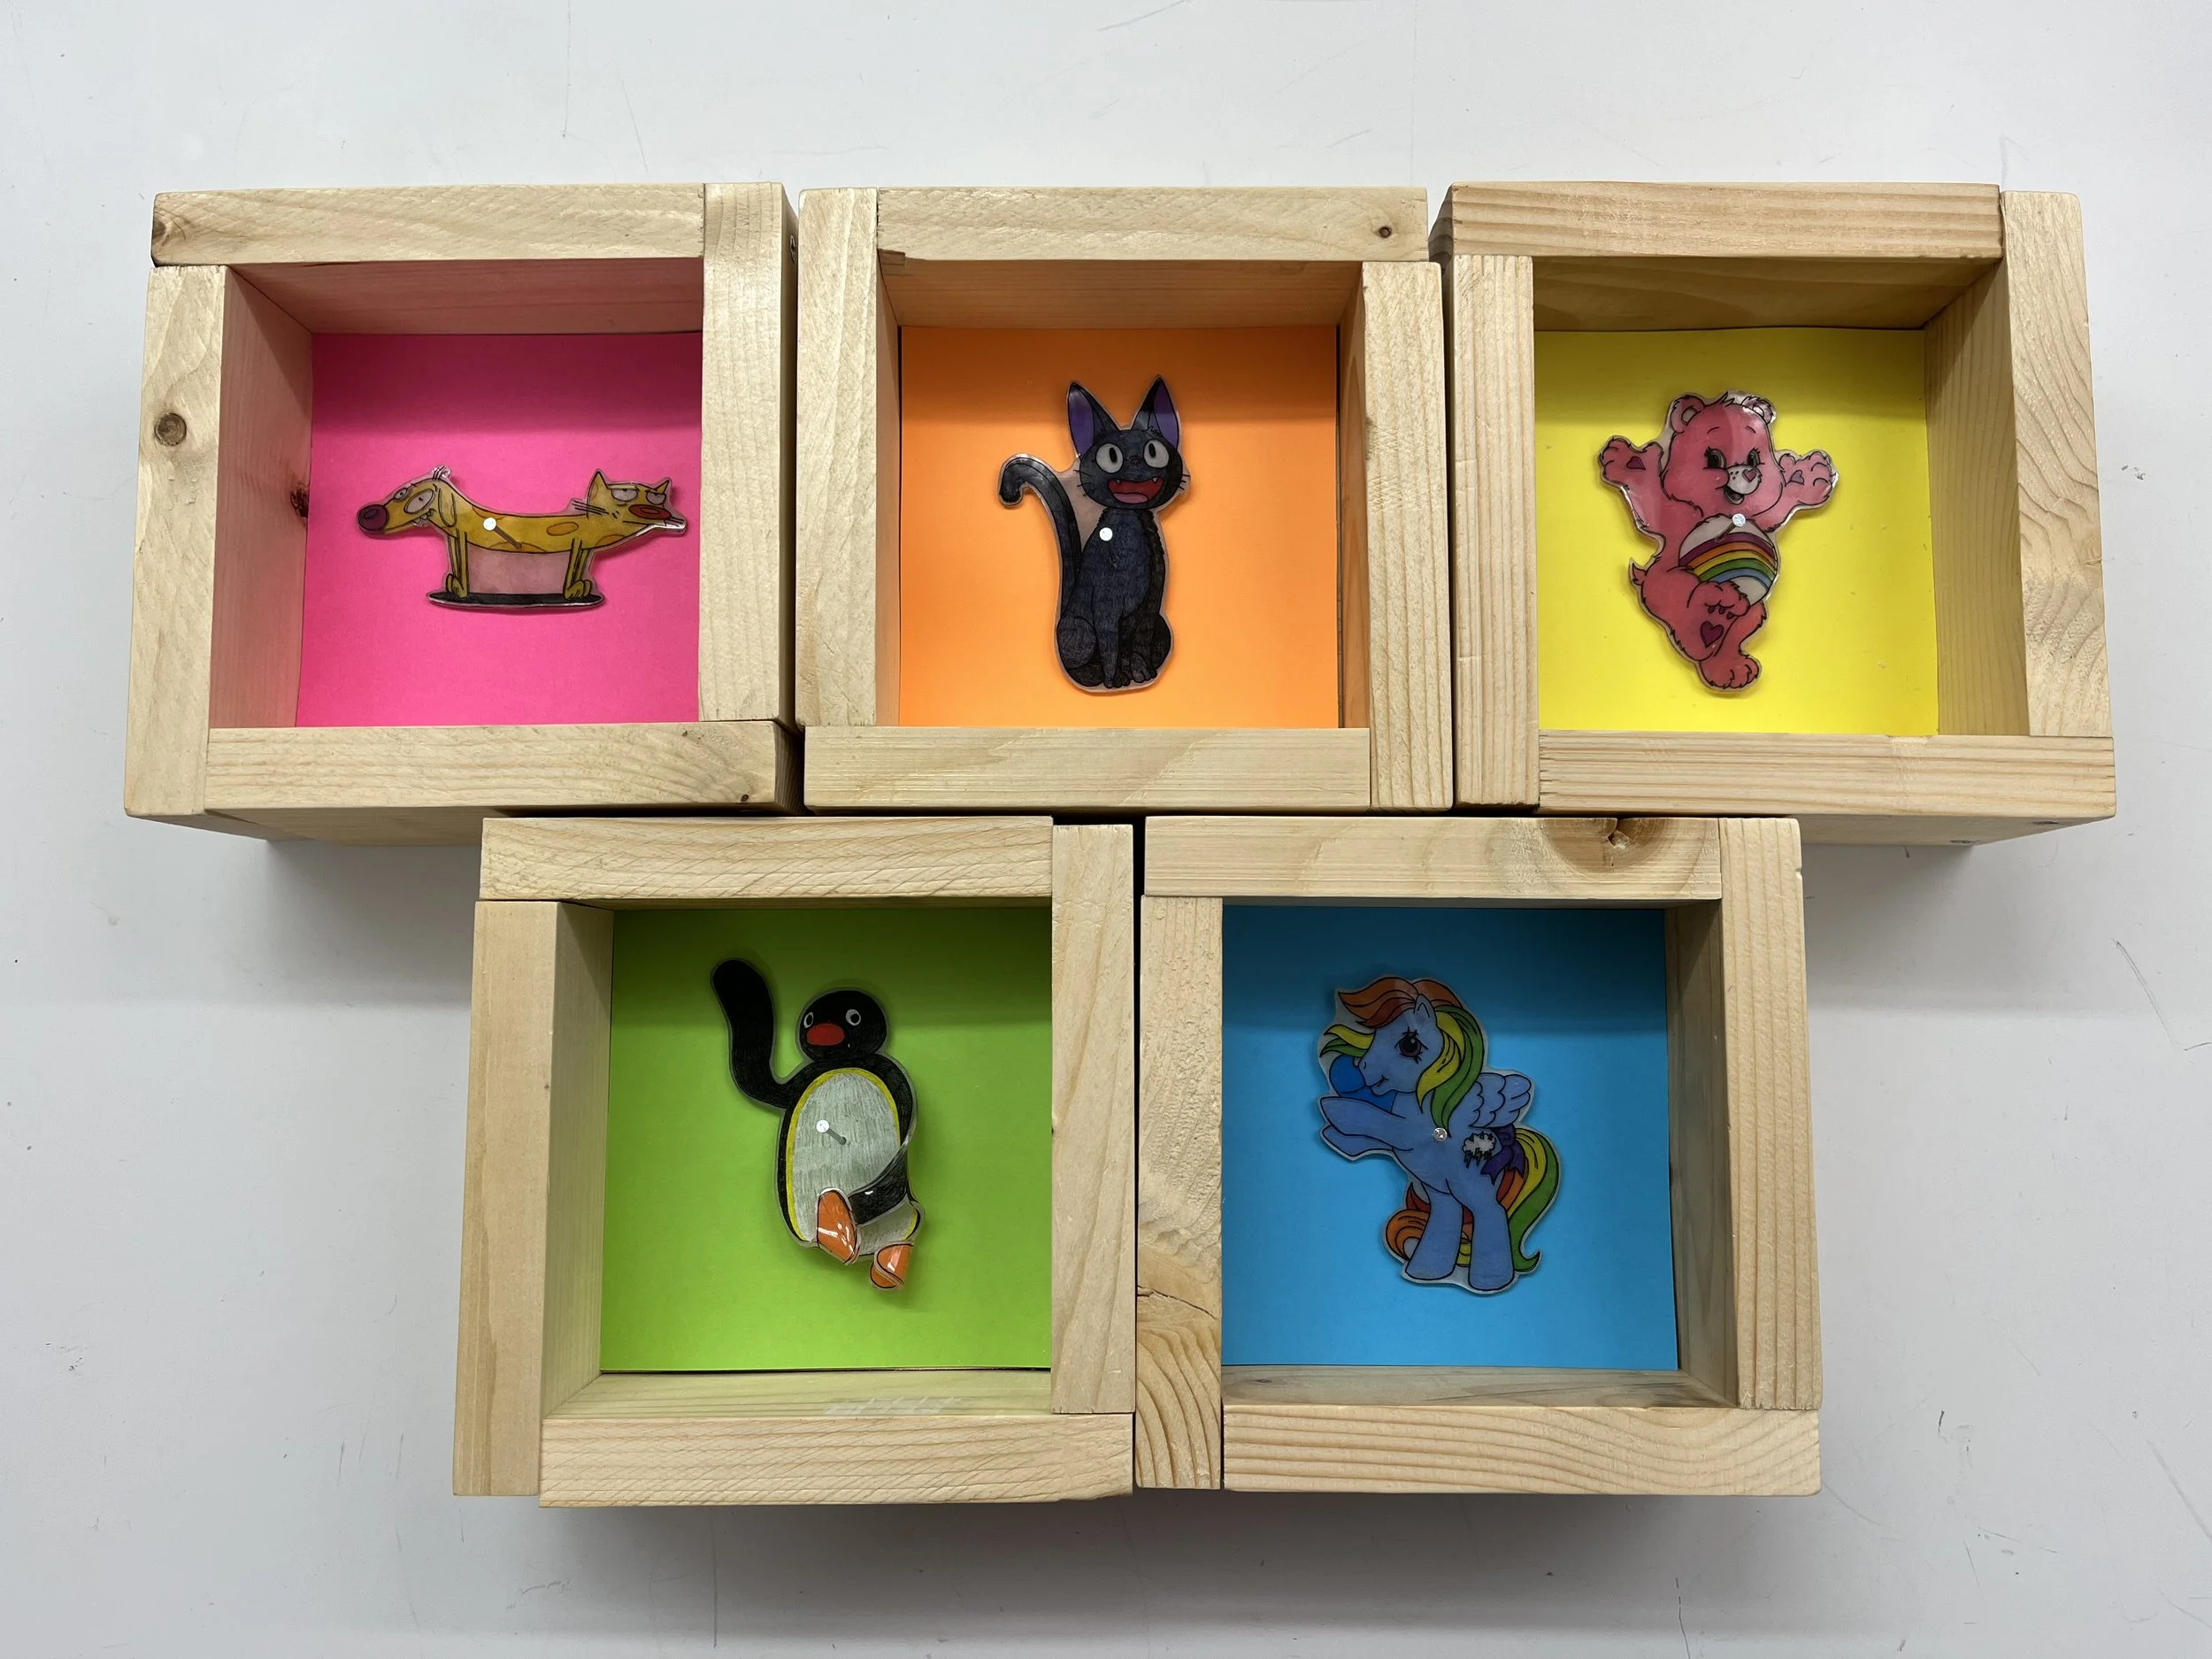
Final Product
Conclusions
I learned a lot about wood working and crafting doing this project! One thing is for sure: it’ll take me some time to get used to crafting in New York. In Boulder, I had my trusty Camry and detached studio space in the backyard. I had a really safe space for making and gathering materials. I’m learning that in the city hardly anyone can afford a separate studio space so you kind of have to piece together your workspace. And don’t even get me started about surviving the Brooklyn Home Depot, lugging lumber on the subway, and getting the right materials from the store the first time. I am proud of what I made and learning to adjust to my new processes for making.